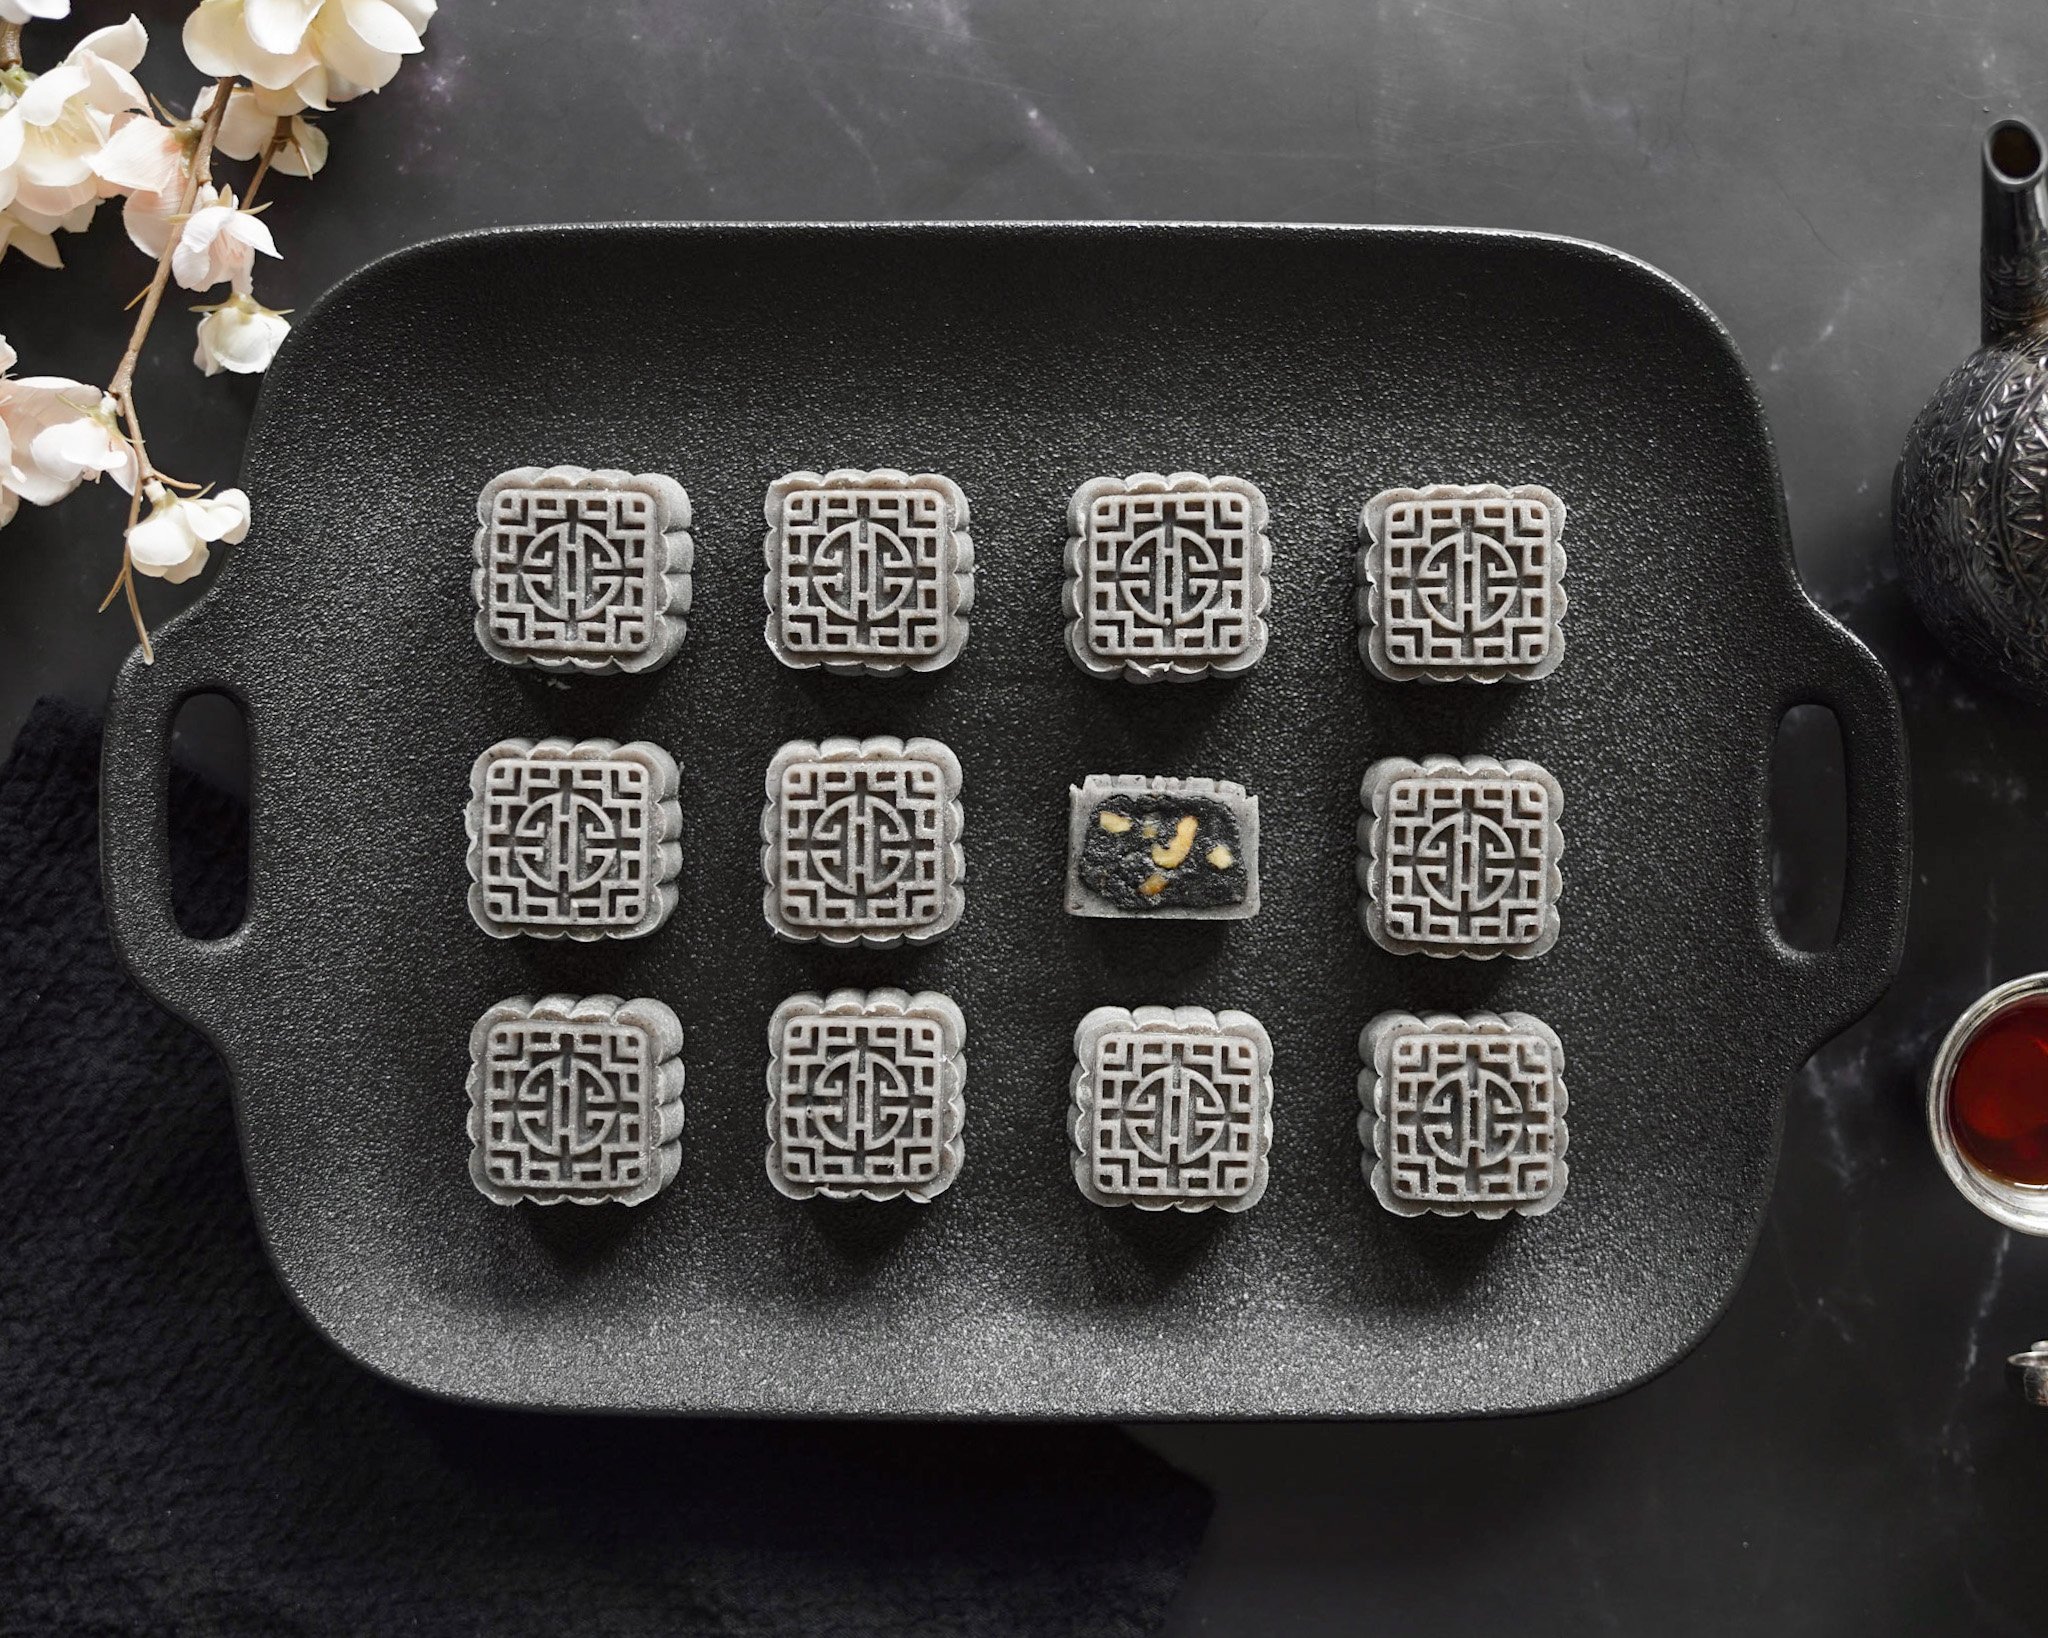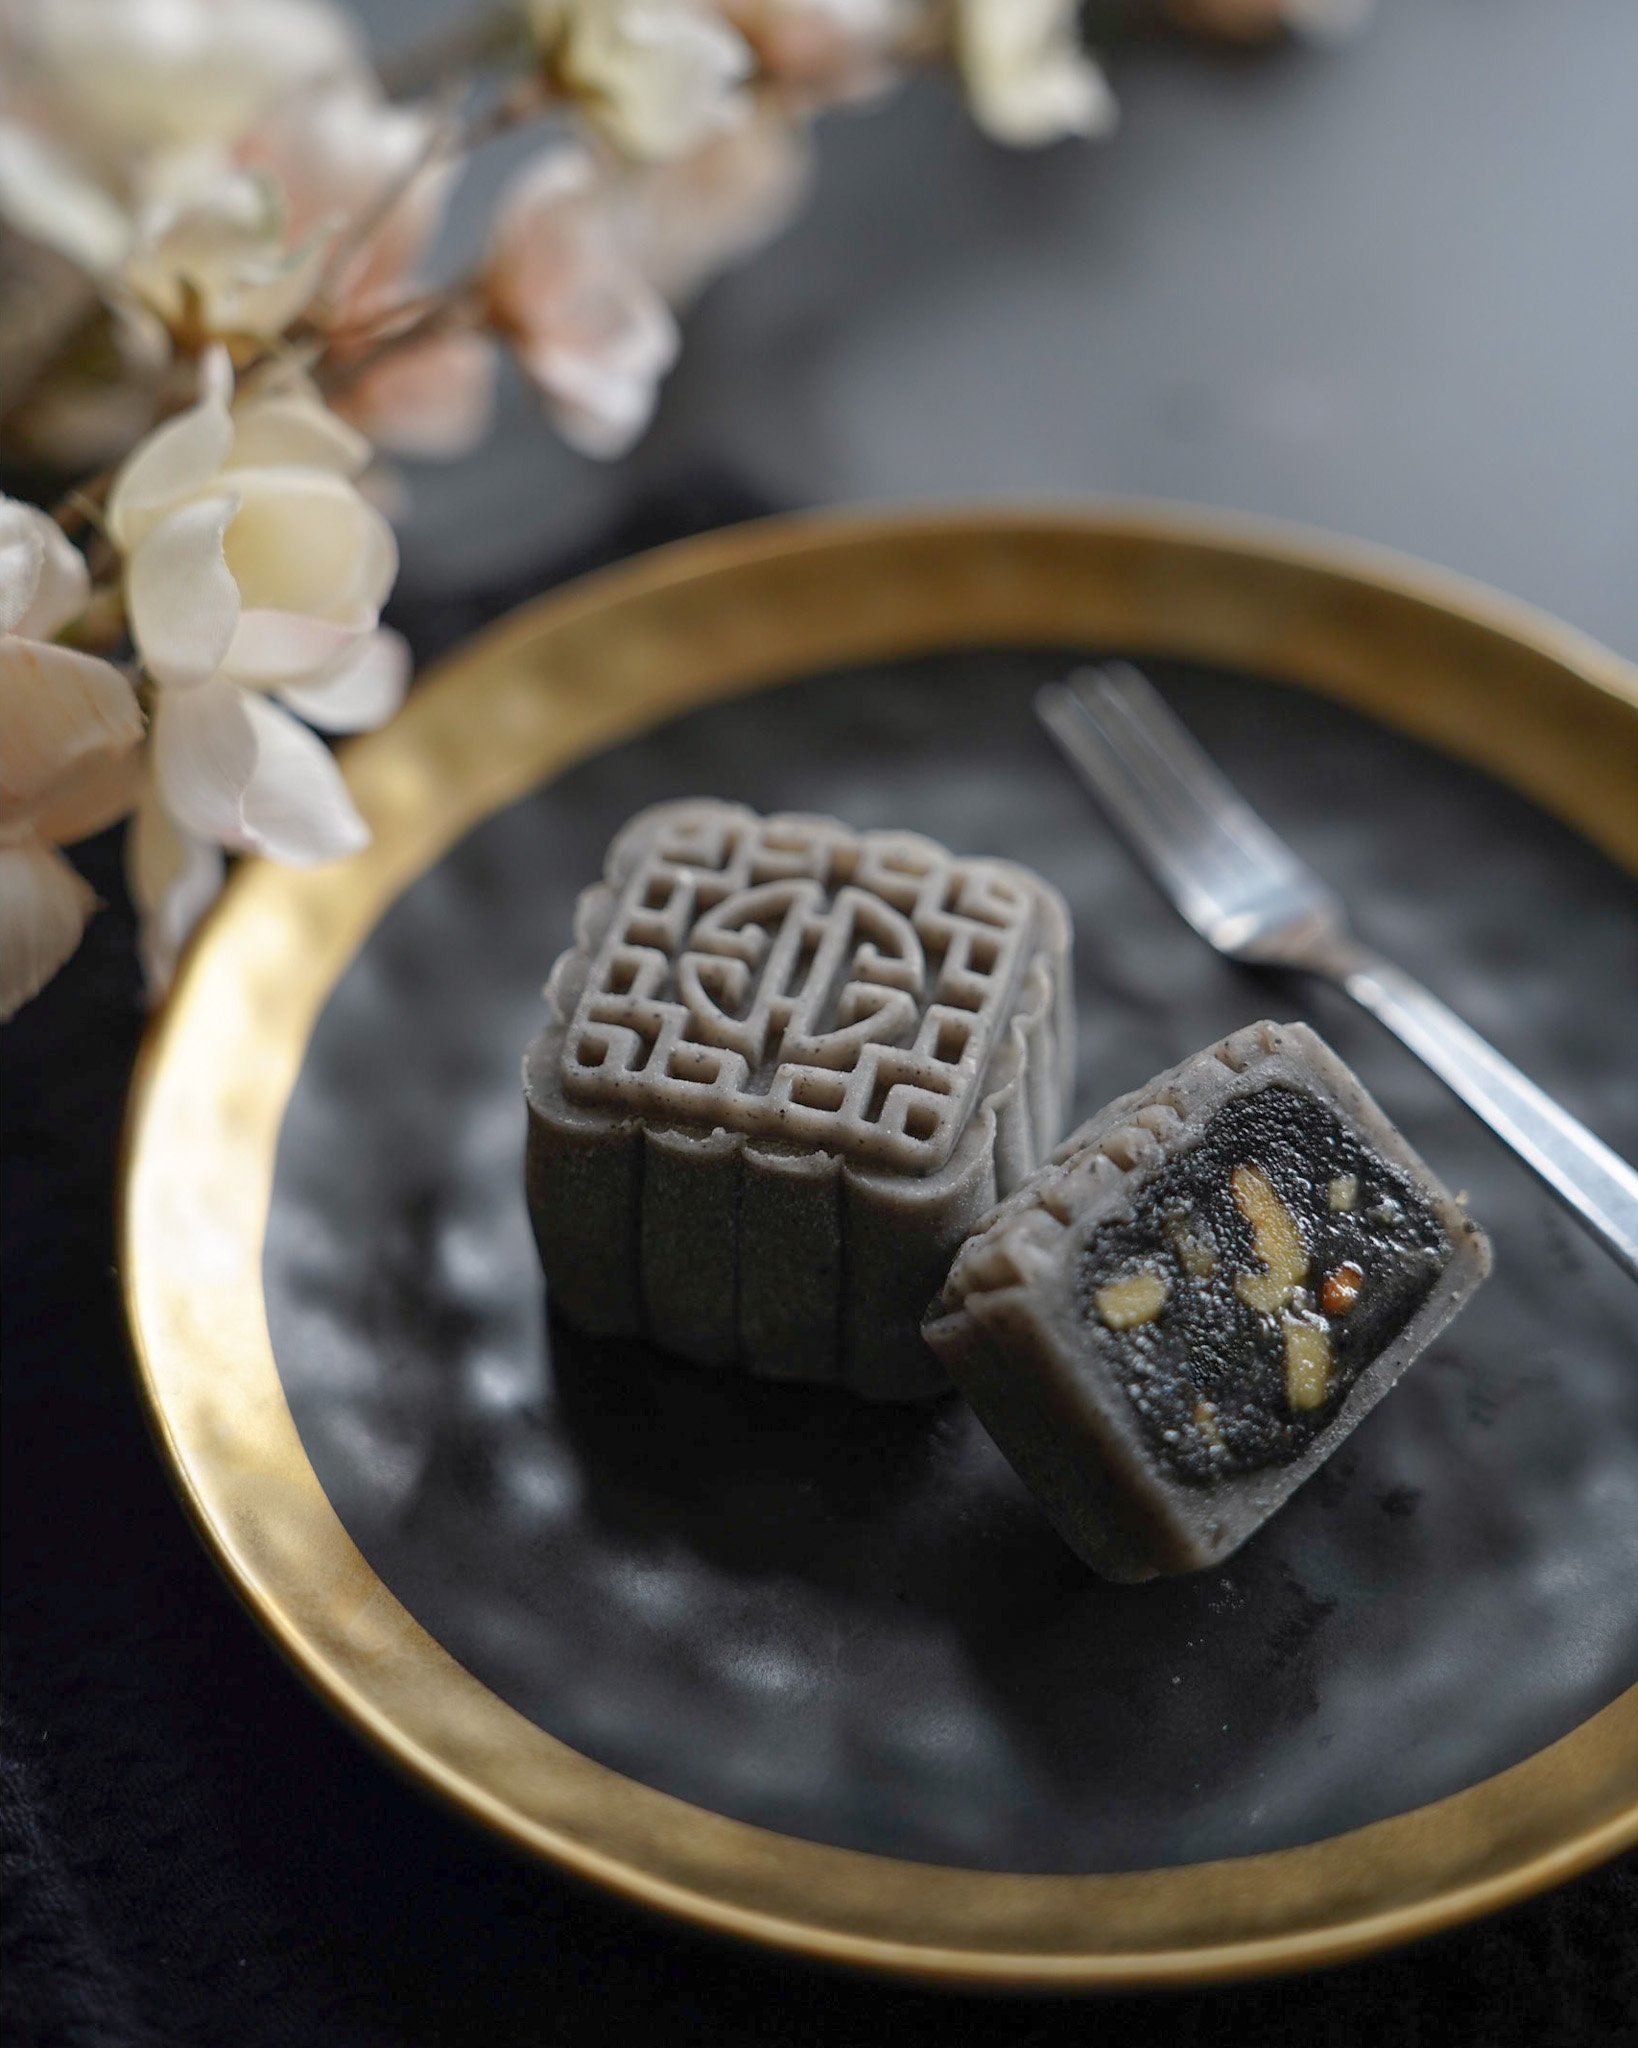
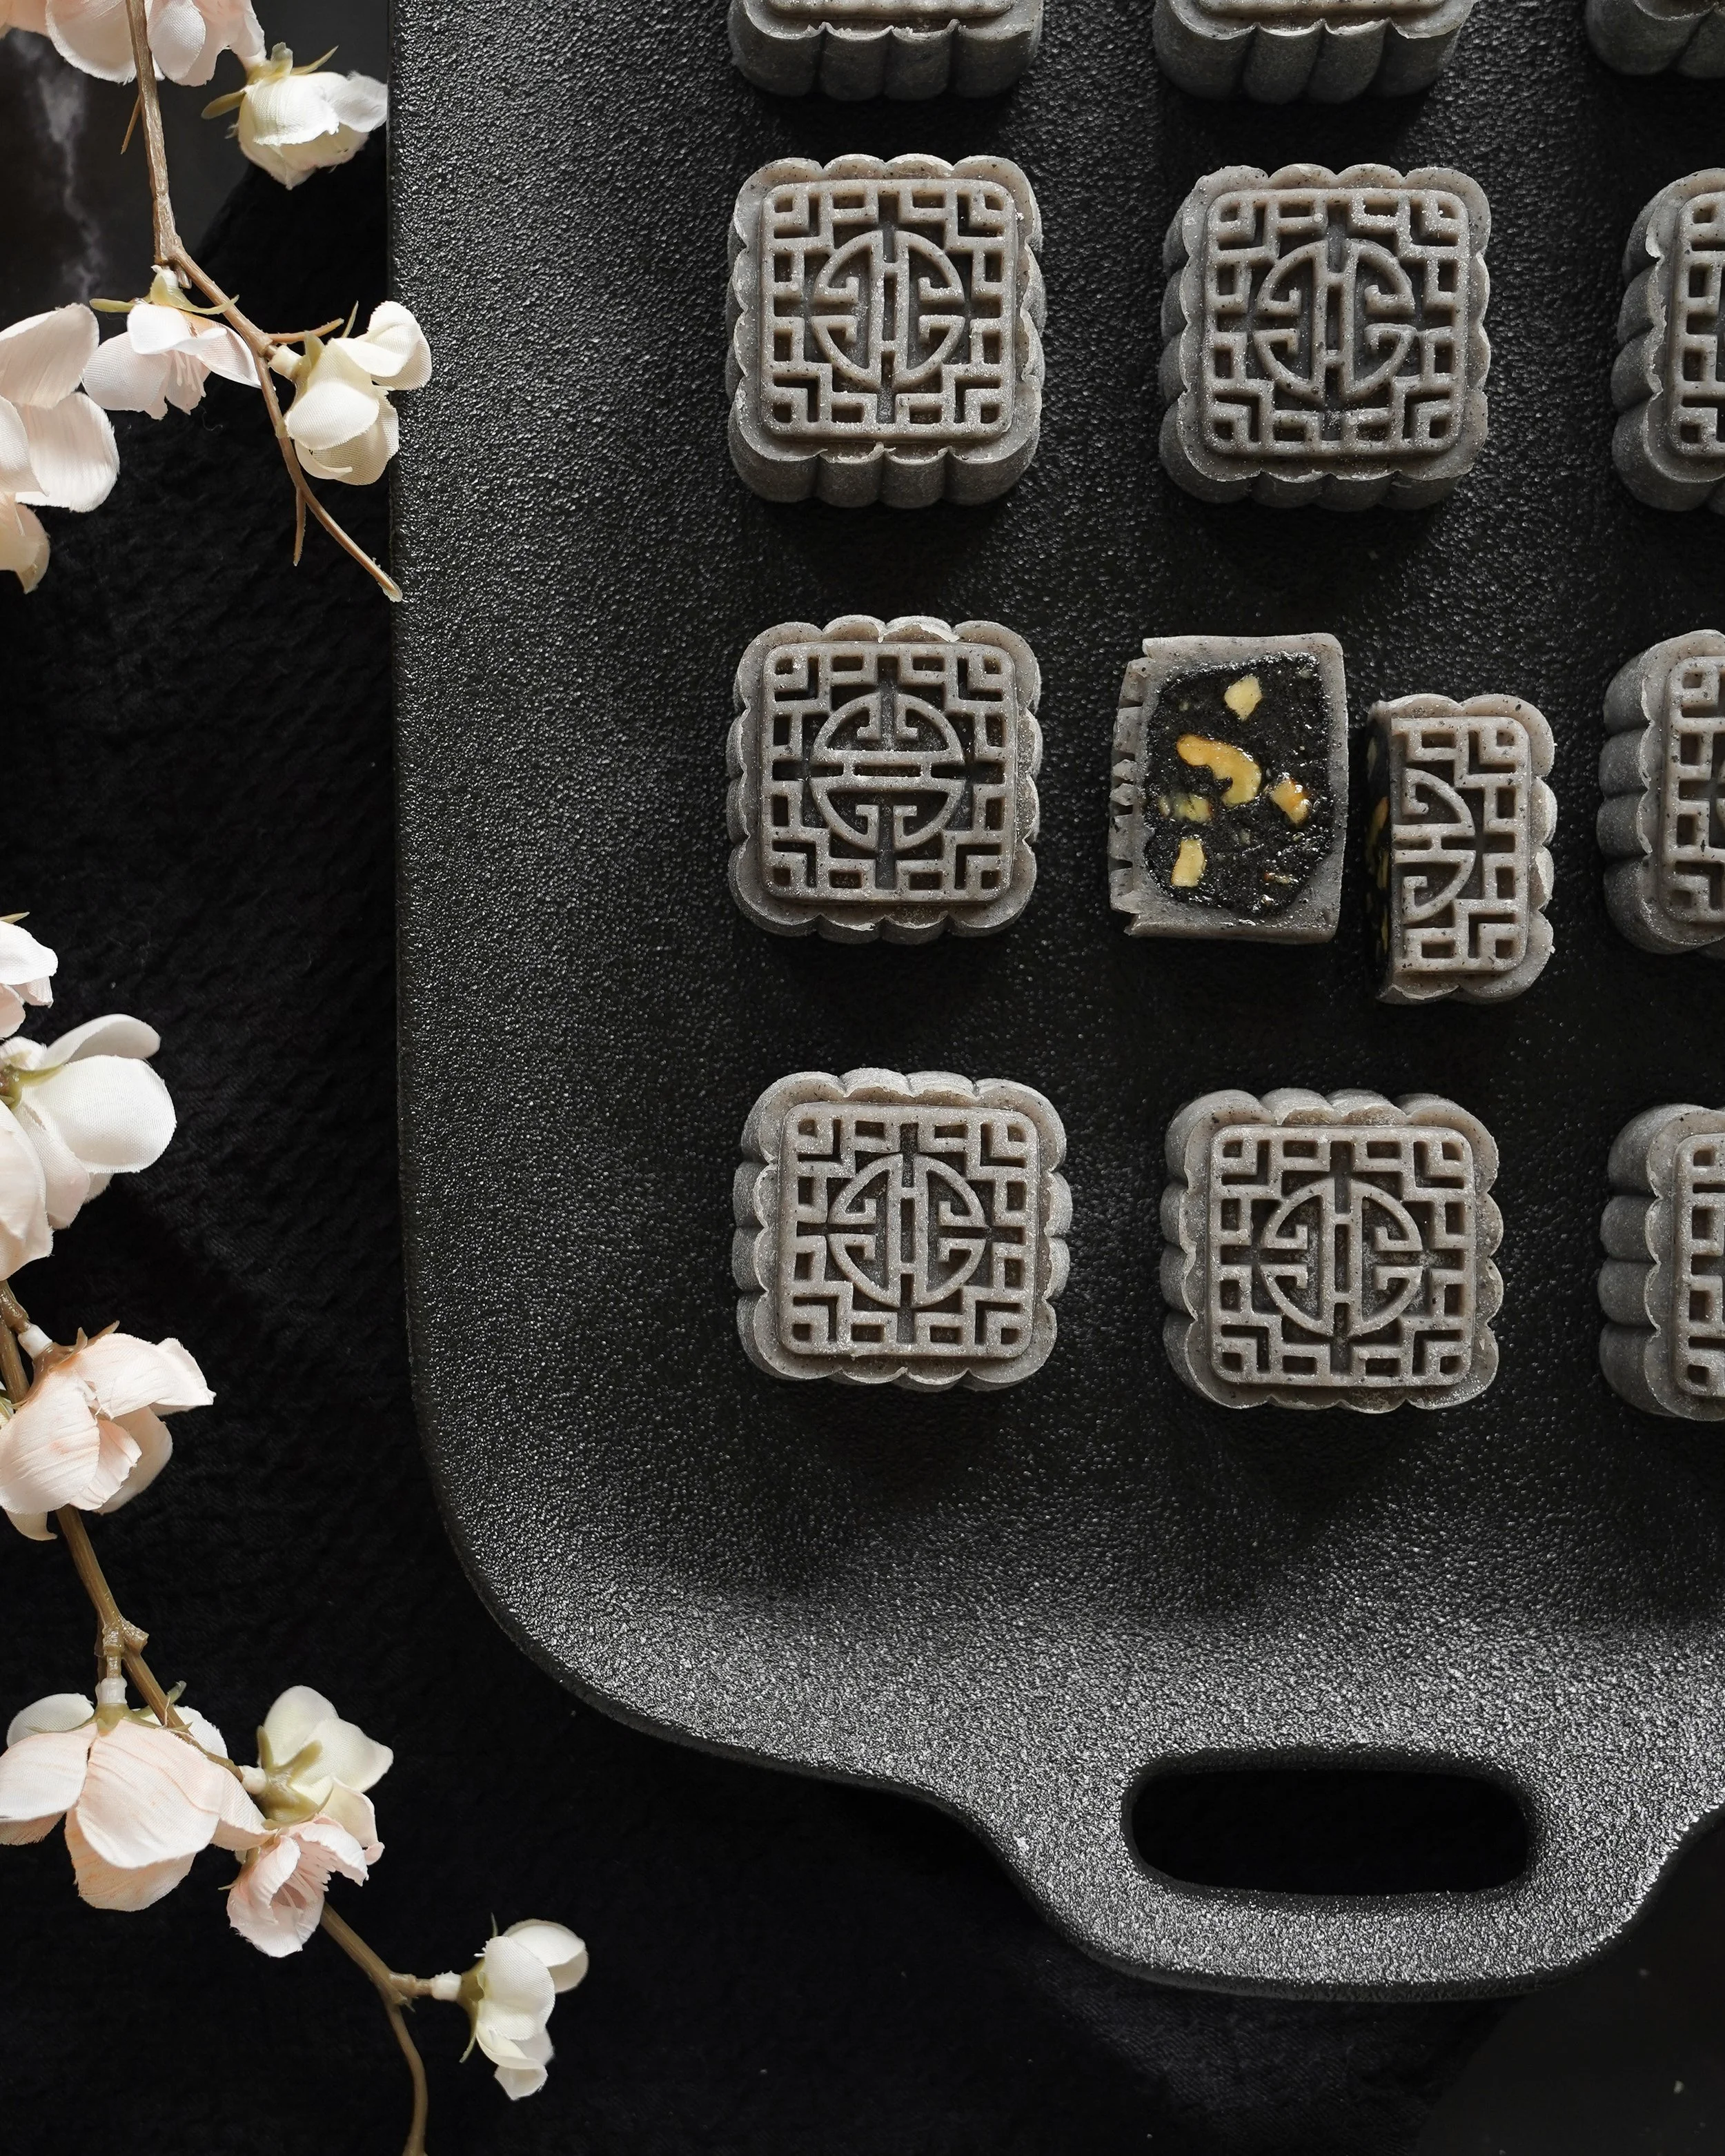
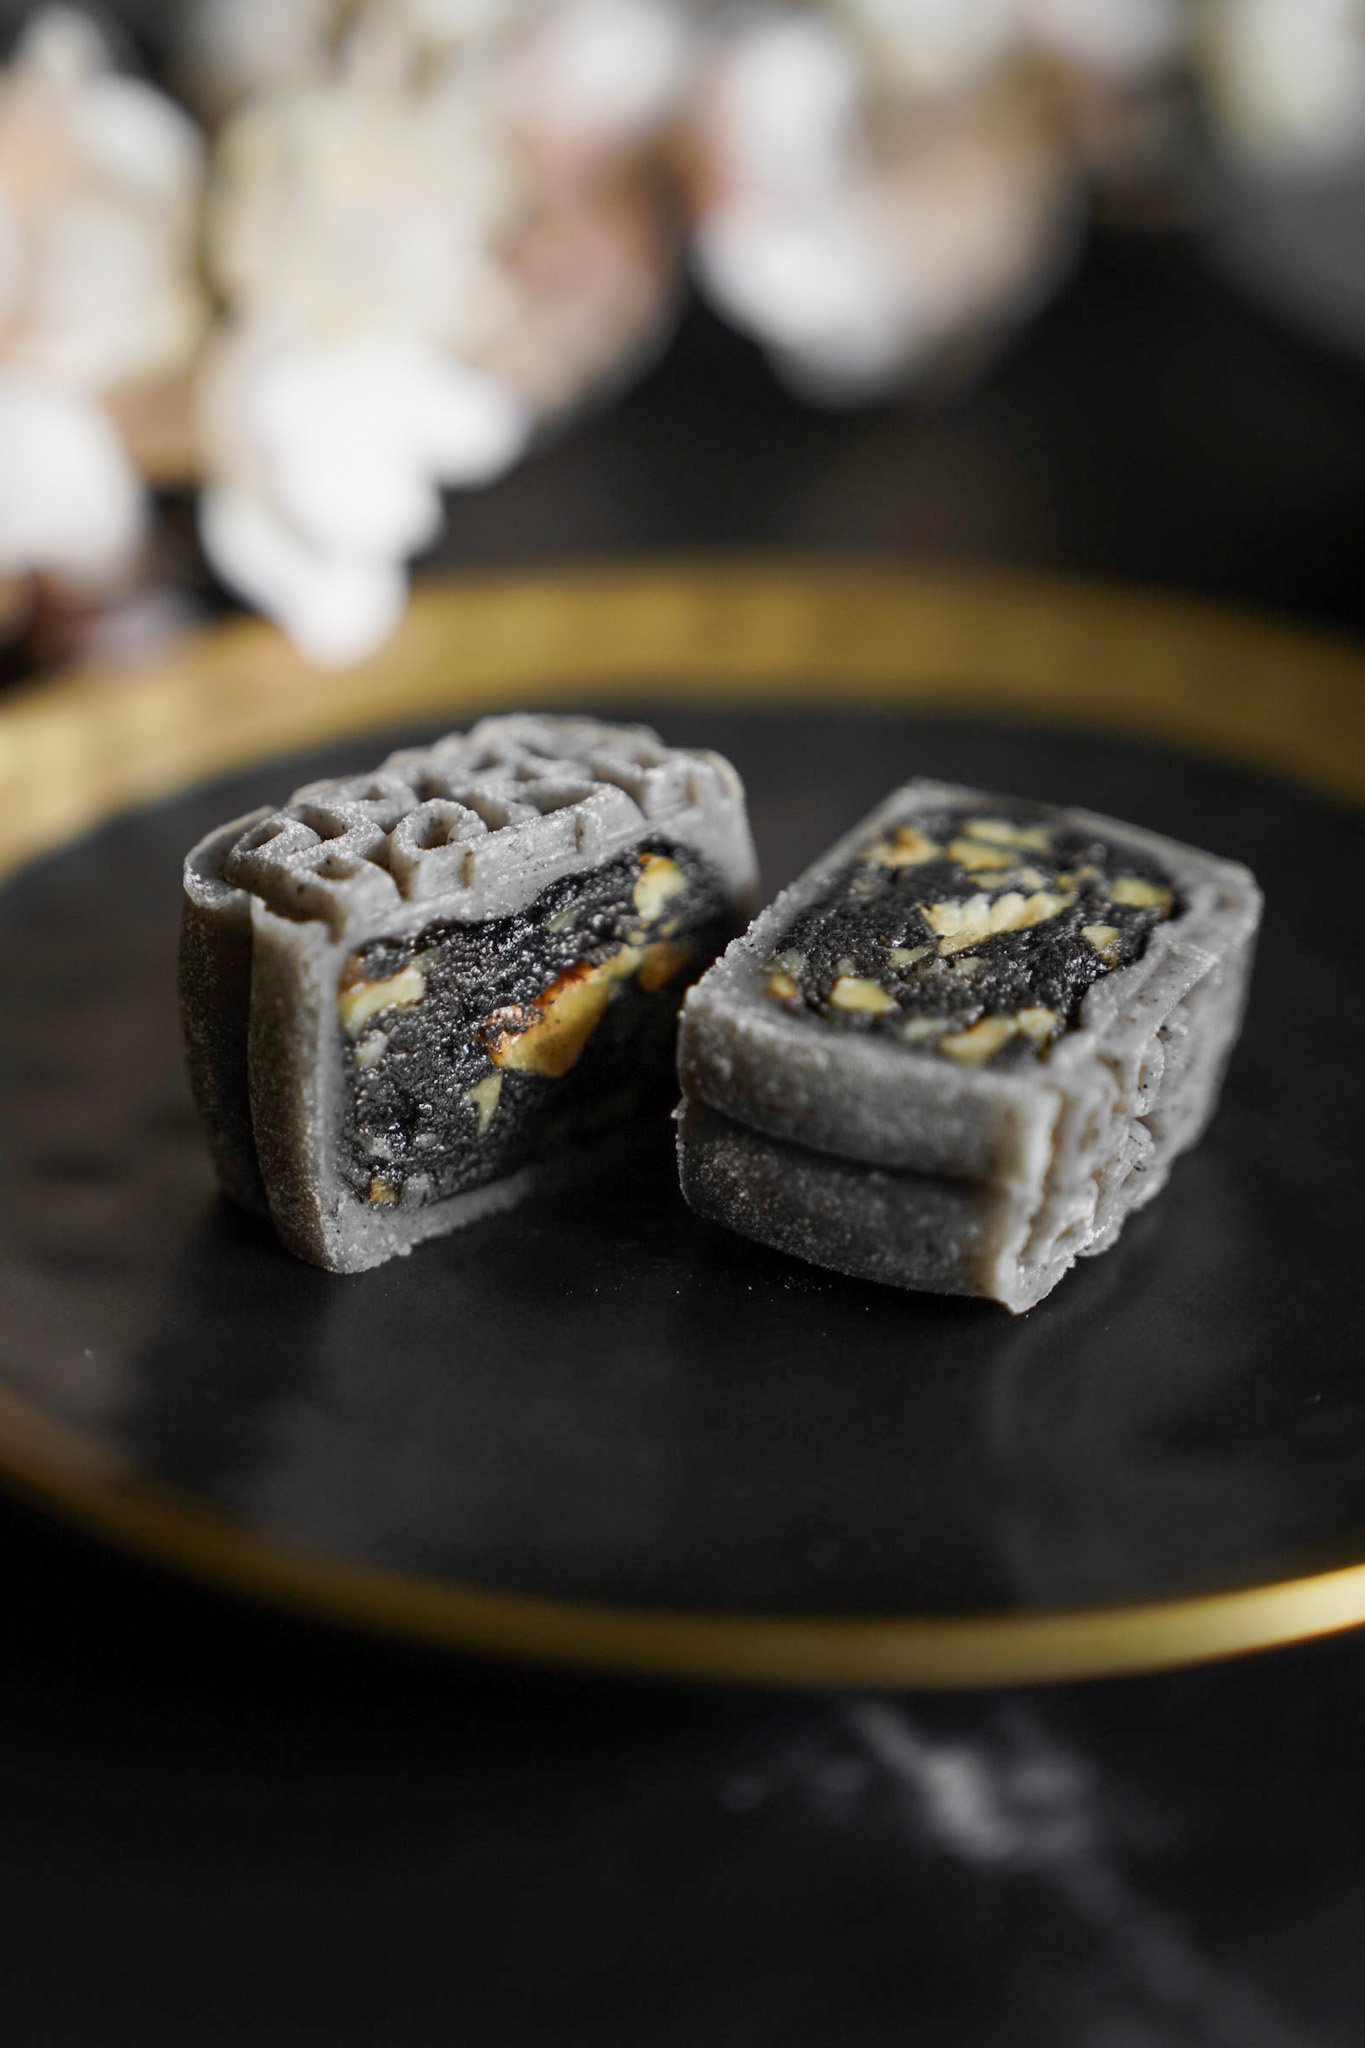
Black Snow Skin Mooncakes
Recipe Published: Sept 5, 2021 | Updated: Aug 7, 2022
Written by: Jasma

INGREDIENTS
Filling:
160 g (1 1/3 cups) roasted black sesame seeds
40 g (1/4 cup) white granulated sugar
25 g (1 1/2 tbsp) coconut oil
Pinch of salt
20 g (2 tbsp) cooked glutinous rice flour
20 g (1 tbsp) honey
70 g (1/2 cup) chopped roasted walnuts
Snow Skin:
40 g (1/3 cup) glutinous rice flour
40 g (1/3 cup) rice flour
20 g (1 1/2 tbsp) wheat starch
9 g (1 tbsp) roasted black sesame seeds
45 g (1/2 cup) icing sugar
135 g (1/2 cup + 2 tbsp) milk
20 g (1 tbsp) sweetened condensed milk
30 g (2 tbsp) coconut oil, melted
Cooked glutinous rice flour:
60 g (½ cup) glutinous rice flour
SPECIAL EQUIPMENT
Food processor or high power blender
Non-stick pan
TIPS/RECIPE NOTES
The snow skin can be prepared the night before but I wouldn’t recommend the same for the filling as it becomes rock solid once chilled for a long time and it will make the shaping and stamping of the final mooncake quite difficult to manage.
I’ve gotten a lot of questions about ingredient substitutes and based on my own experiments I can definitively say the following are viable ones.
Wheat starch → corn starch
Coconut oil → unsalted butter or flavourless oil
All dairy → plant based equivalents
Snow skin mooncakes by nature have a much shorter shelf life compared to traditional baked mooncakes. Be sure to store the assembled mooncakes in an airtight container in the fridge and they can last 2-3 days. After that short window, the mooncakes will start to dry out and the skin will develop a rubbery texture so try to eat them as soon as you can!
Here's the video tutorial! For more go check out my Youtube channel!
LET’S BEGIN!
Snow Skin
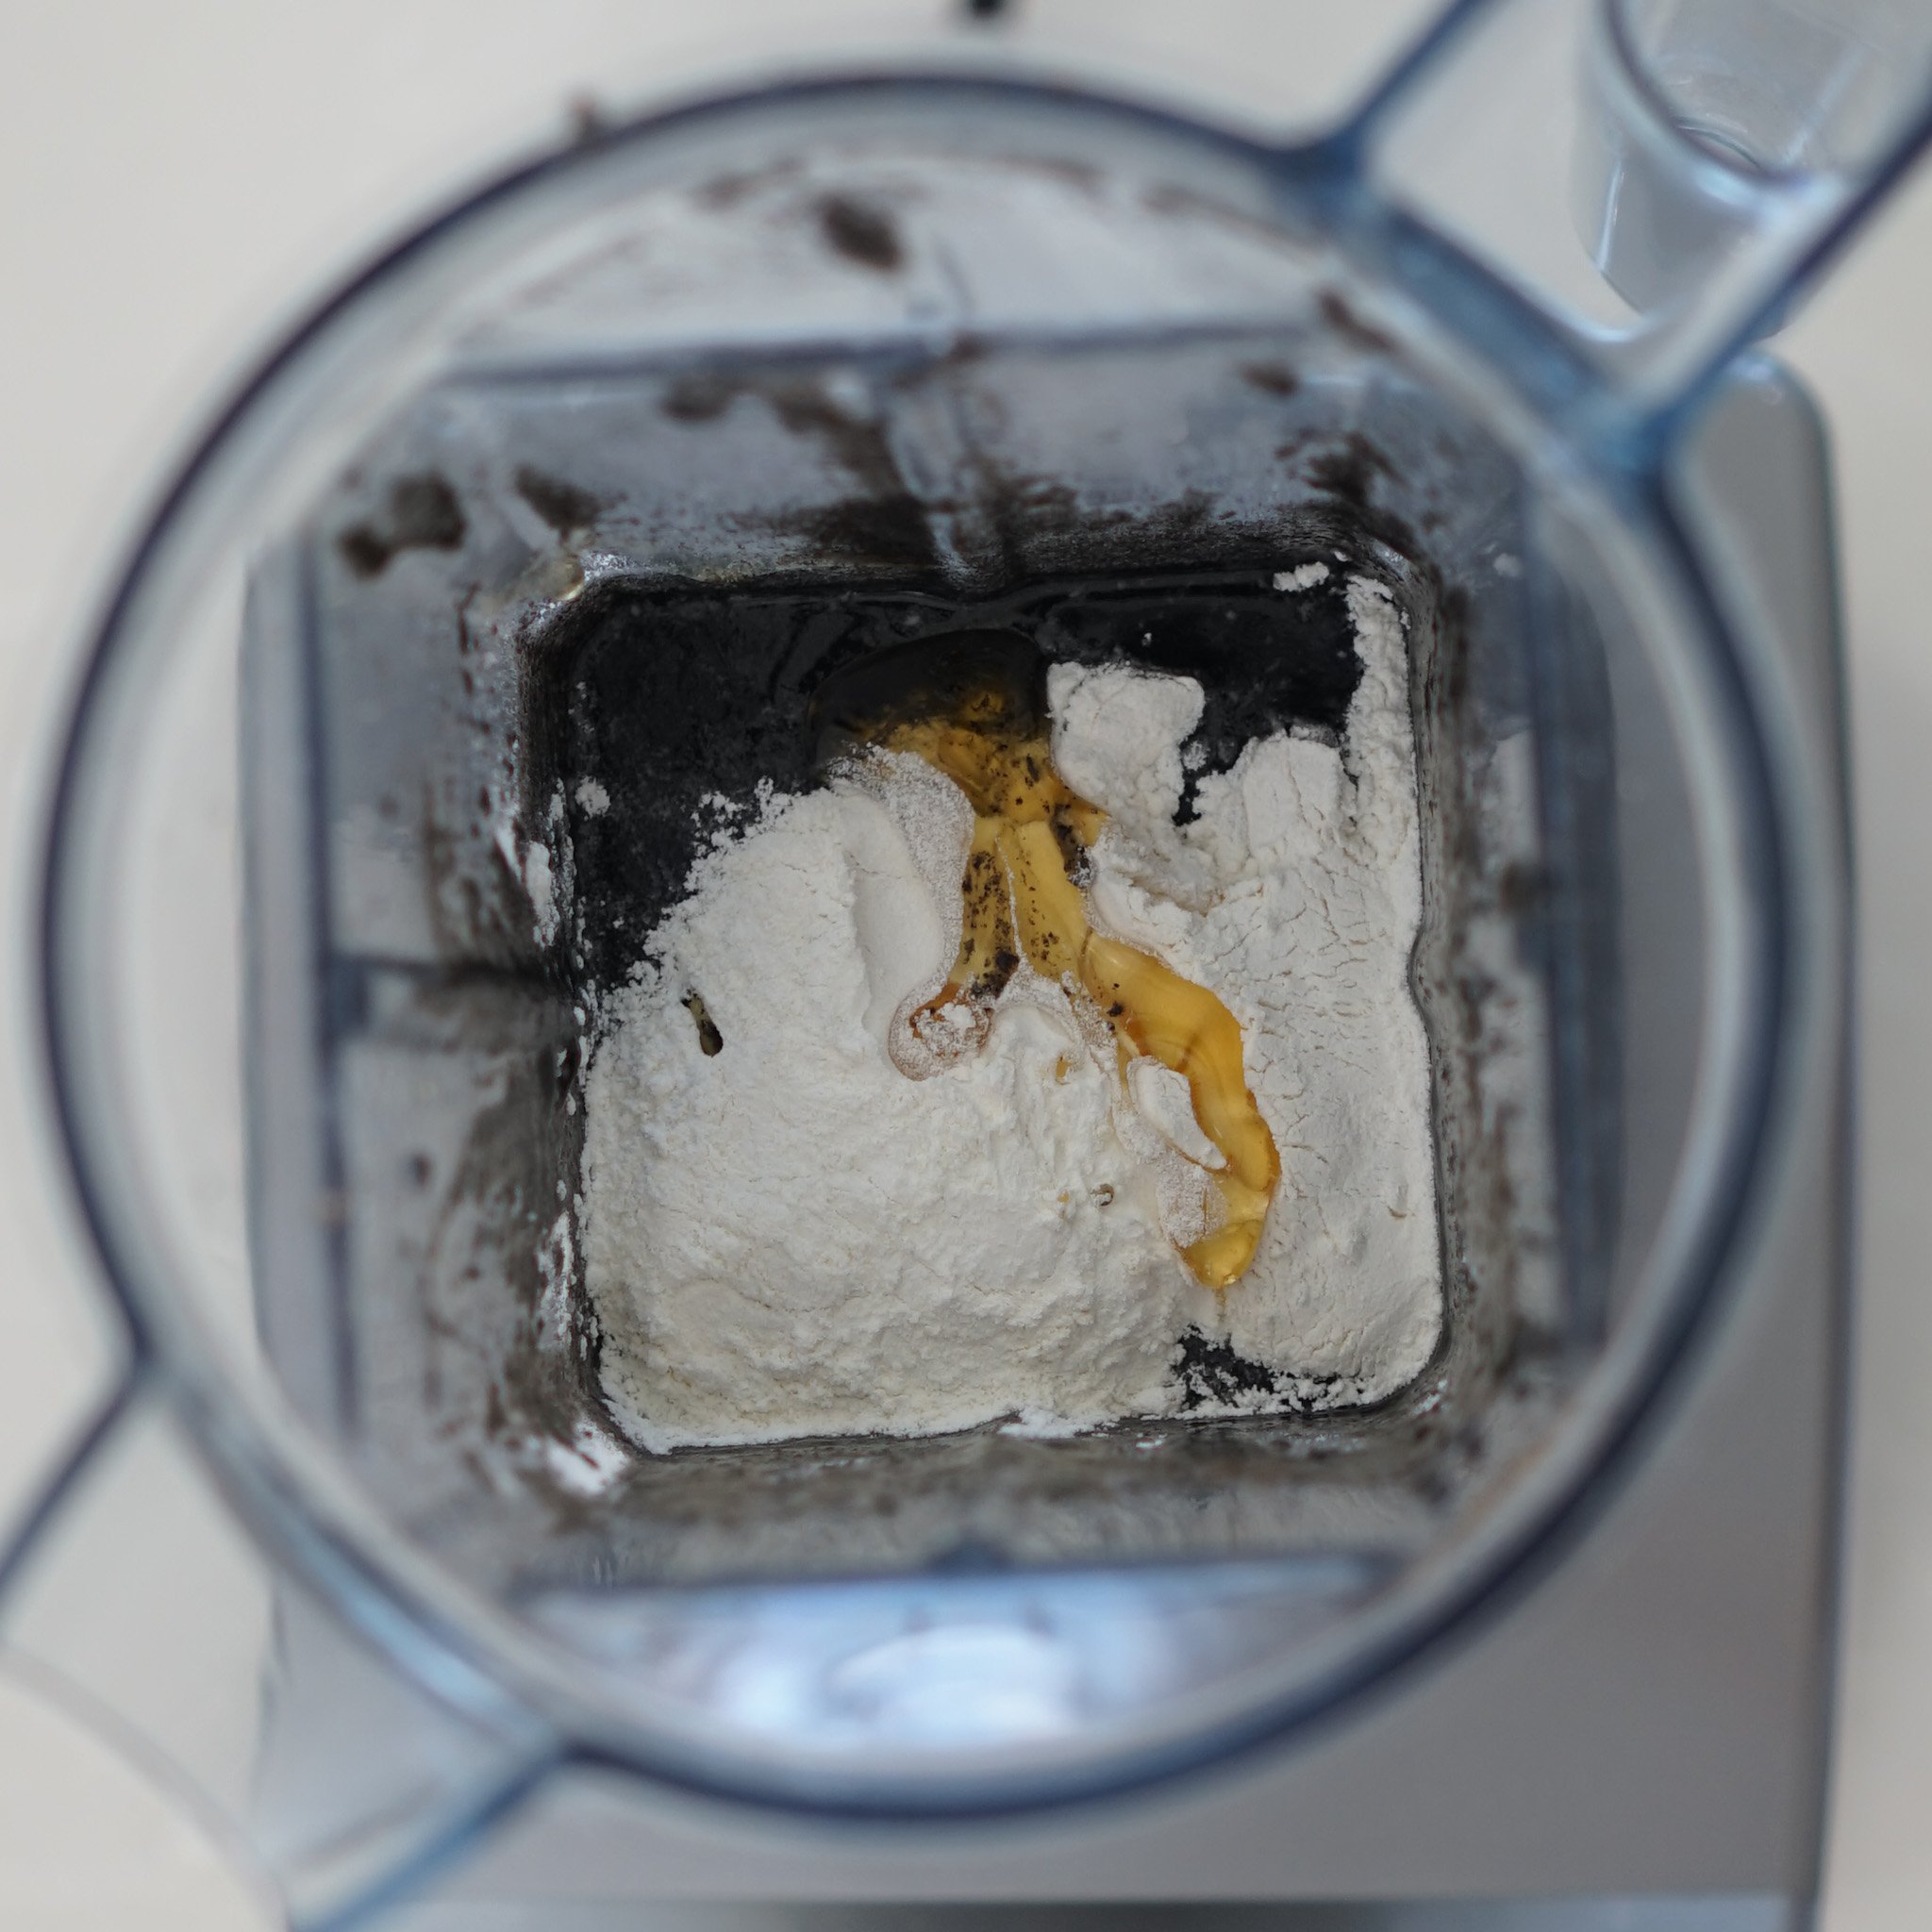
1. Mix all ingredients in a blender.
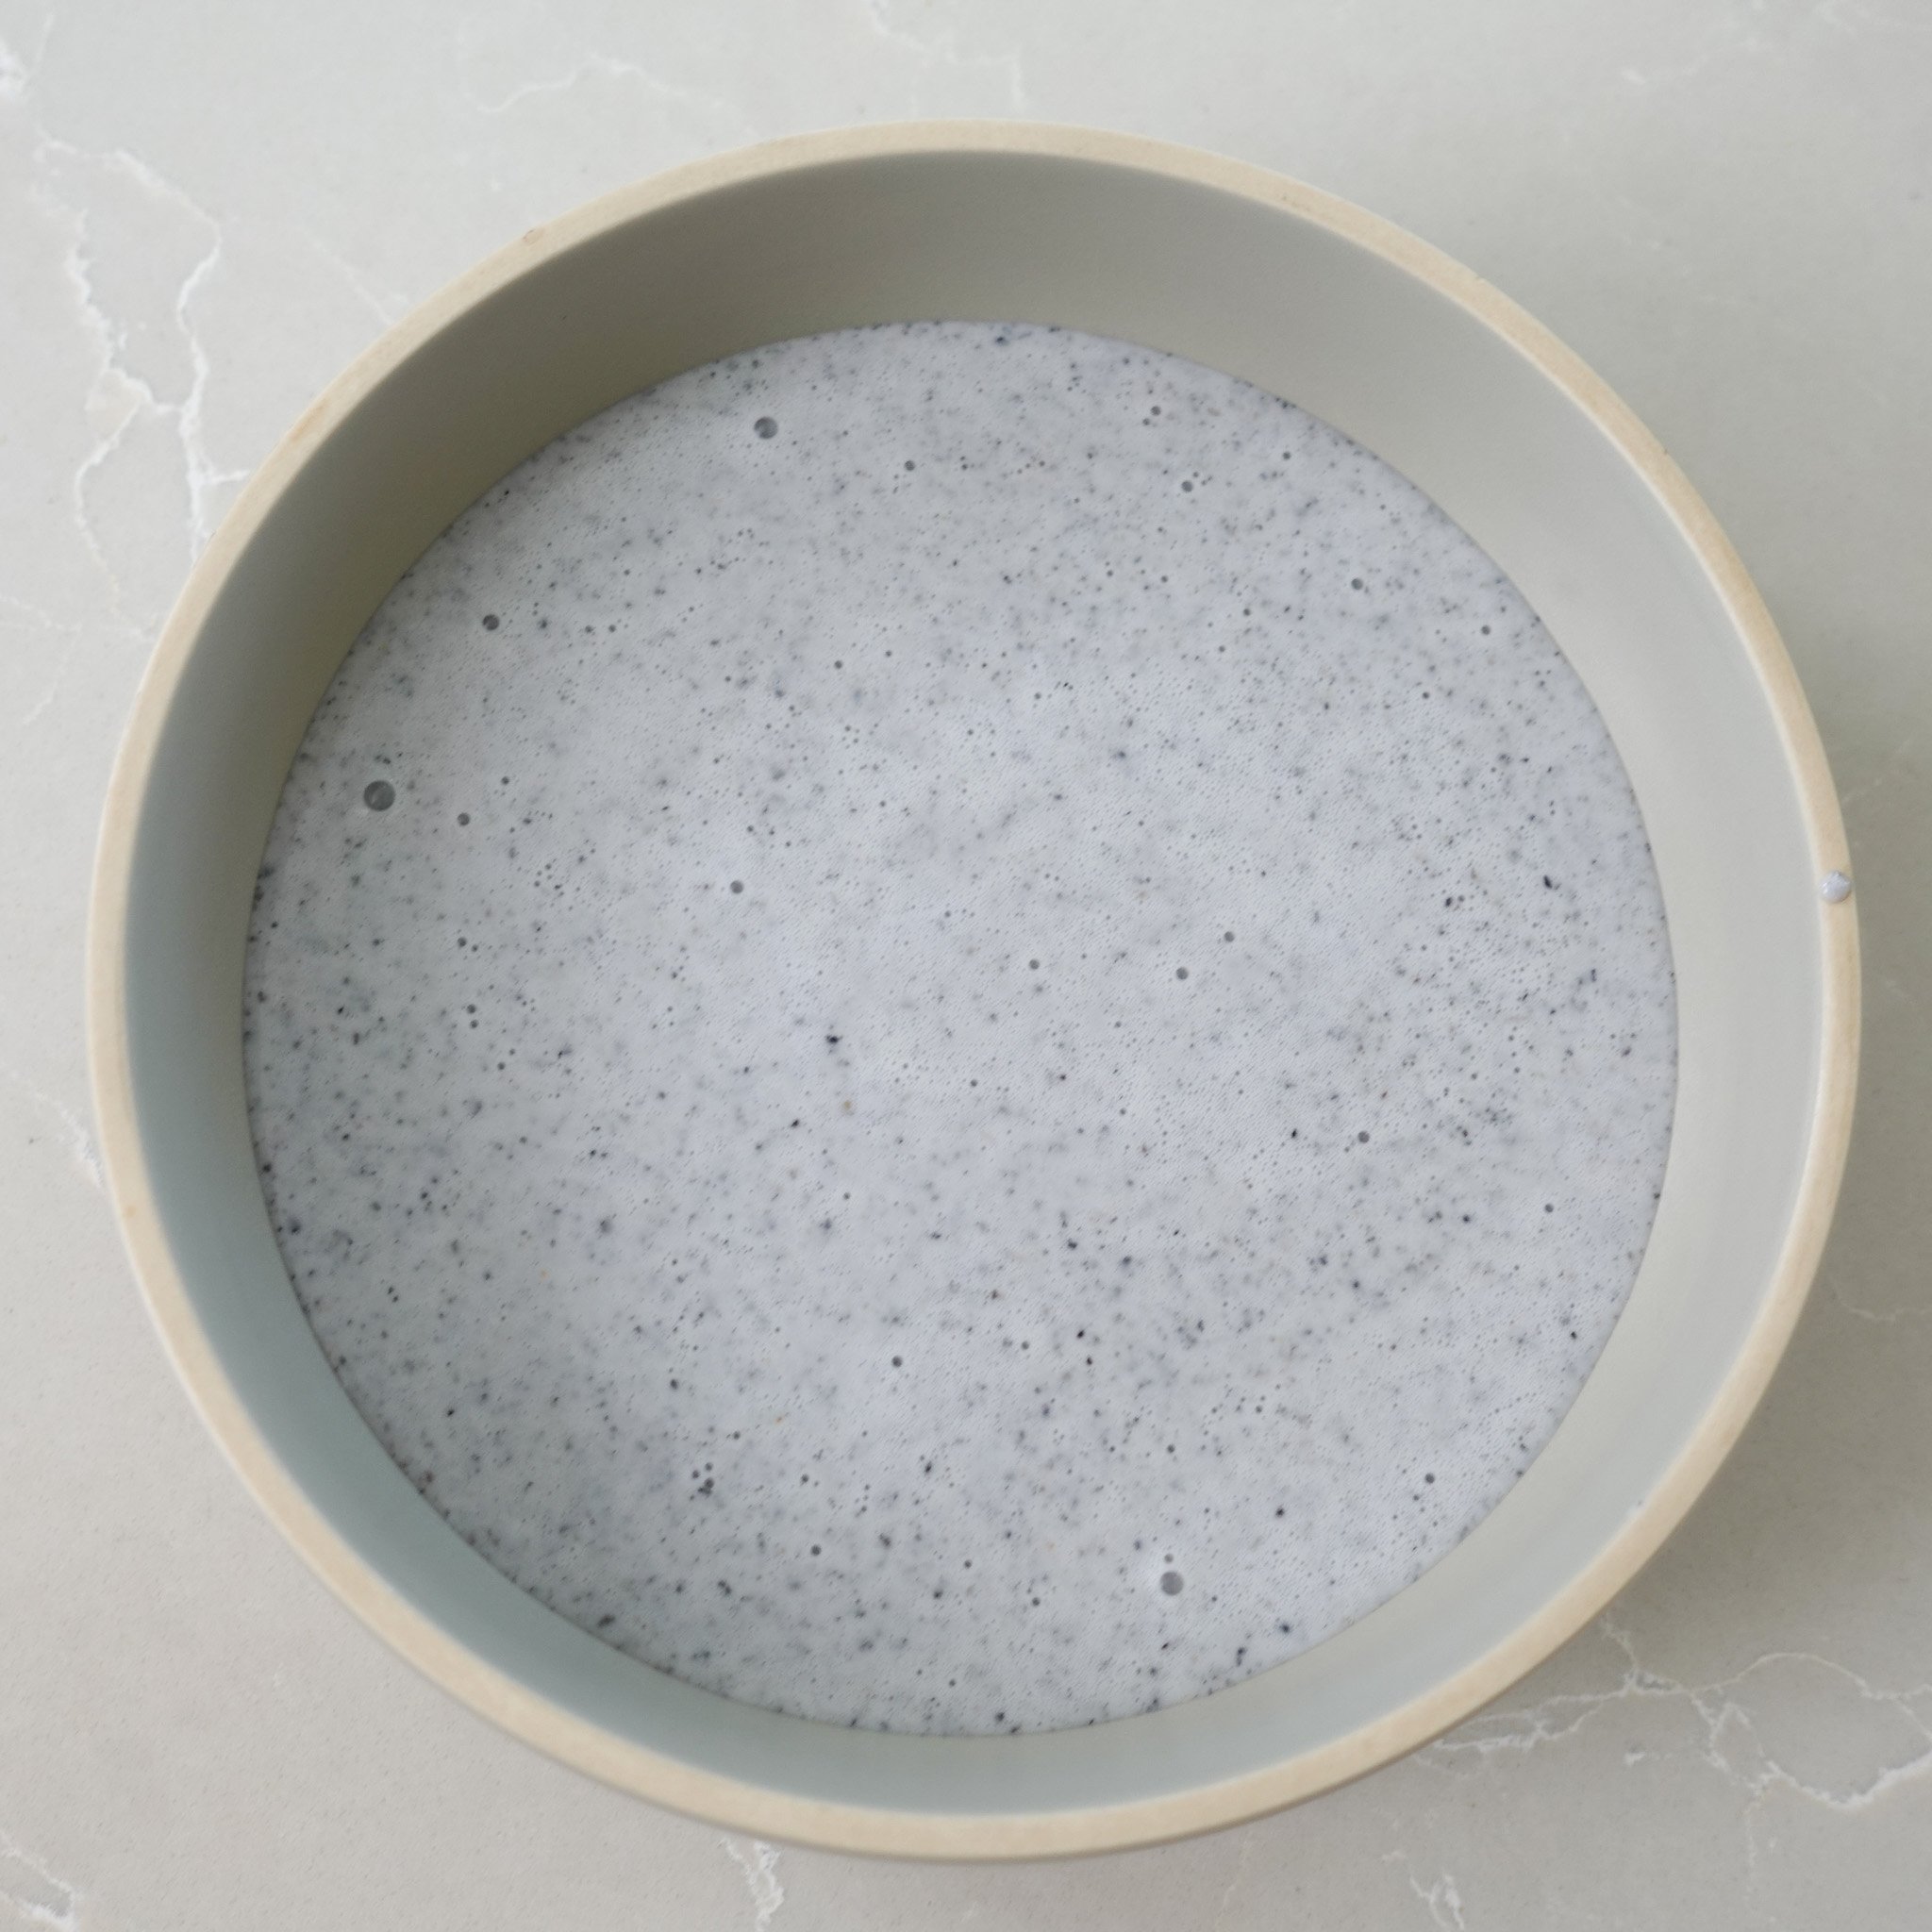
2. Steam on medium heat for 25 mins until no liquid batter remains (test by cutting the dough with a knife). Place a folded paper towel between the lid so that it rests on a slant, this way the condensation that forms while steaming won’t drip into the bowl.
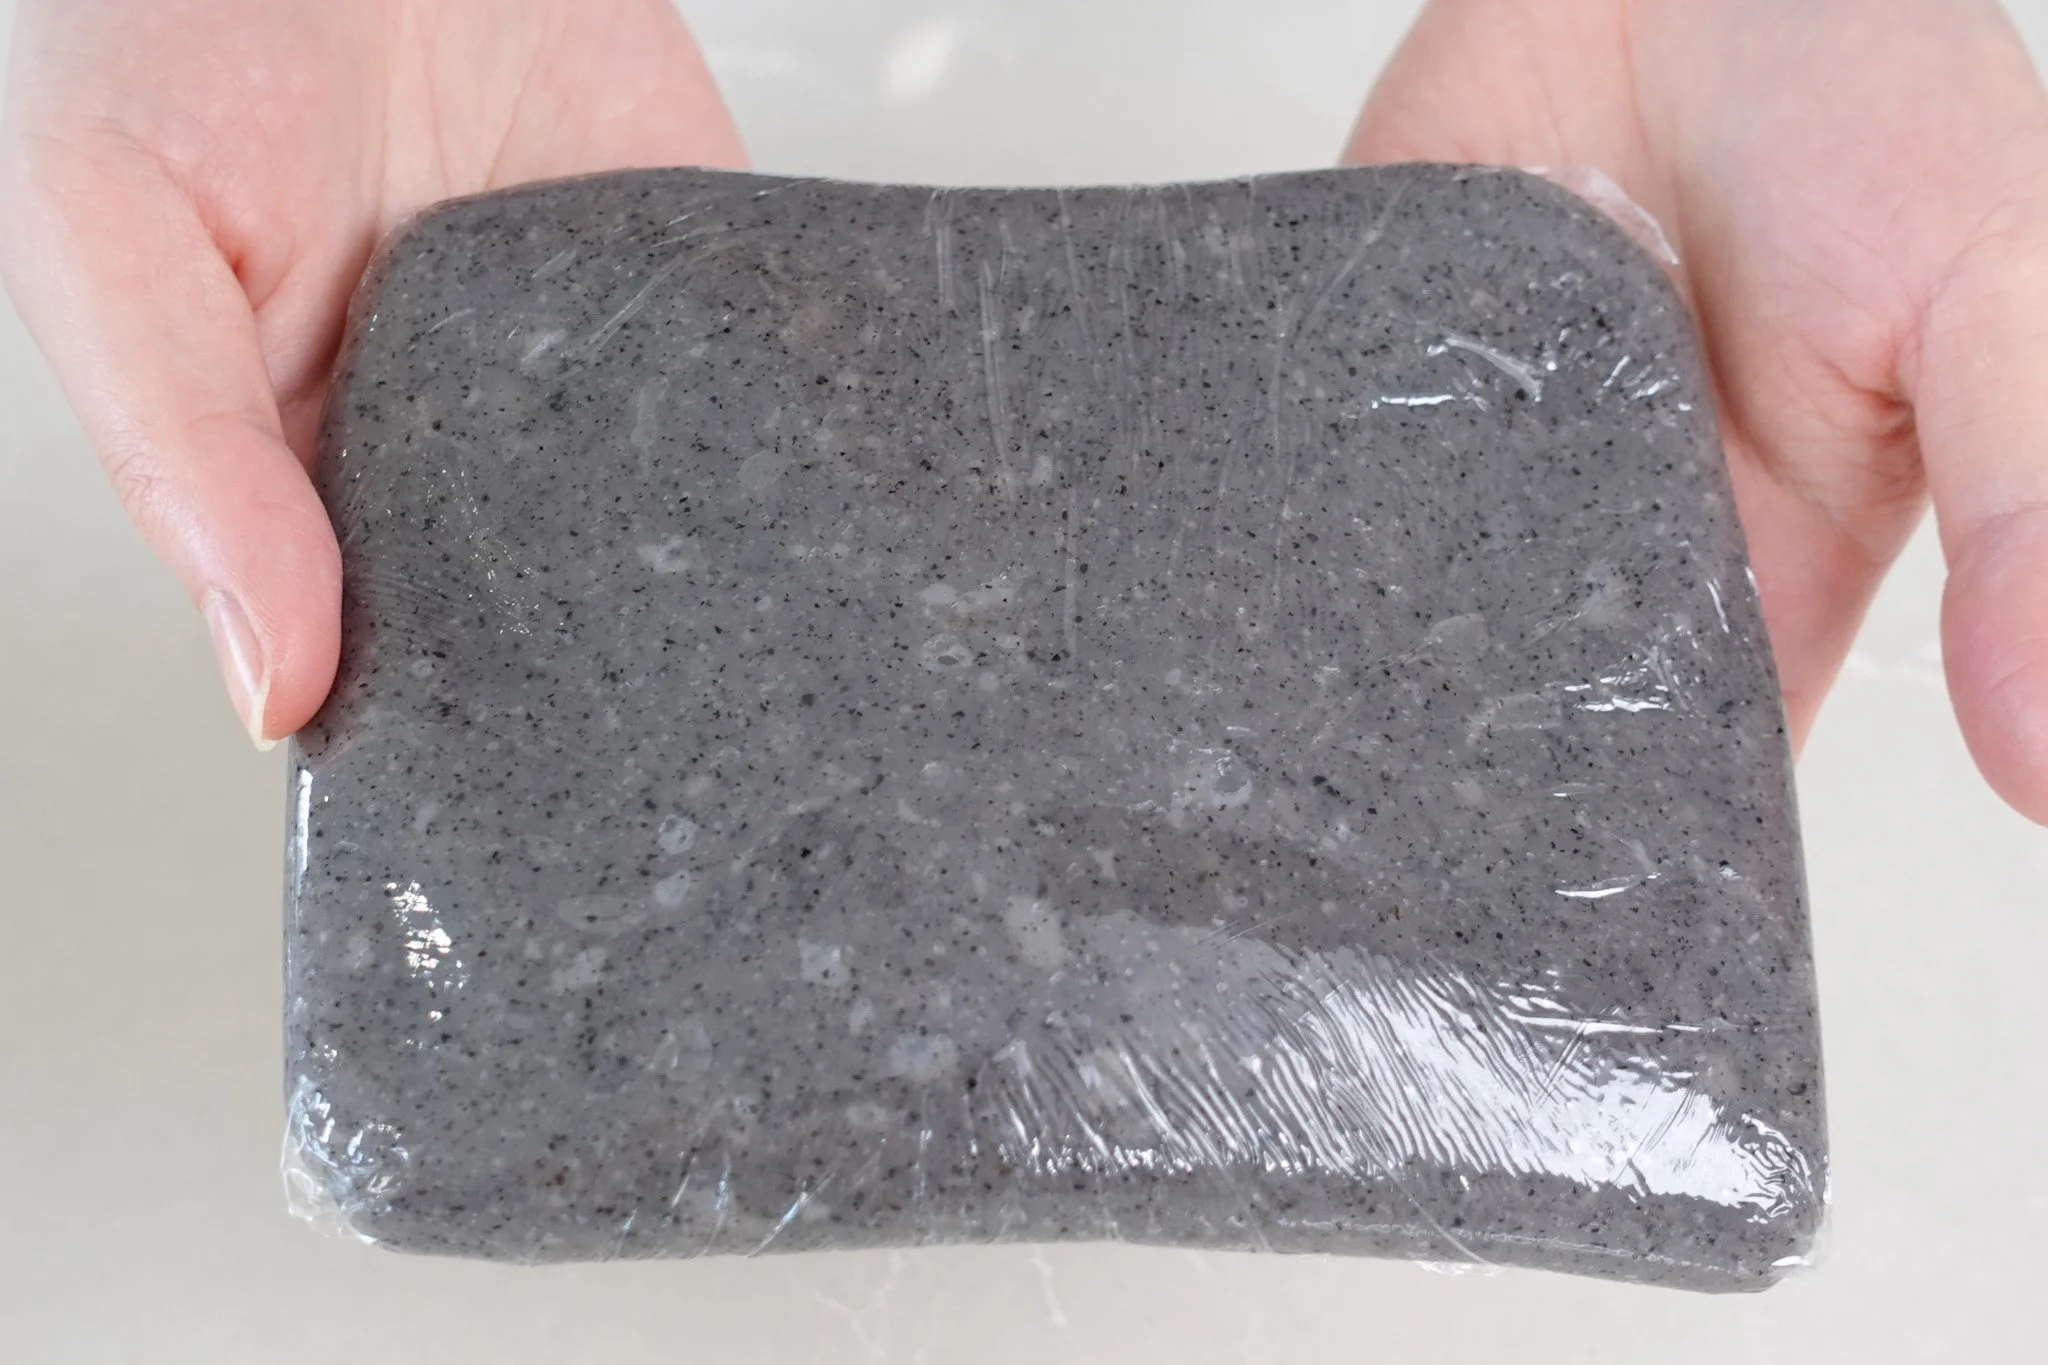
3. Transfer the cooked dough into a stand mixer bowl fitted with a hook or paddle attachment. Knead for about 5 mins on medium-low speed, scraping the sides occasionally, until the dough is smooth and slightly cooled.

4. Wrap the dough in a piece of plastic for minimum stickiness and place it in the fridge to chill for at least 2 hours. Overnight chilling is recommended. (you can prepare this the day before!)
Filling
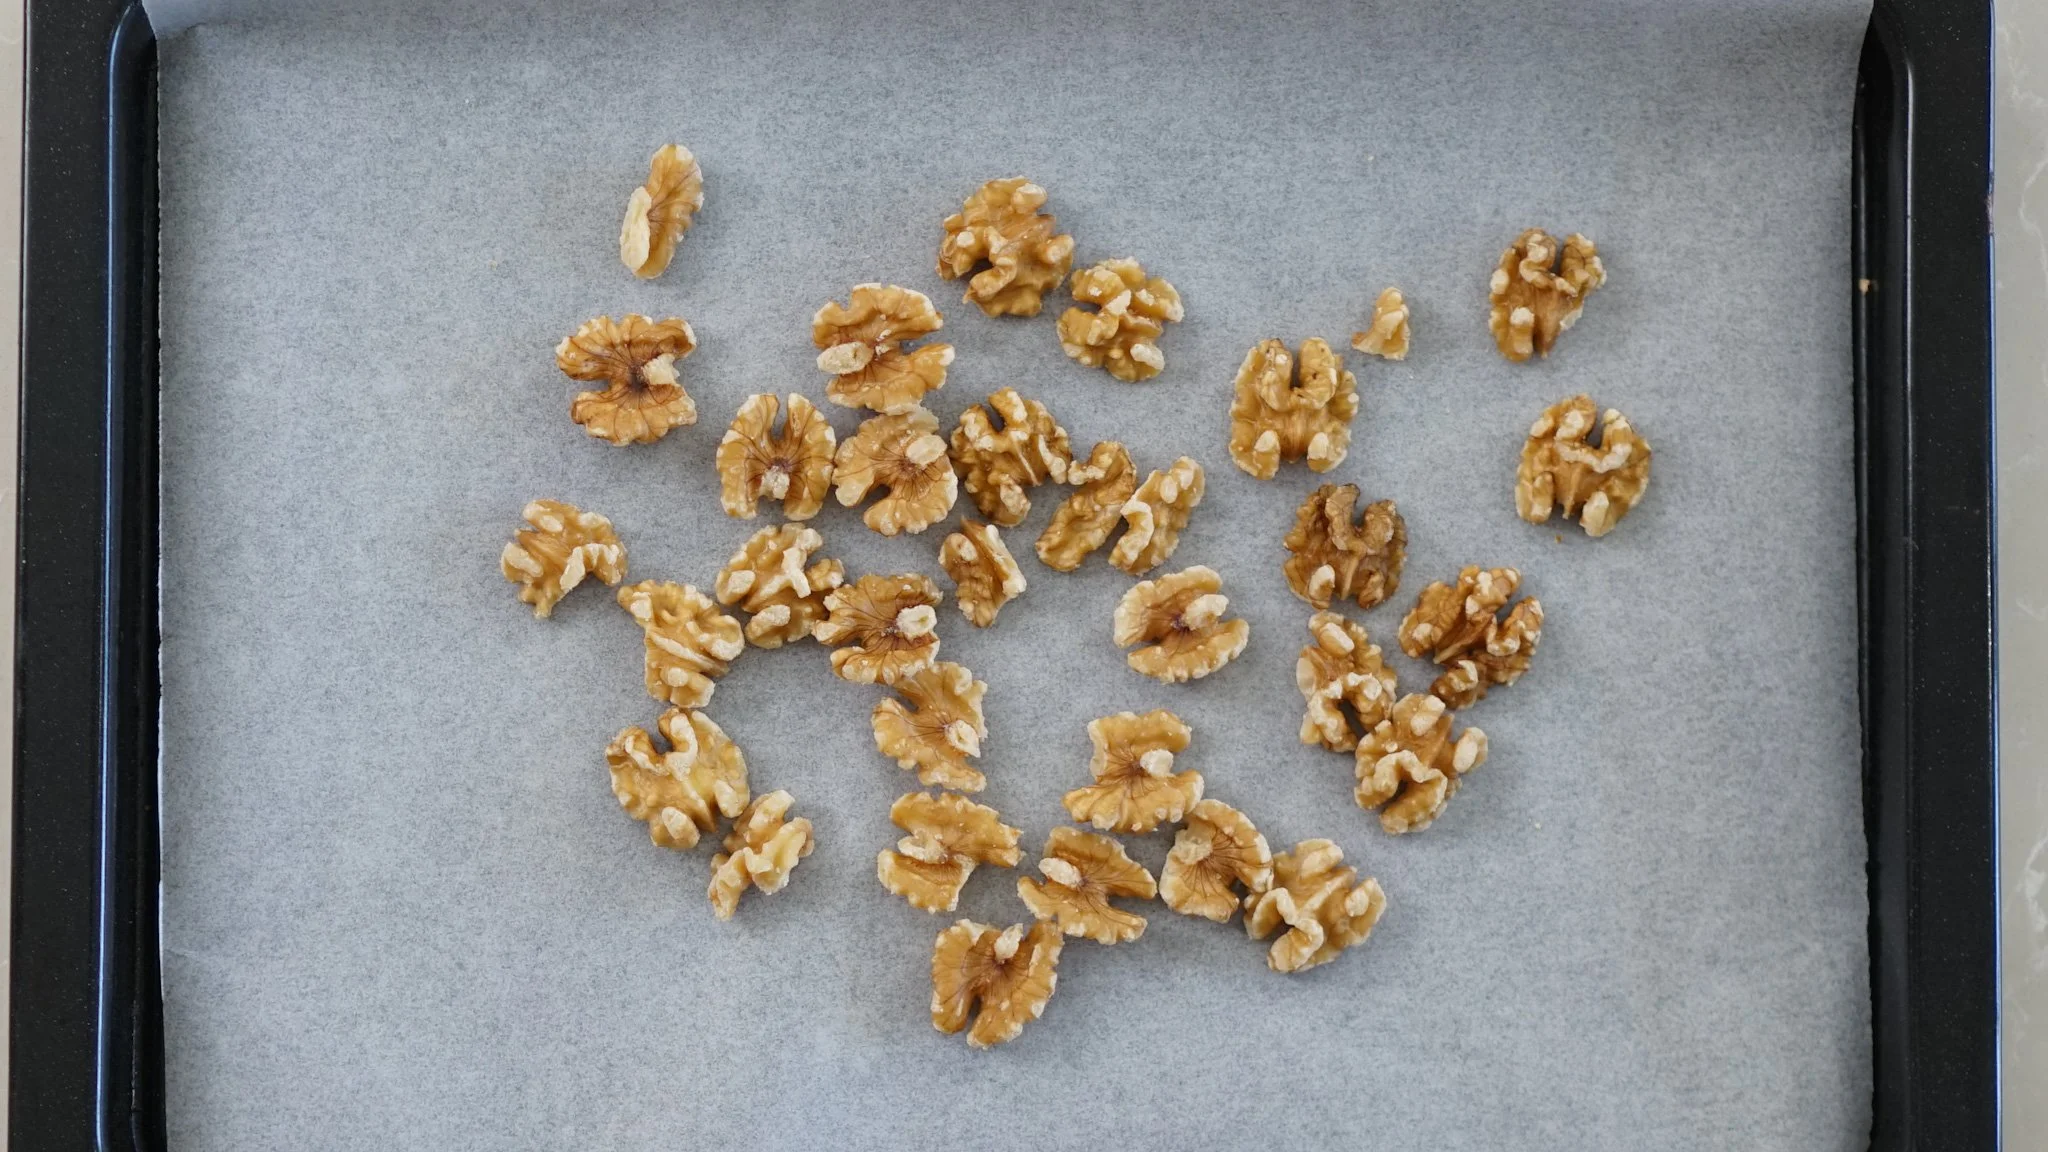
5. While the snow skin is chilling, prepare the ingredients for the filling. Toast the walnuts at 400°F/200°C for 6-7 mins. Allow to cool.
6. Cook the glutinous rice flour on medium-high heat until it turns slightly golden brown. Make sure to stir constantly and do not let it burn! (20g of this is going in the filling, the rest is used for assembly)
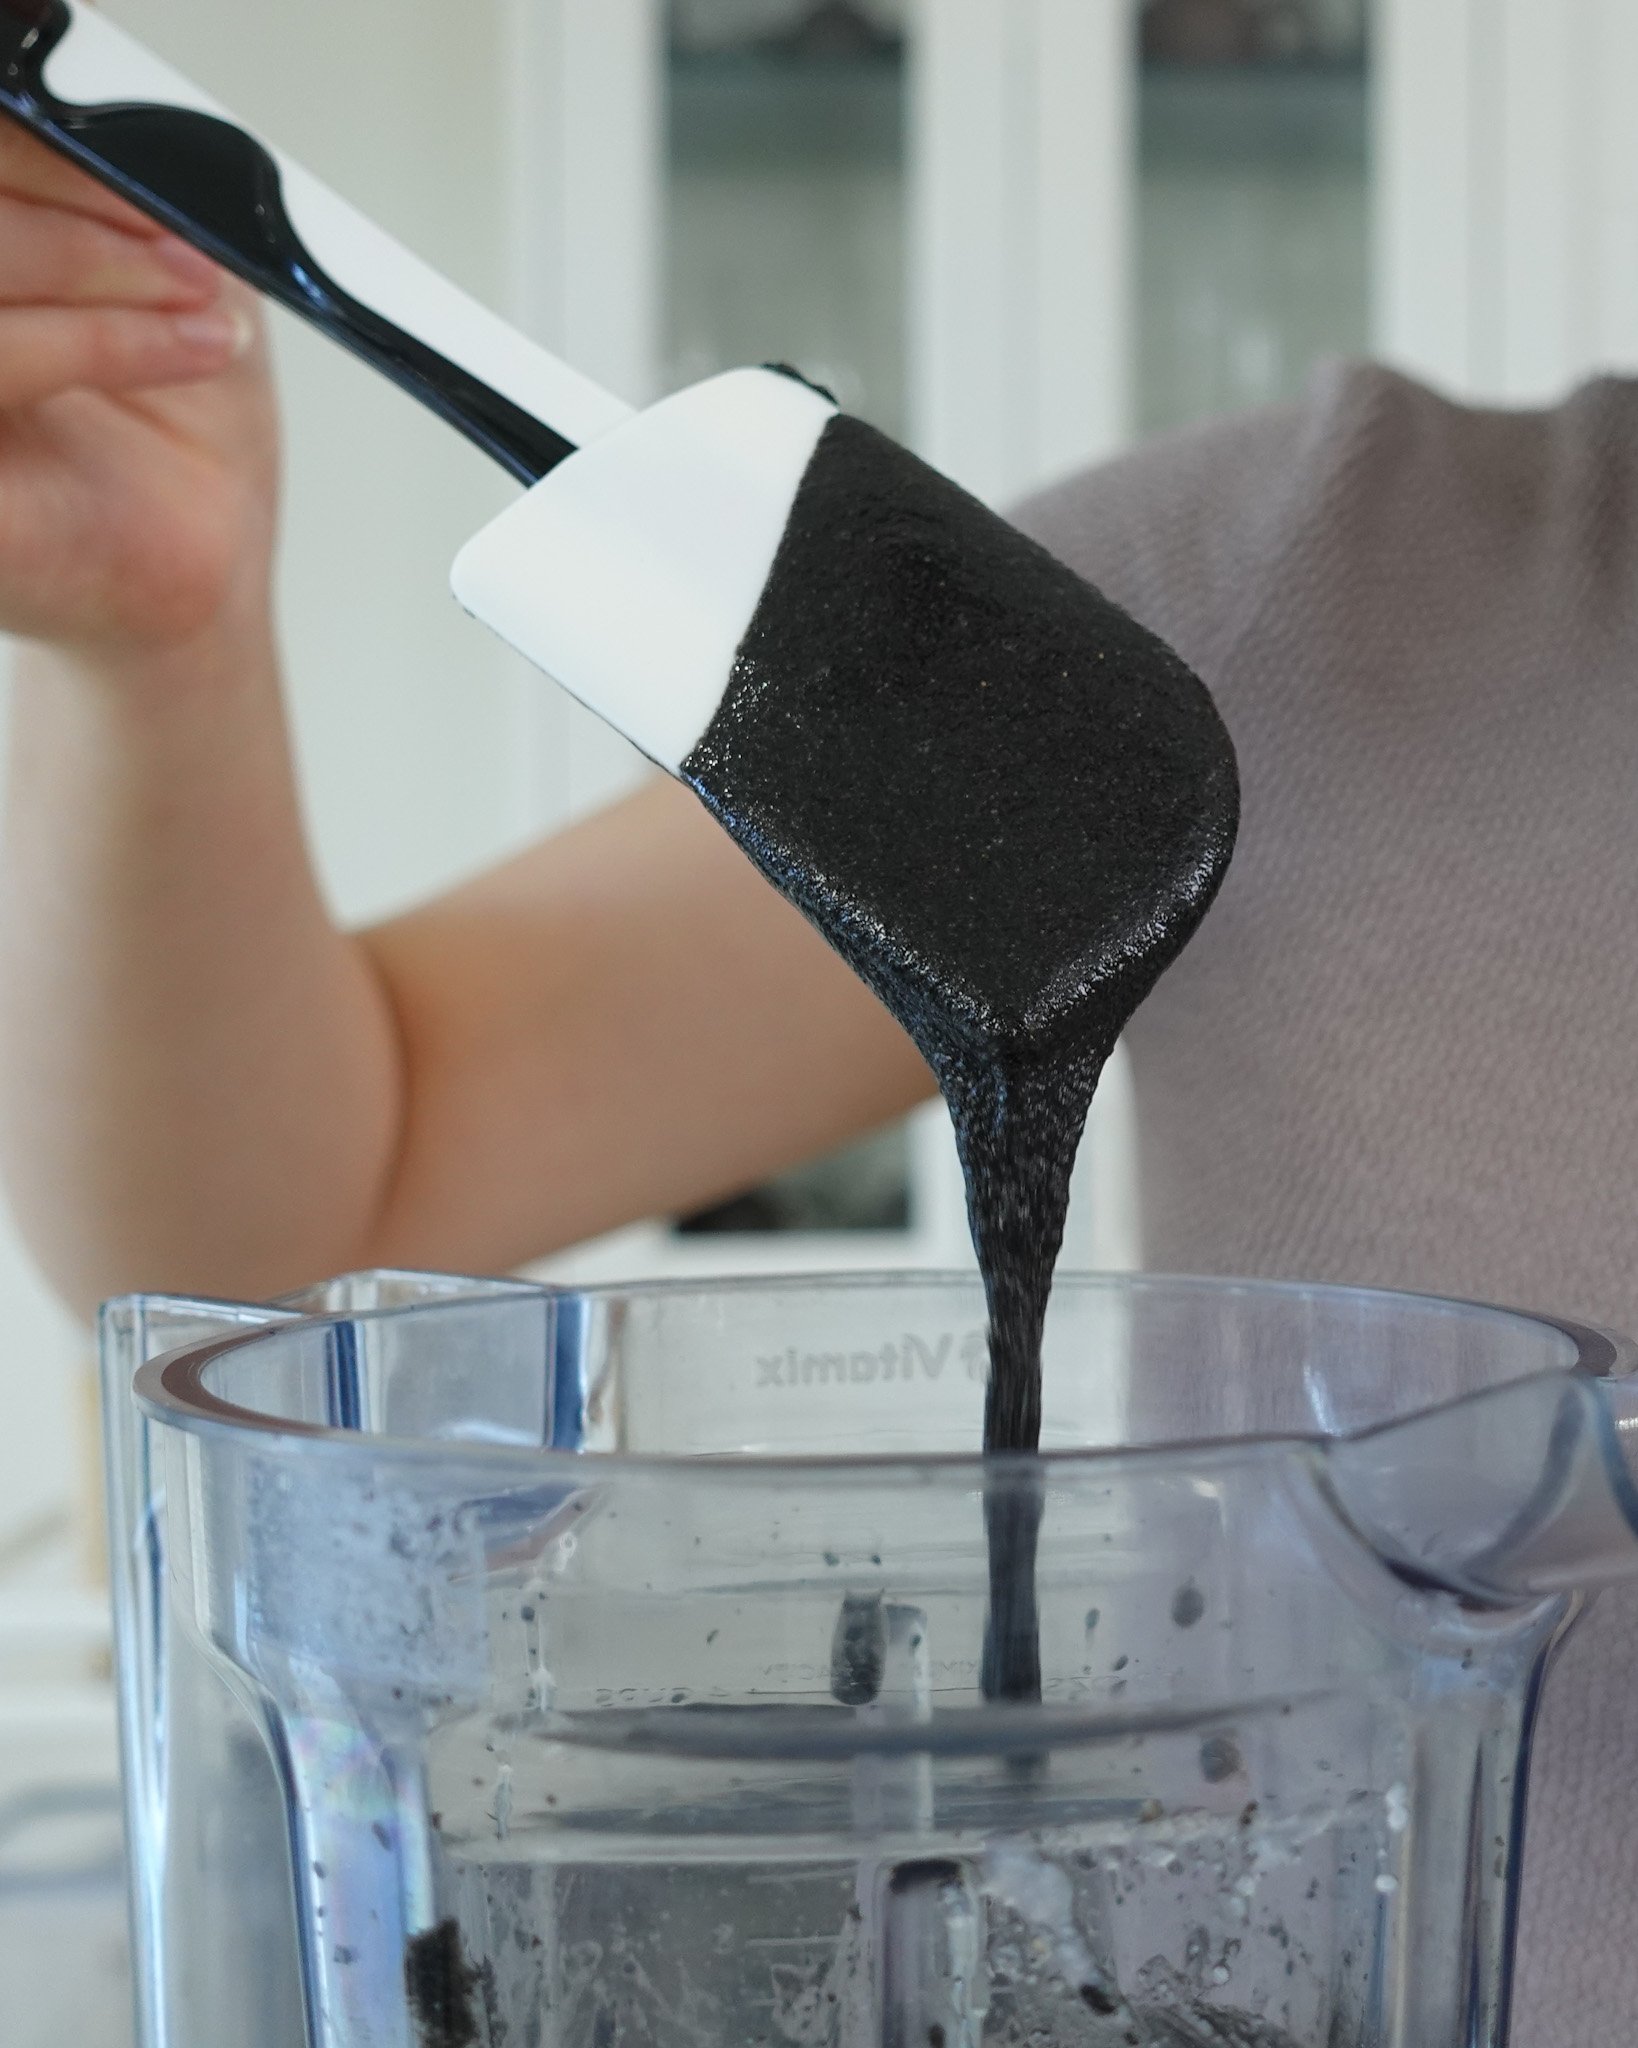
7. Toast the black sesame seeds on medium-low heat, stirring constantly, until you hear a popping sound. White specks will appear and the sesame seeds will become aromatic. Transfer everything into a blender.
8. Add the white sugar, coconut oil and salt. Blend everything until the mixture becomes runny.
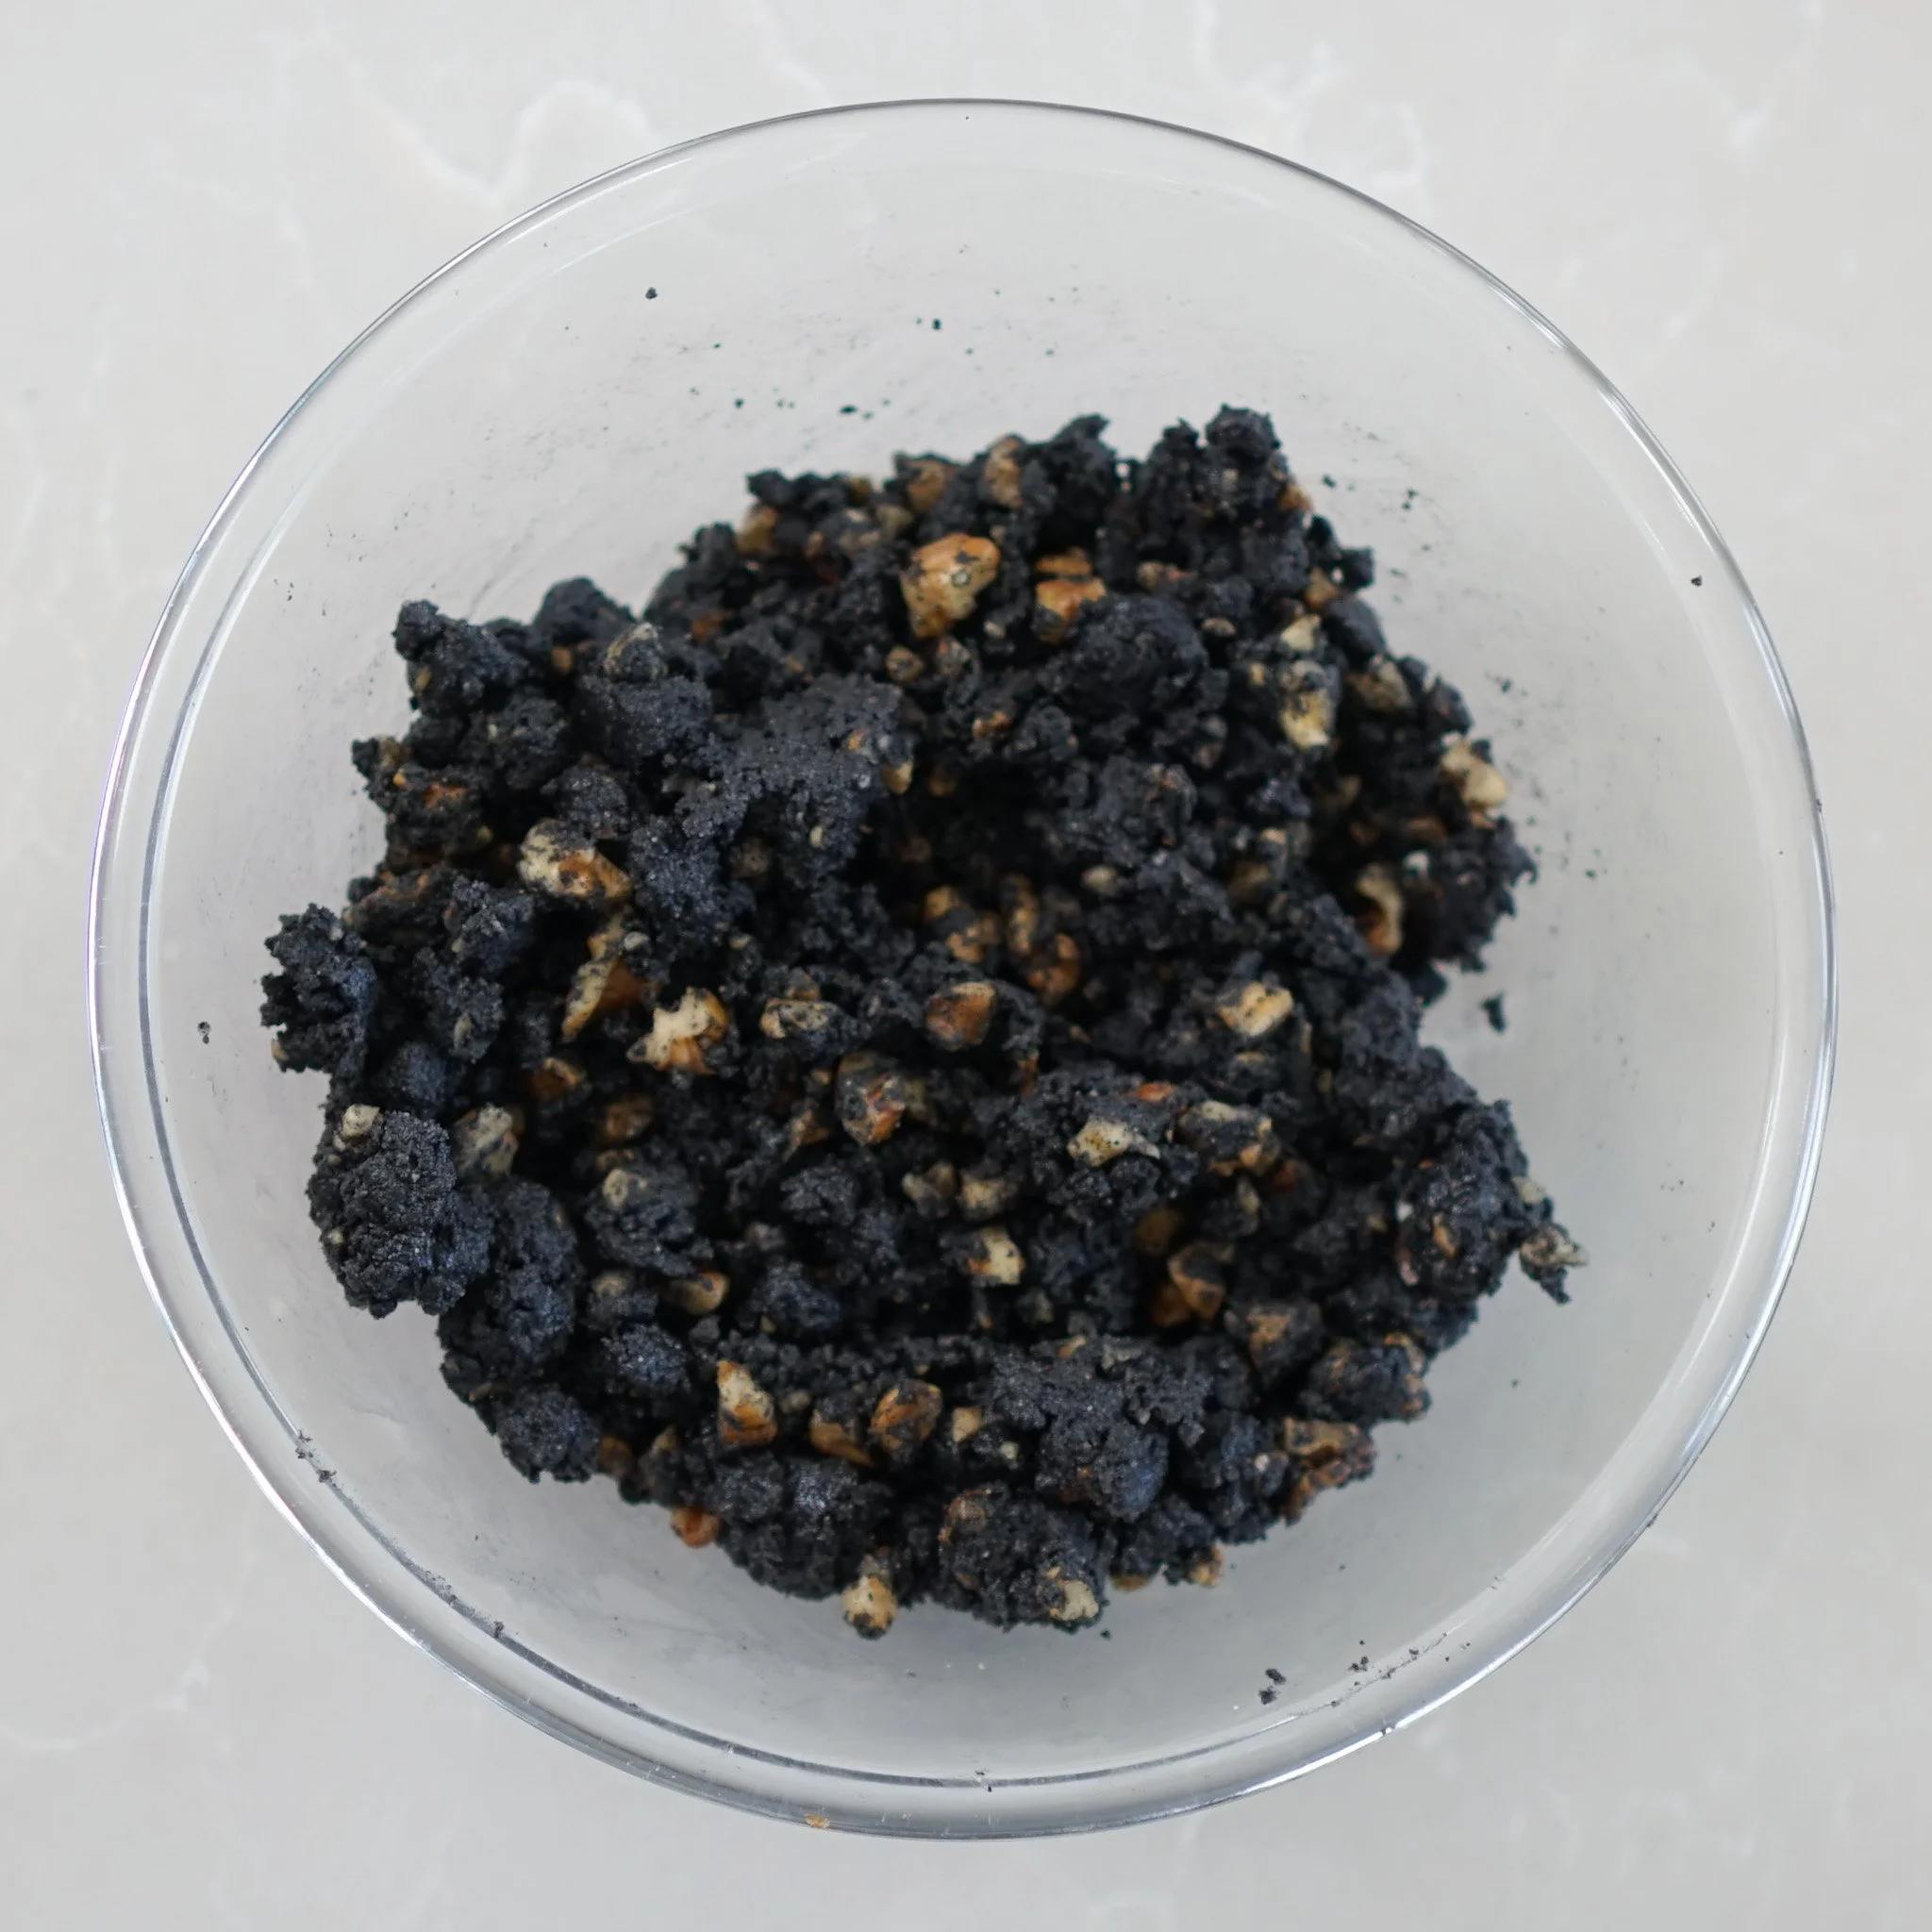
9. Then add the cooked glutinous rice flour and honey. It will turn the mixture into a crumbly dough-like texture so you may have to mix the rest by hand as it’s quite tough on the blender.
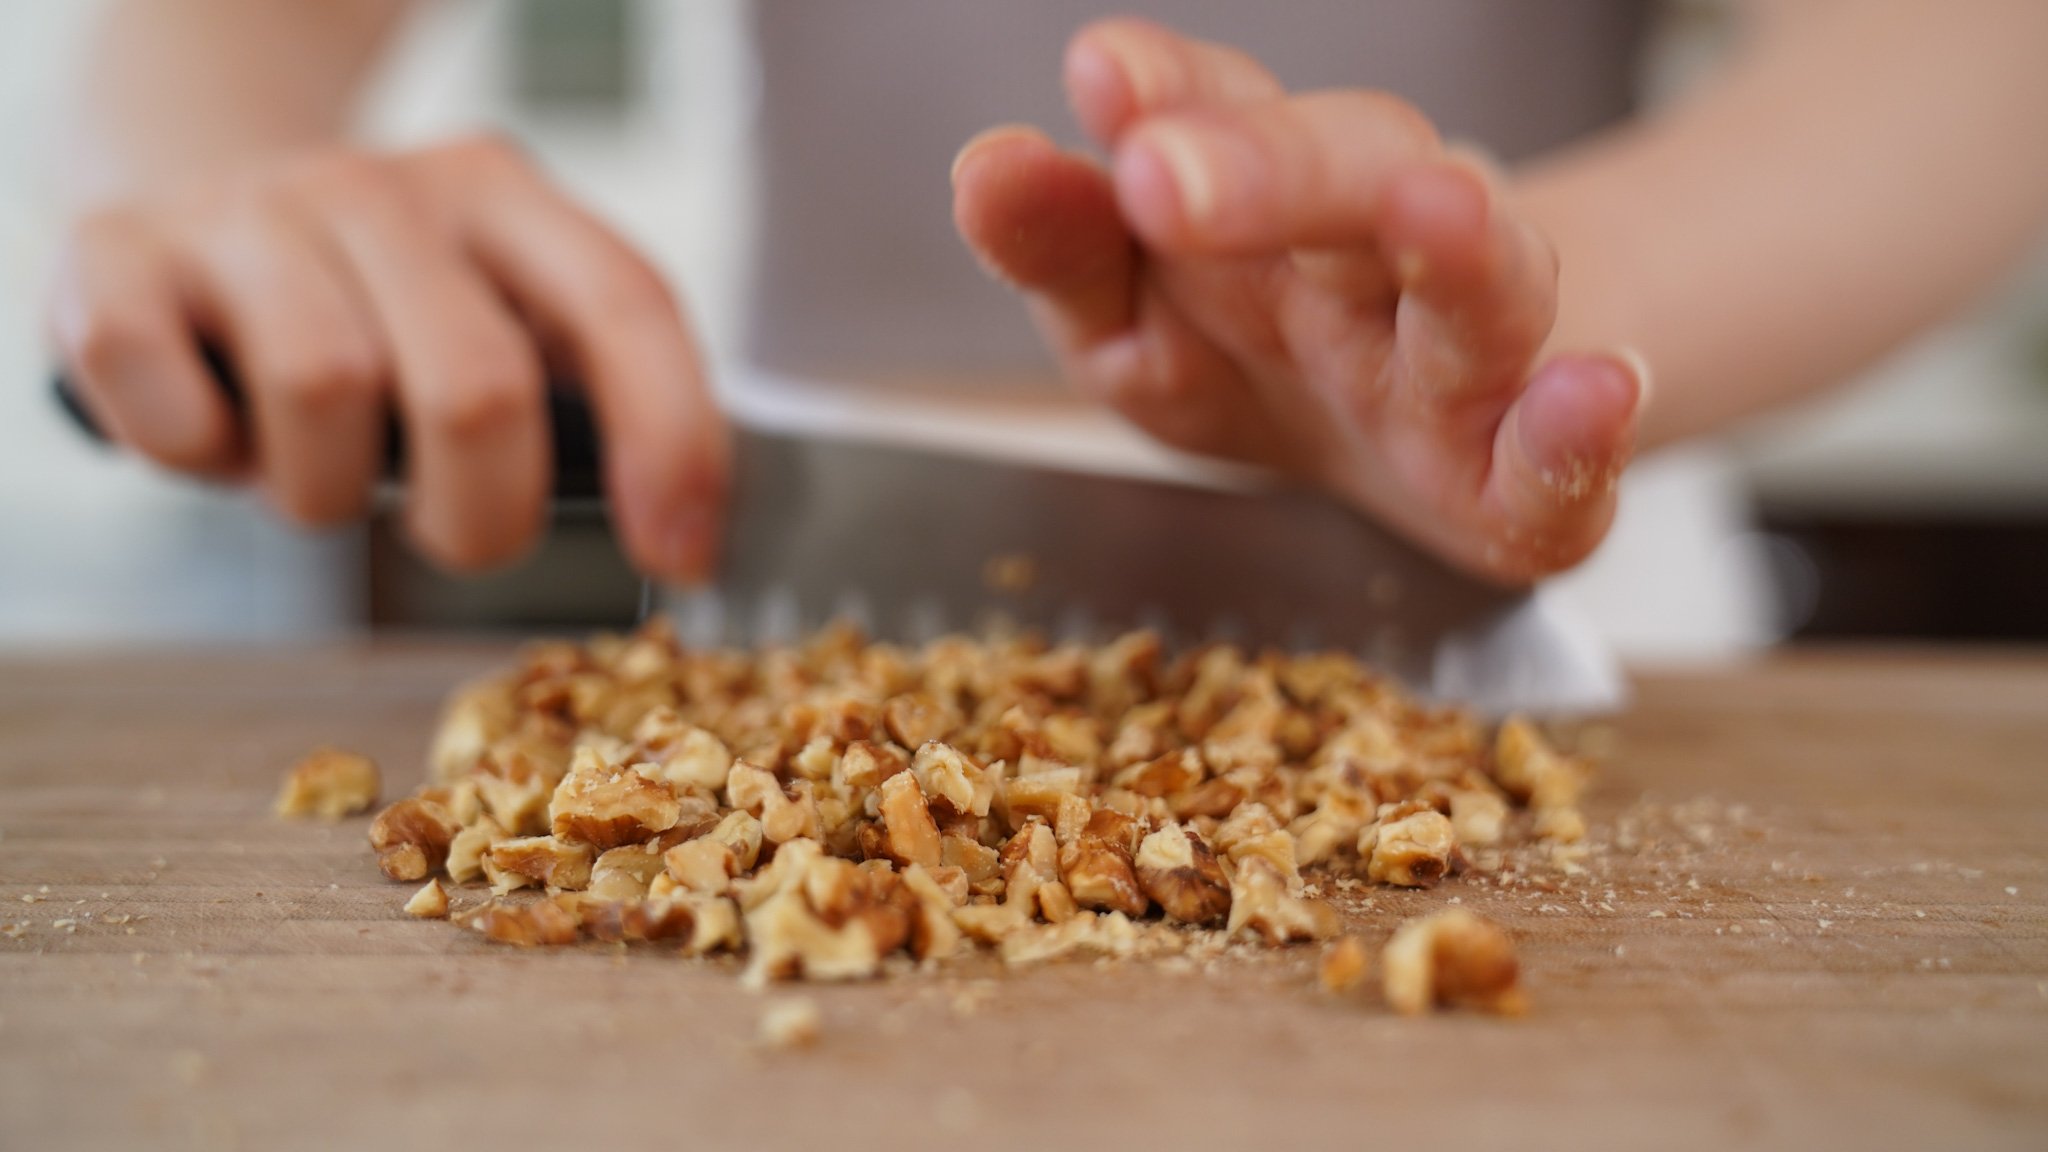
10. Chop up the toasted walnuts and mix them into the black sesame mixture.
11. Portion the filling into 25g and chill for at least 1 hour. If the mixture is too crumbly to hold its shape, microwave for about 15 seconds to warm it up.
Assembly
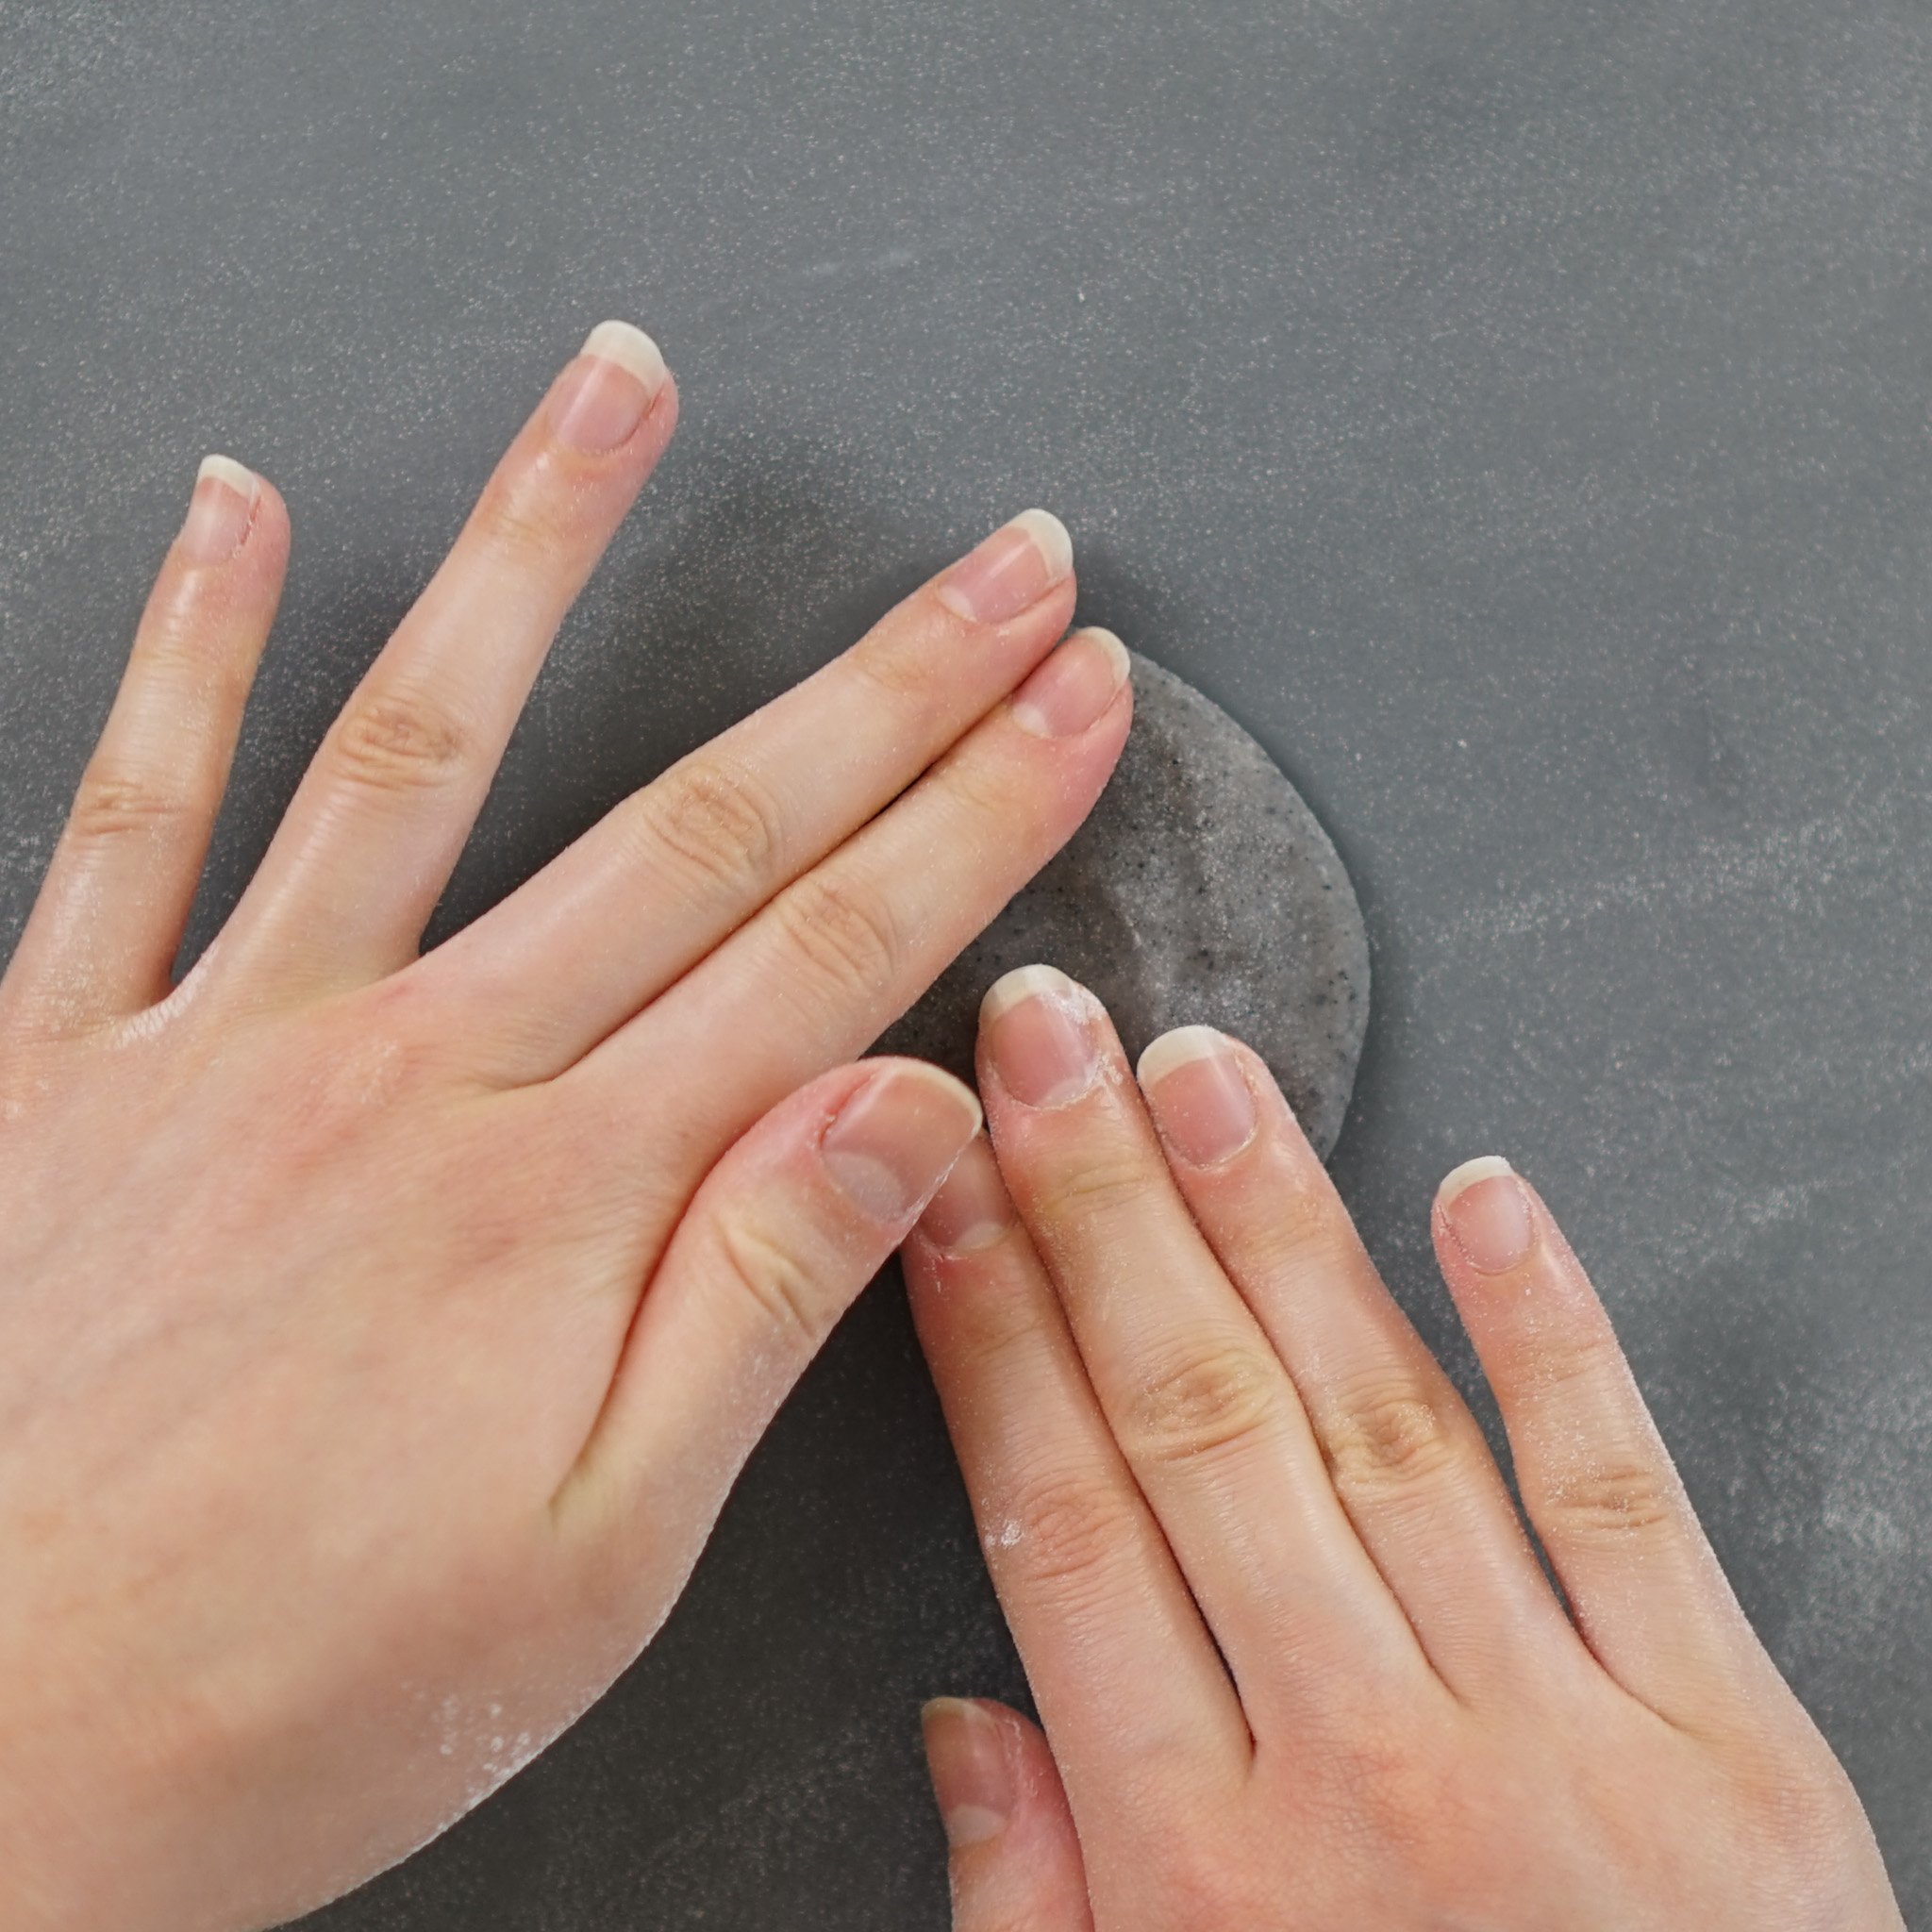
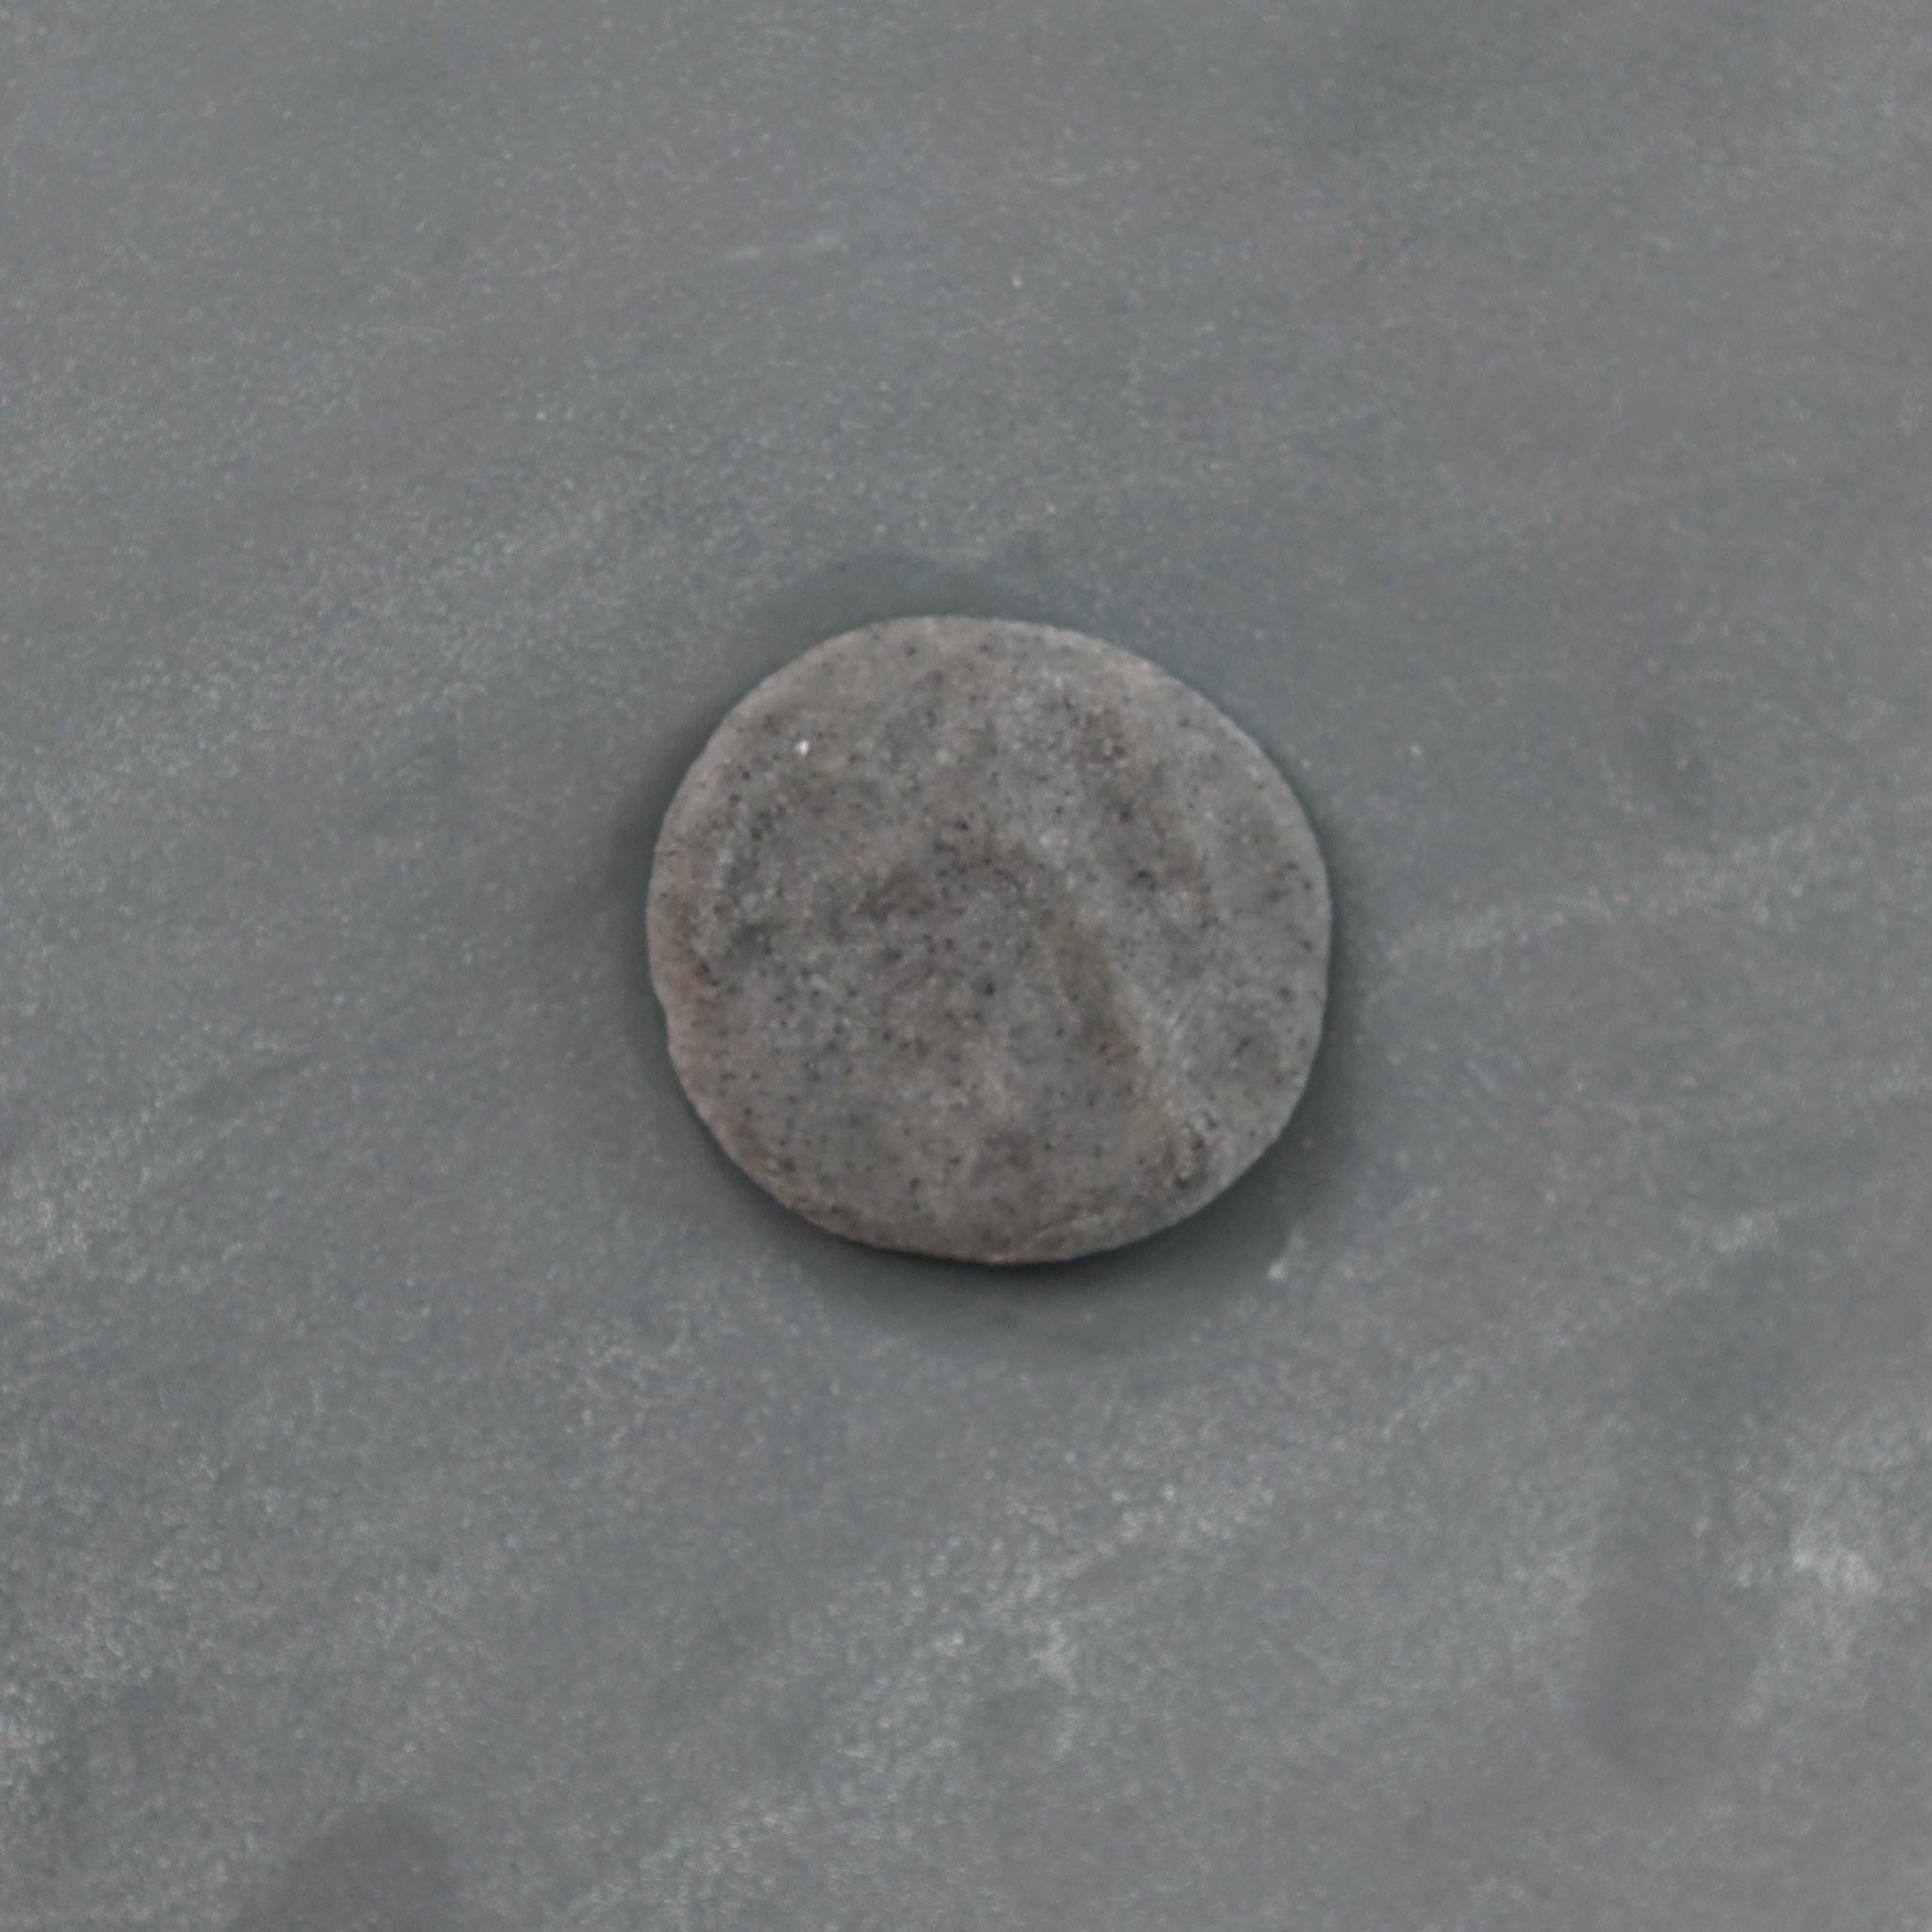
12. To assemble, measure out the portion of snow skin. Gently knead it to soften it slightly.
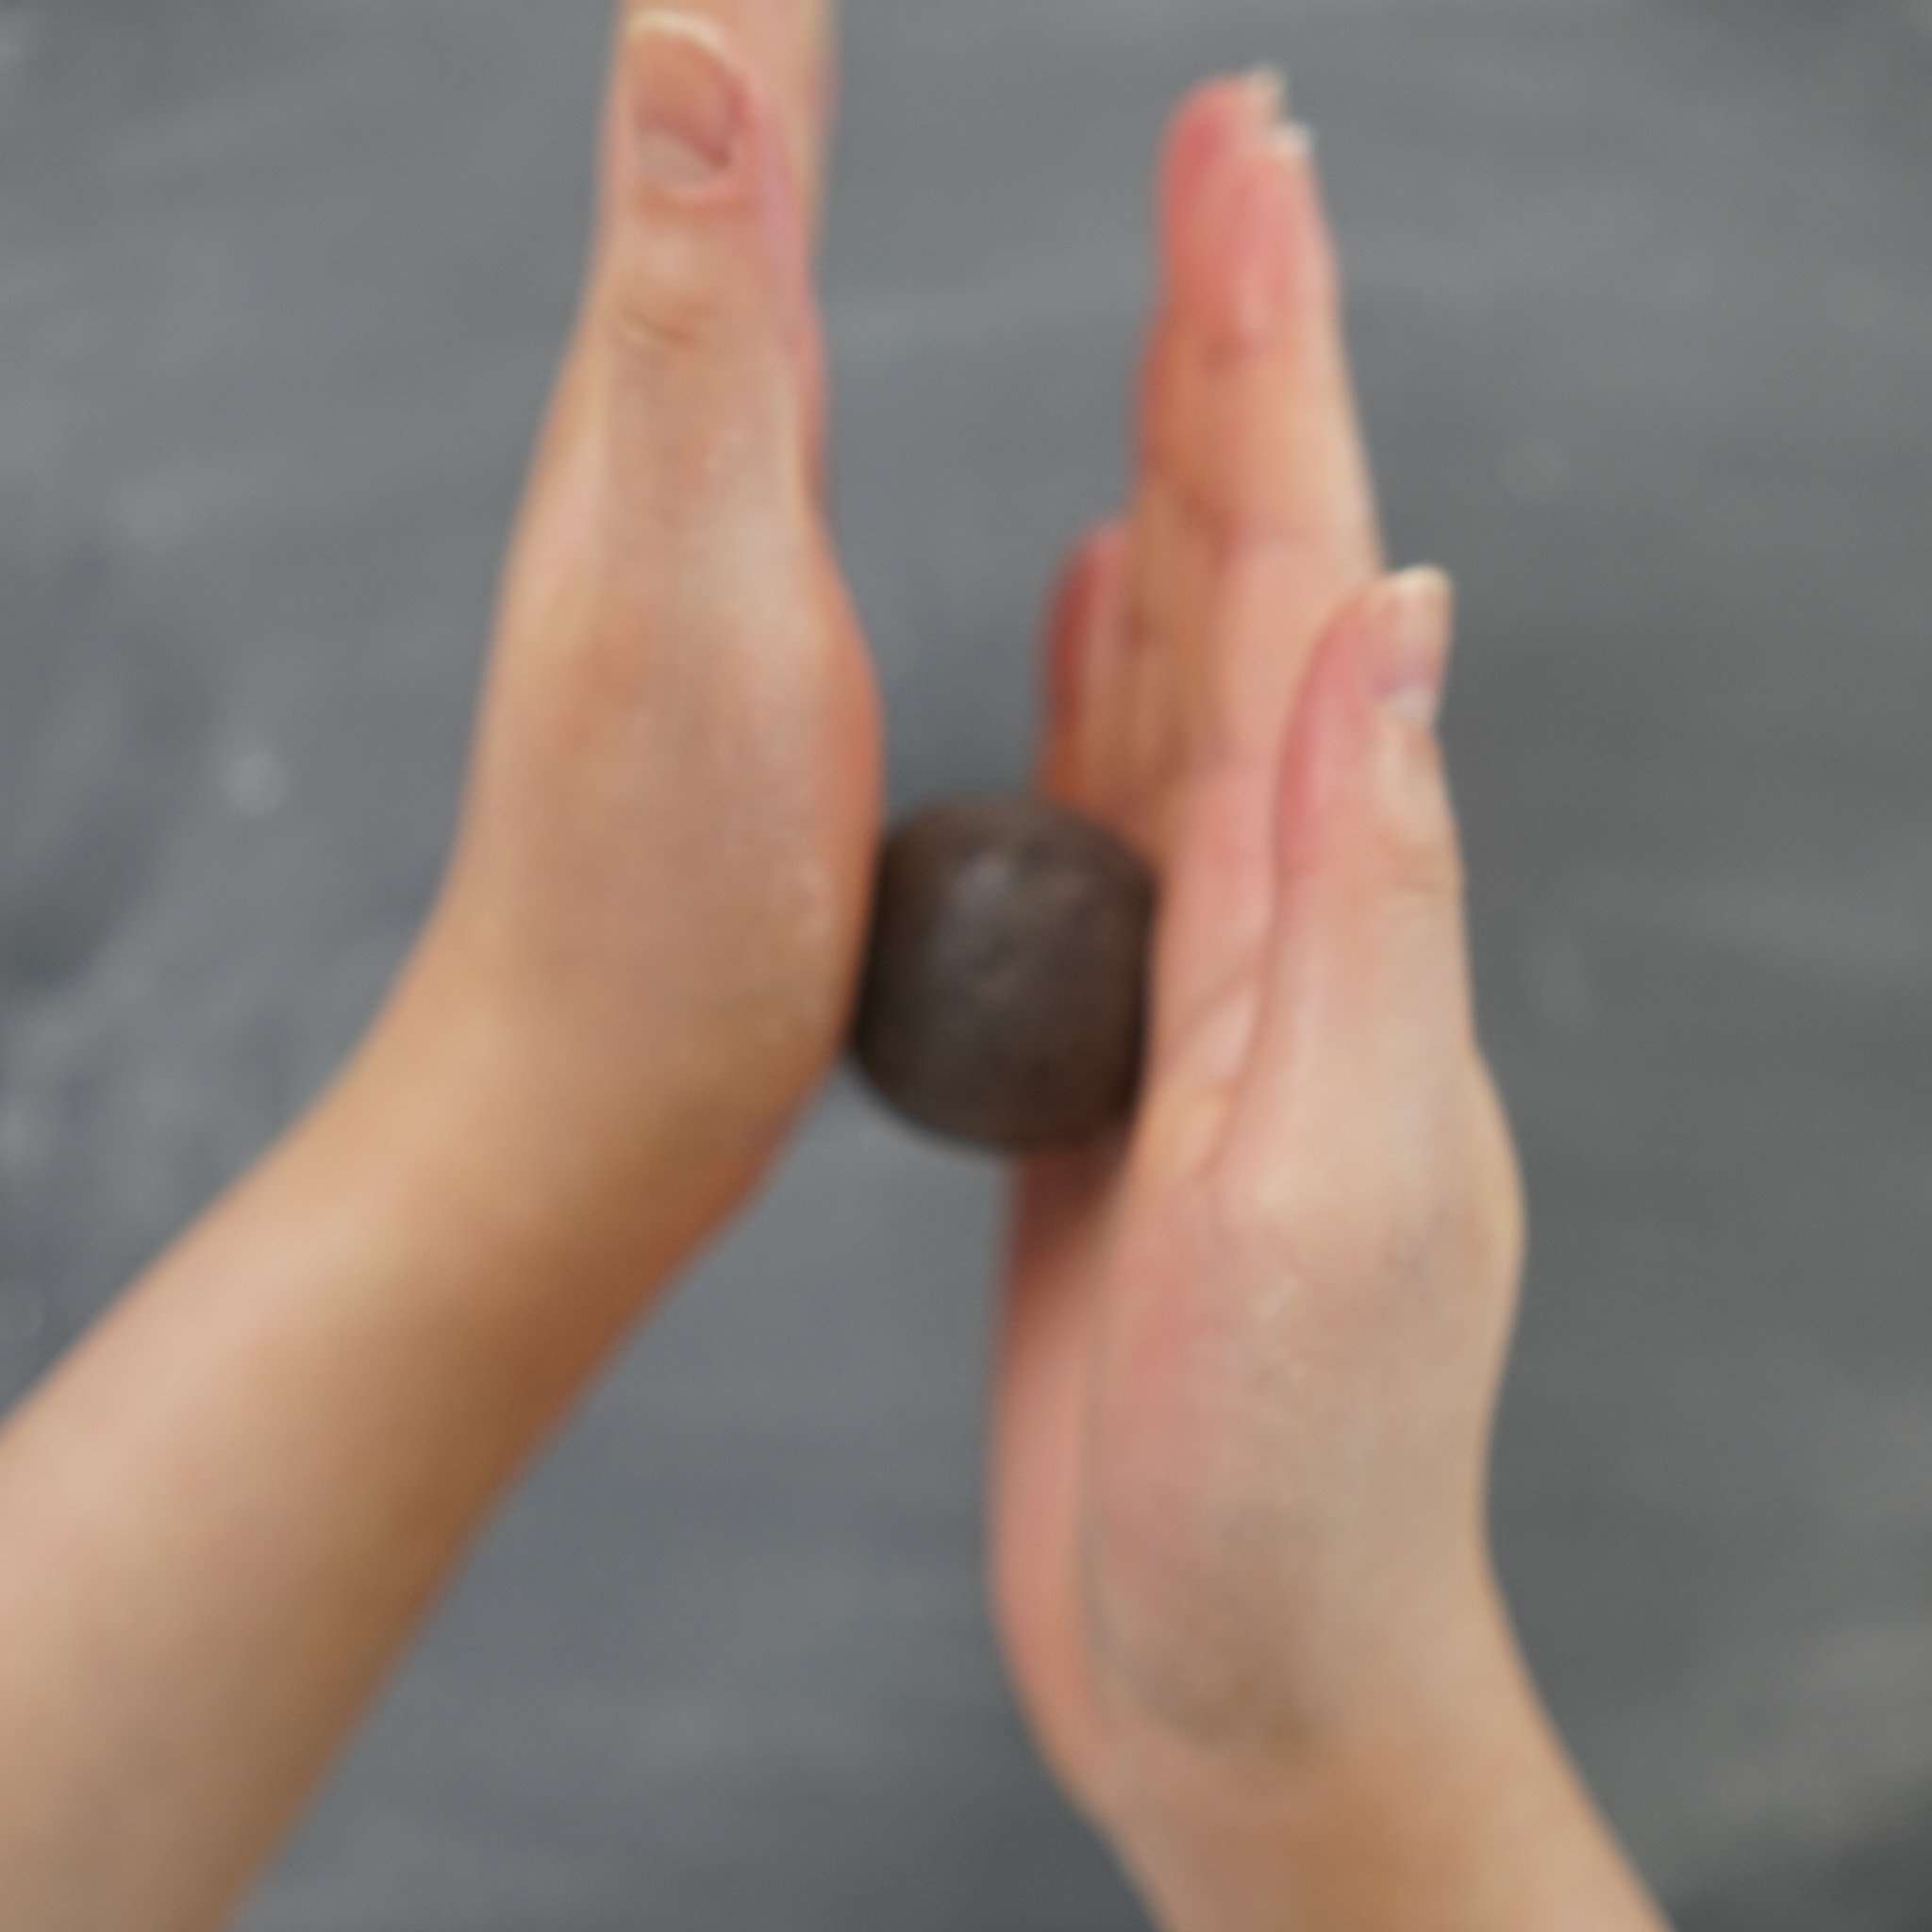
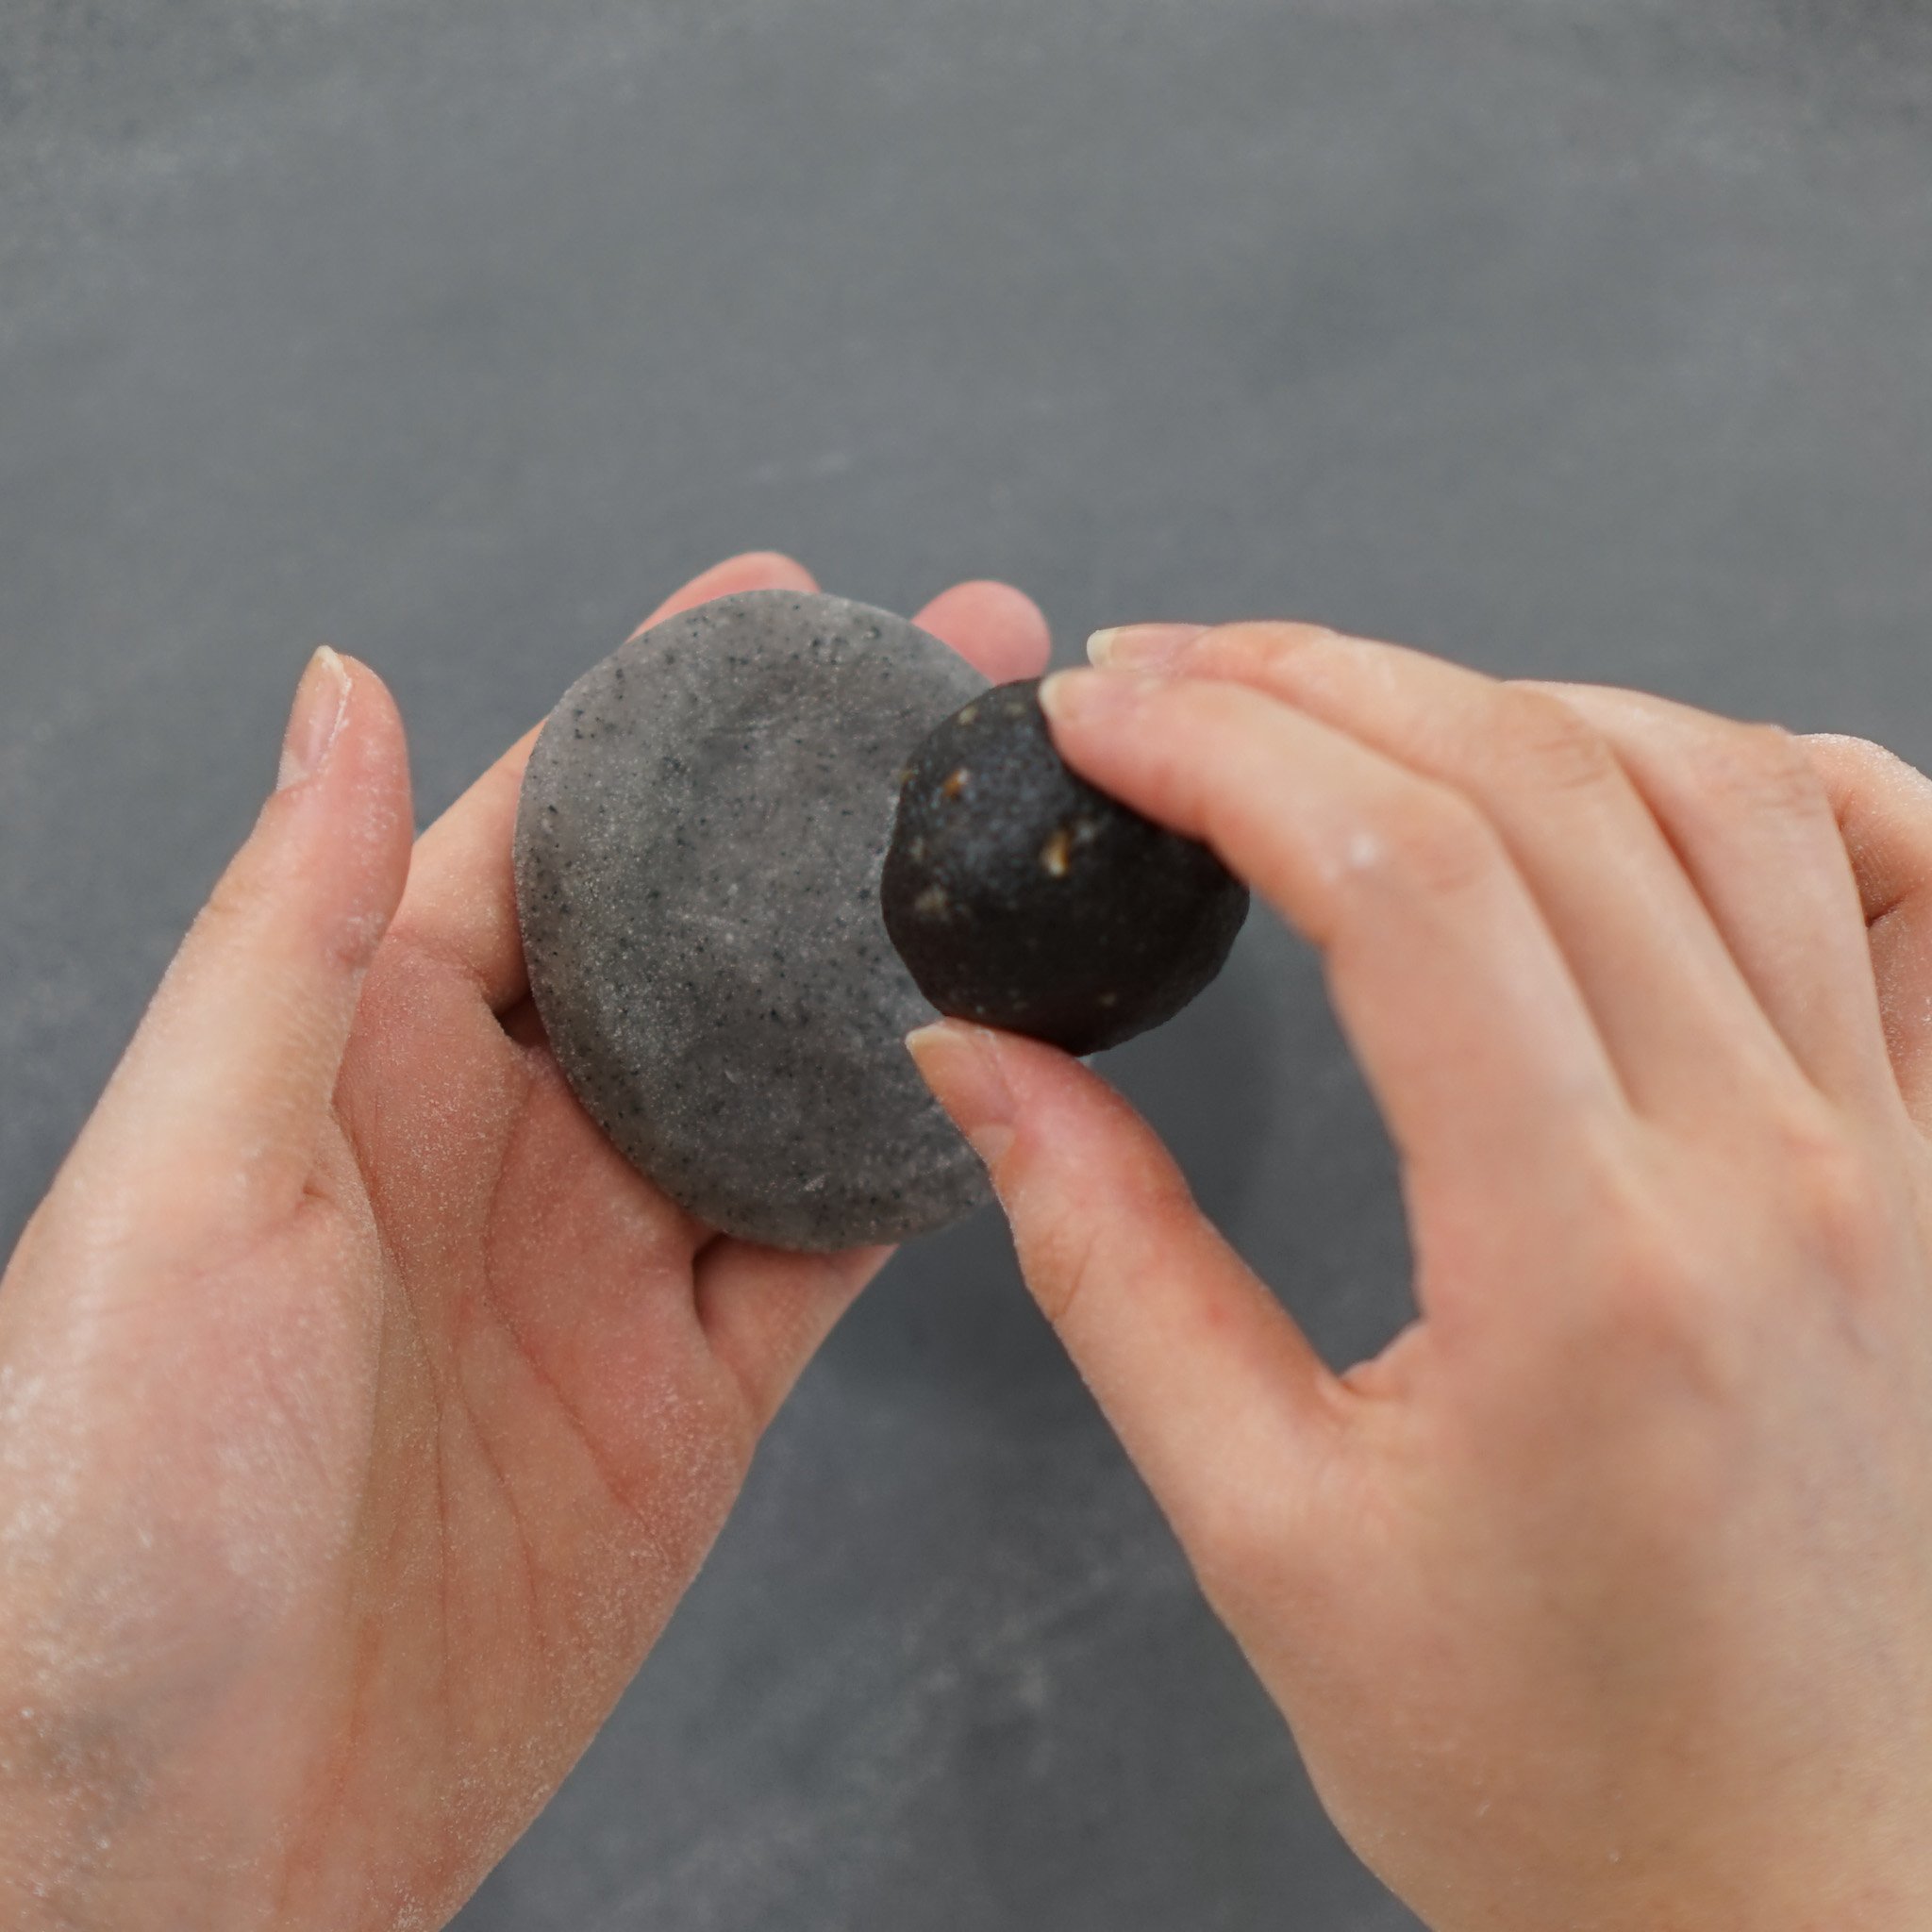
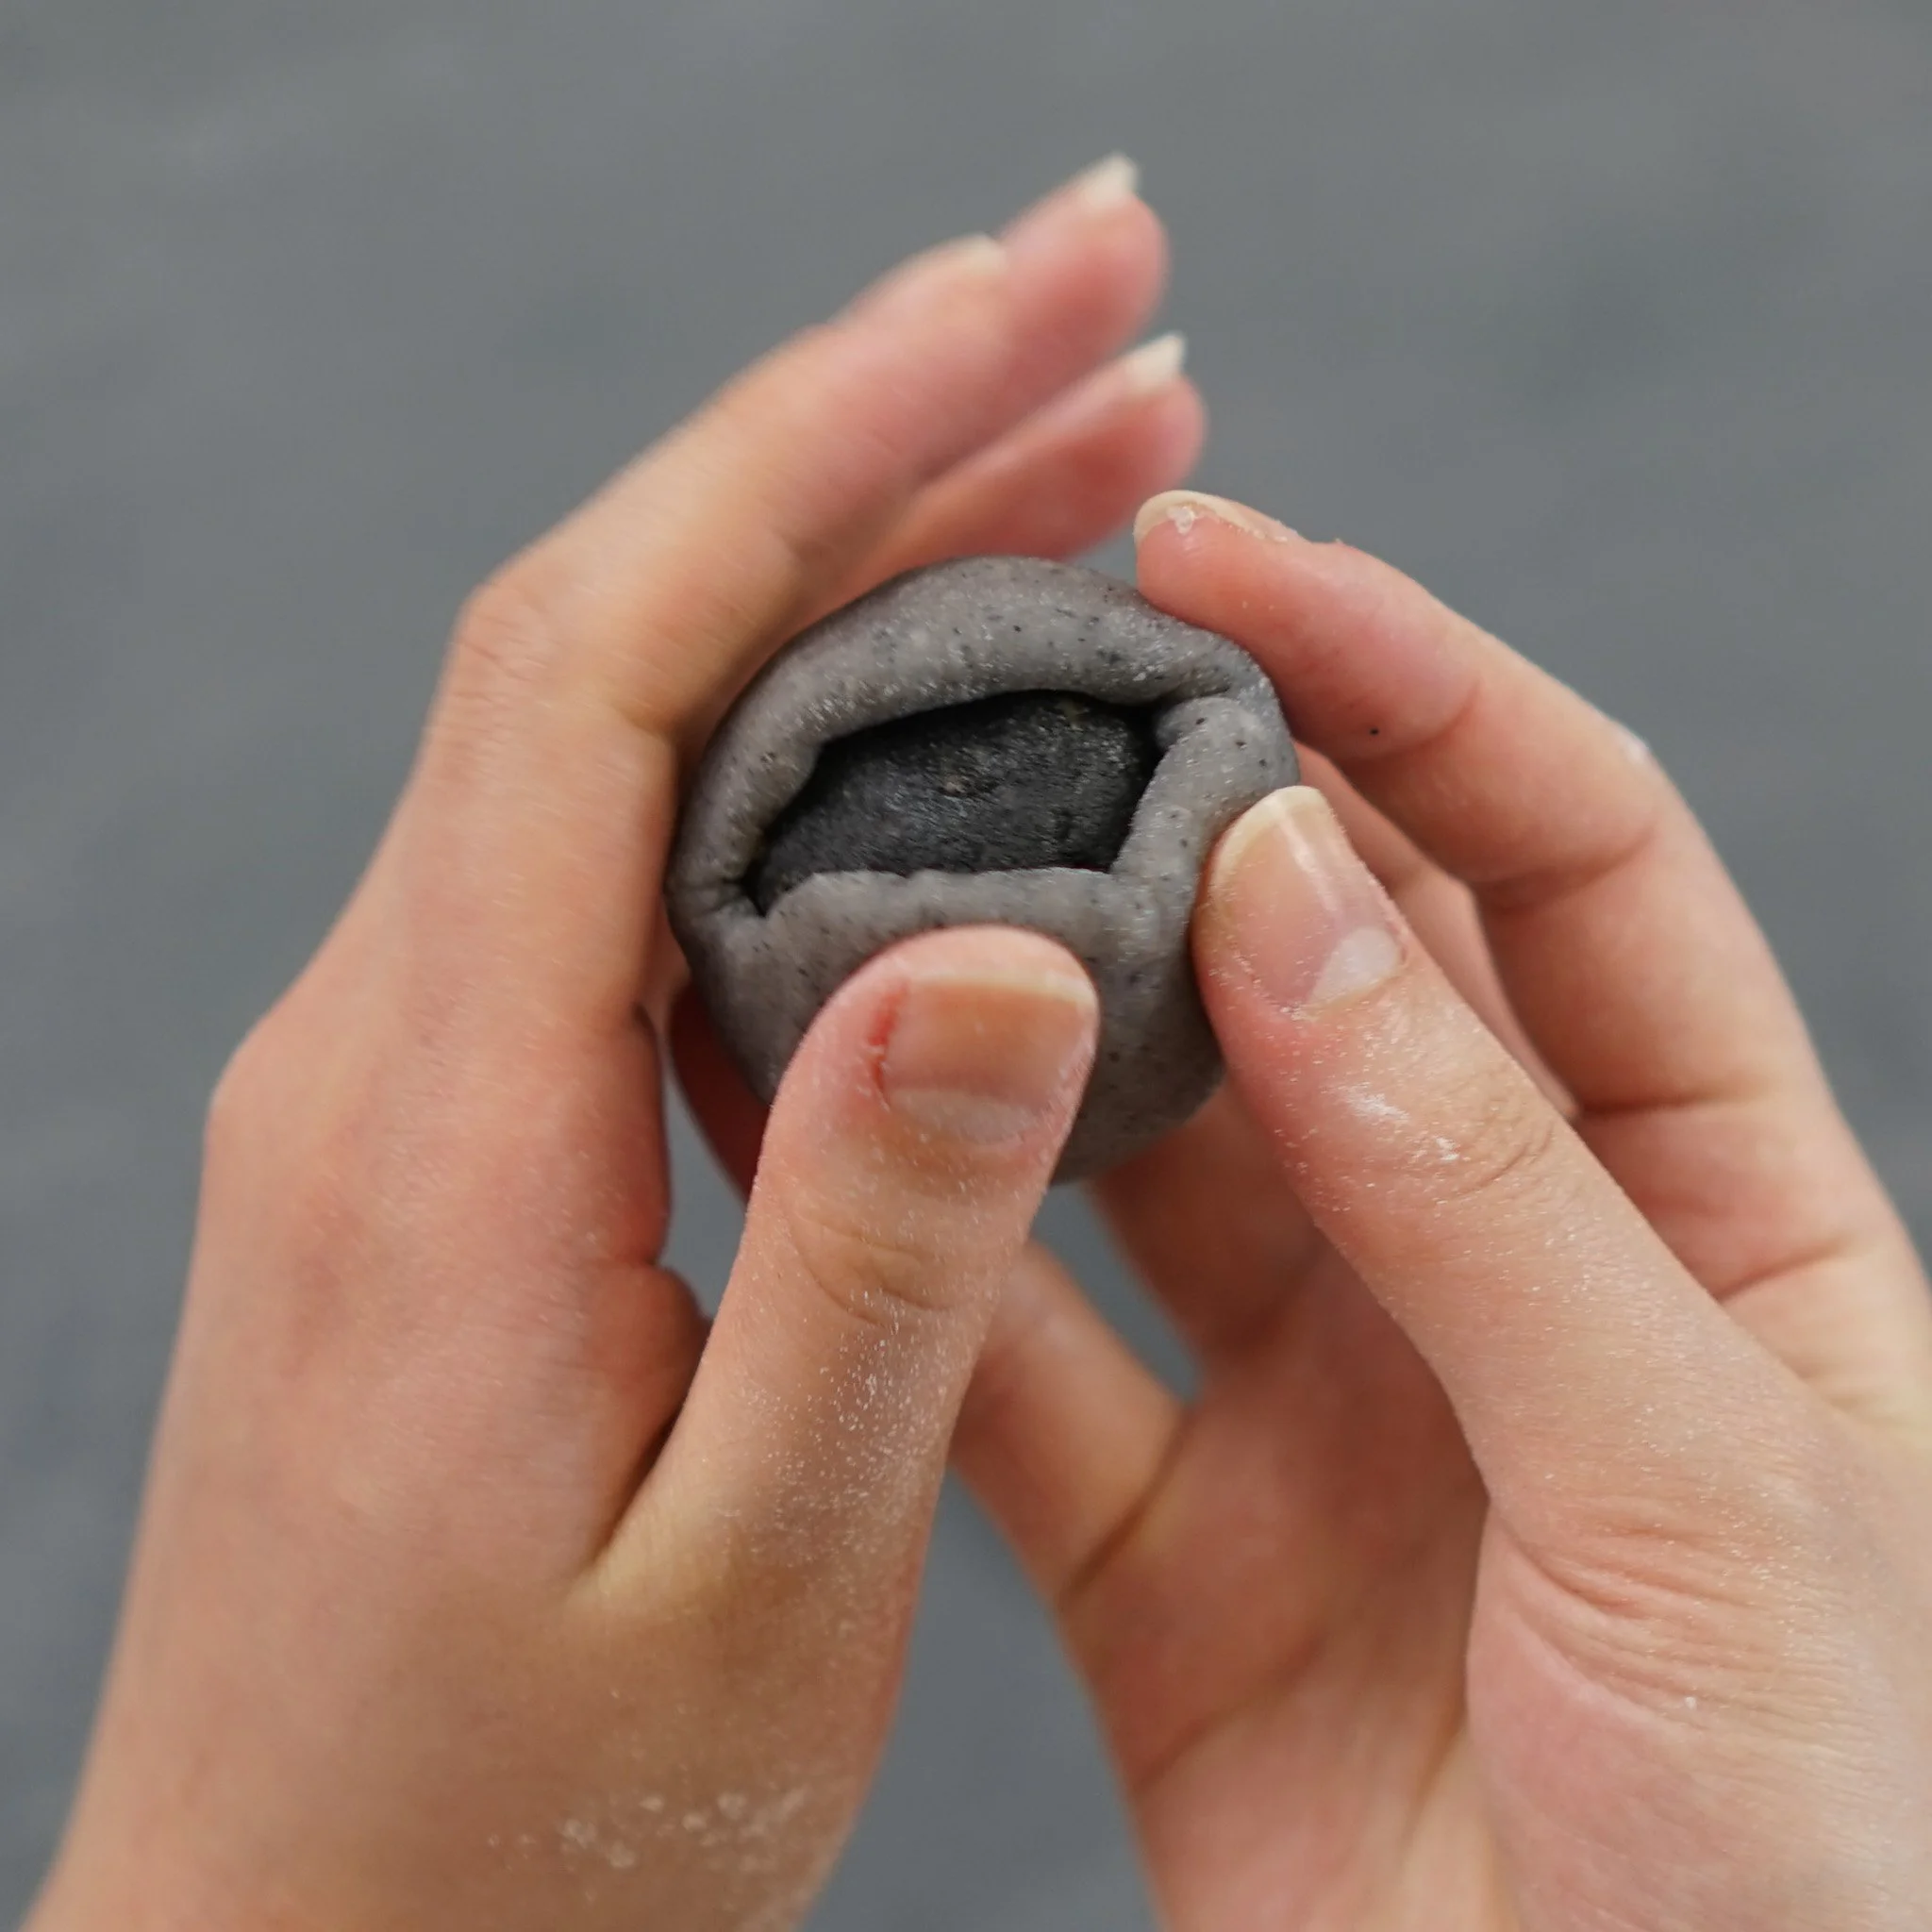
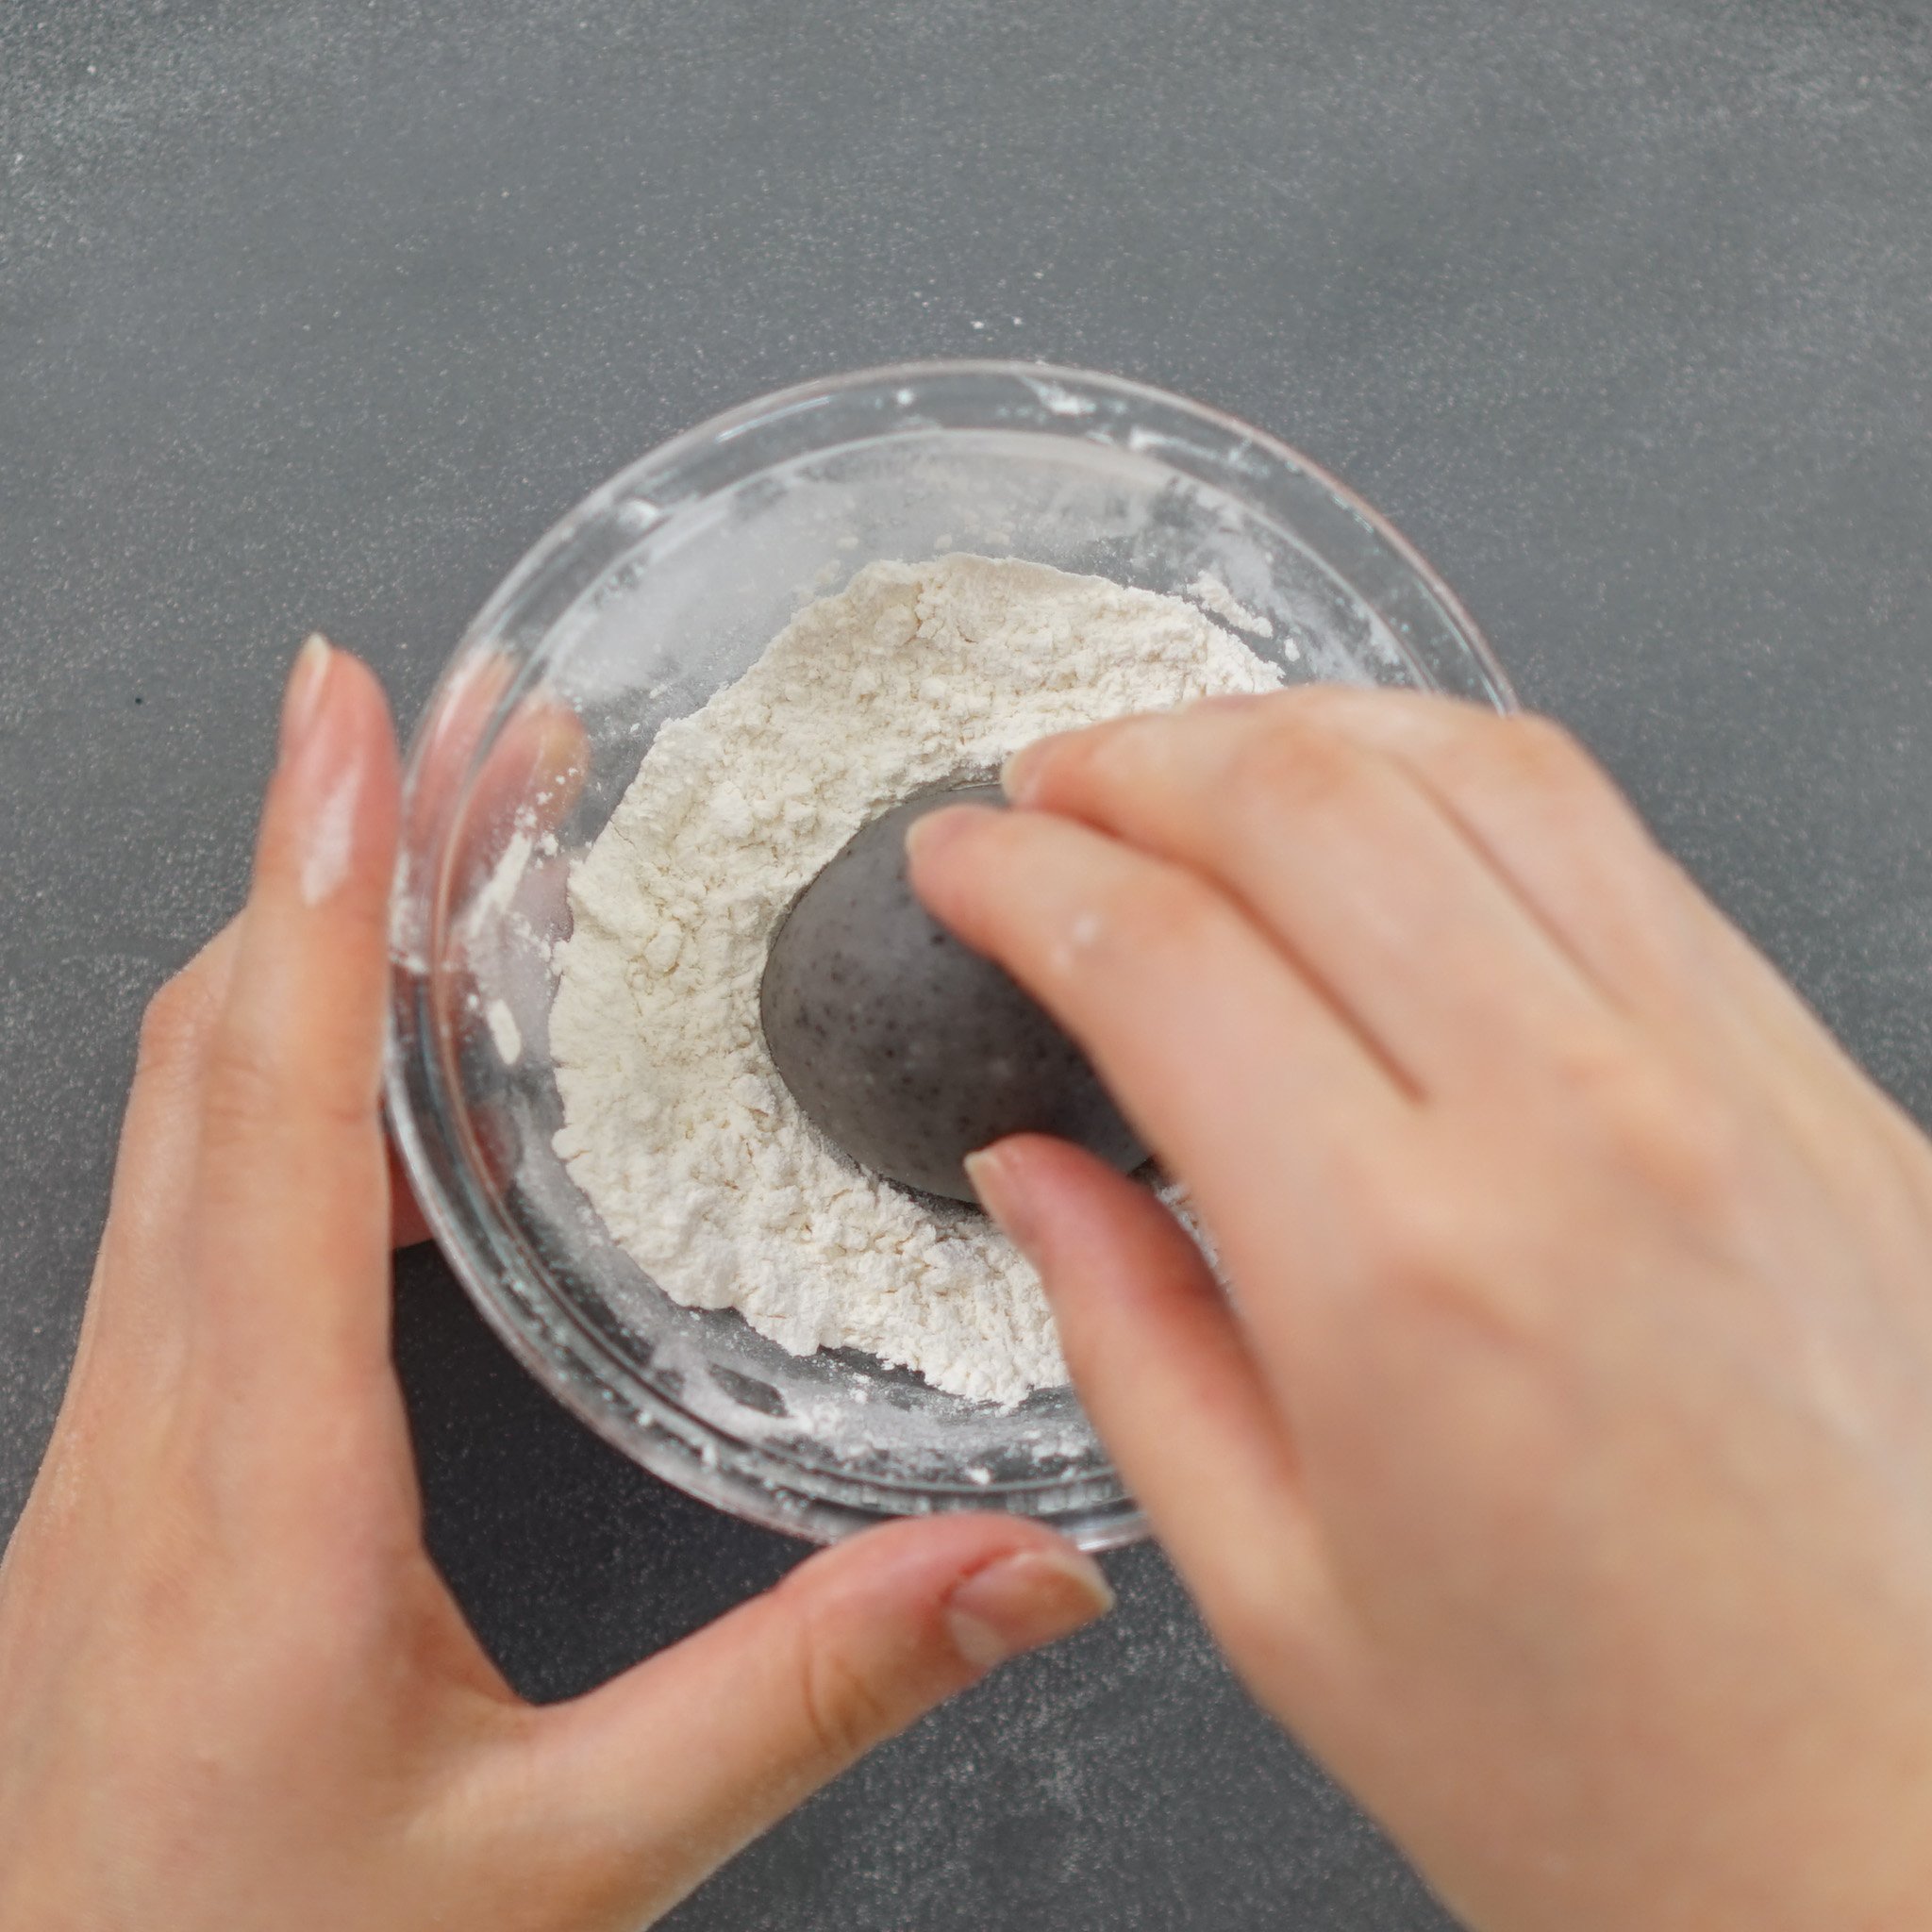
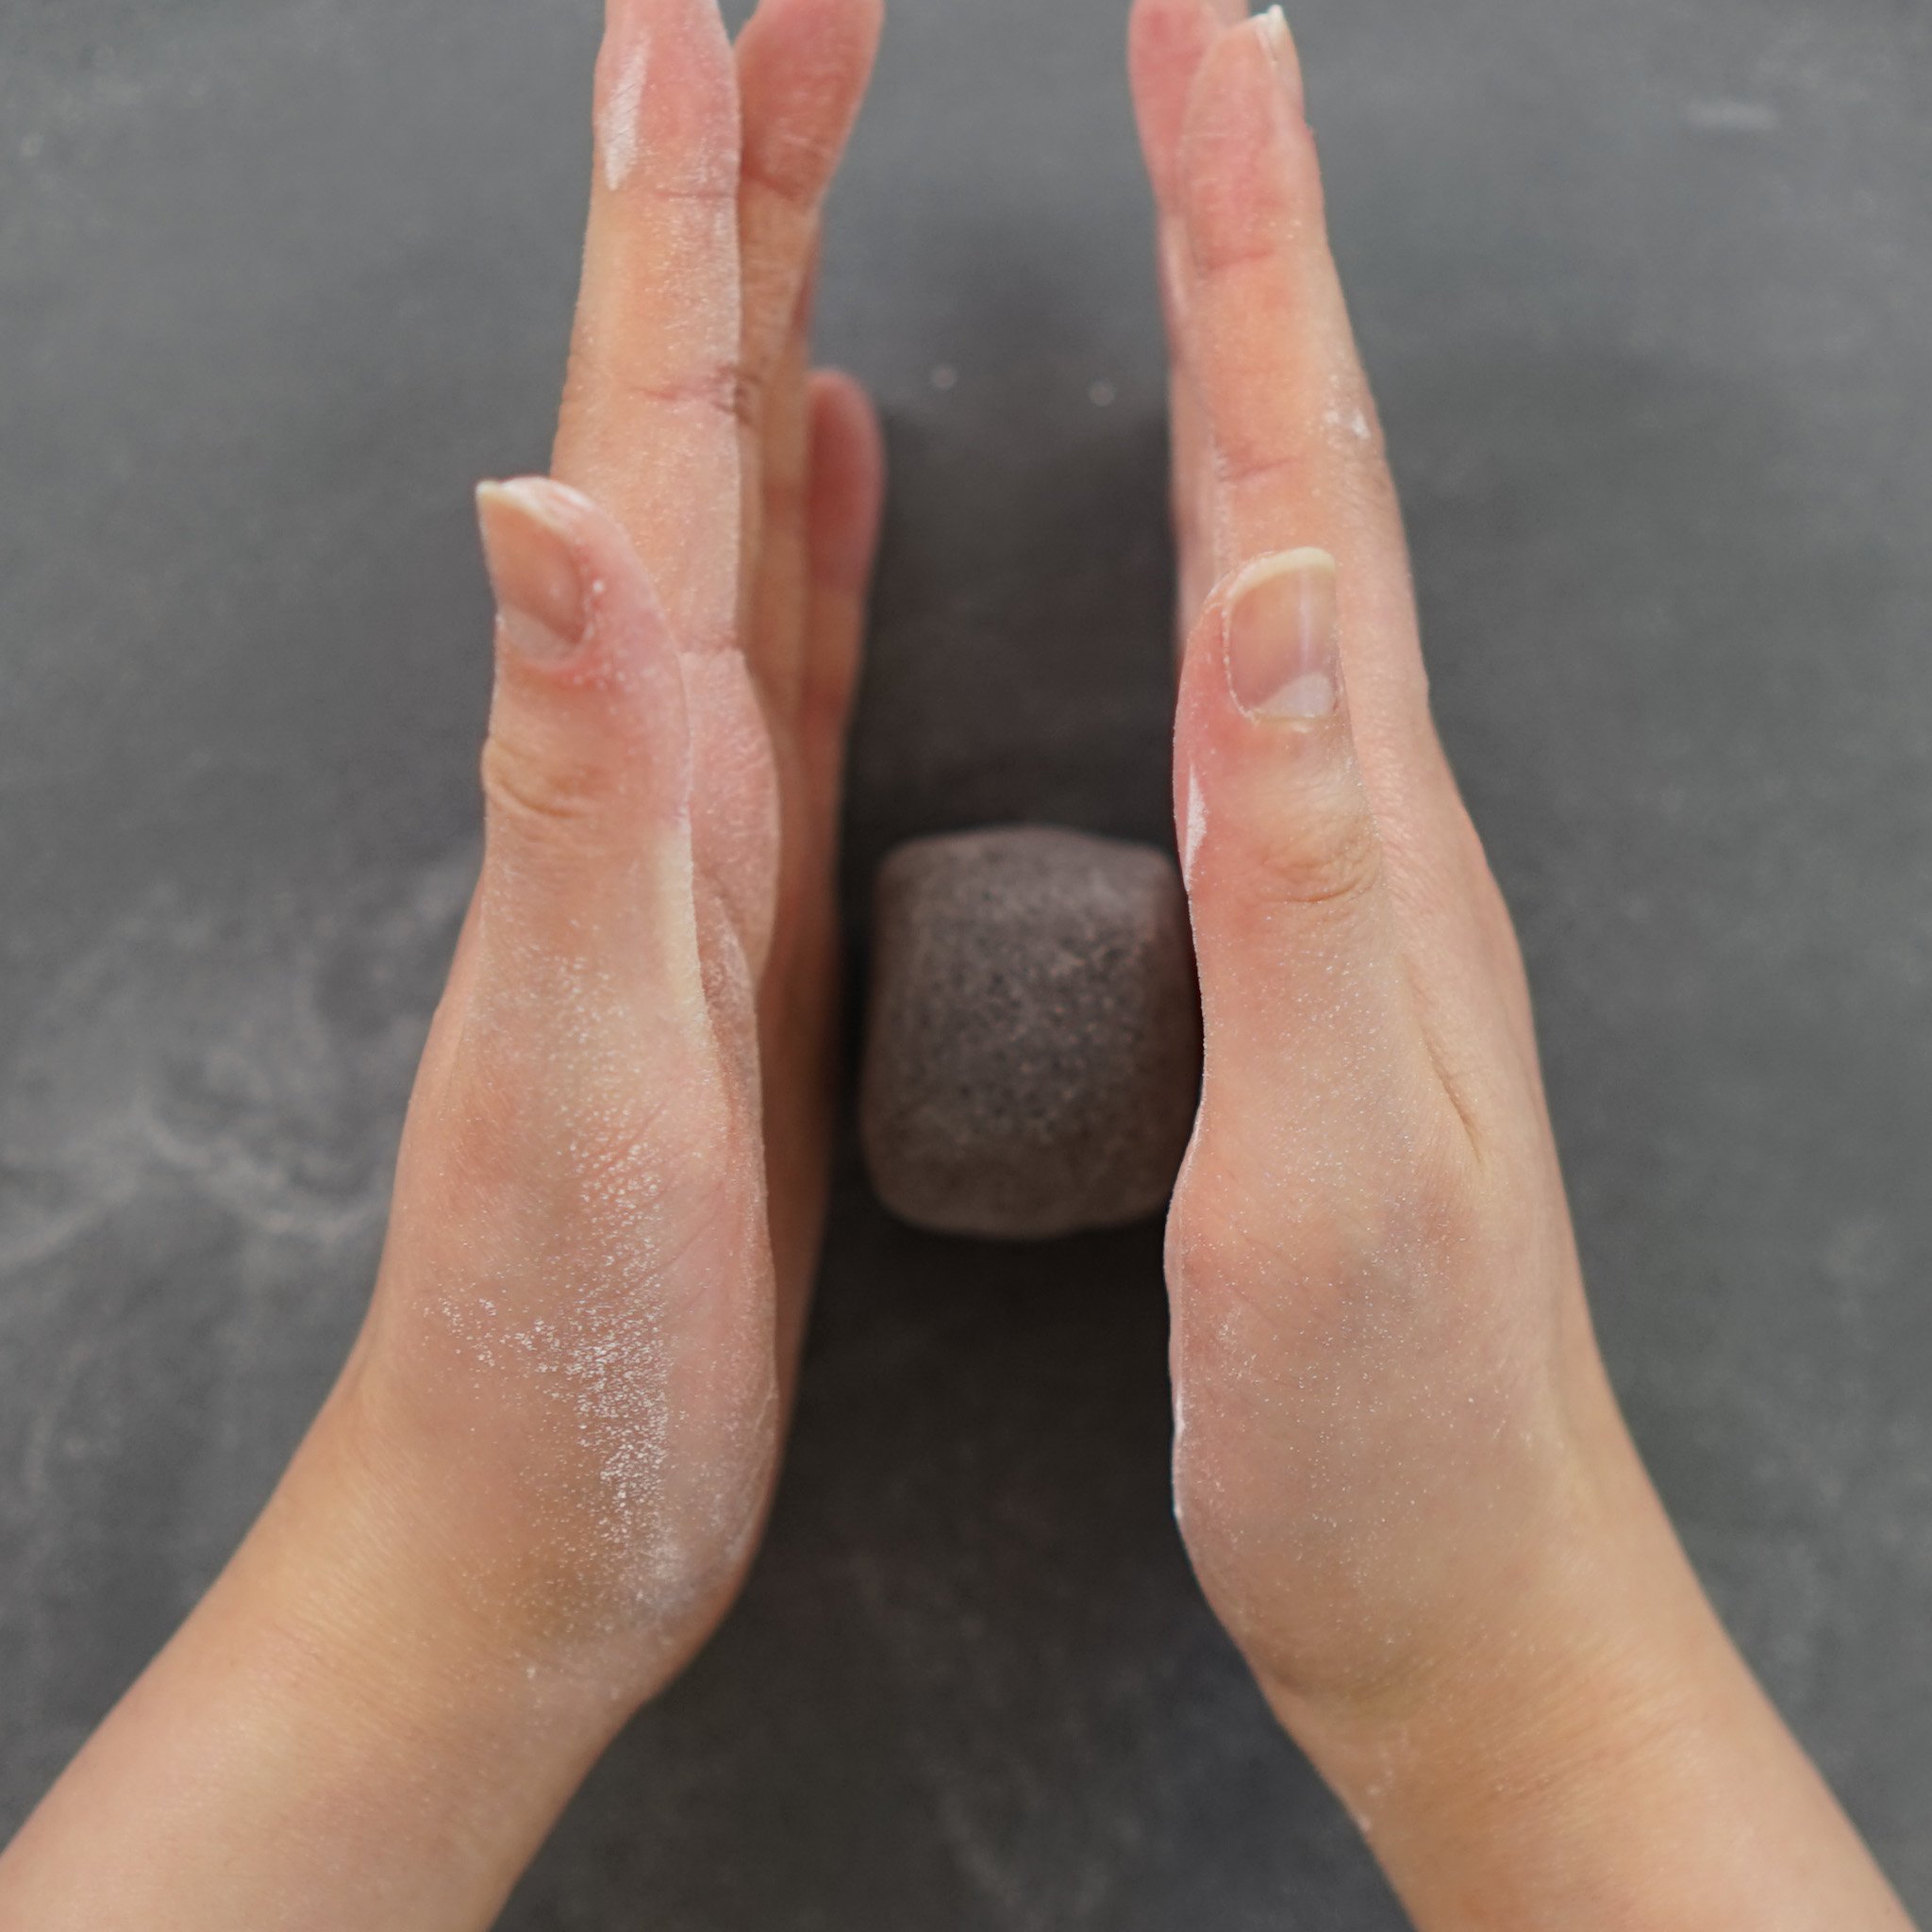
13. Place the filling onto the piece of snow skin and close up the mooncake slowly, then roll it between your palms to seal it completely. (Watch the video to reference the technique)
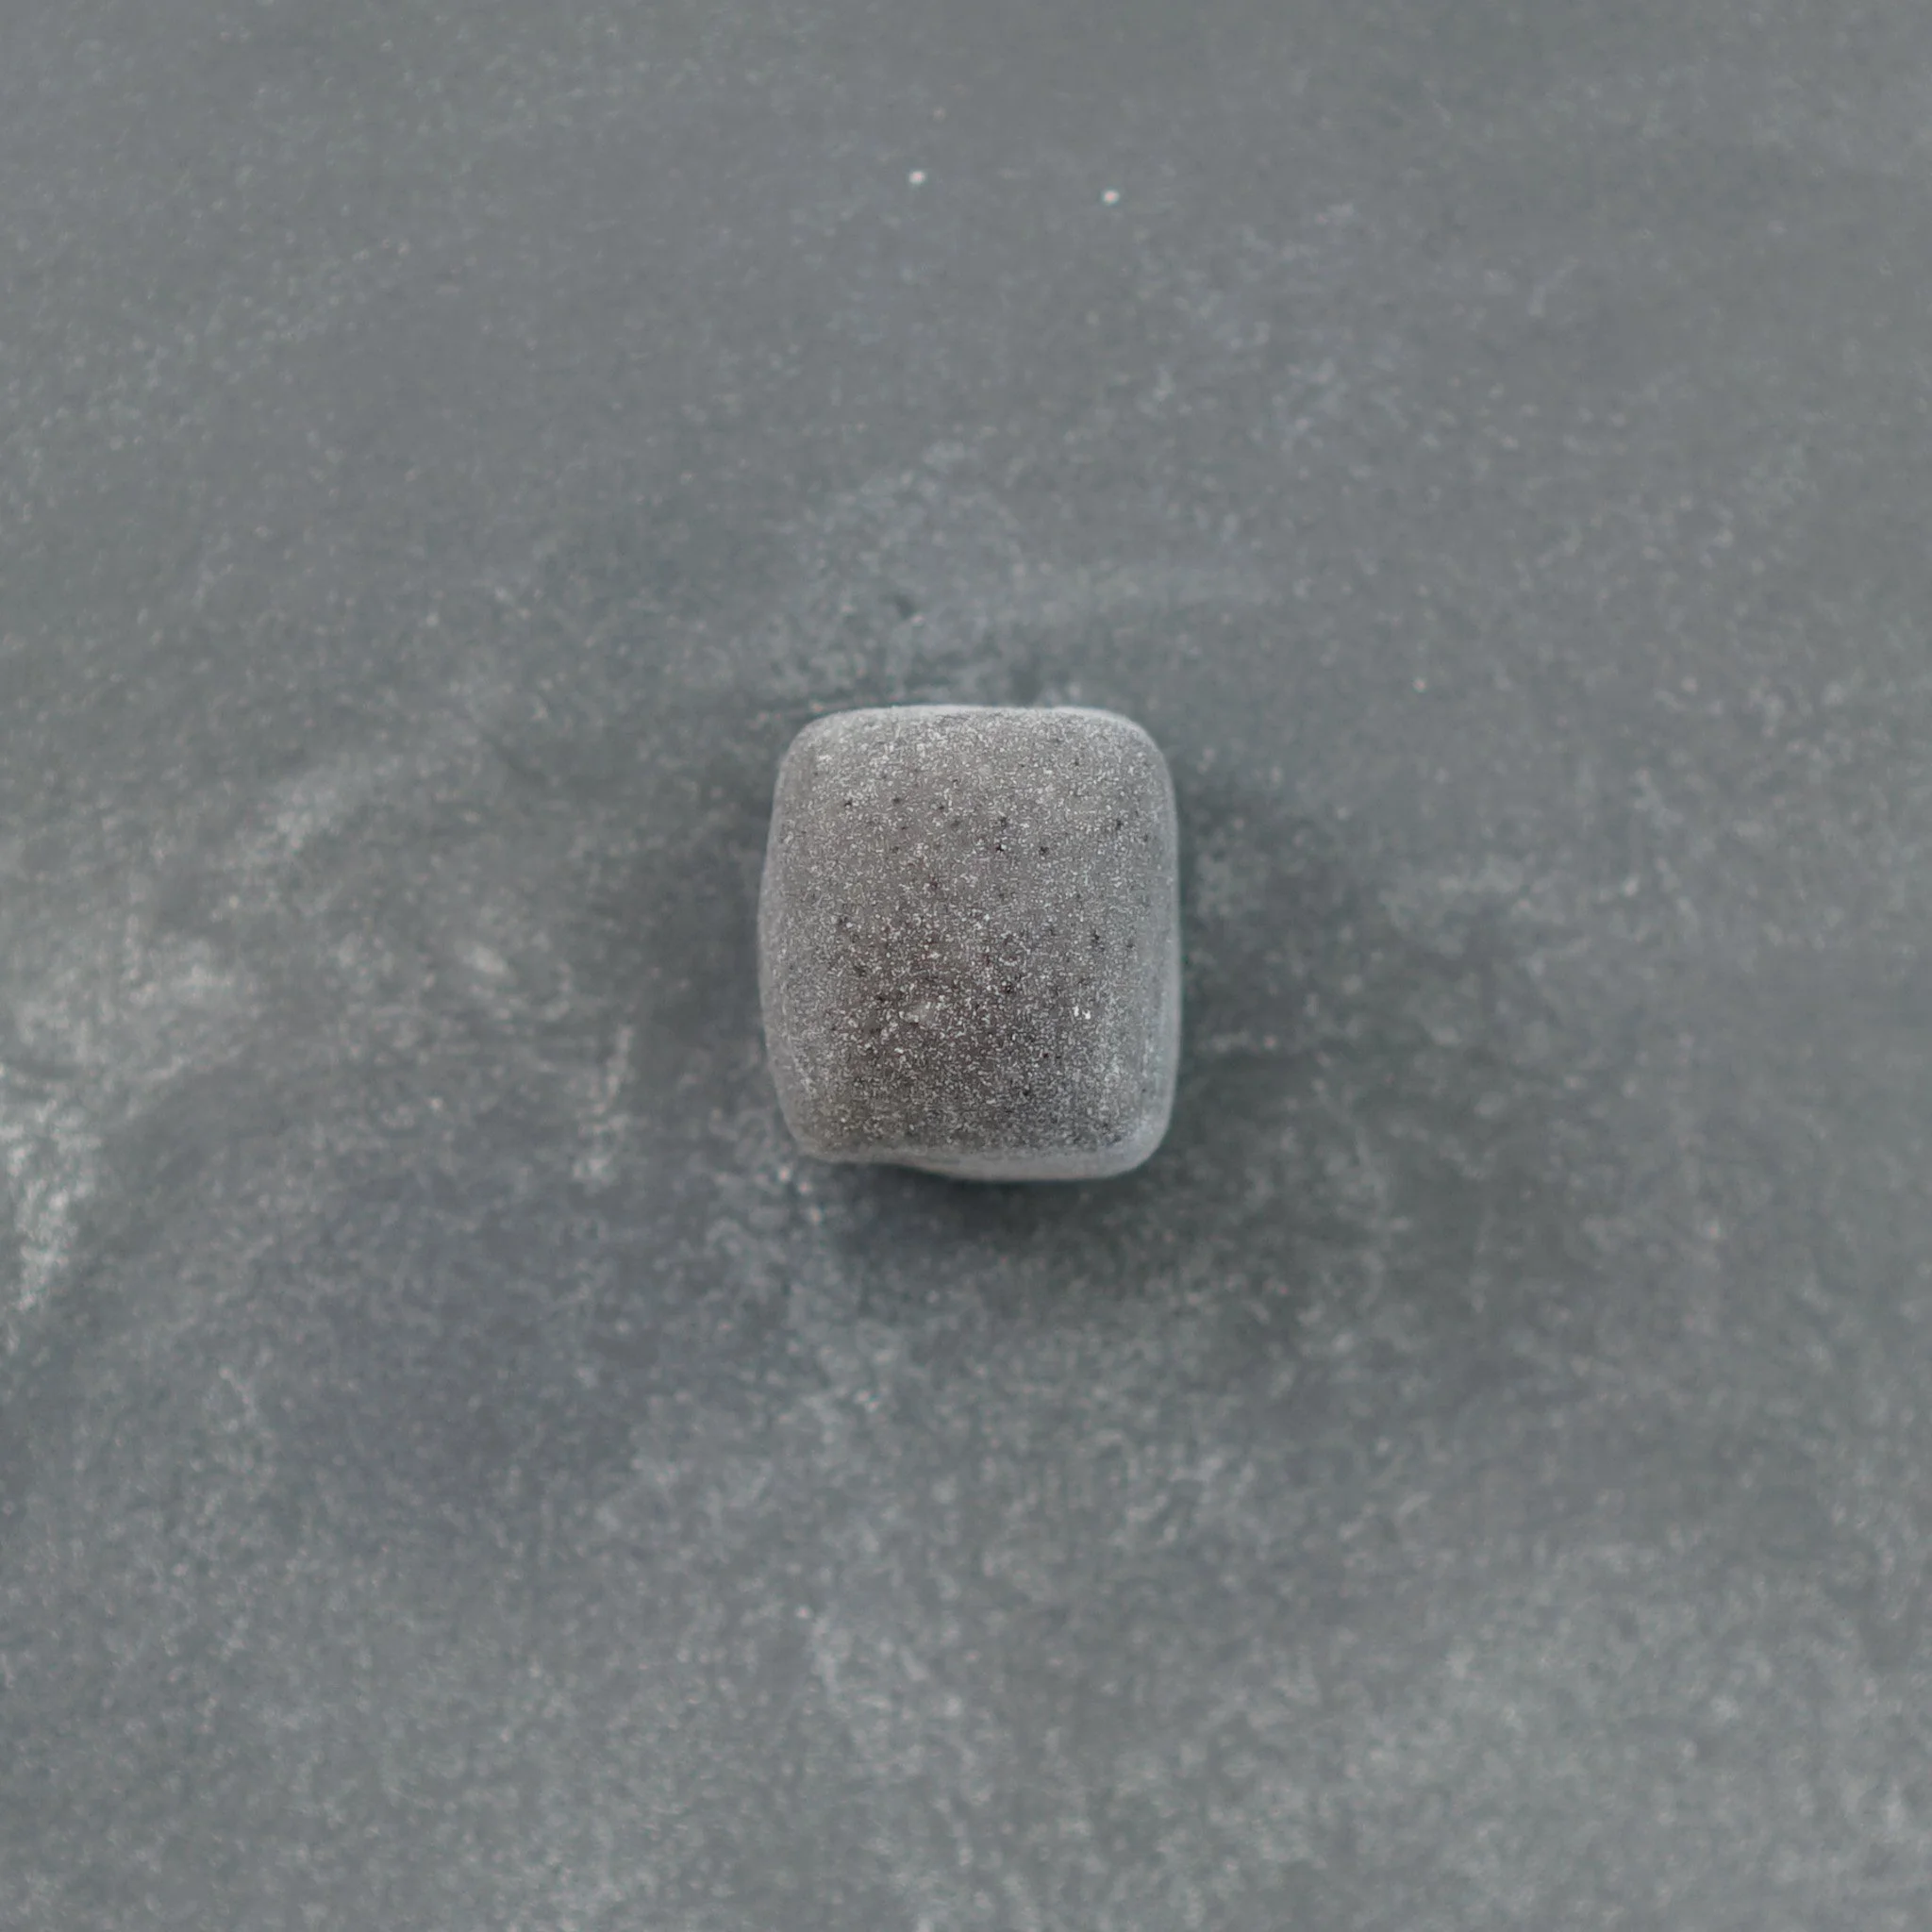
14. Lightly dust the unpressed mooncake with cooked glutinous rice flour and gently shape it with your palms so it fits the mooncake mould.
15. Press firmly on the mooncake mould stamp and release to reveal your finished product. Repeat.


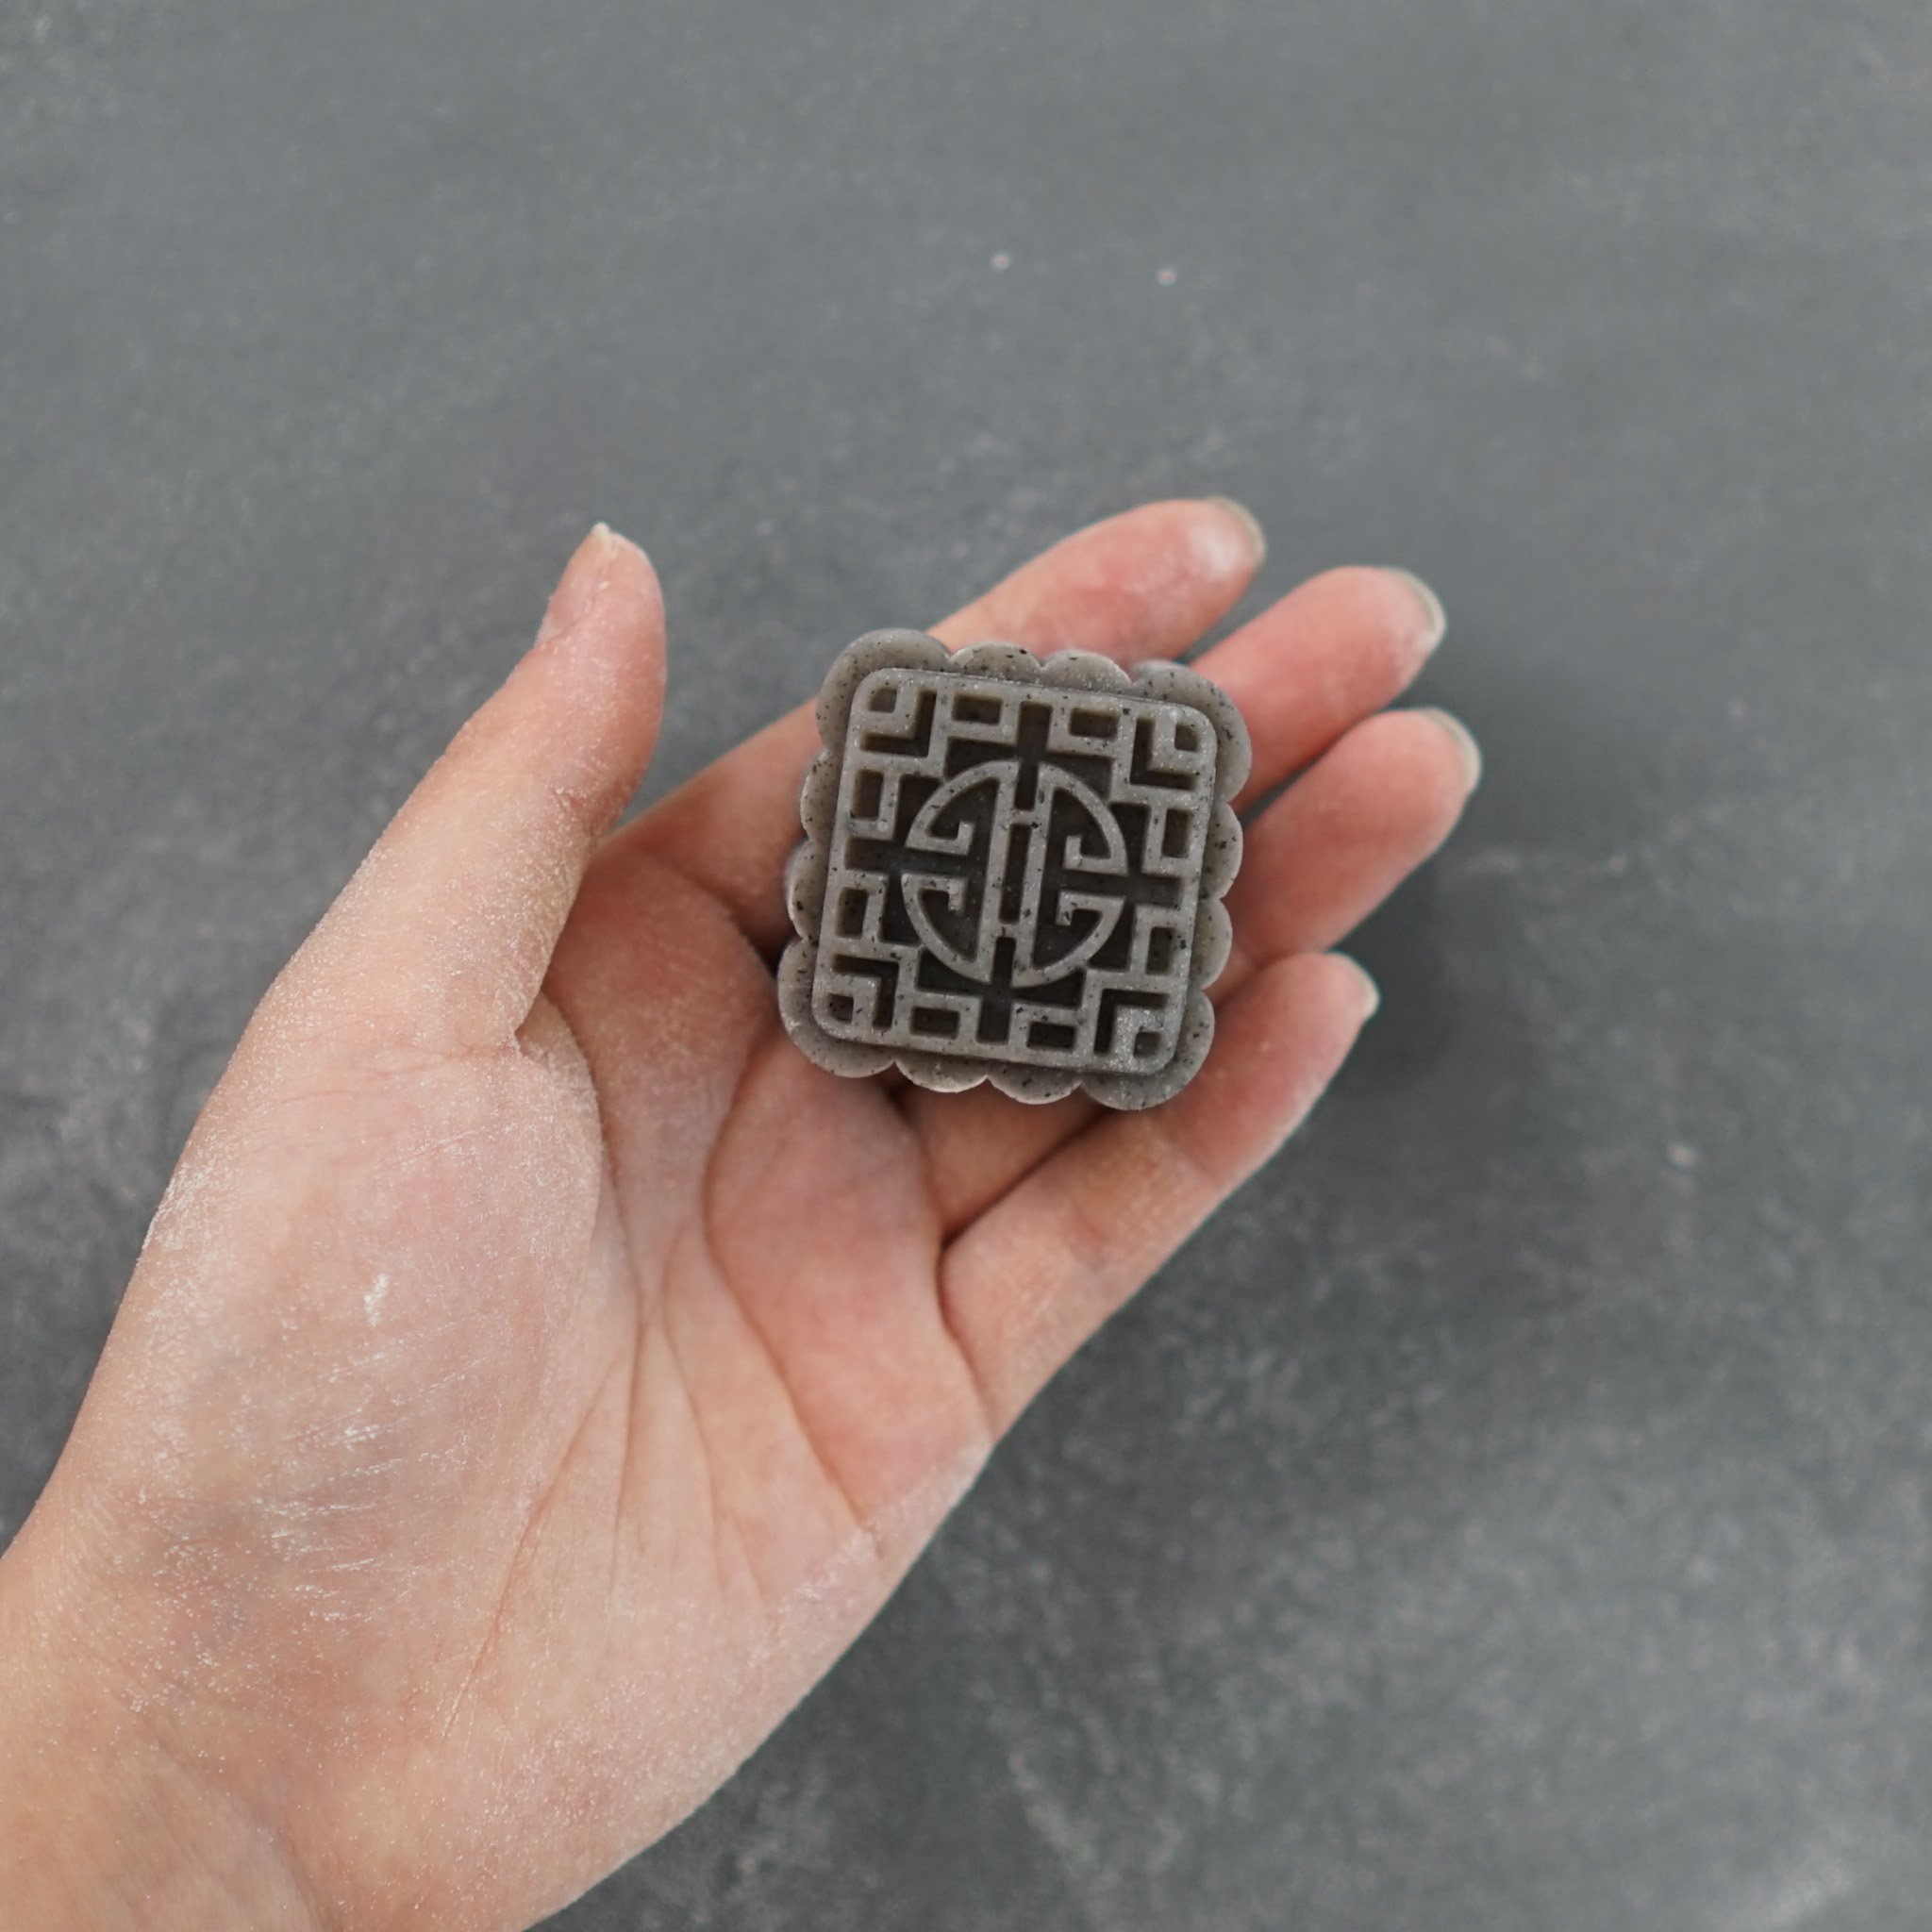
16. Chilling for a couple of hours before consuming is recommended but otherwise, enjoy!