Purple Snow Skin Mooncakes
Recipe Published: Sept 23, 2020 | Updated: Aug 7, 2022
Written by: Jasma
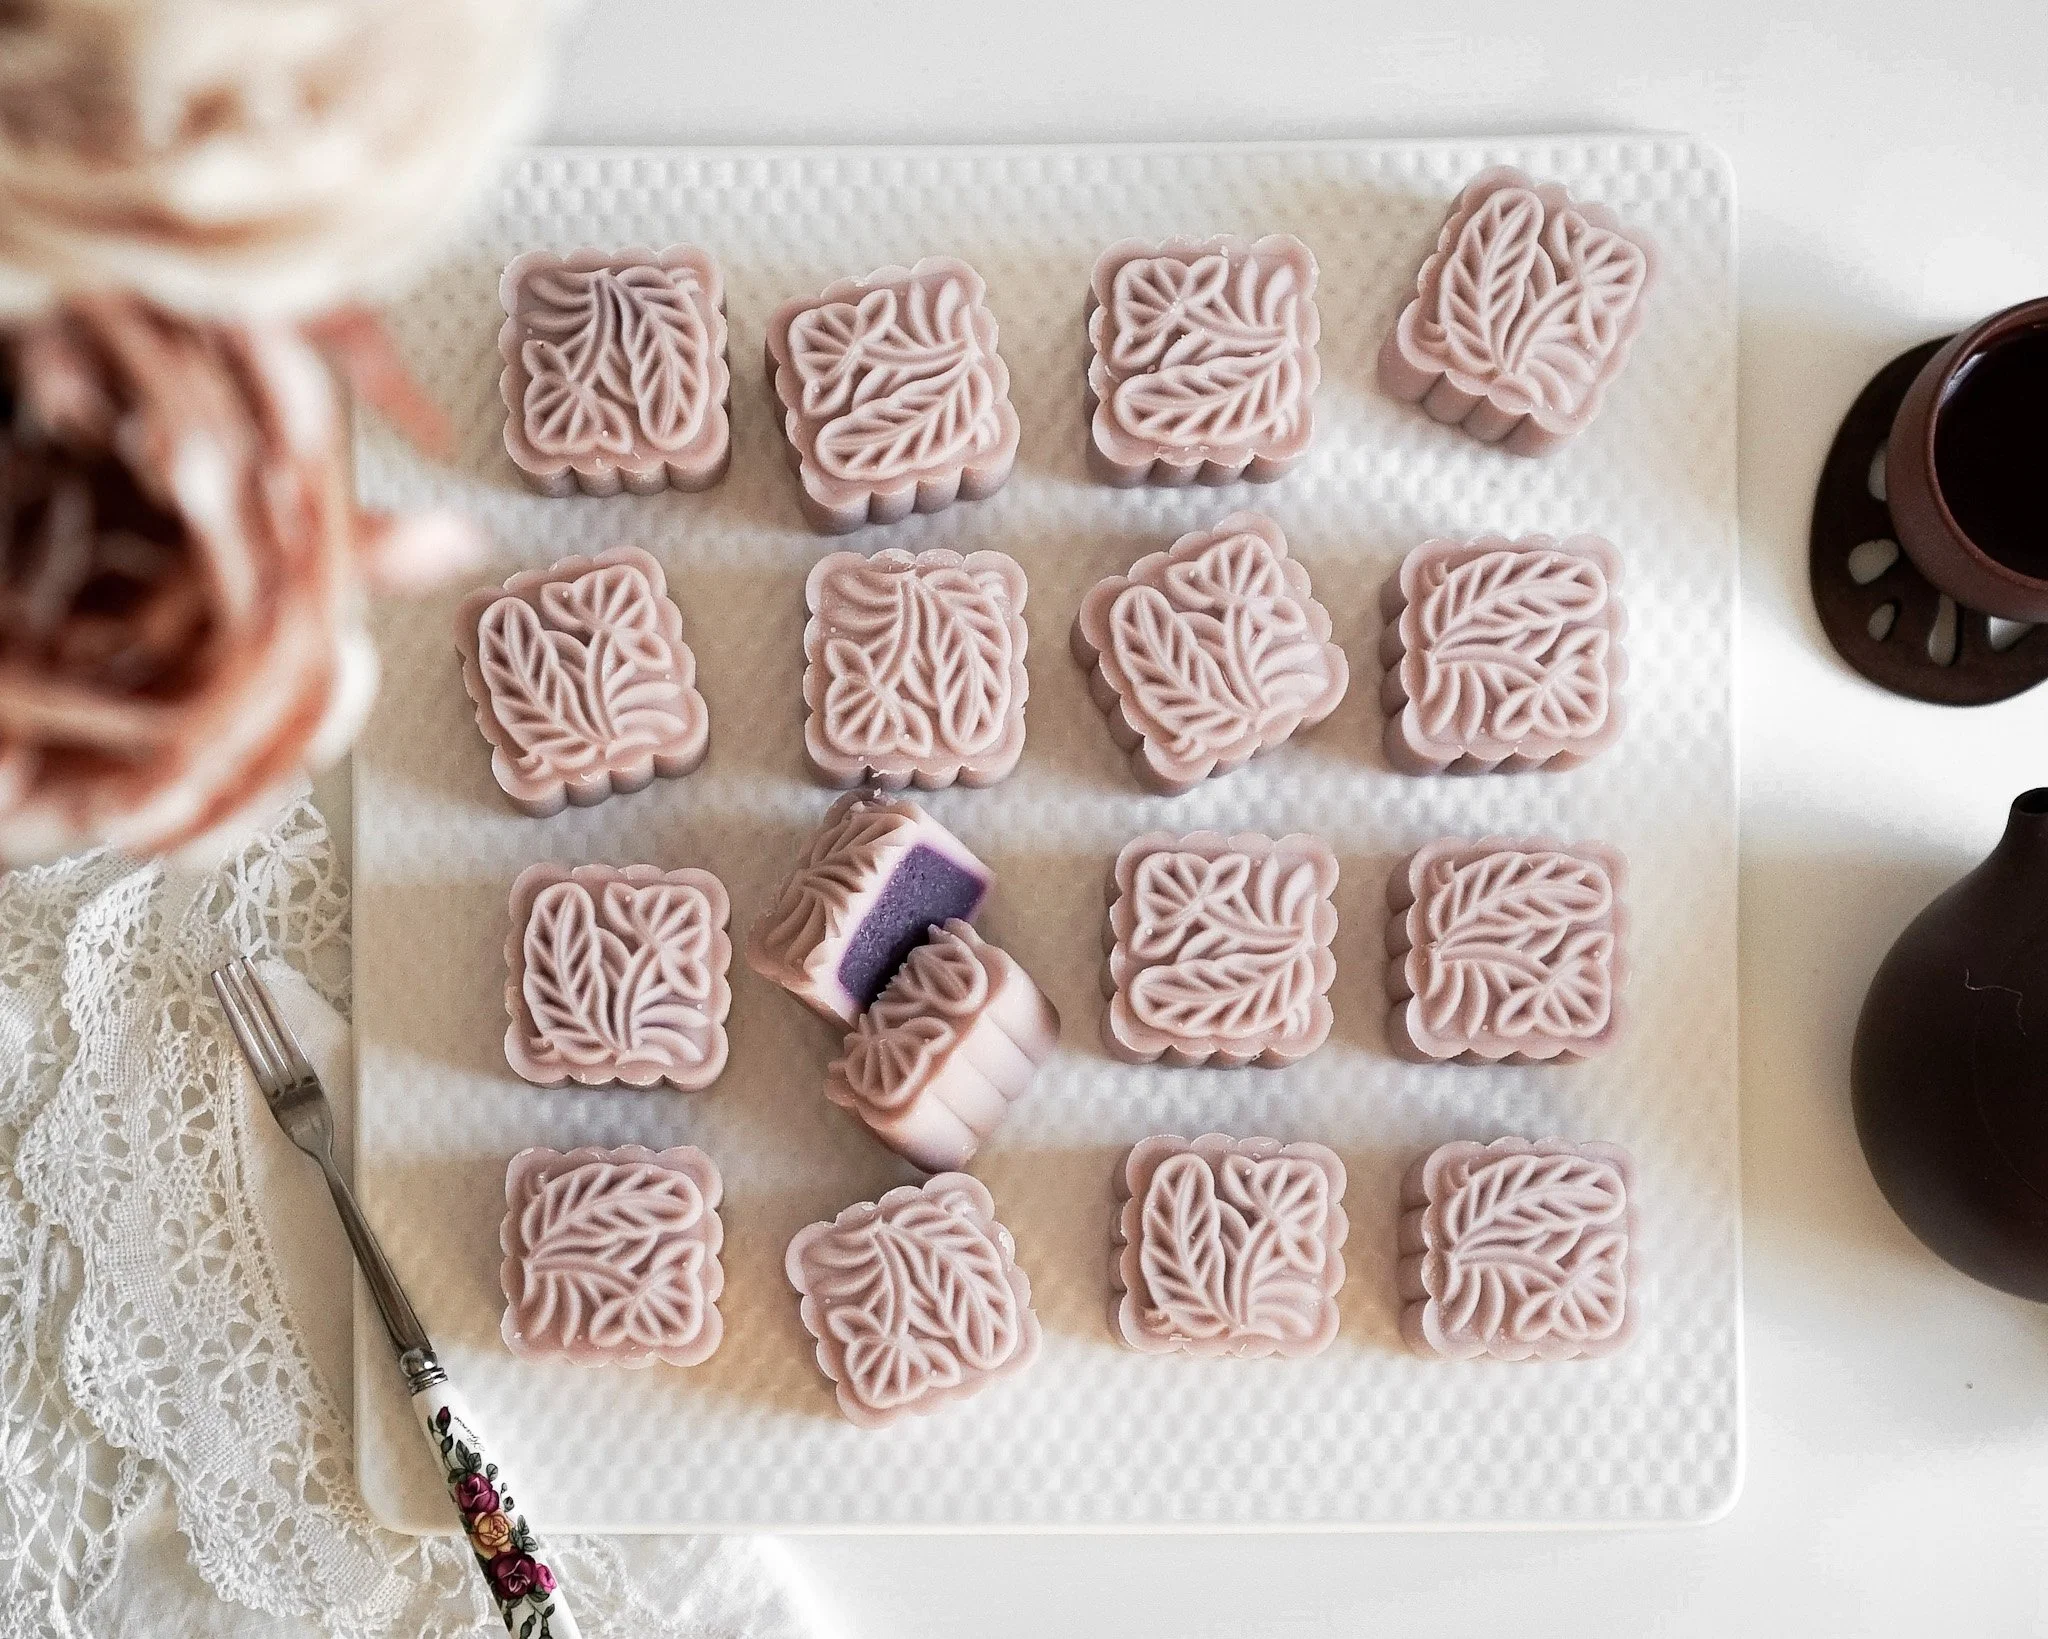
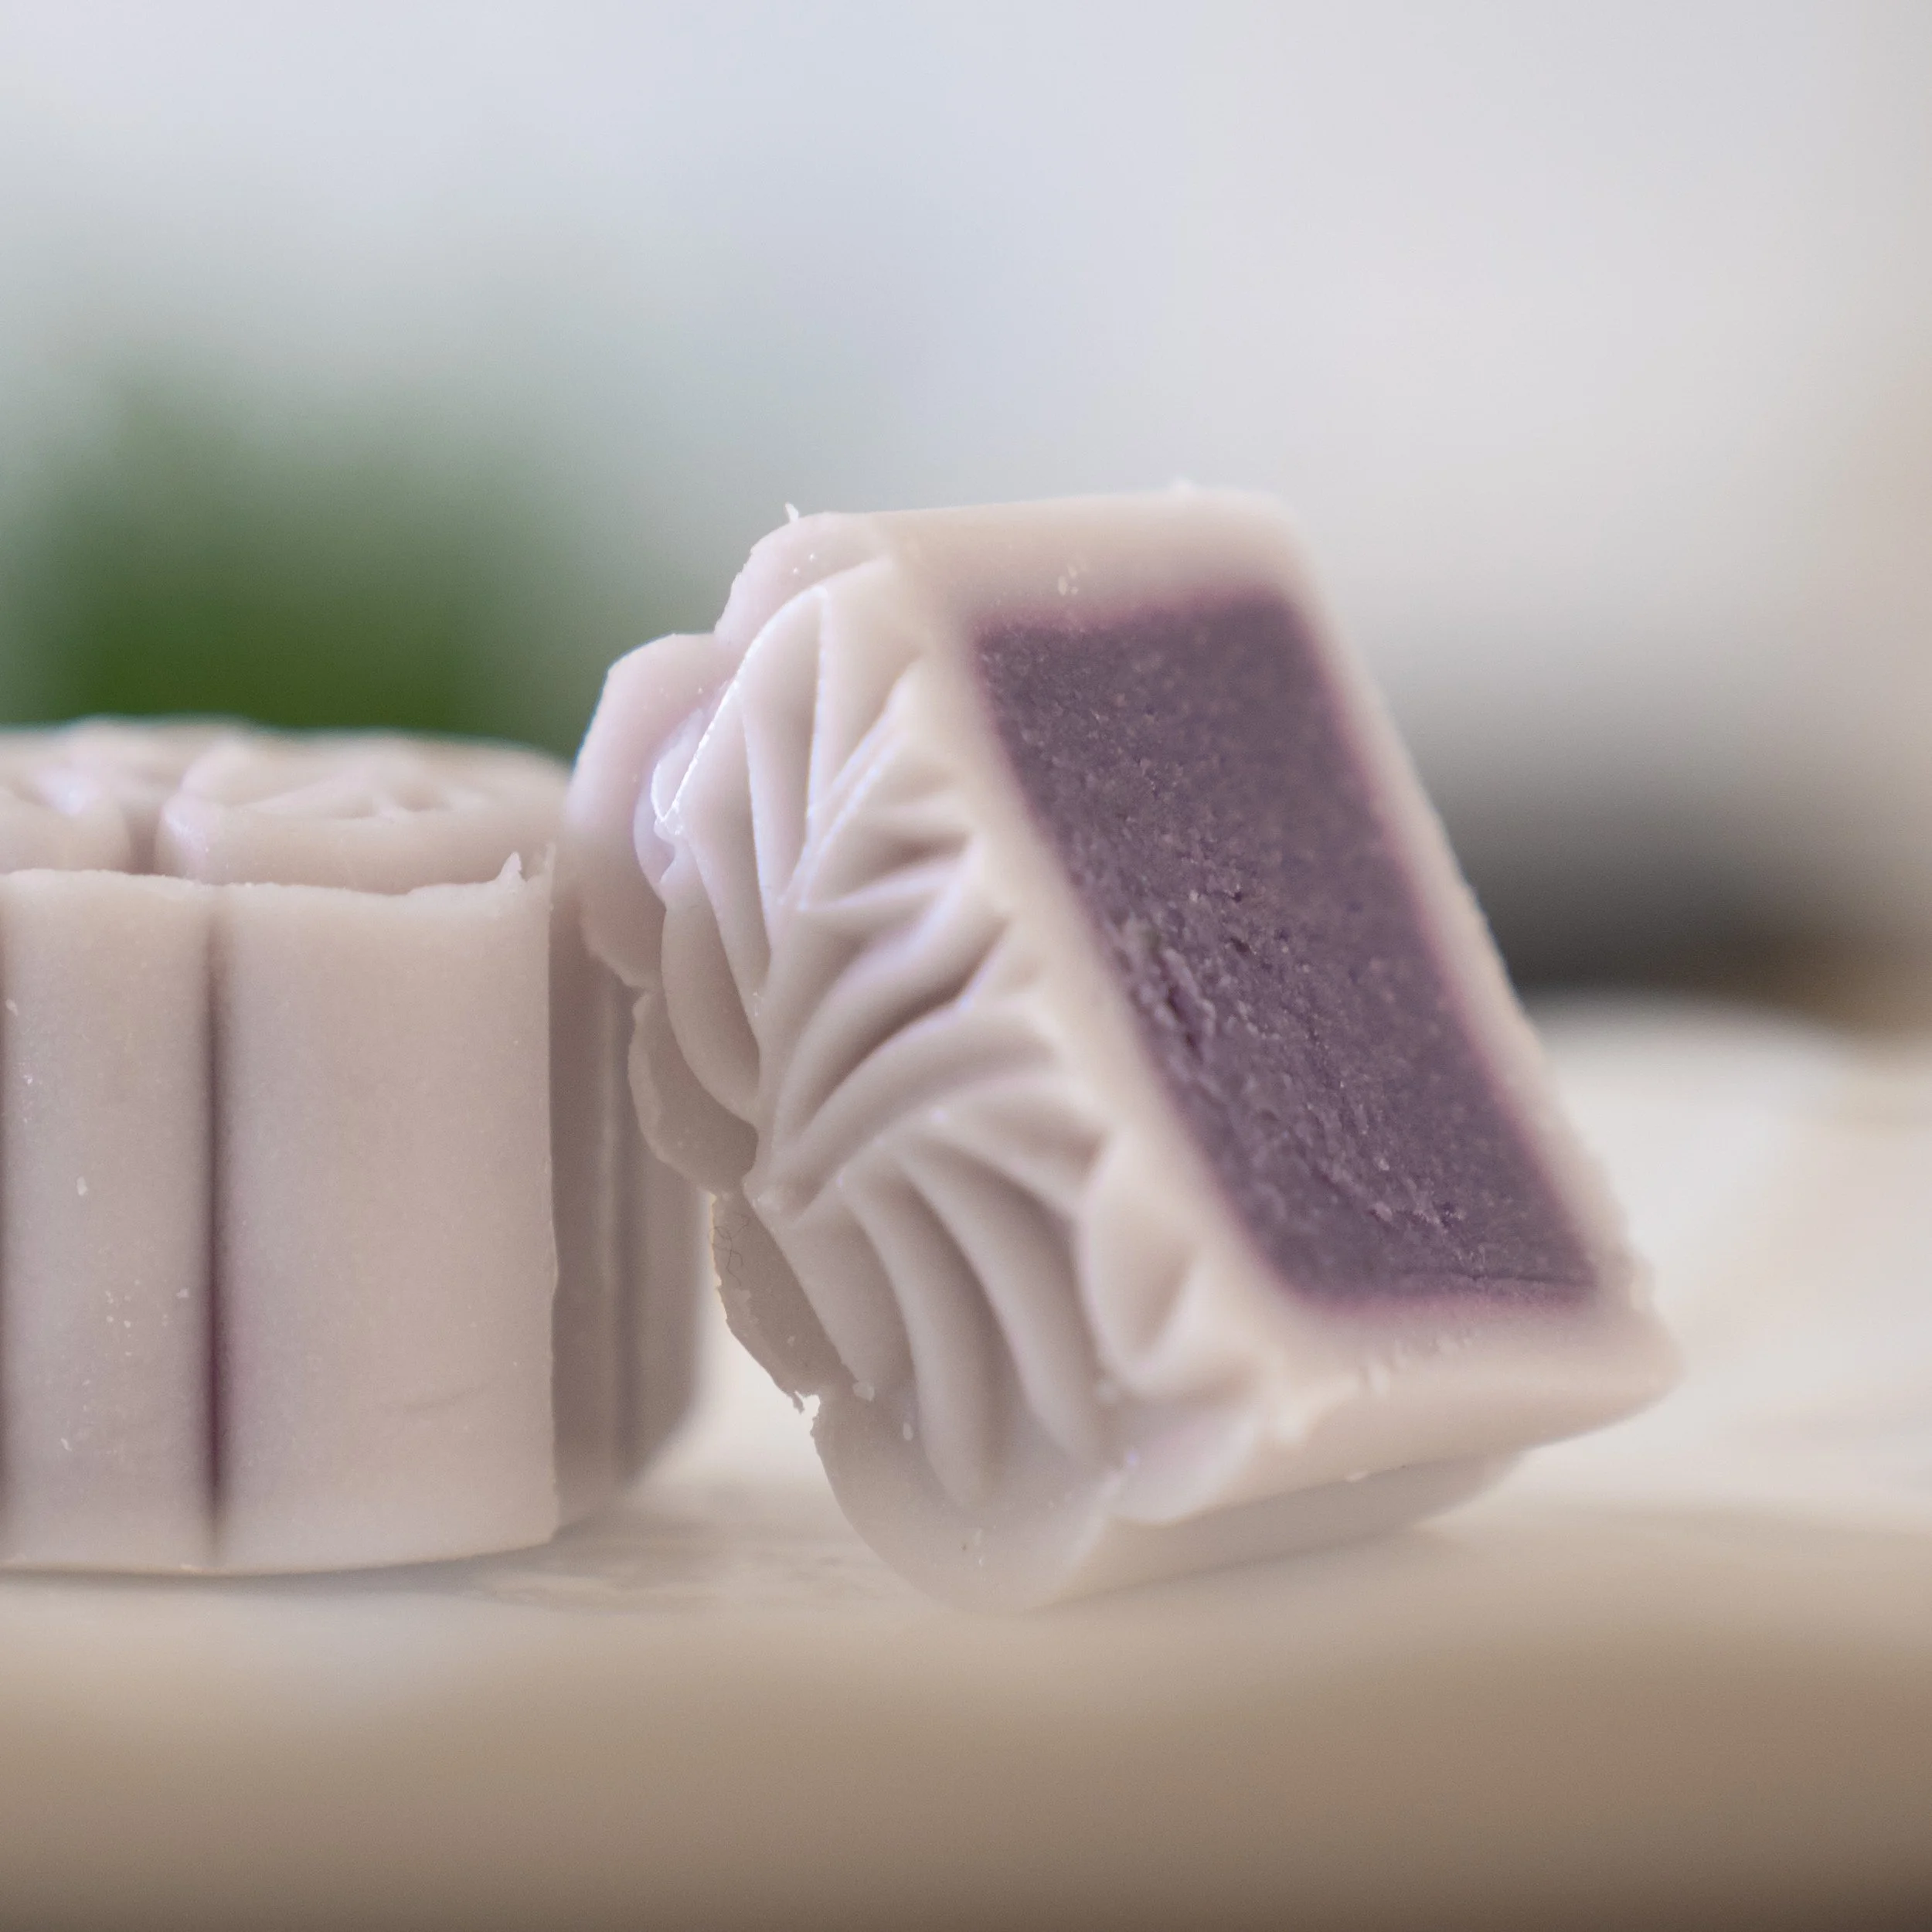
Perhaps the most popular recipe on my YouTube Channel, Purple Snow Skin Mooncakes holds a special significance for me for many reasons, both culturally and for how many new people have discovered the Chinese delicacy — mooncakes through them.
Snow skin mooncakes are a variation of mooncakes, which are traditionally eaten during the Mid-Autumn festival, one of the biggest holidays in China. Instead of being baked in a pastry crust, snow skin mooncakes are non-bake, and have a mochi-esque texture. It is a labour of love given its slightly complicated process, but time and time again proves to be well worth it.
INGREDIENTS
Filling:
300g (4 small) peeled purple sweet potatoes
5g beet
145g water (add when blending, not when steaming)
100g condensed milk
45g coconut oil
110g coconut cream
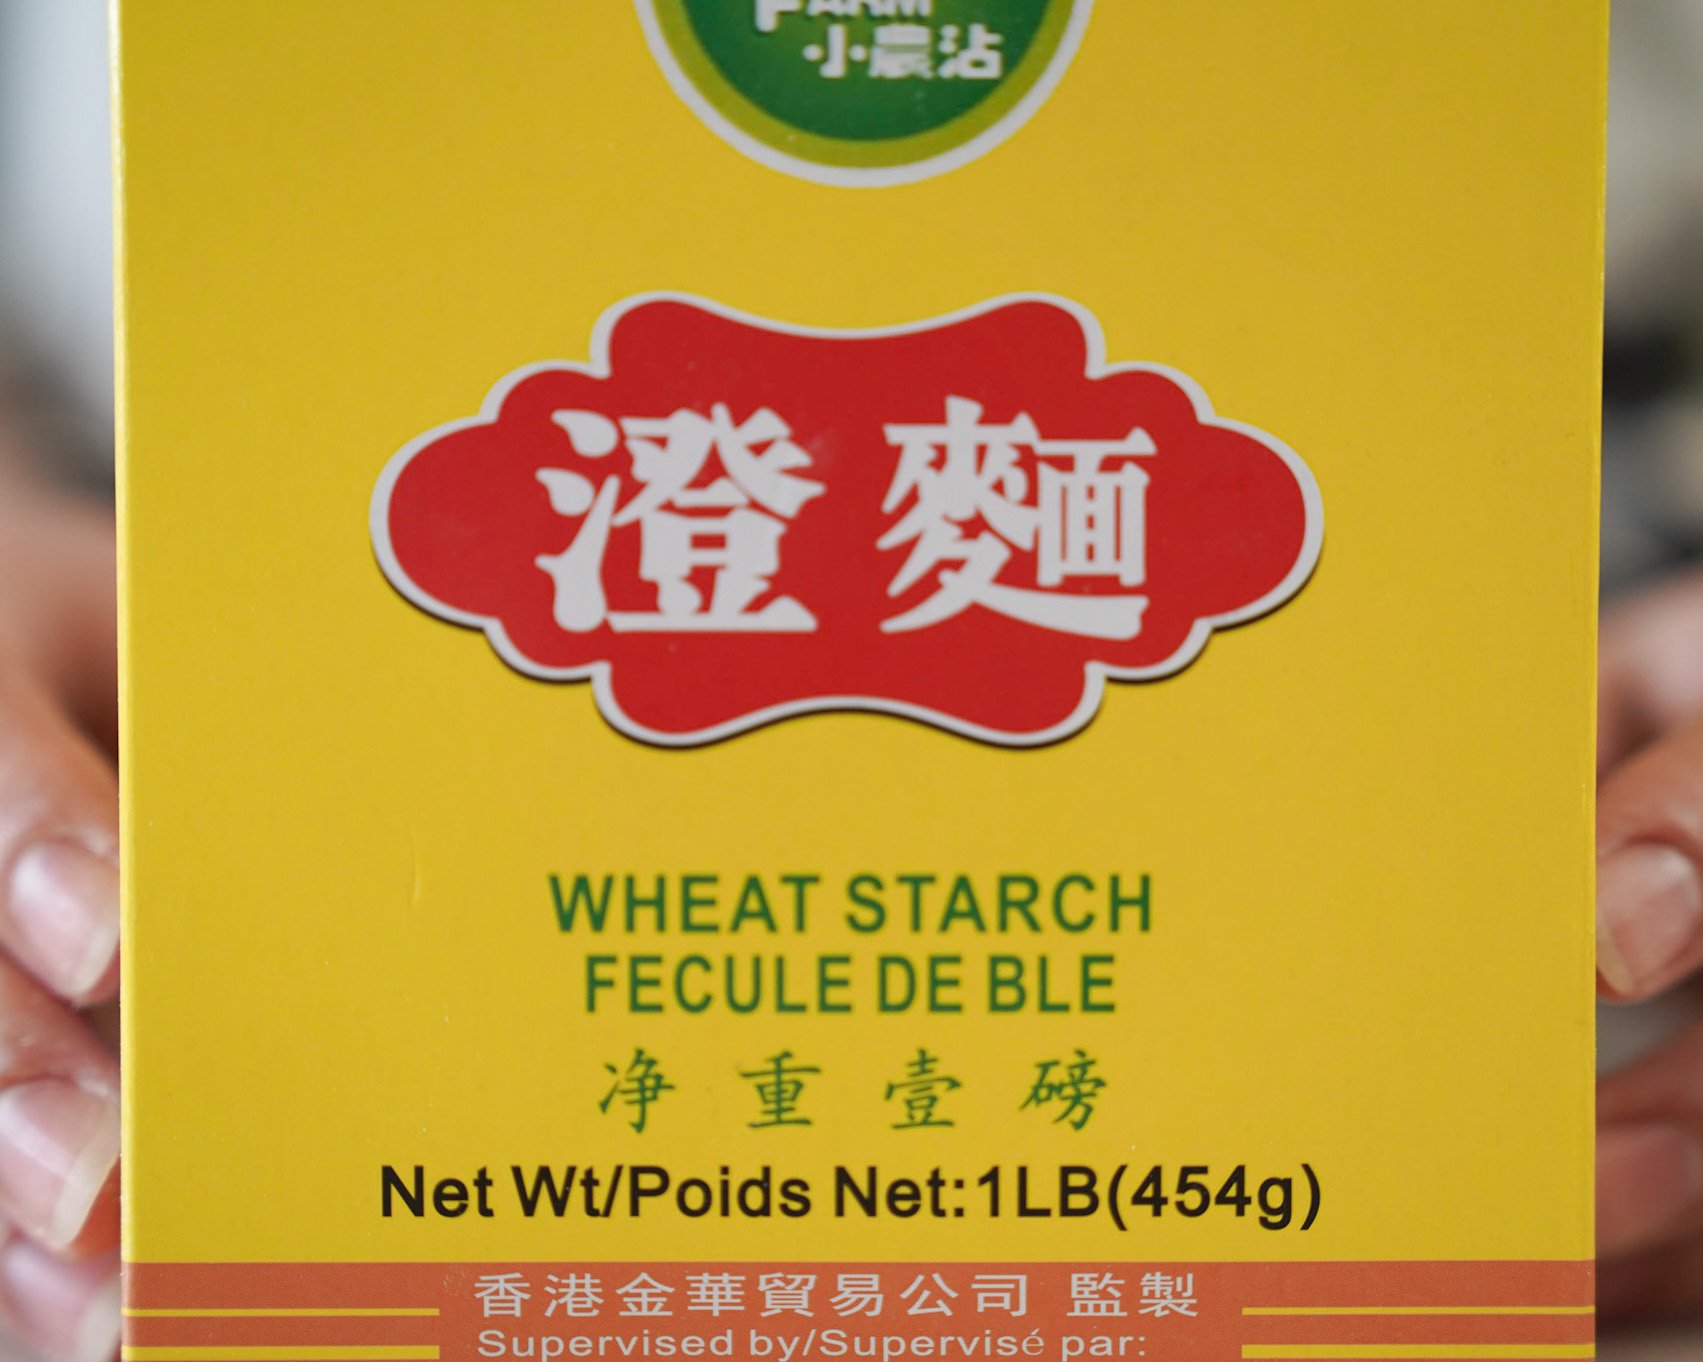
40g wheat starch
Pinch of salt
Snow Skin:
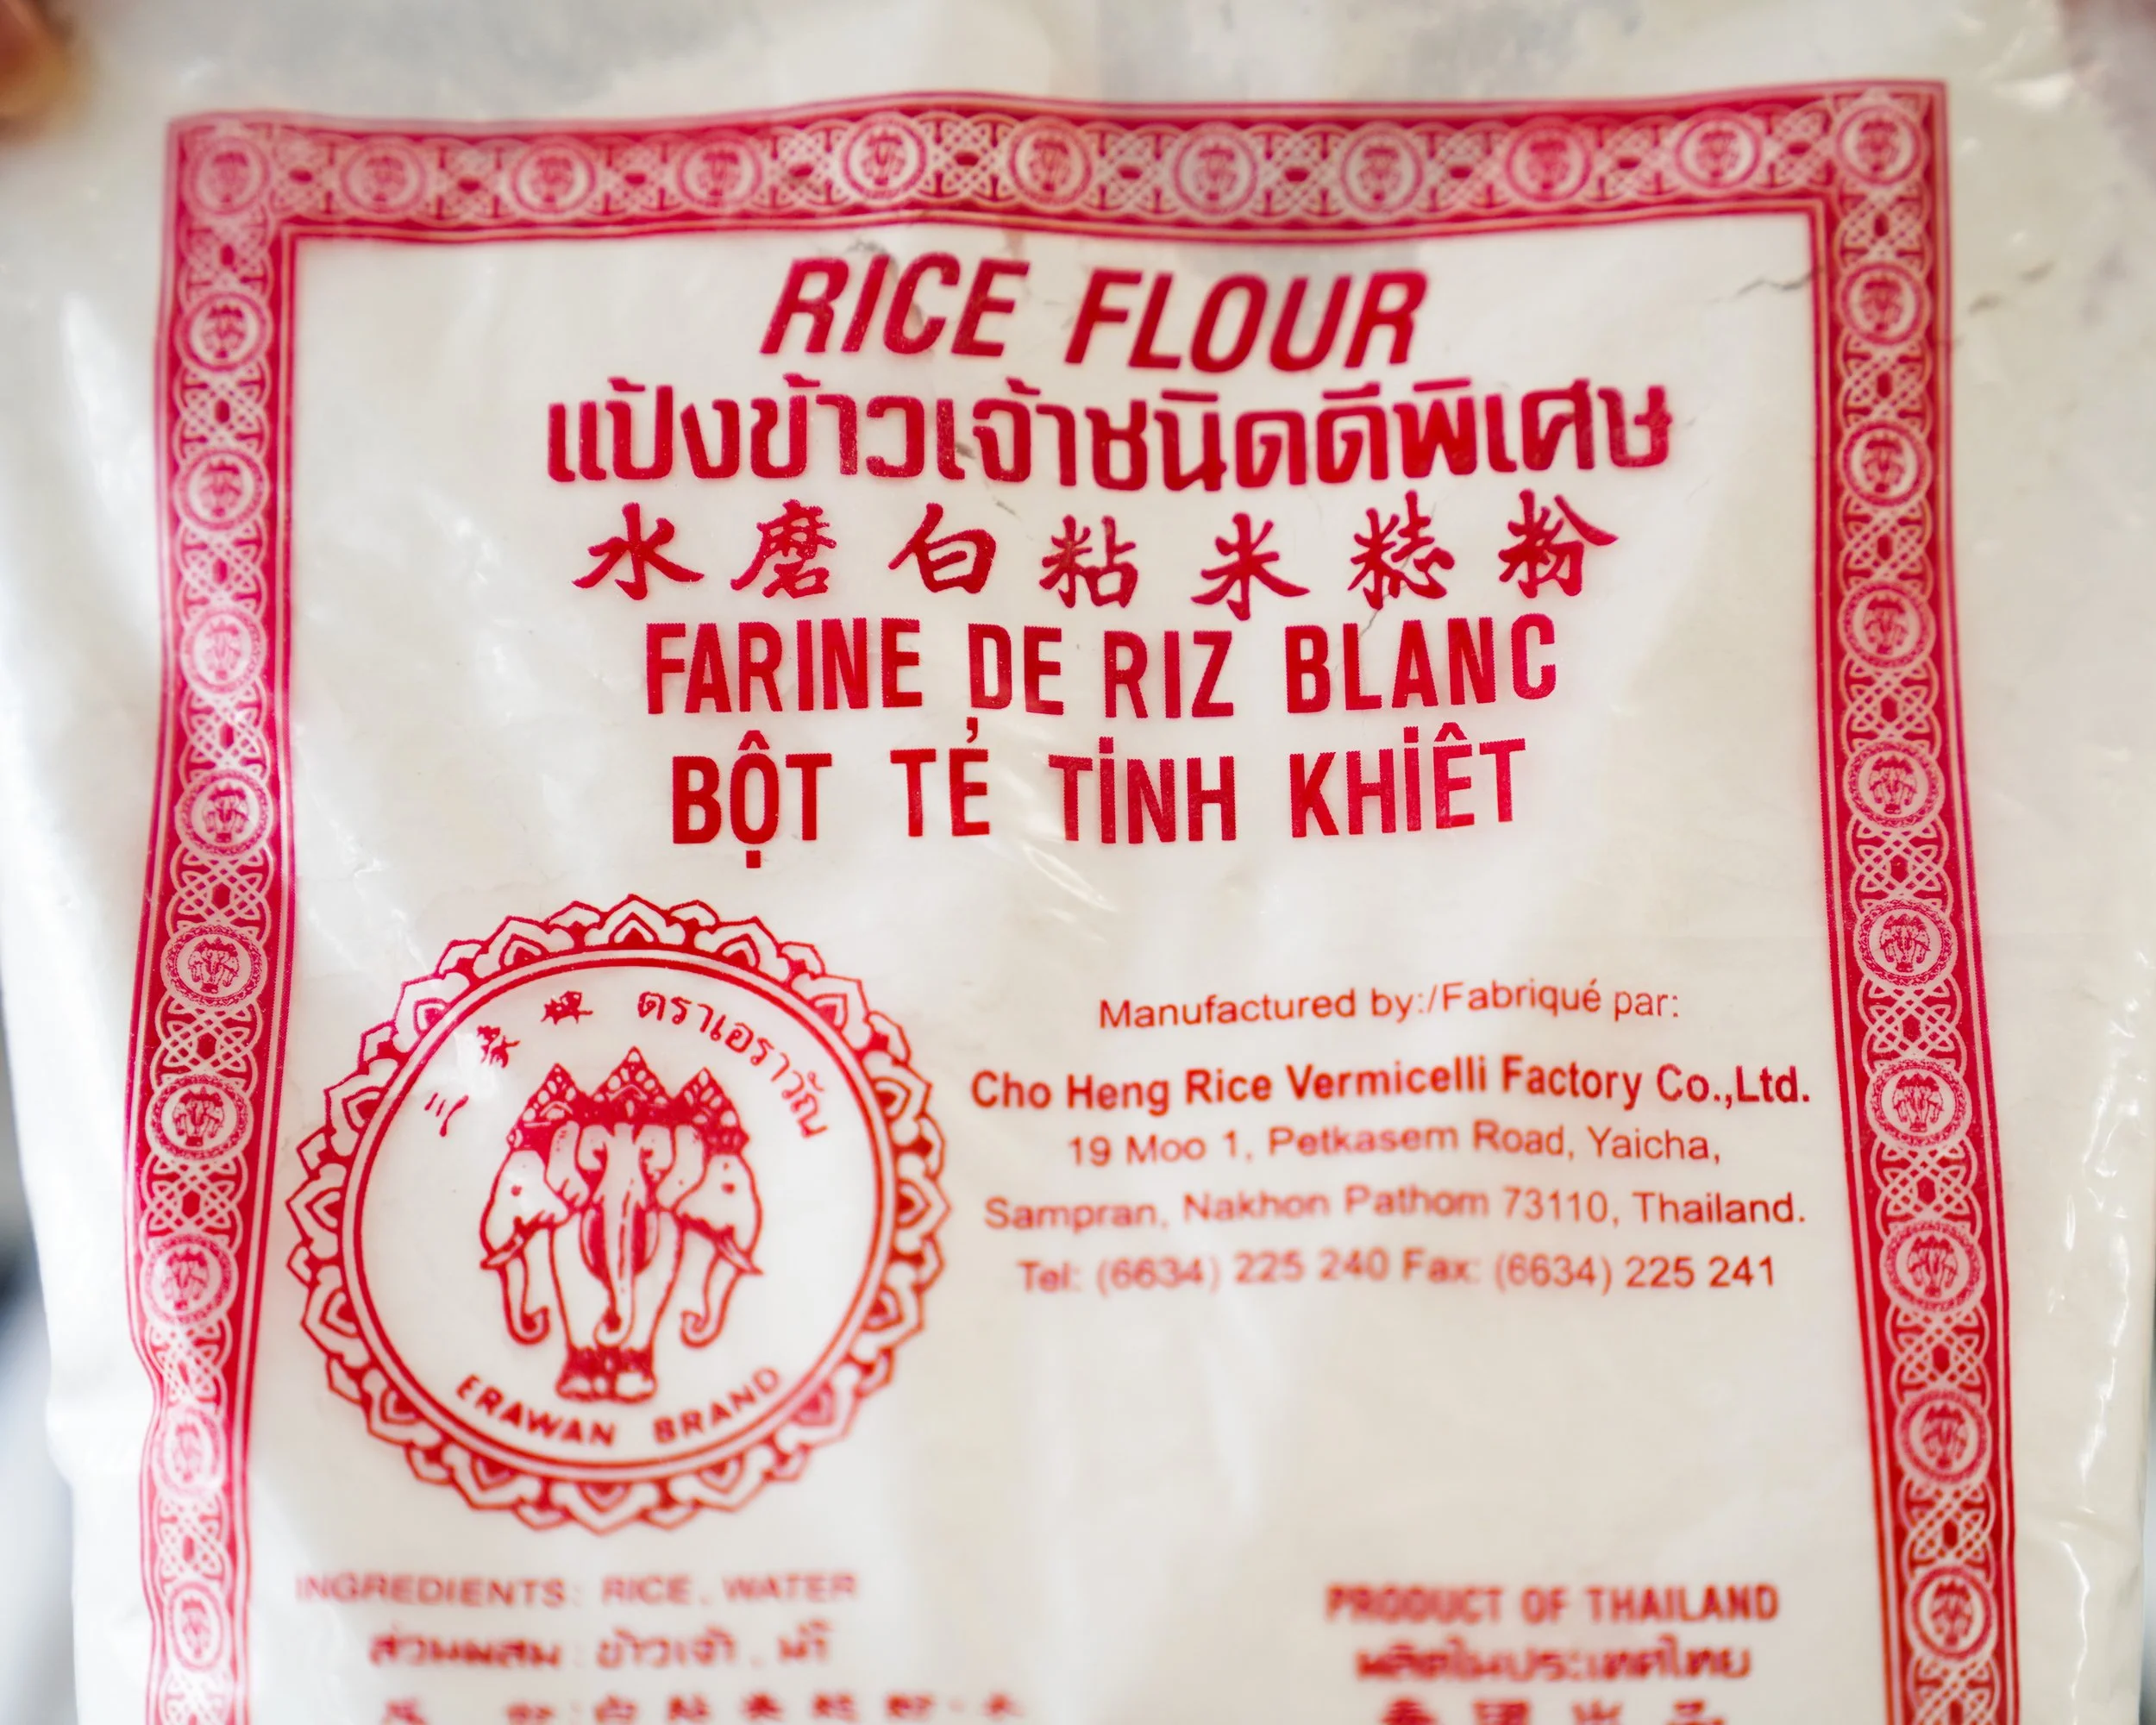
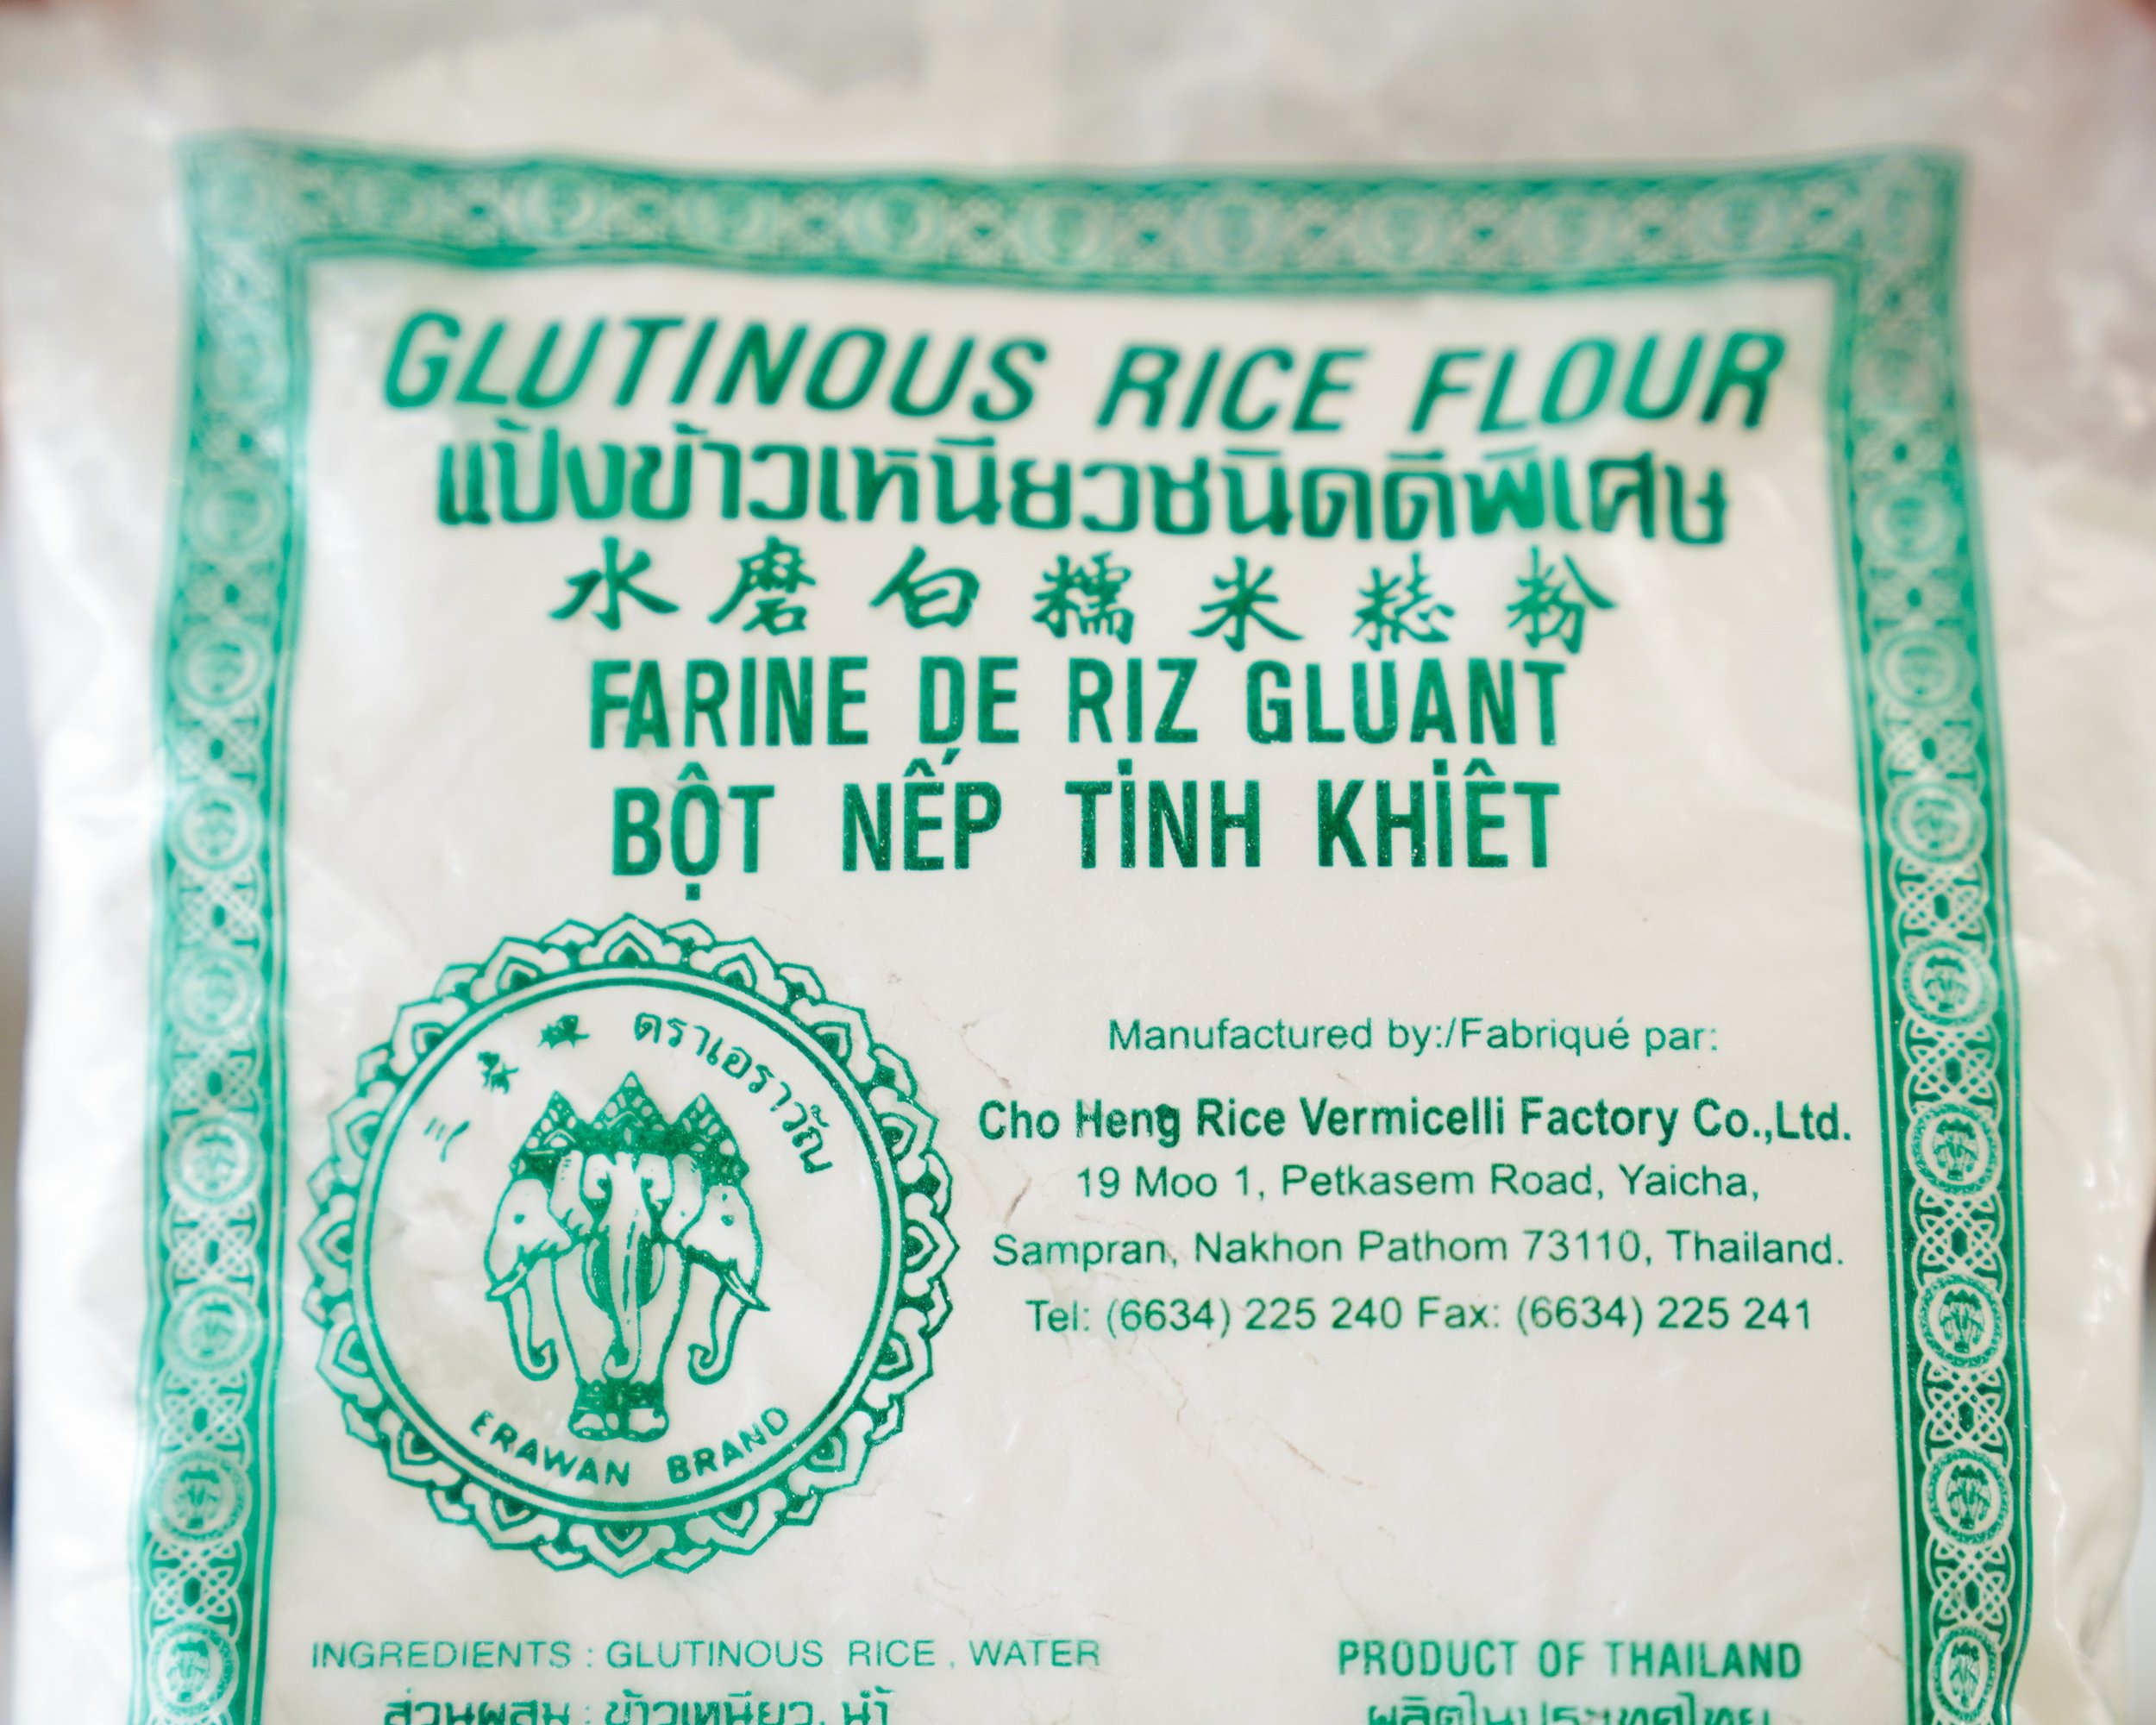
75g glutinous rice flour
75g rice flour
50g wheat starch
85g icing sugar
280g milk + reserved purple liquid
45g sweetened condensed milk
45g coconut oil (melted)
SPECIAL EQUIPMENT
Food processor or high power blender
Non-stick pan
Here's the video tutorial! For more go check out my Youtube channel!
LET’S BEGIN!
Filling
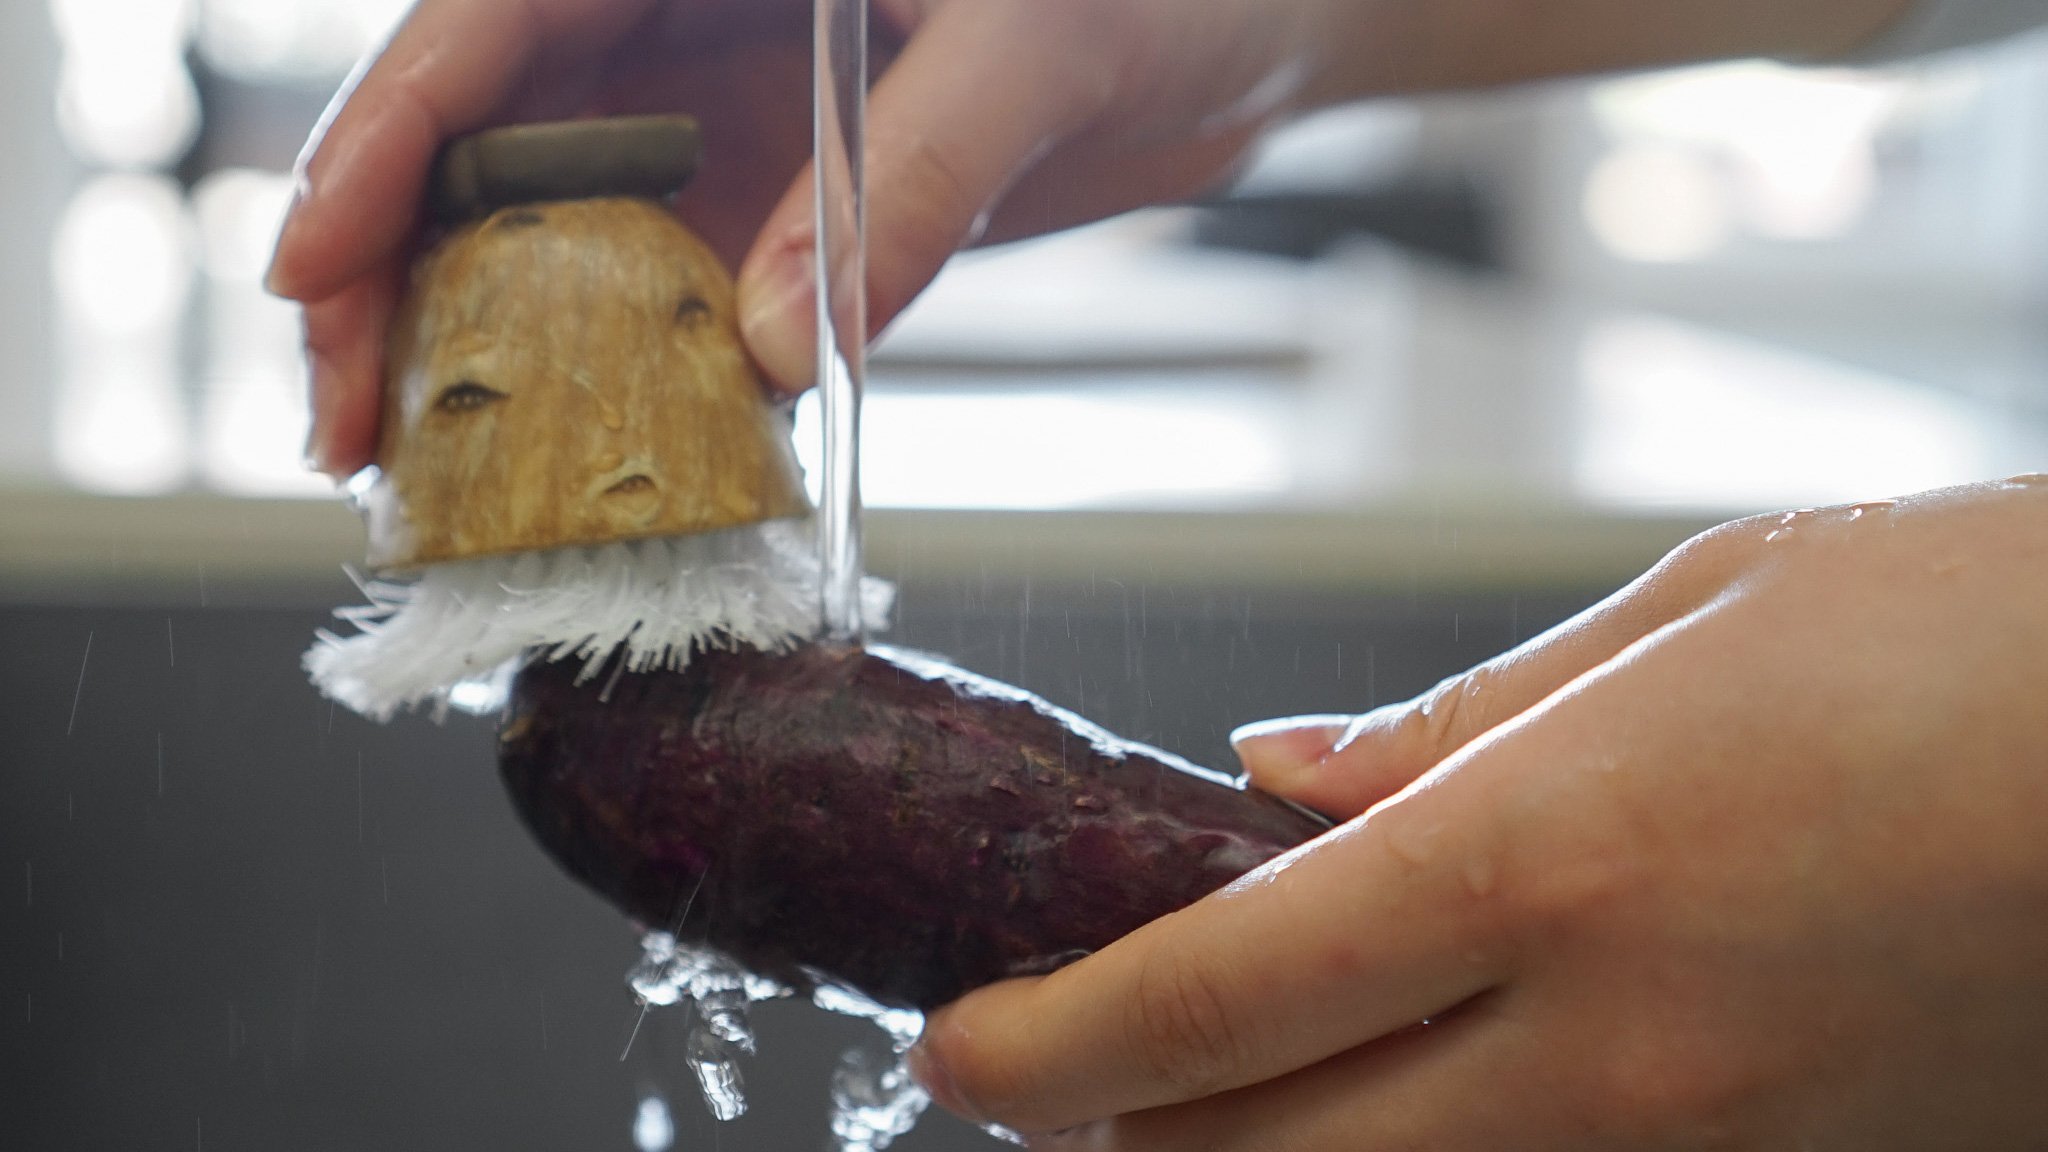
Wash and peel purple sweet potatoes, then dice them into smaller chunks to speed up the cooking process.
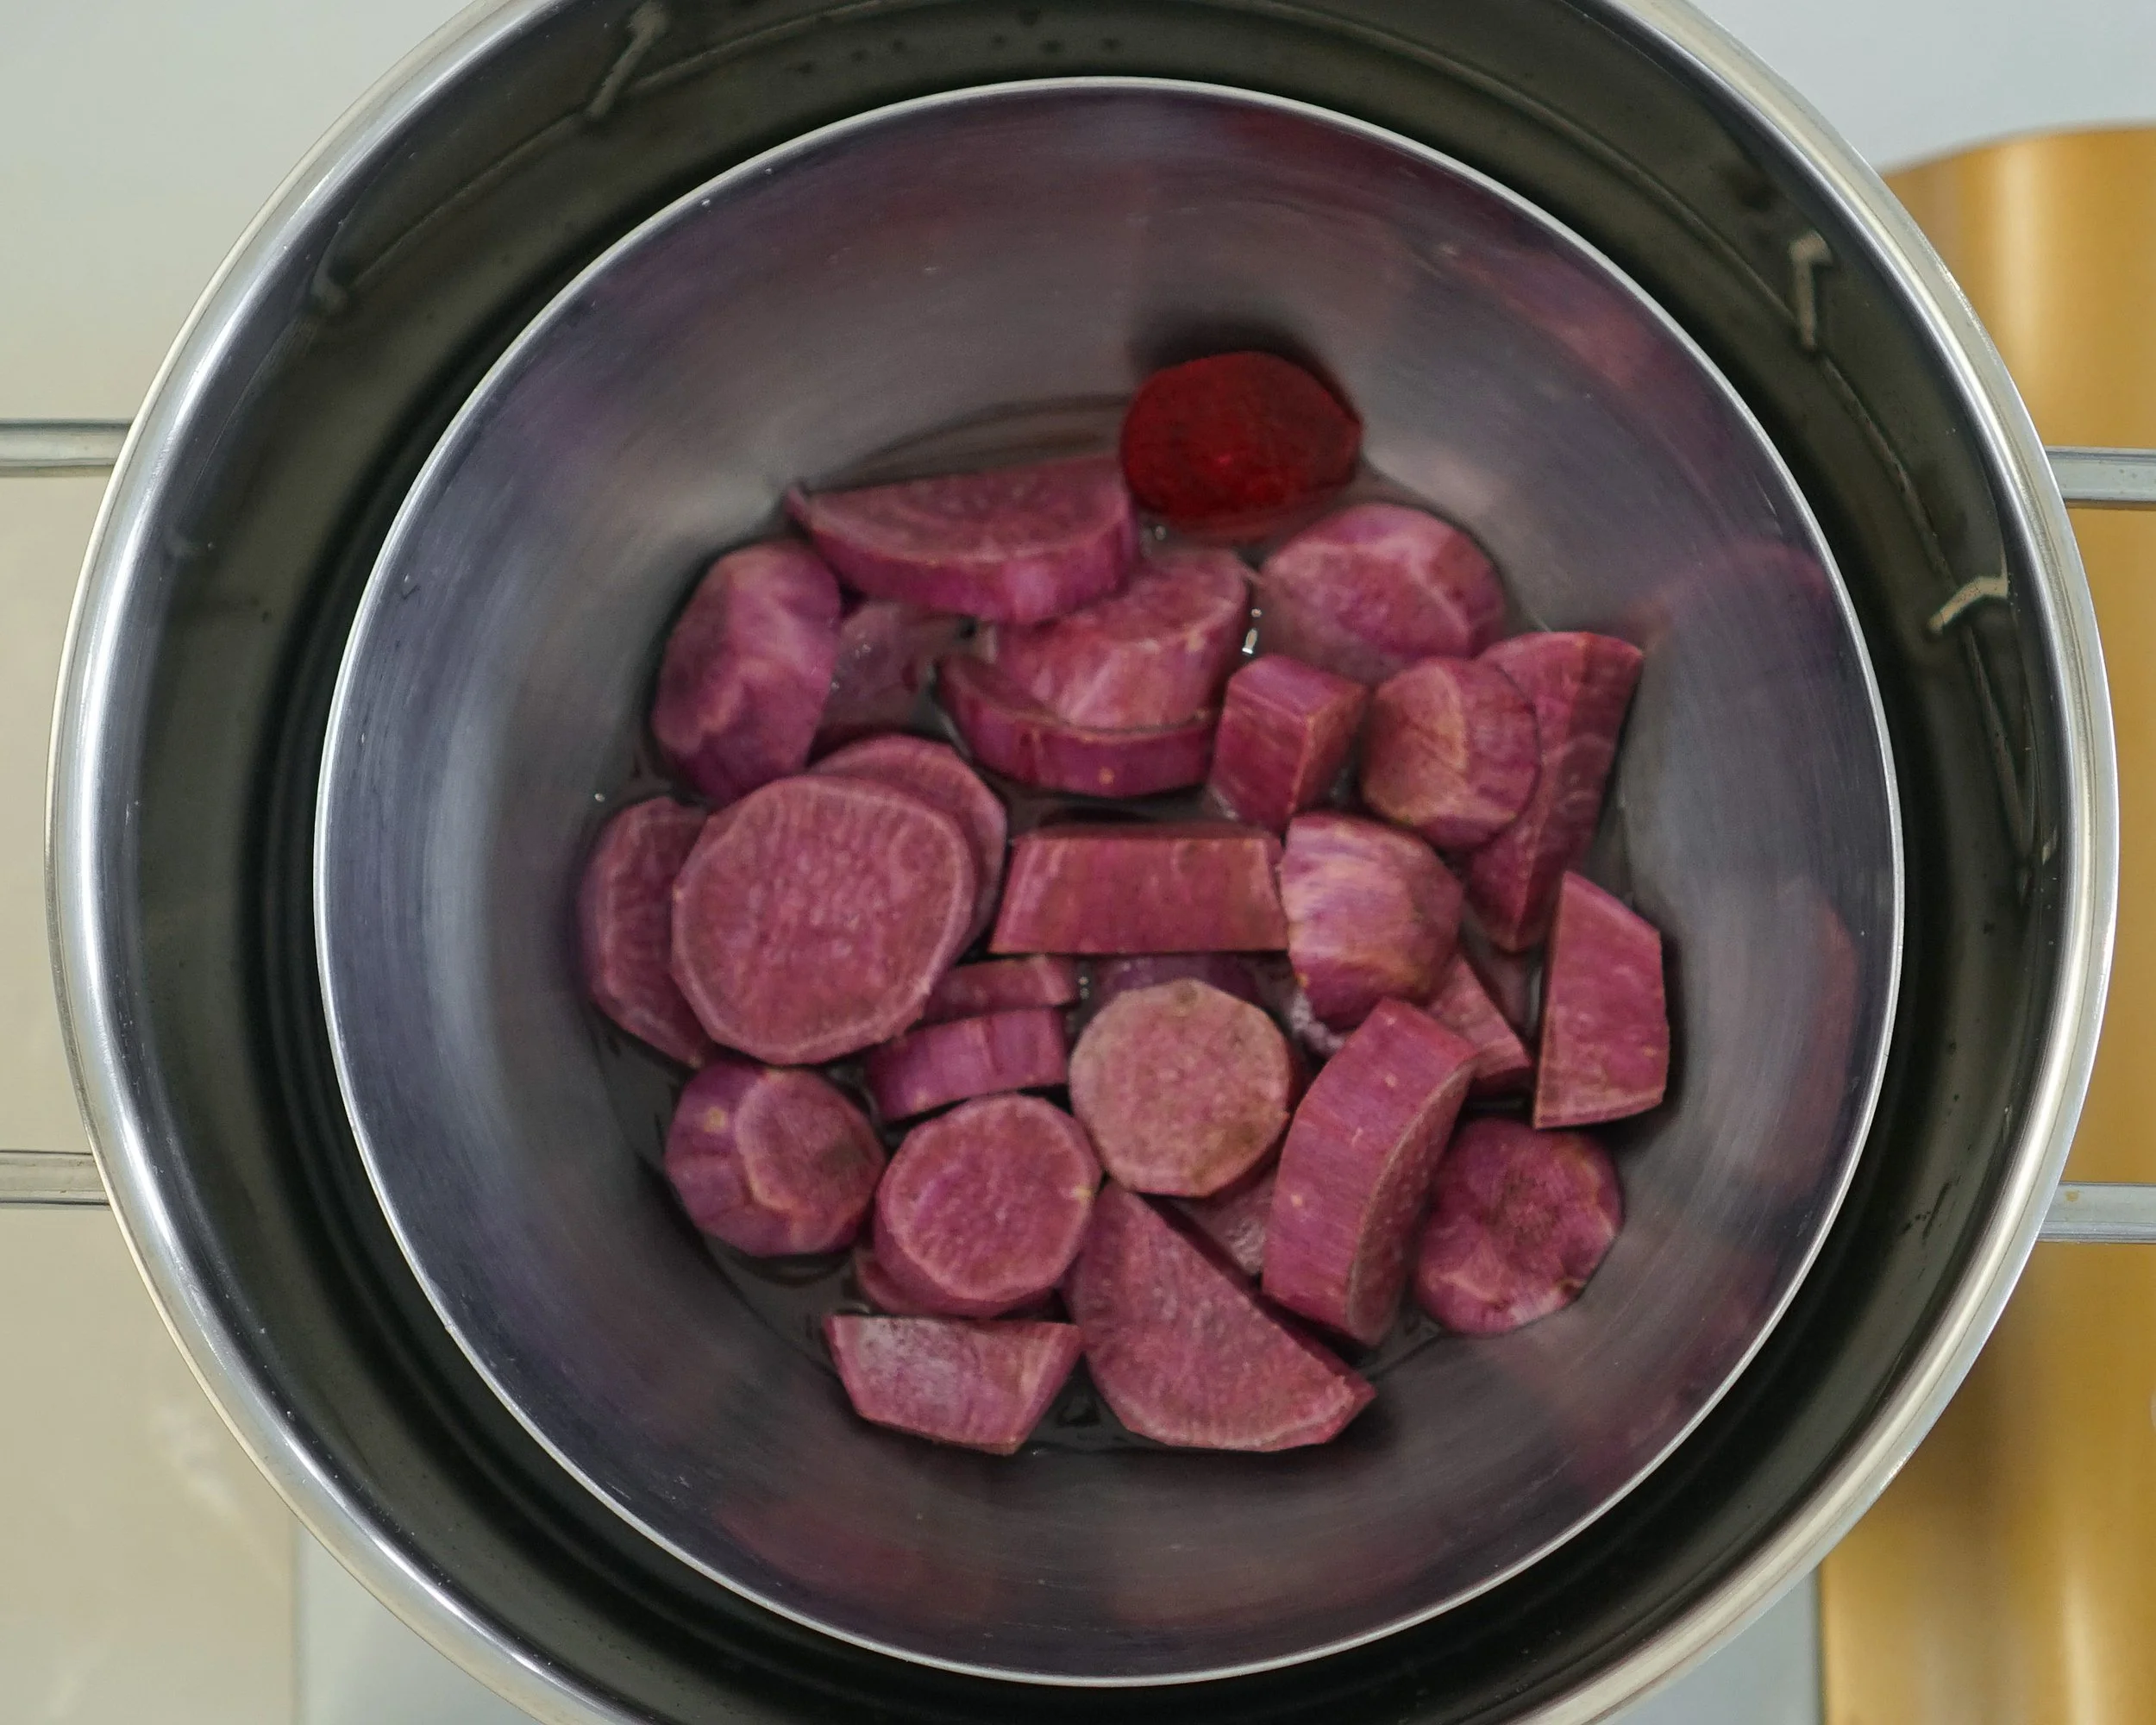
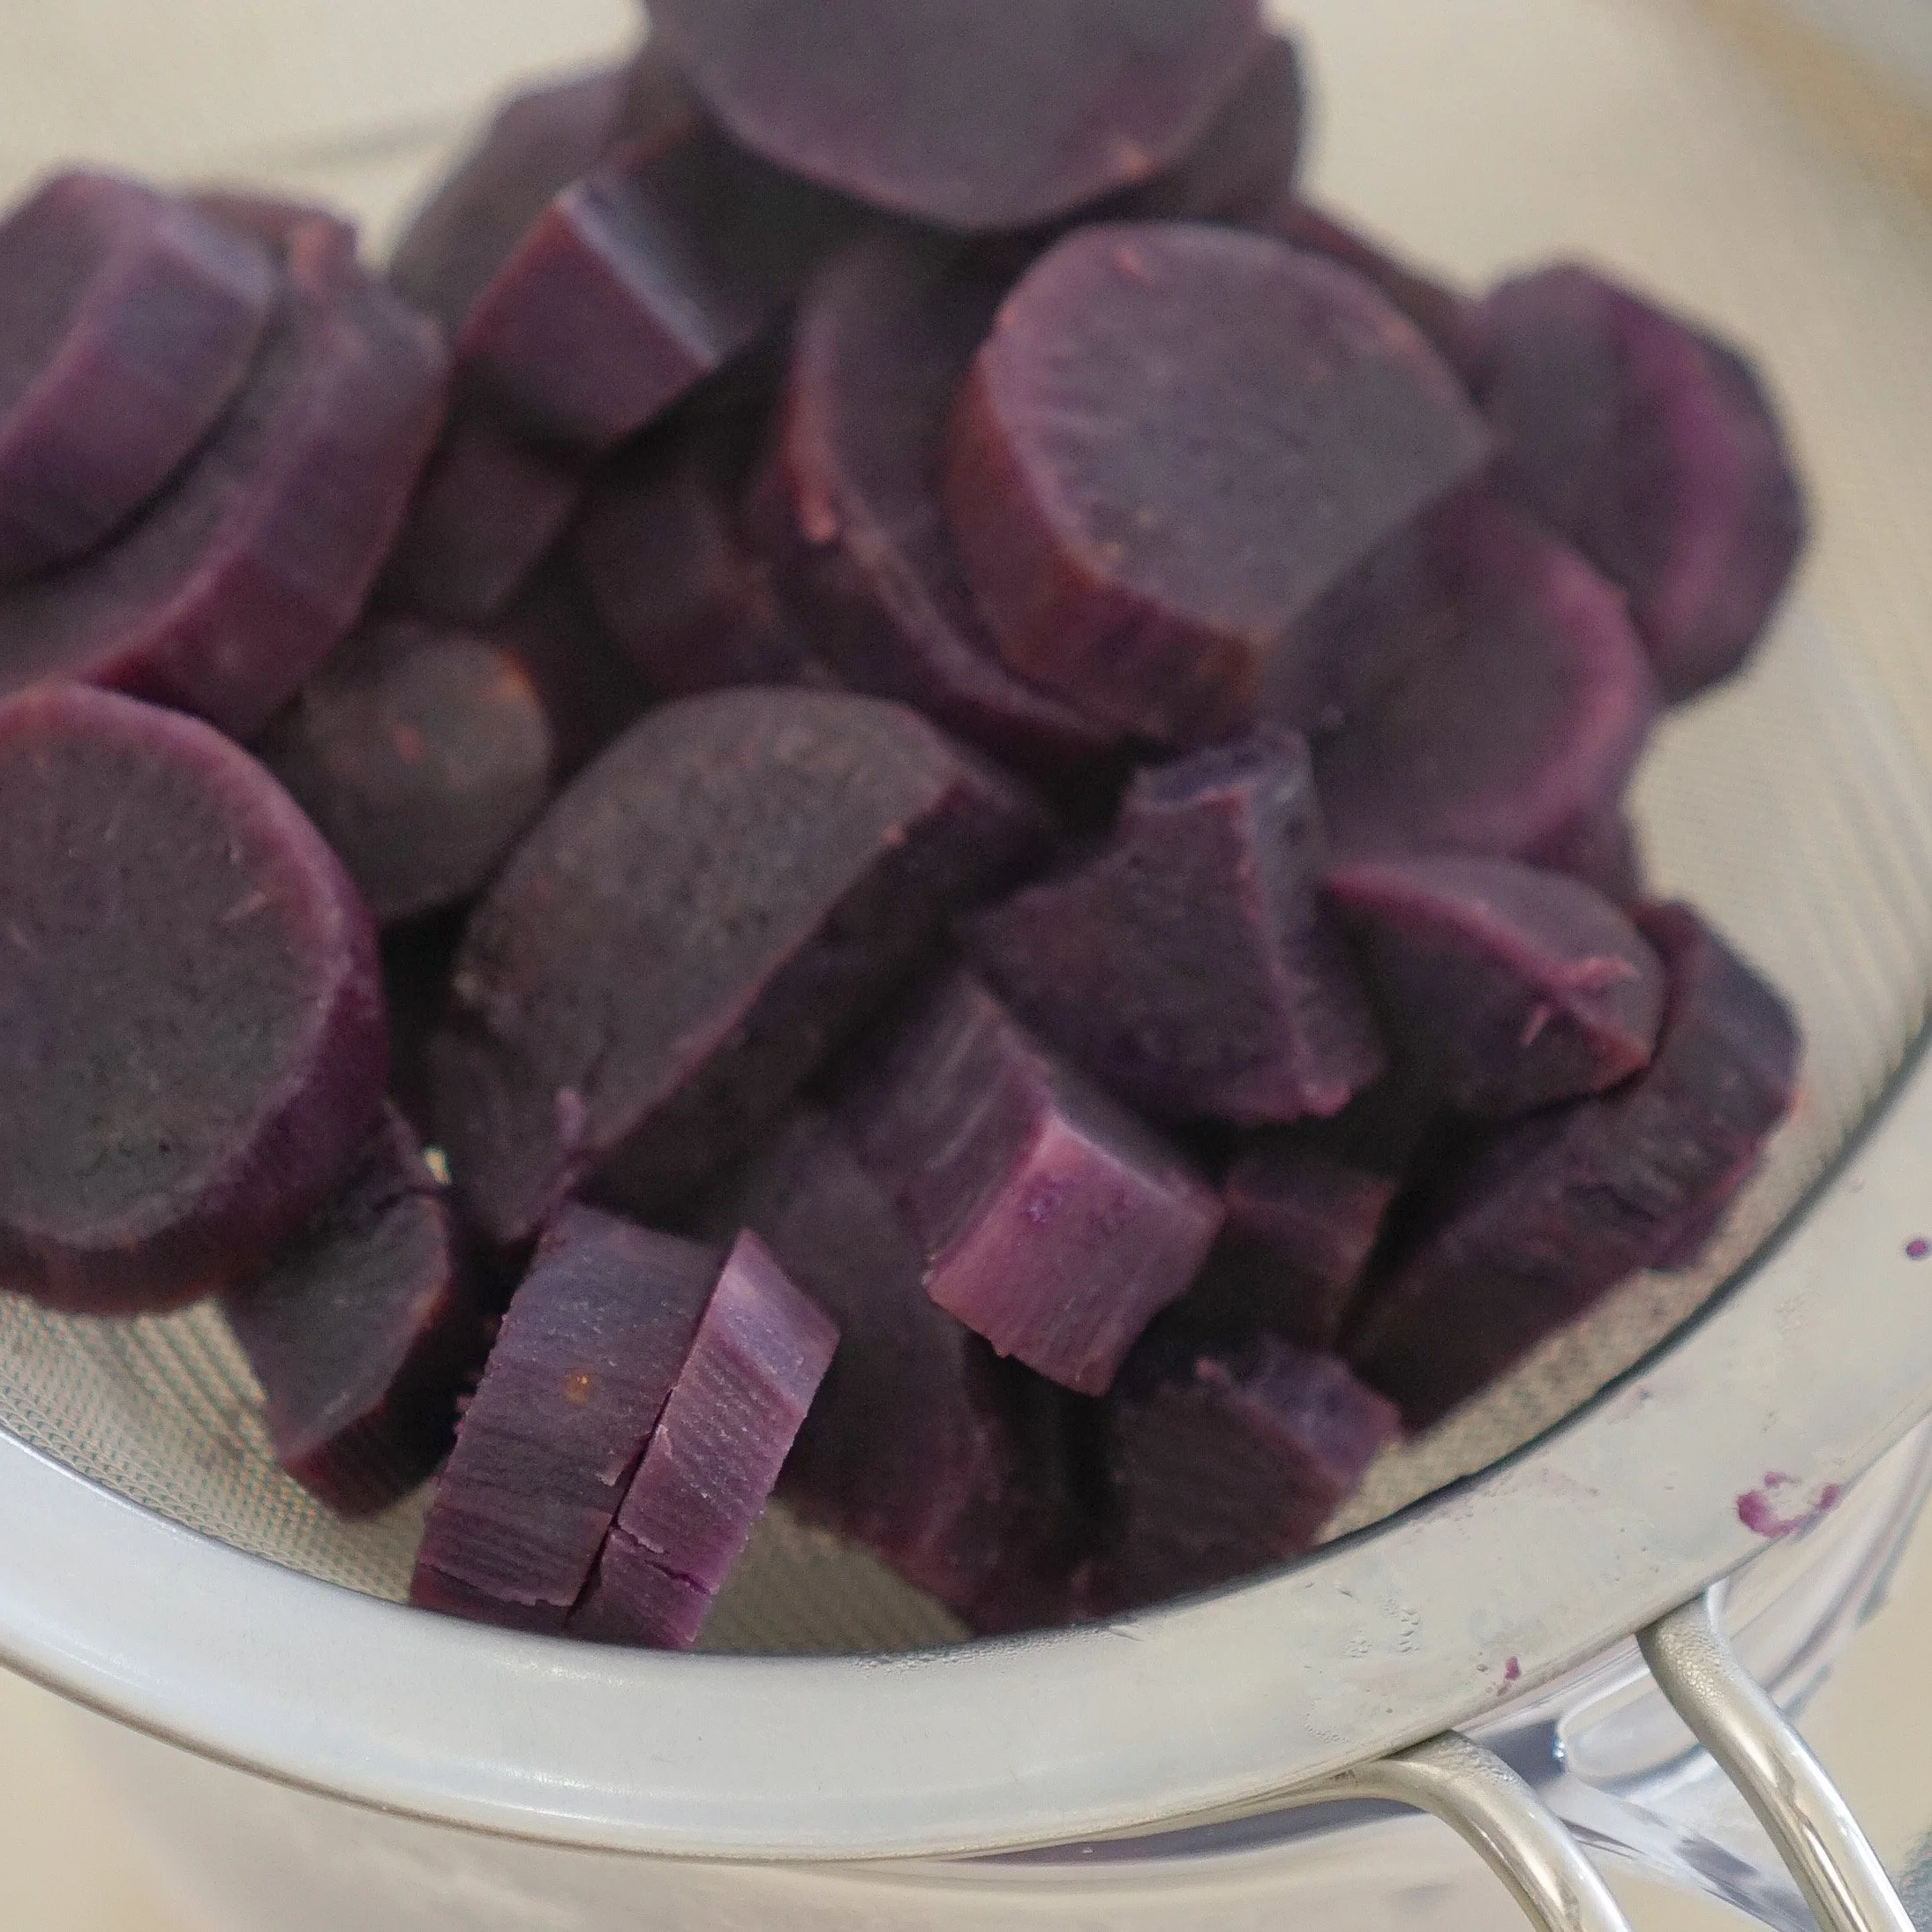
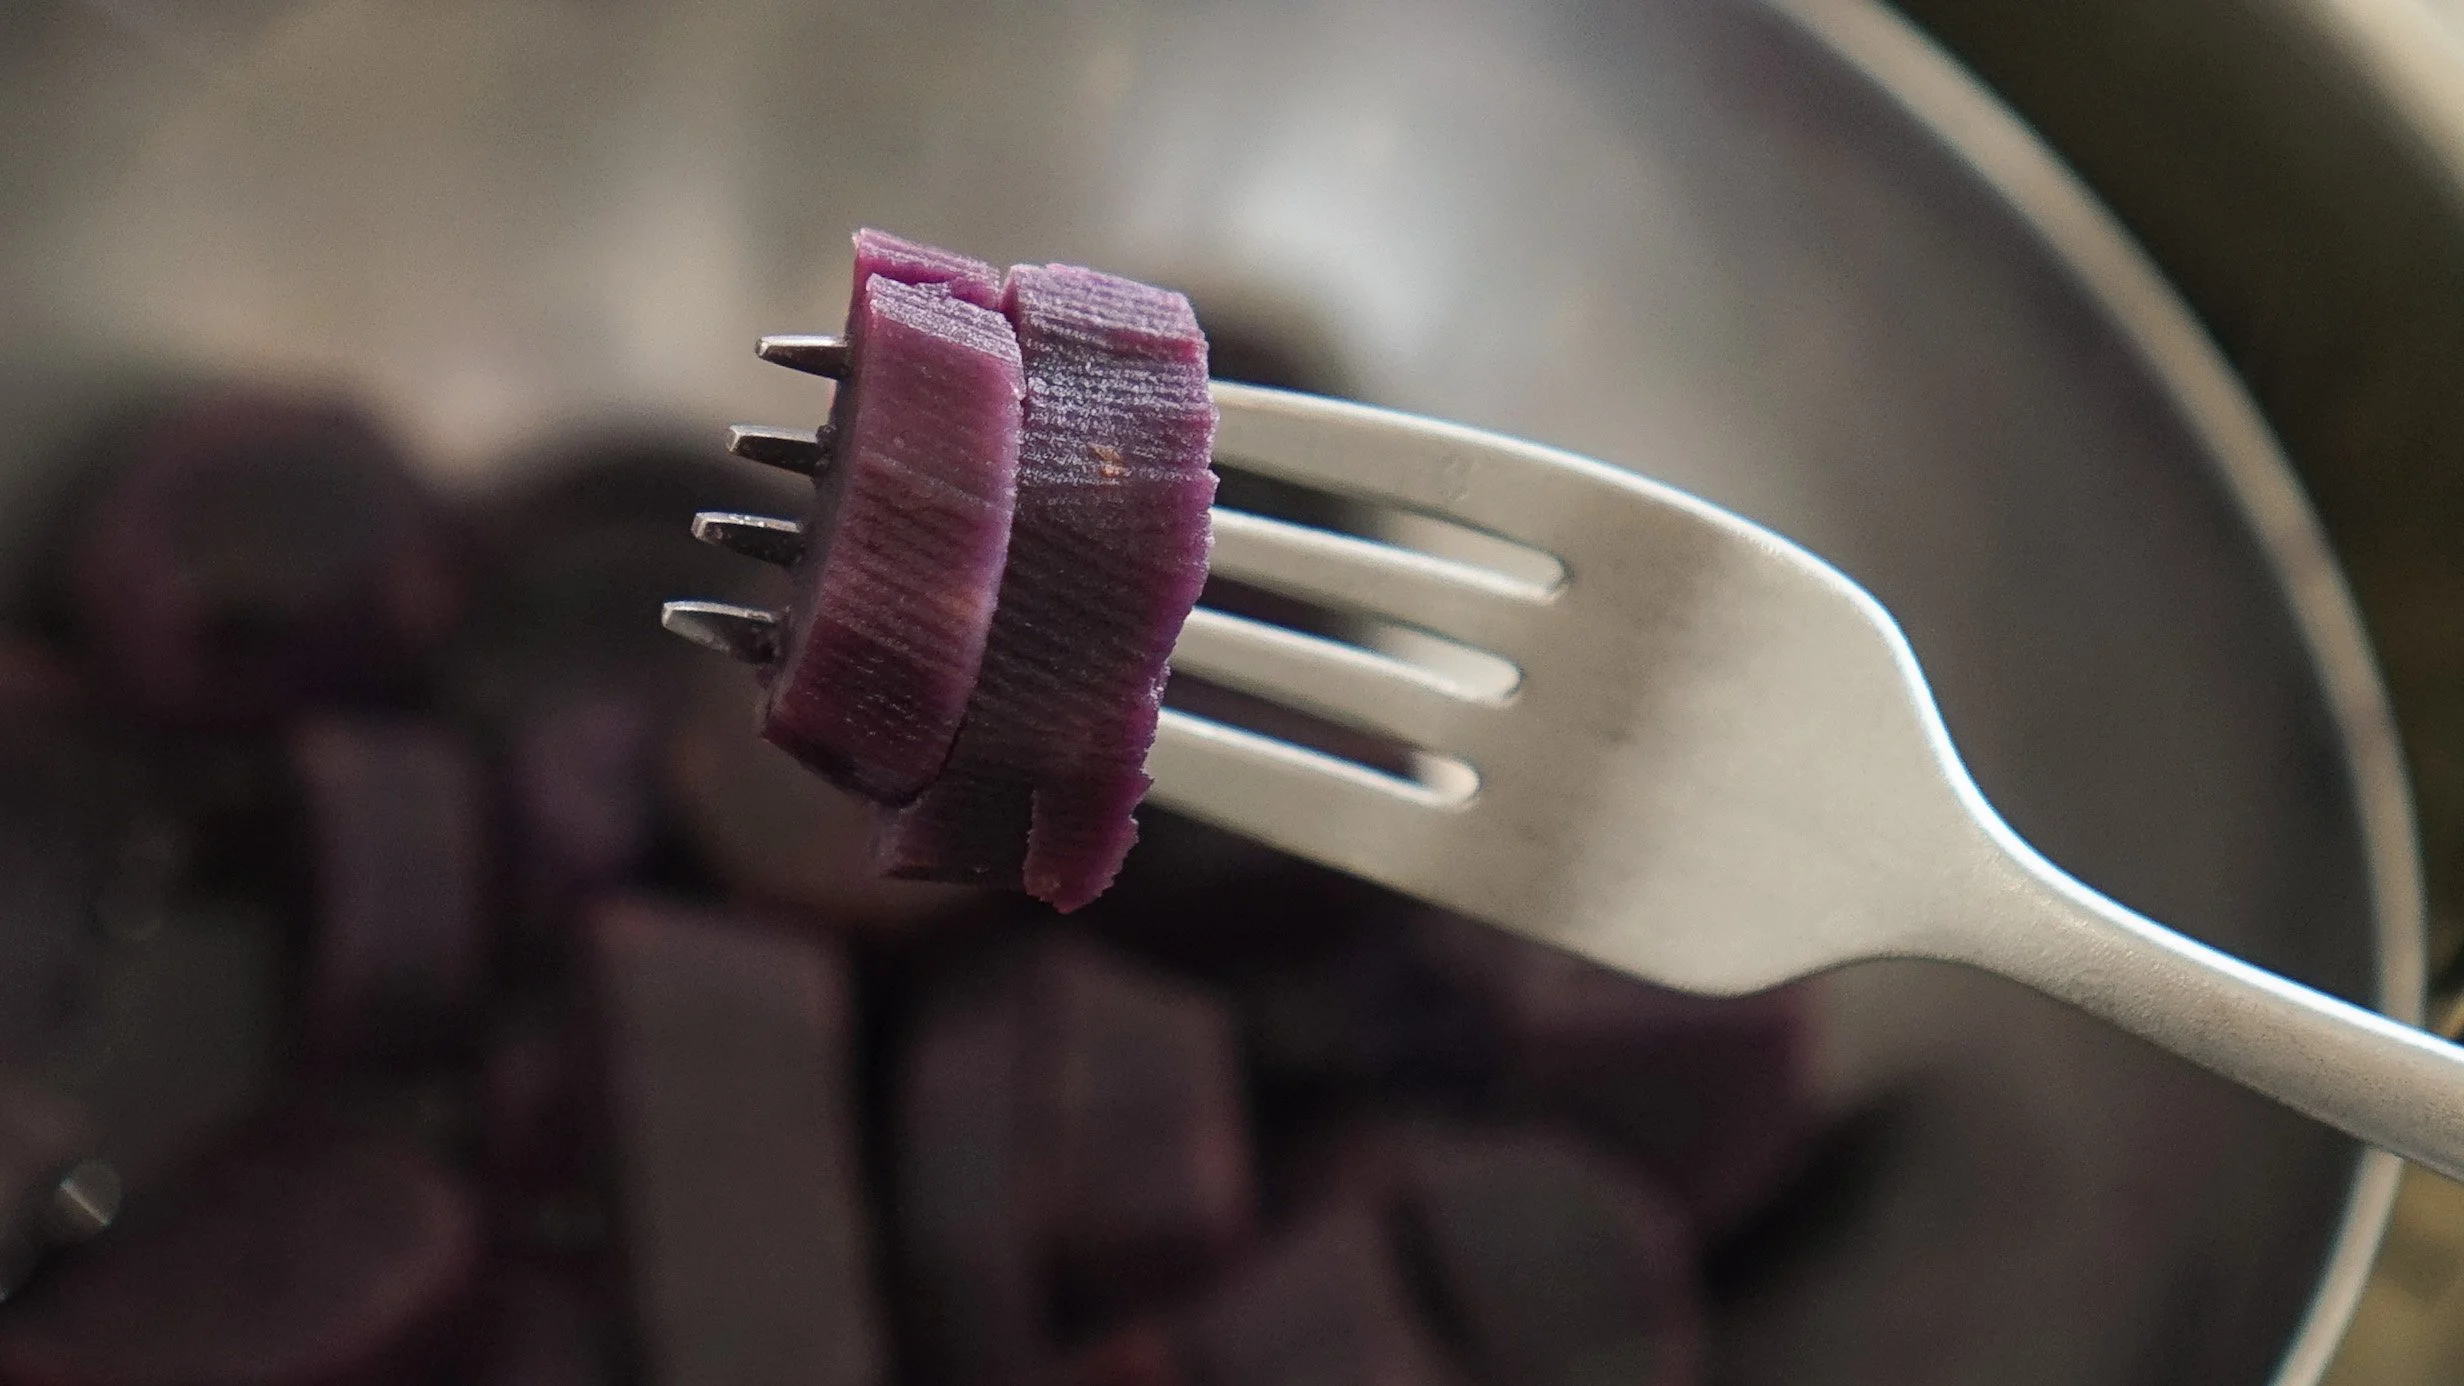
2. Fill up a pot about ¼ of the way with water. Place a rack on the bottom along with the sweet potatoes in a heat-safe bowl with ½ cup of water. Steam for 15 mins on medium heat once the water starts to boil until sweet potatoes are soft. Test by poking it with a fork.
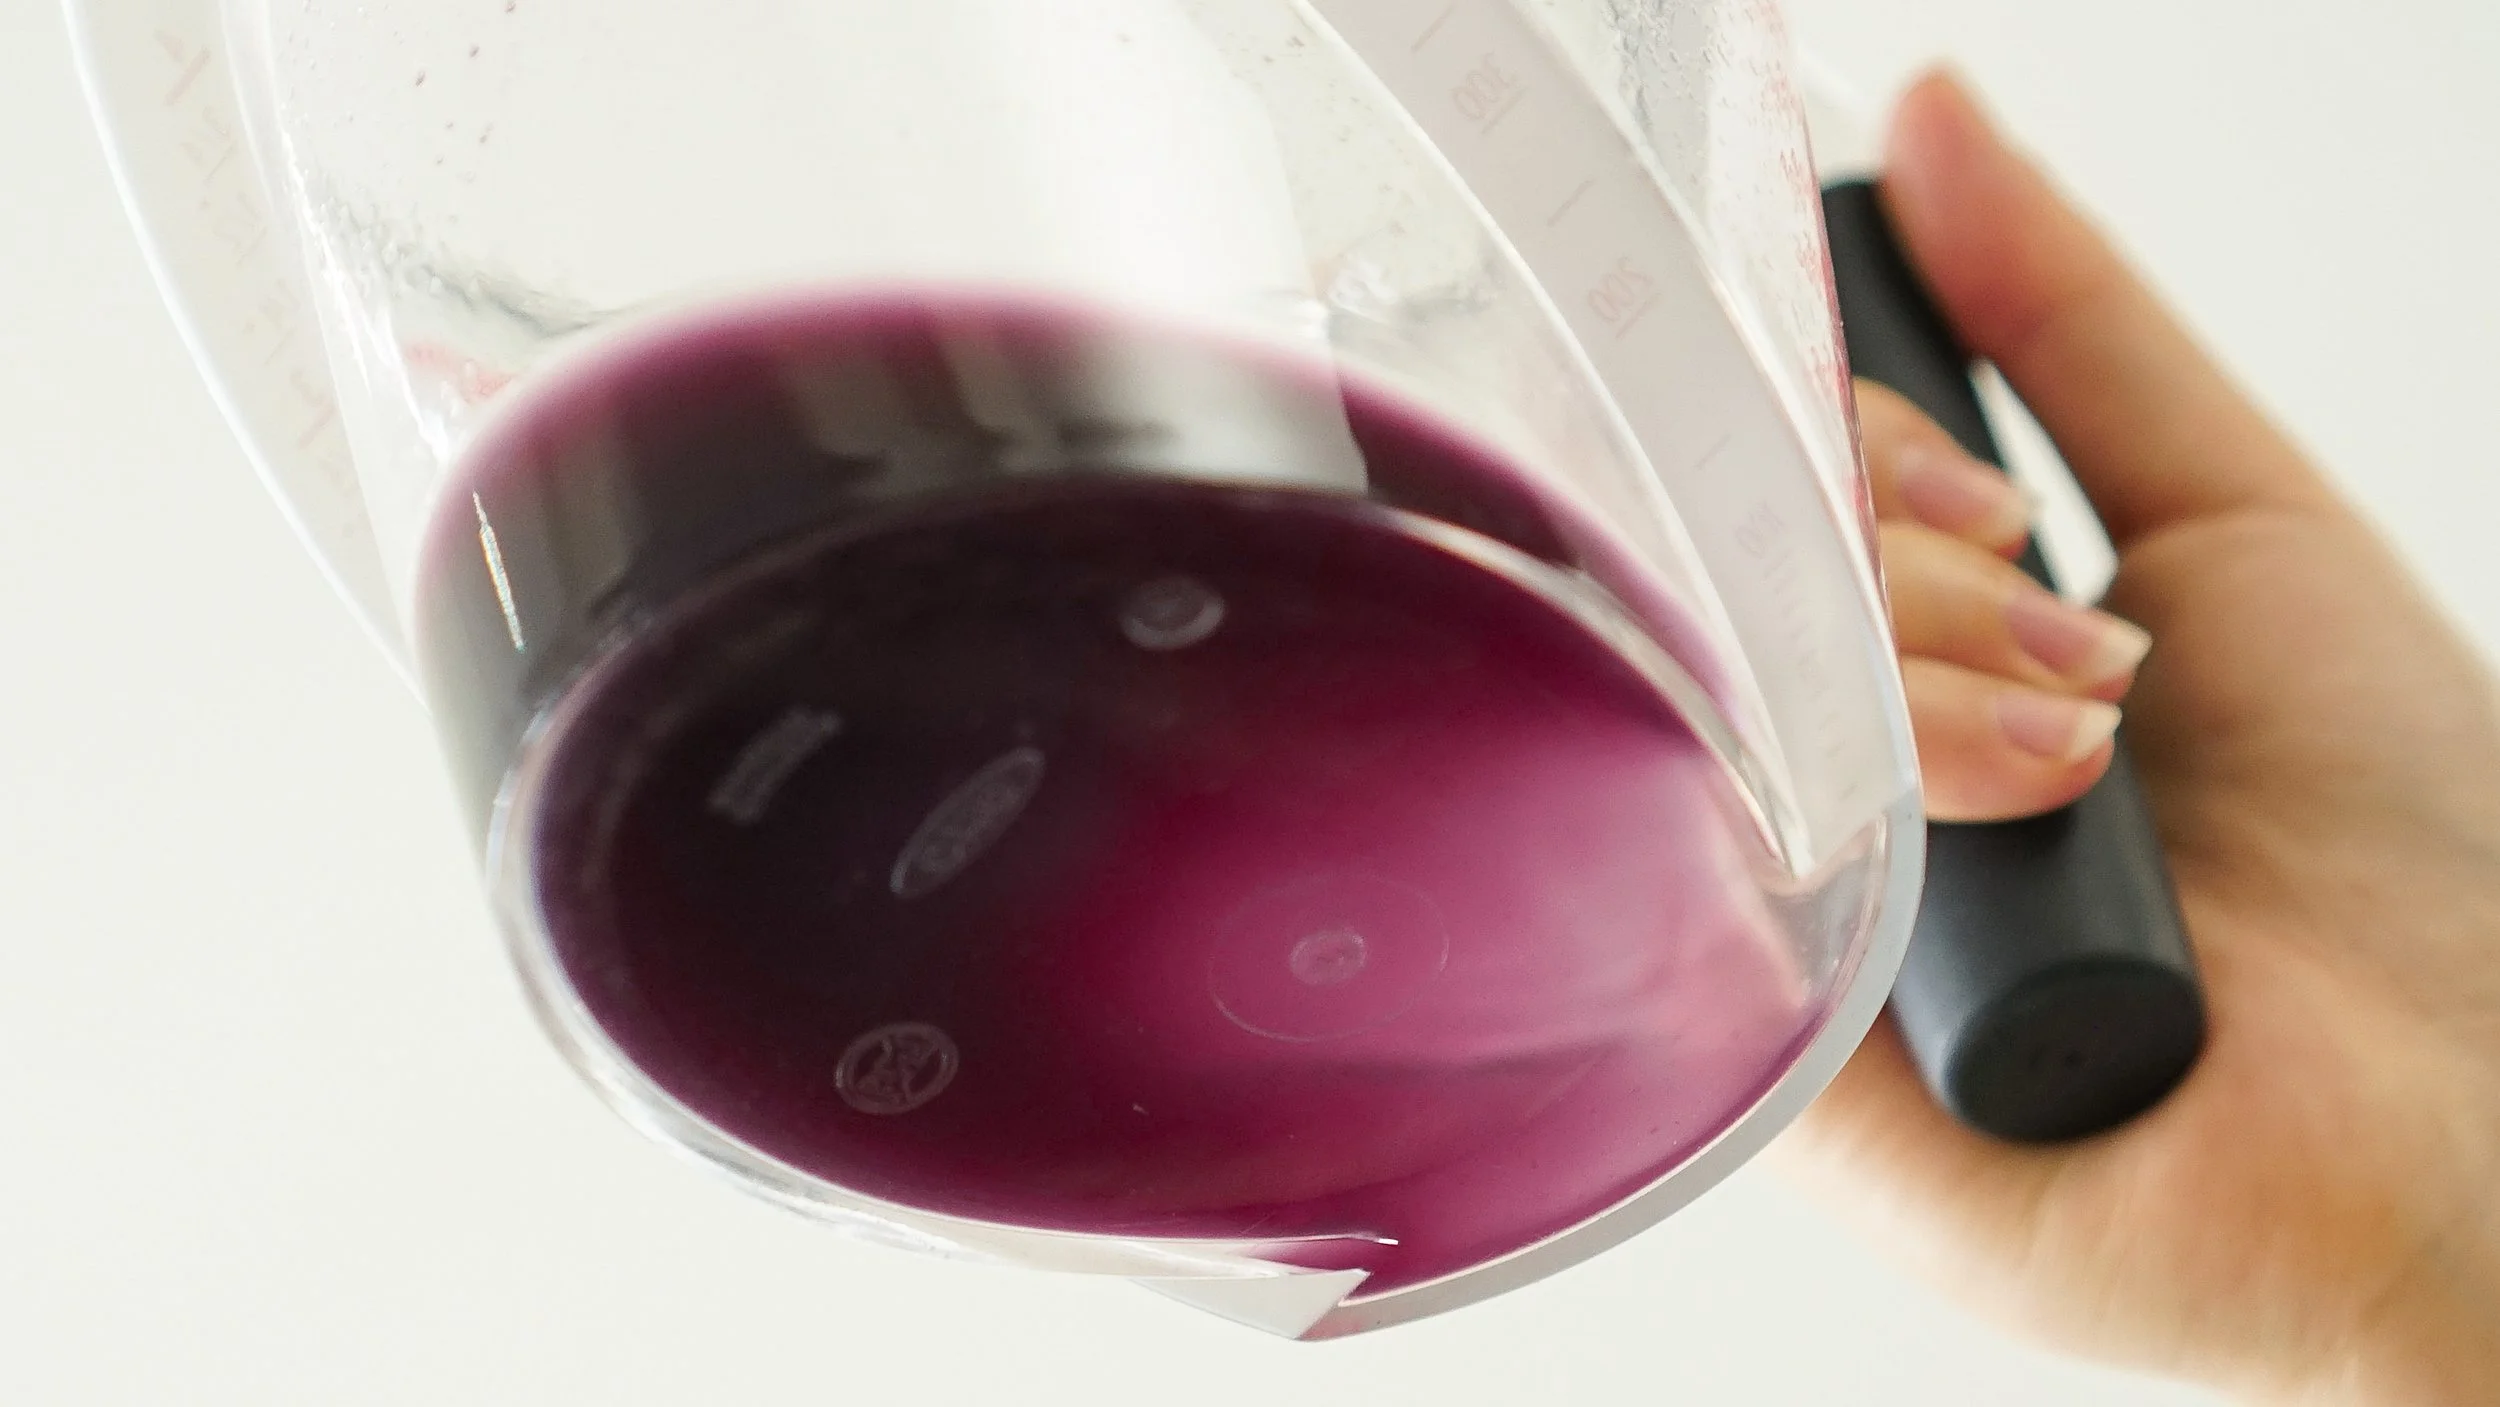
3. Once cooked, reserve the purple liquid (we’ll need this liquid for the snow skin) and transfer the purple sweet potatoes into a food processor or blender.
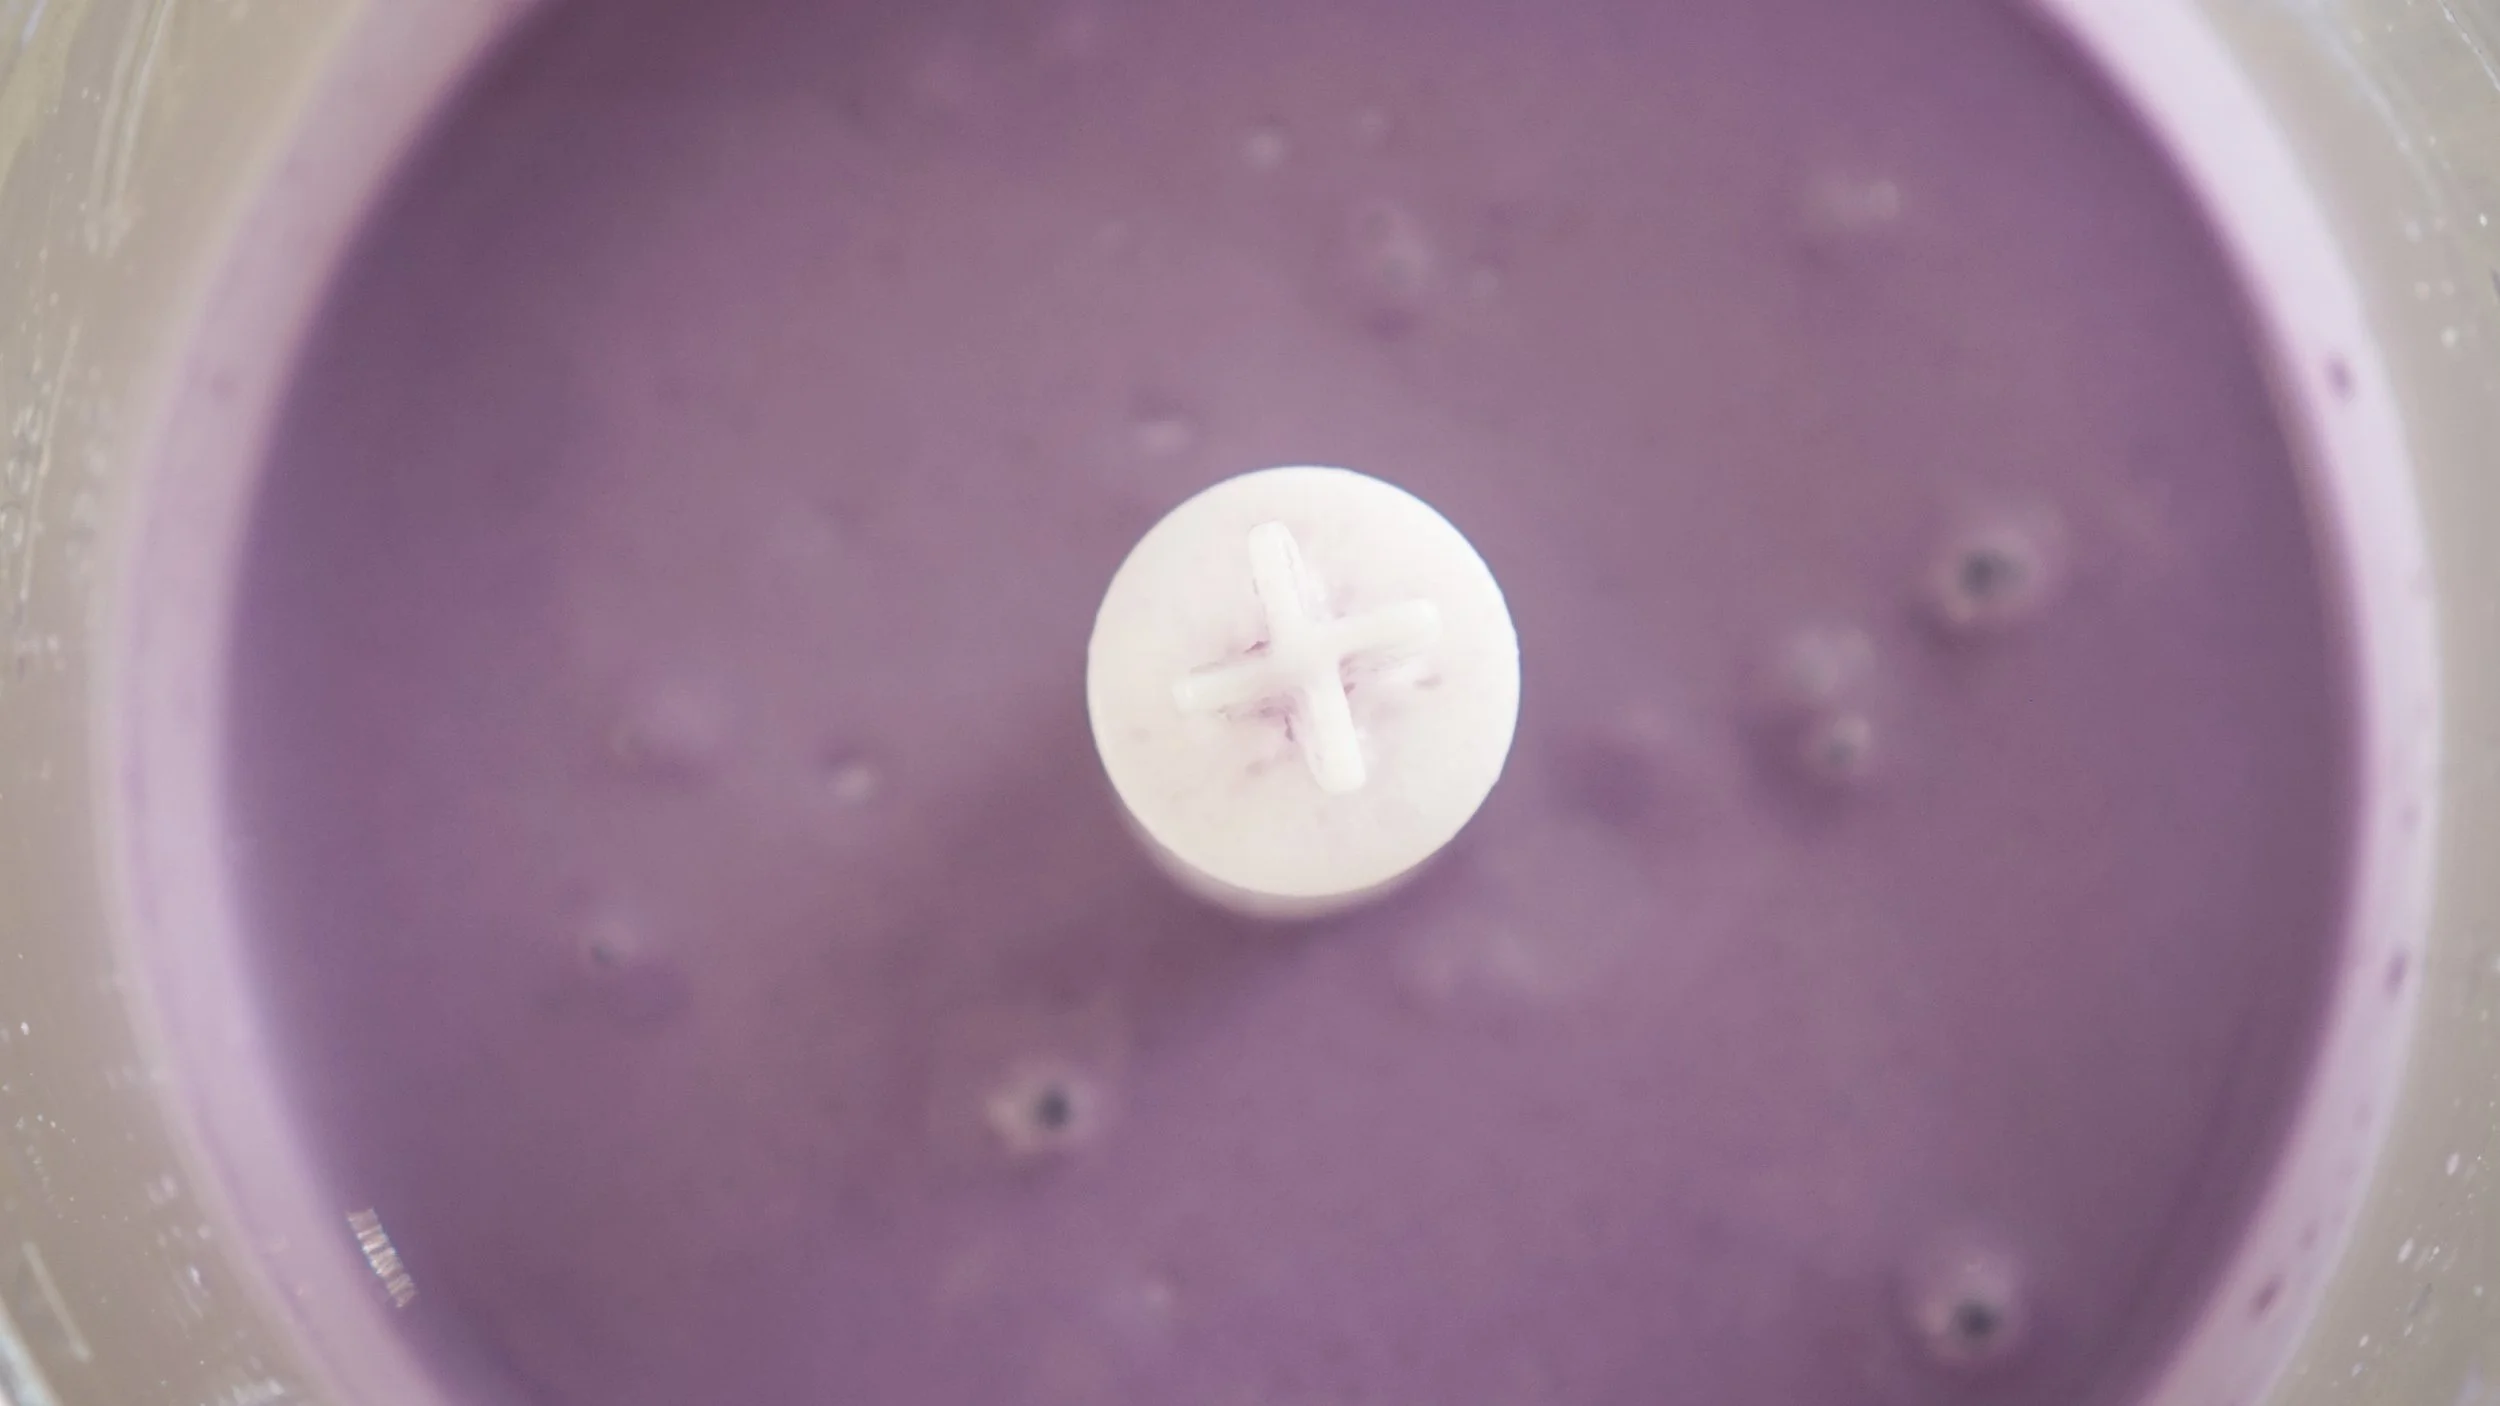
4. Add all the ingredients for the filling into the food processor and blend until smooth.
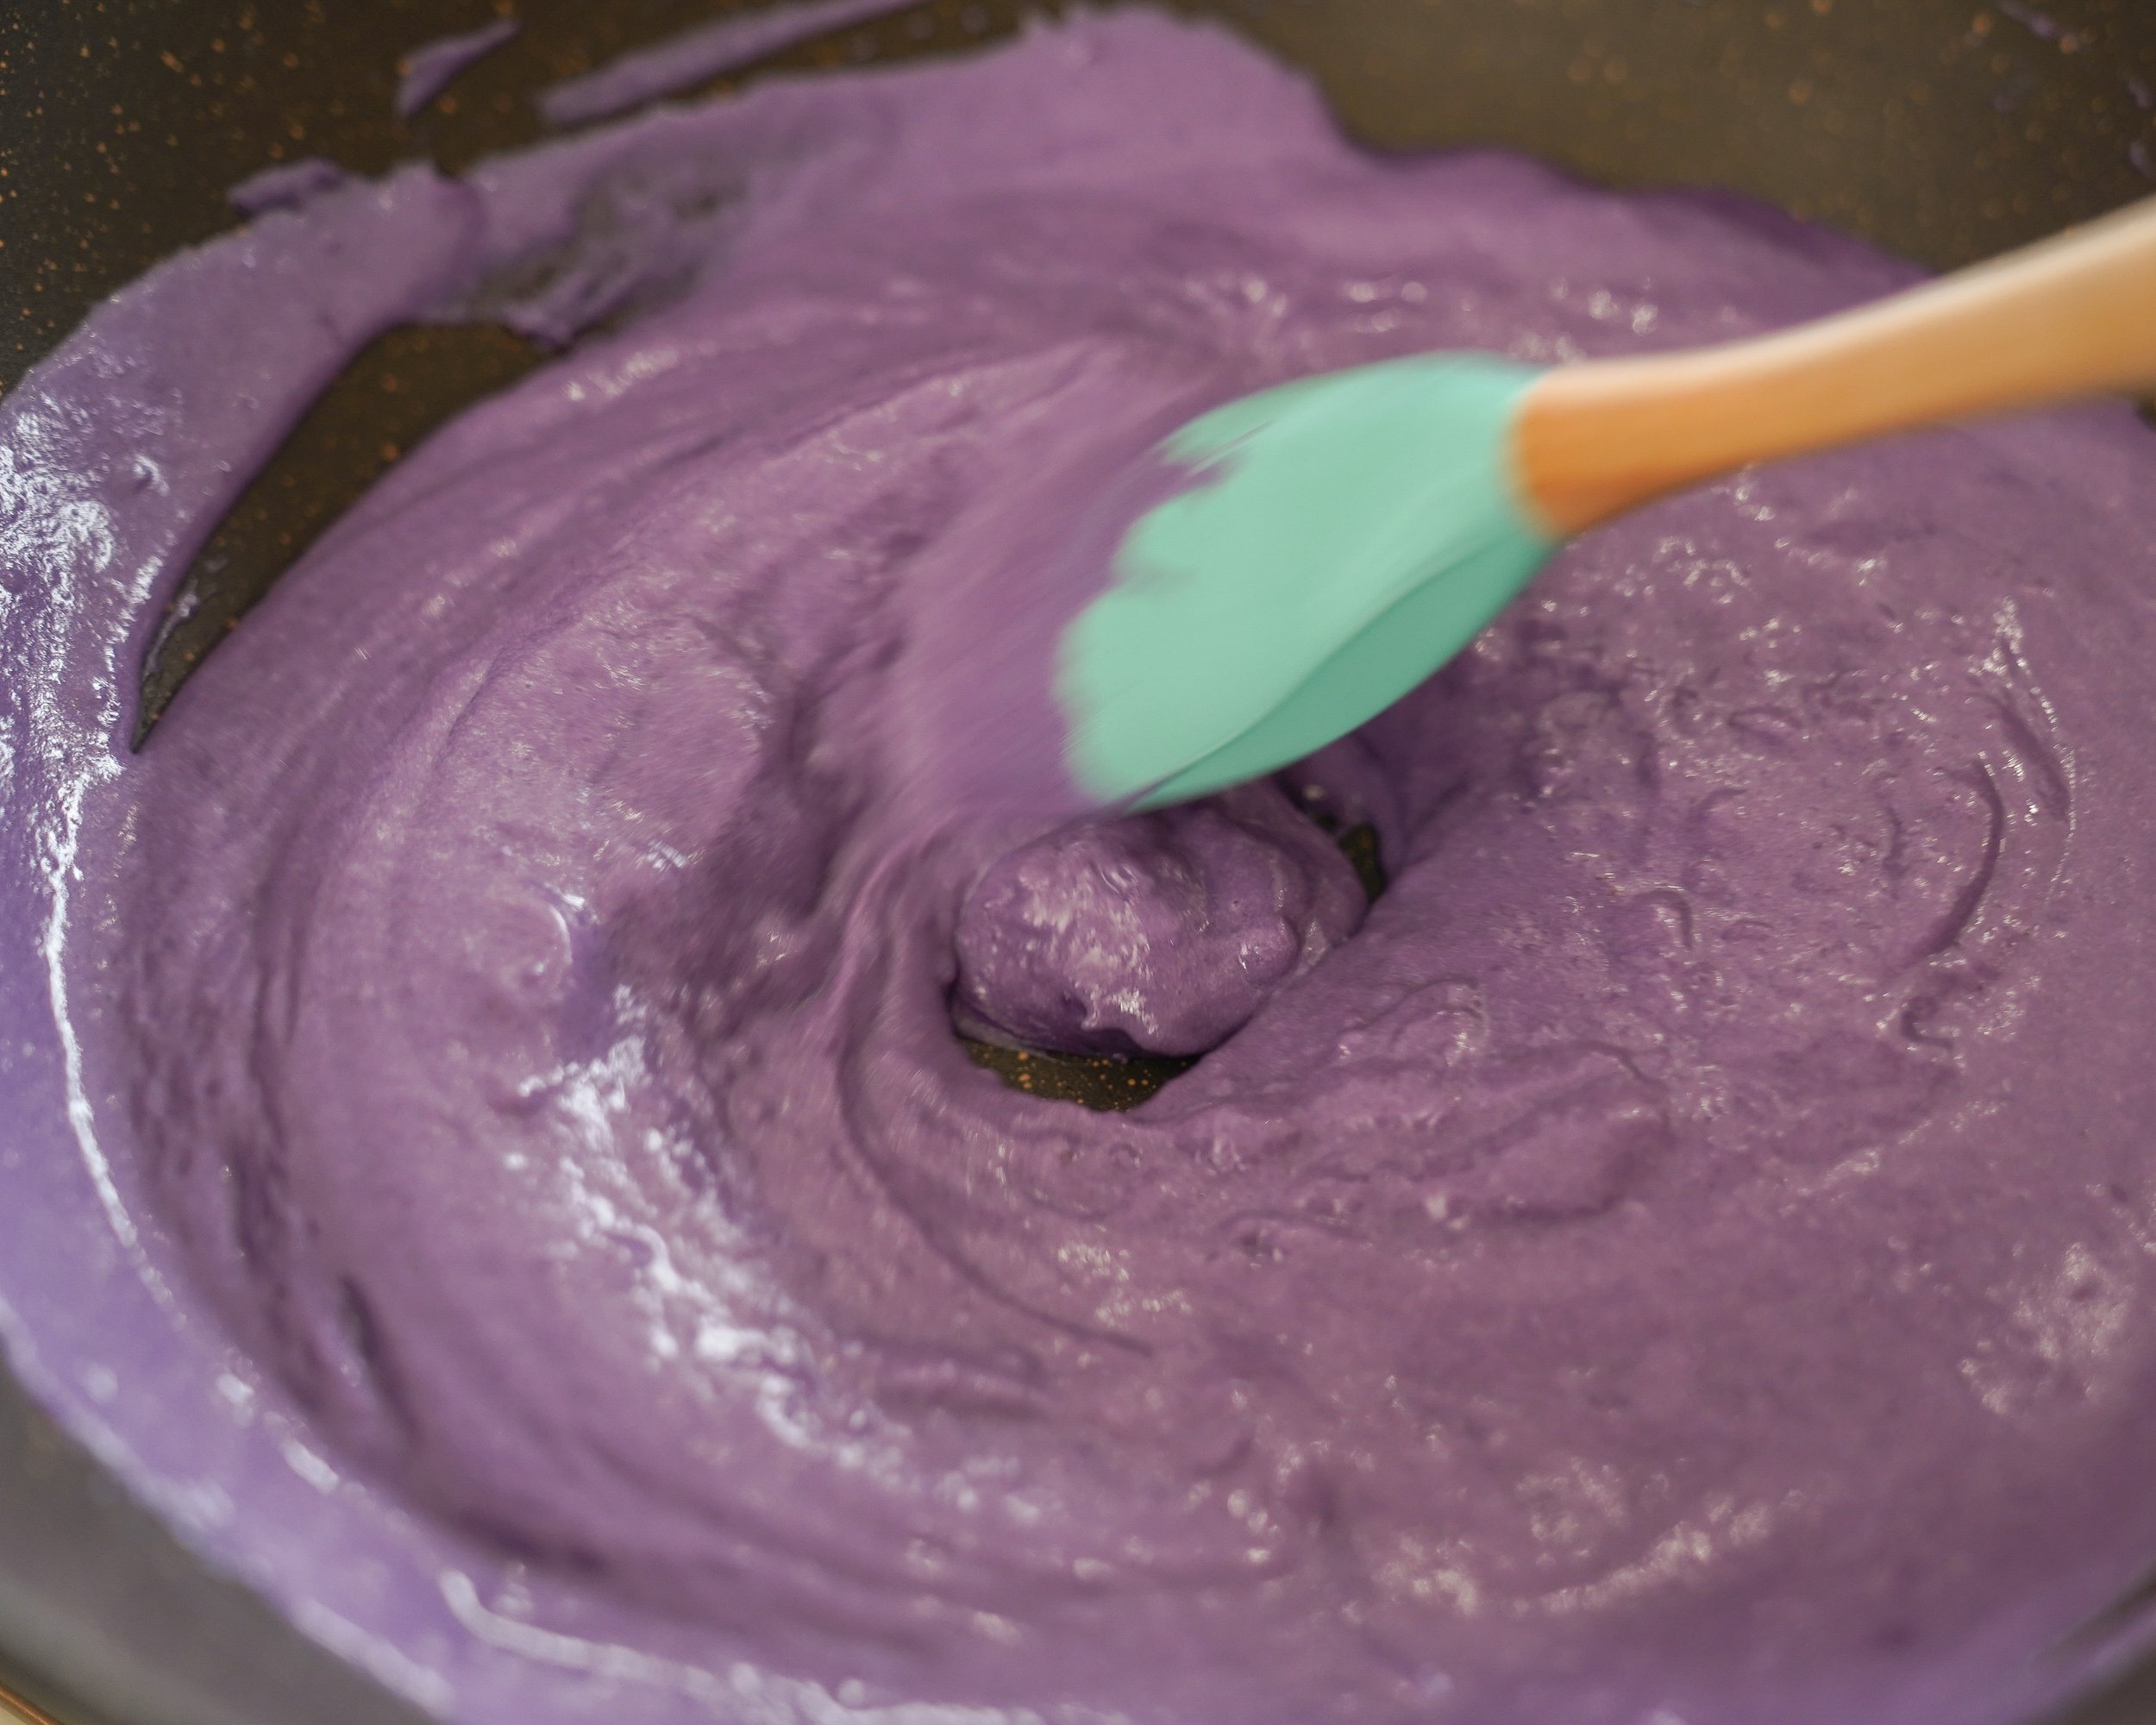
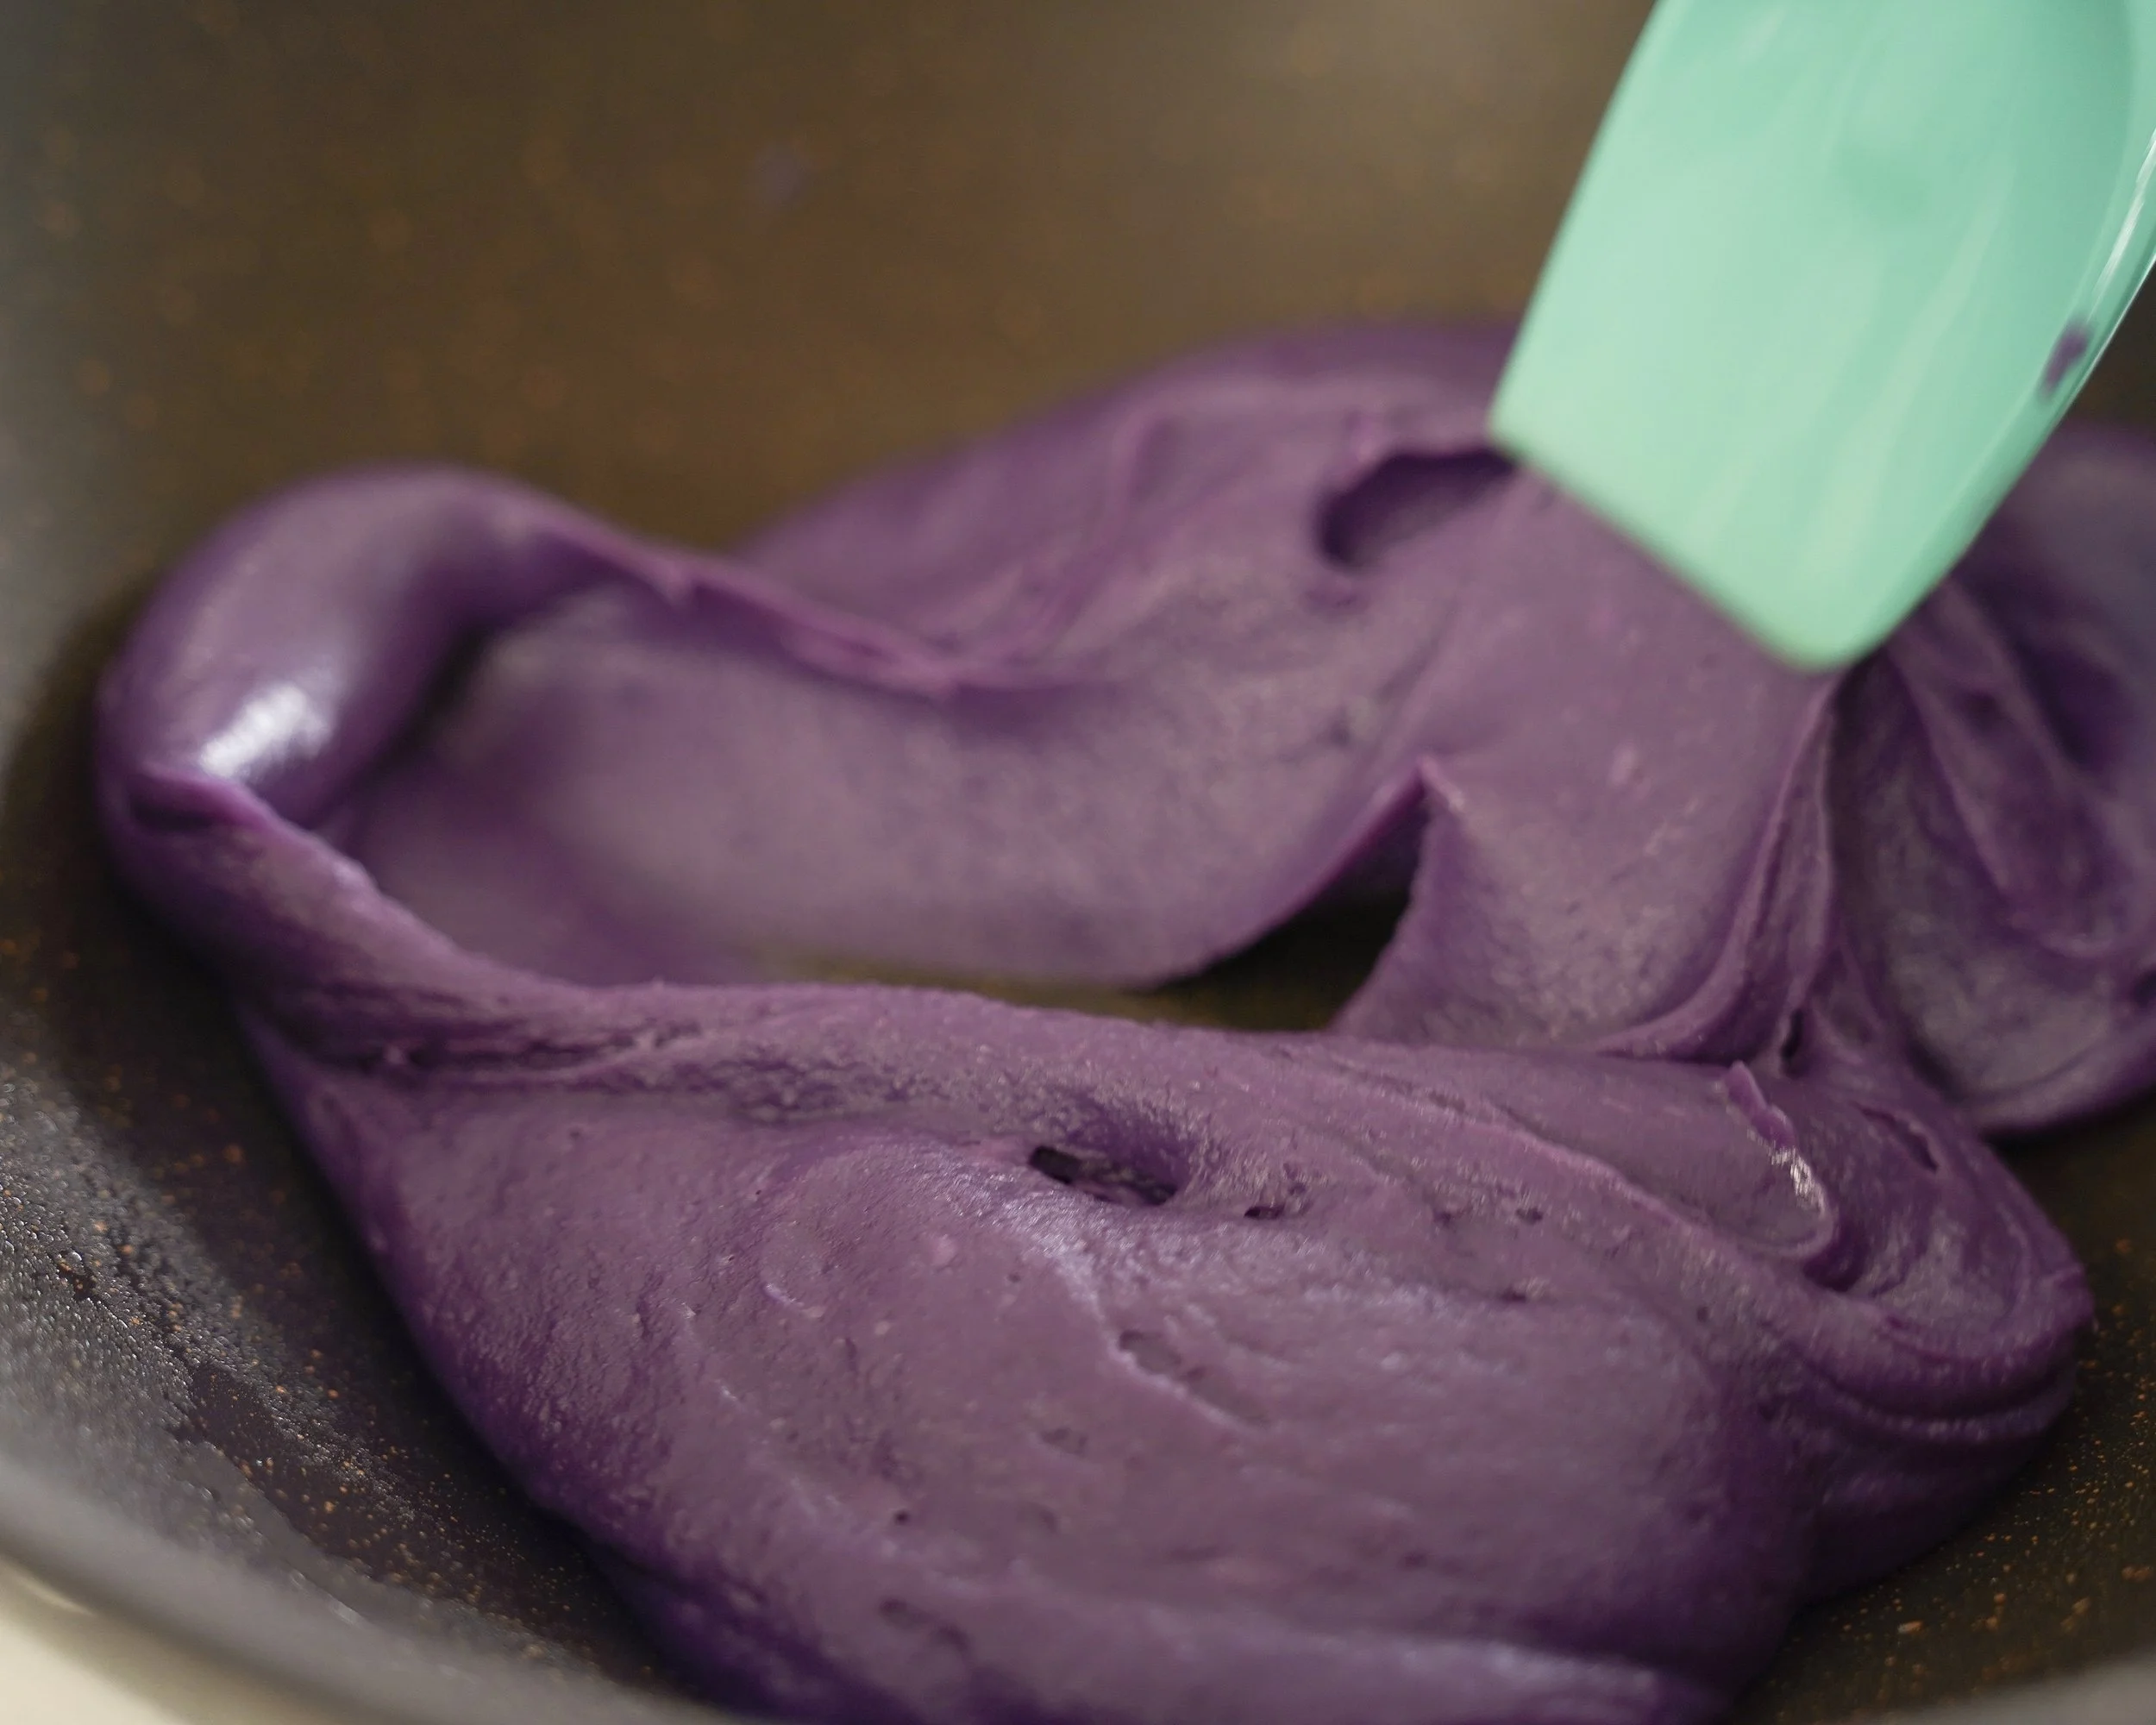
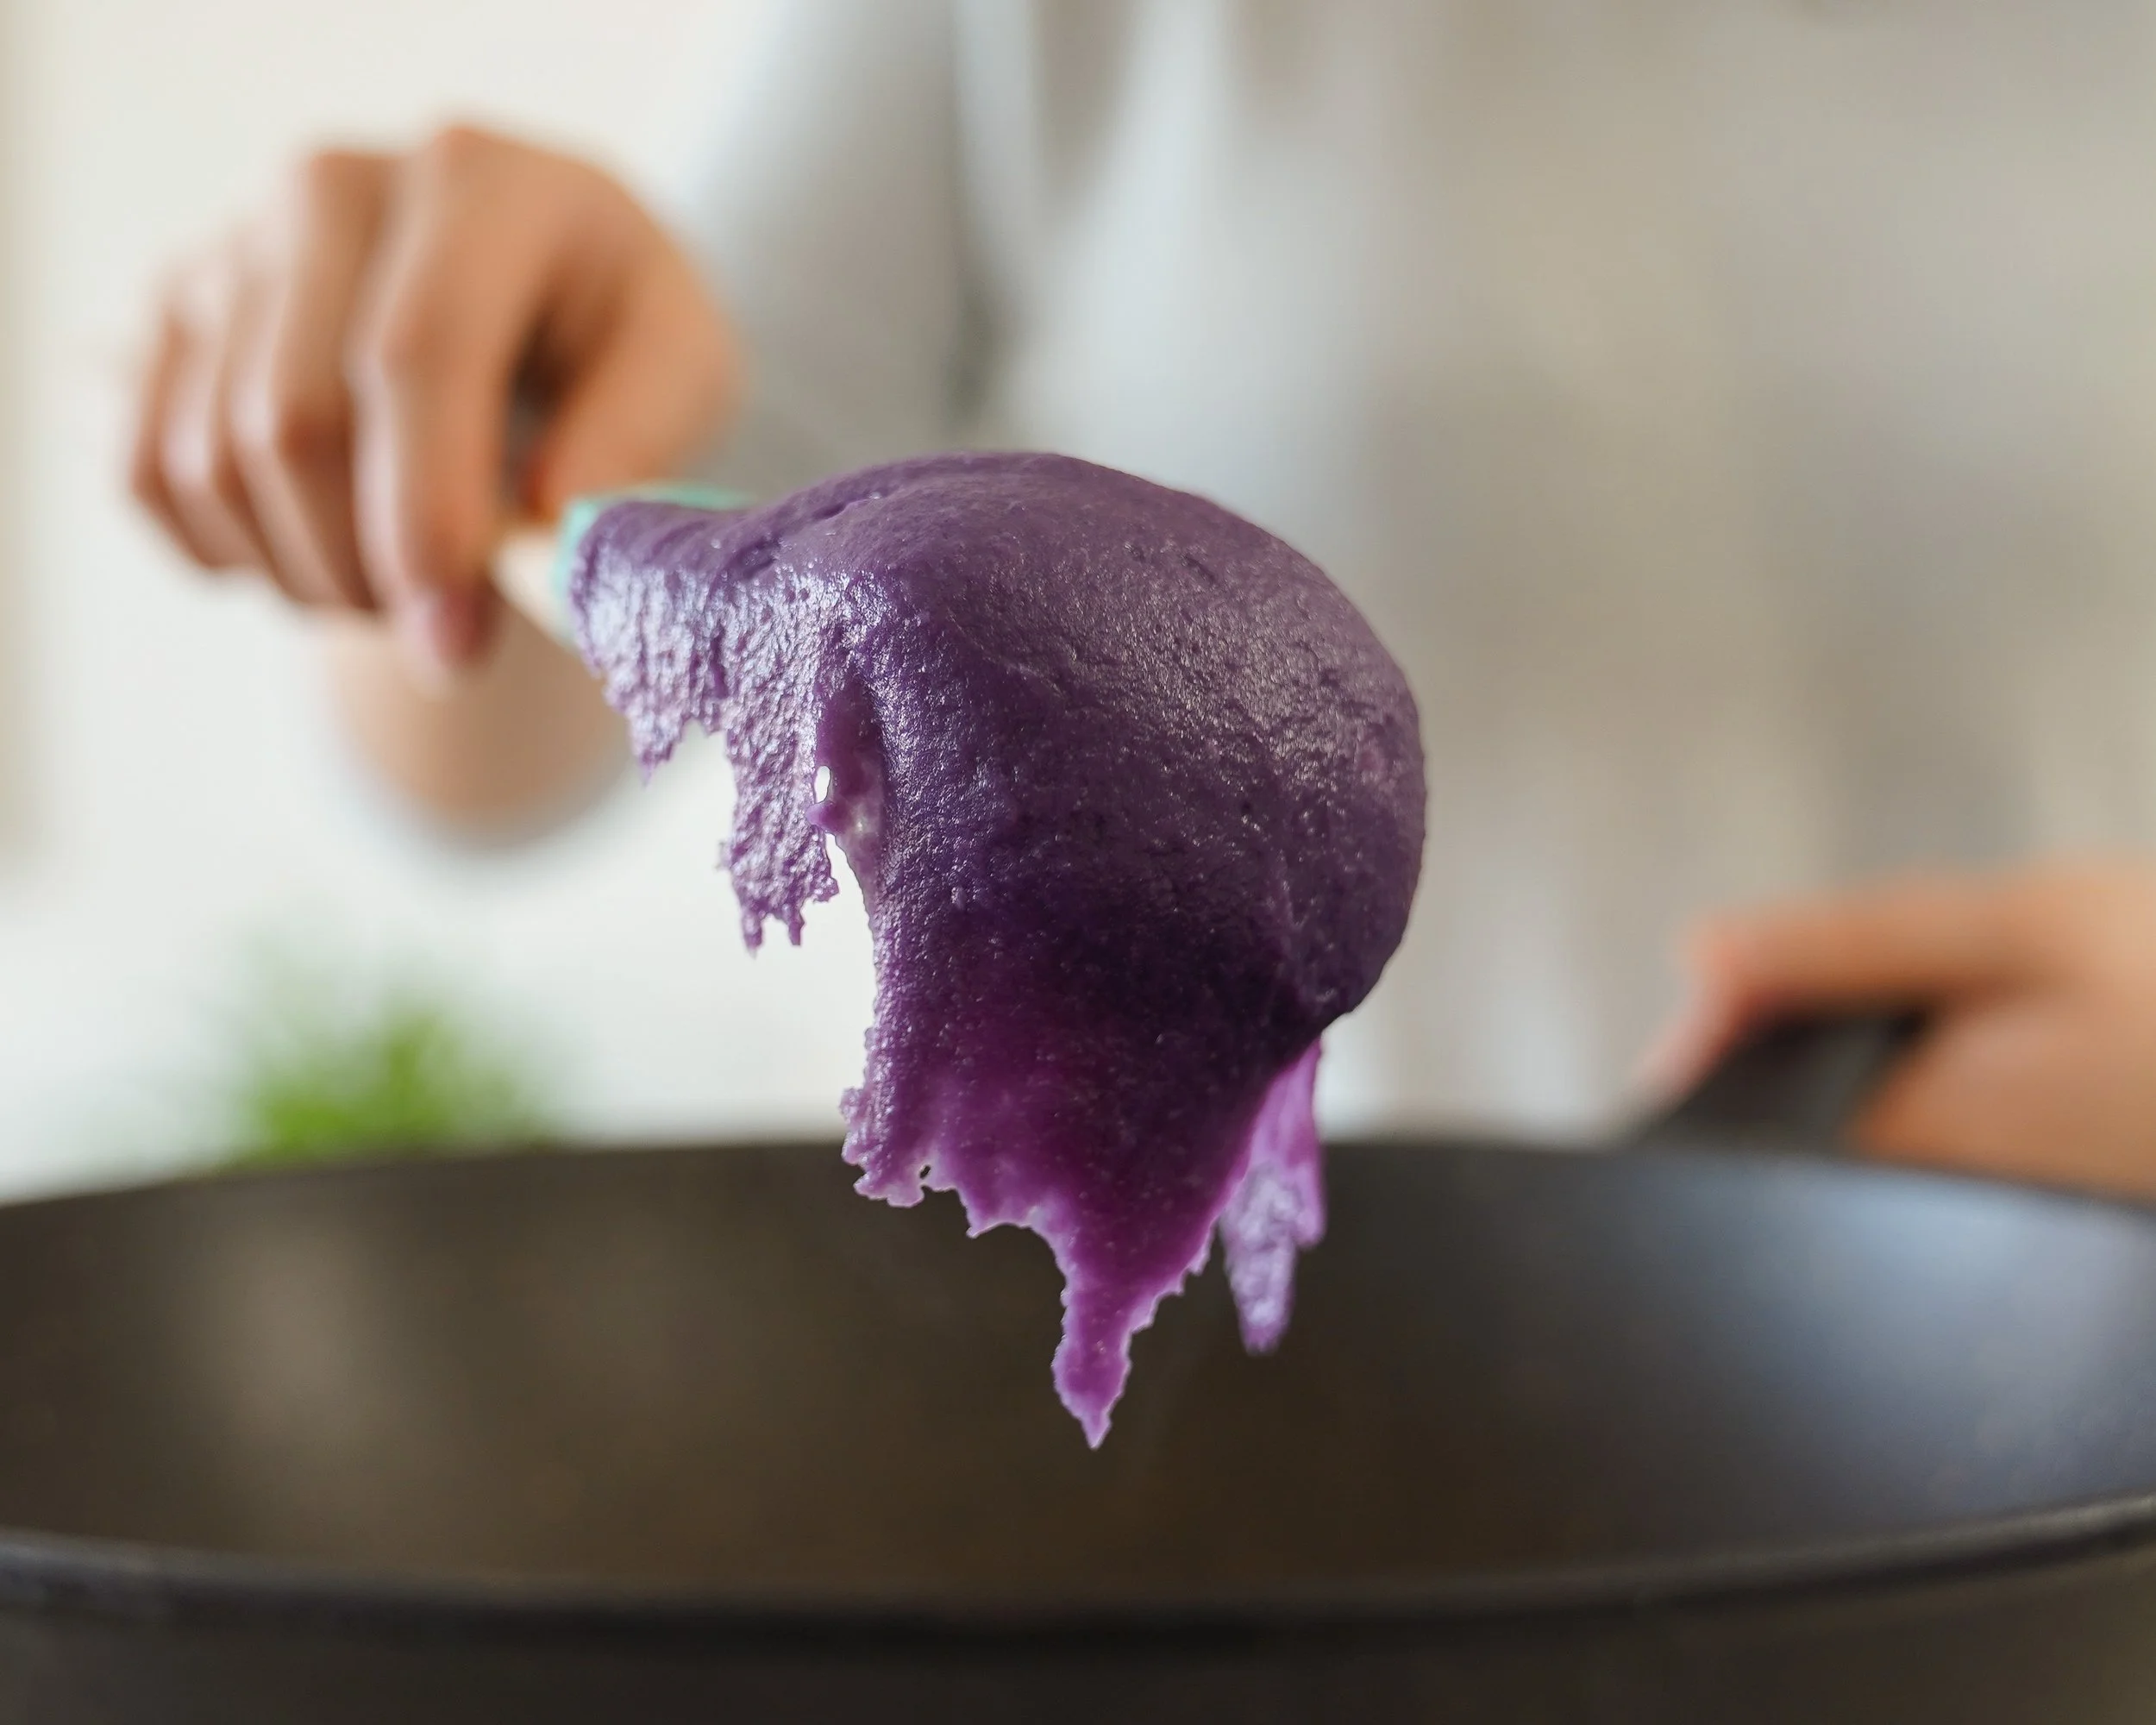
5. Cook on medium heat in a non-stick pan, stirring constantly for around 5 mins until thickened.
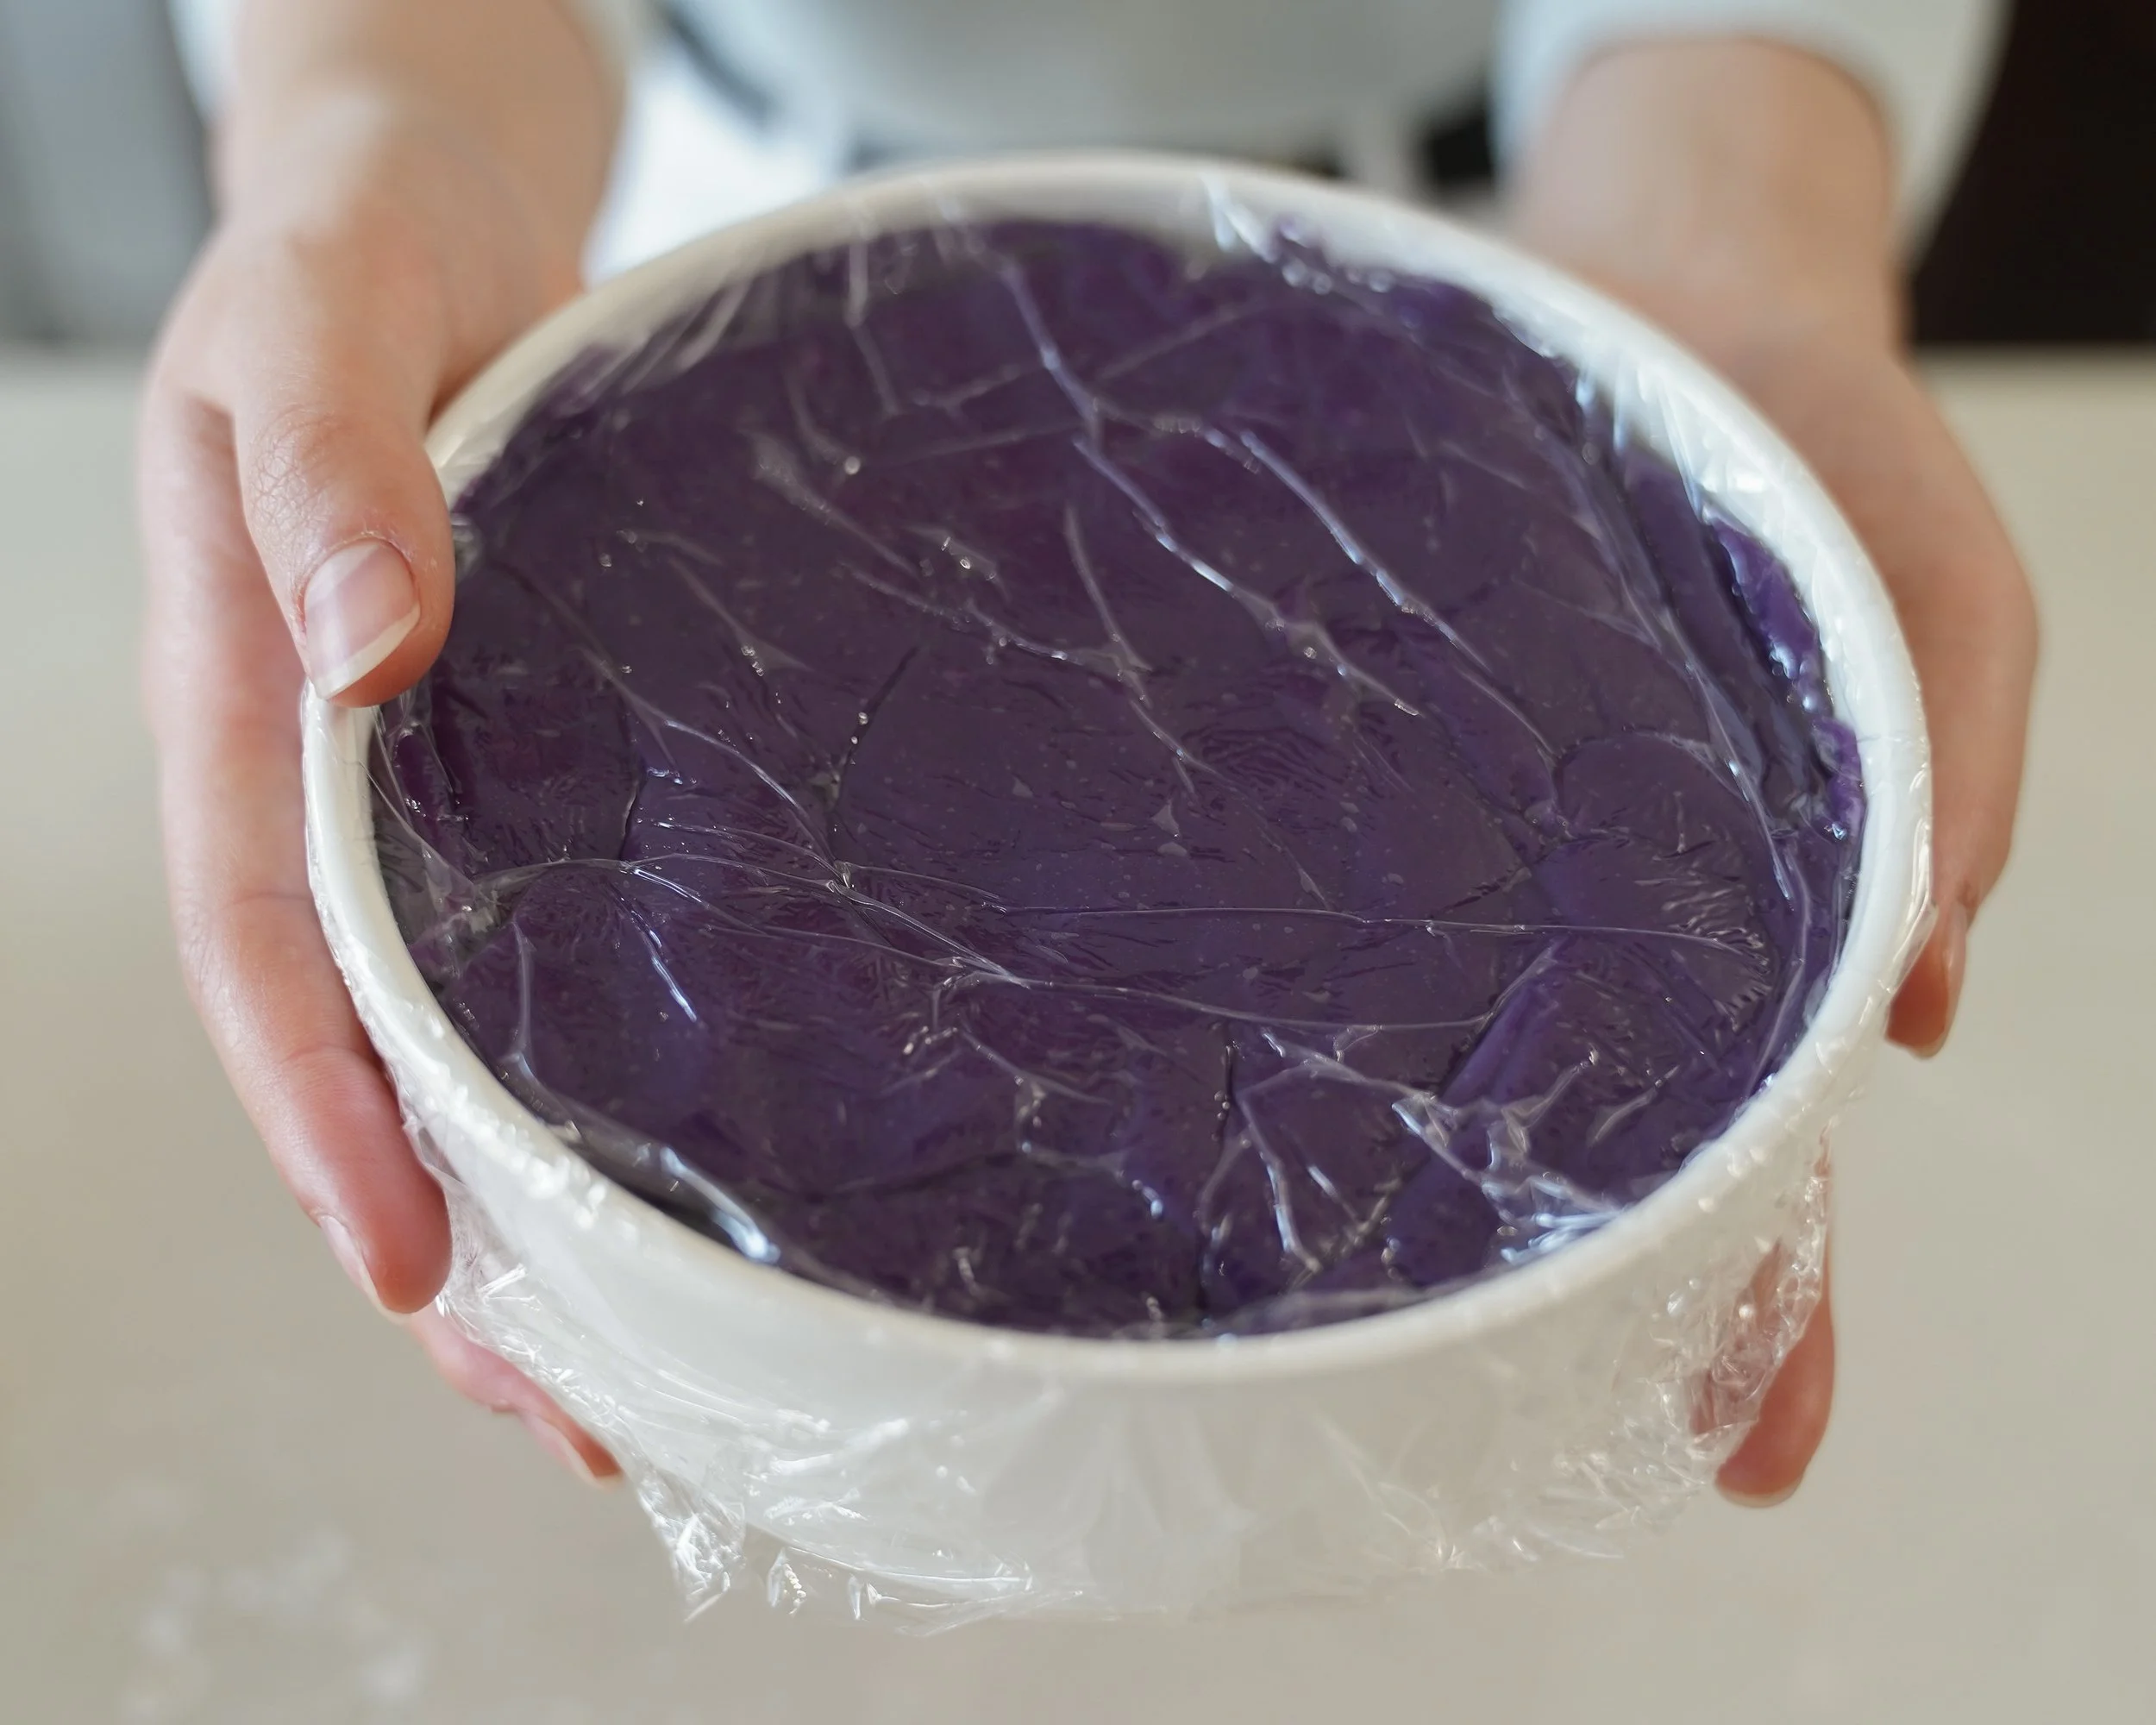
6. Transfer to a bowl, cover with plastic and rest in the fridge until cooled.
Snow Skin
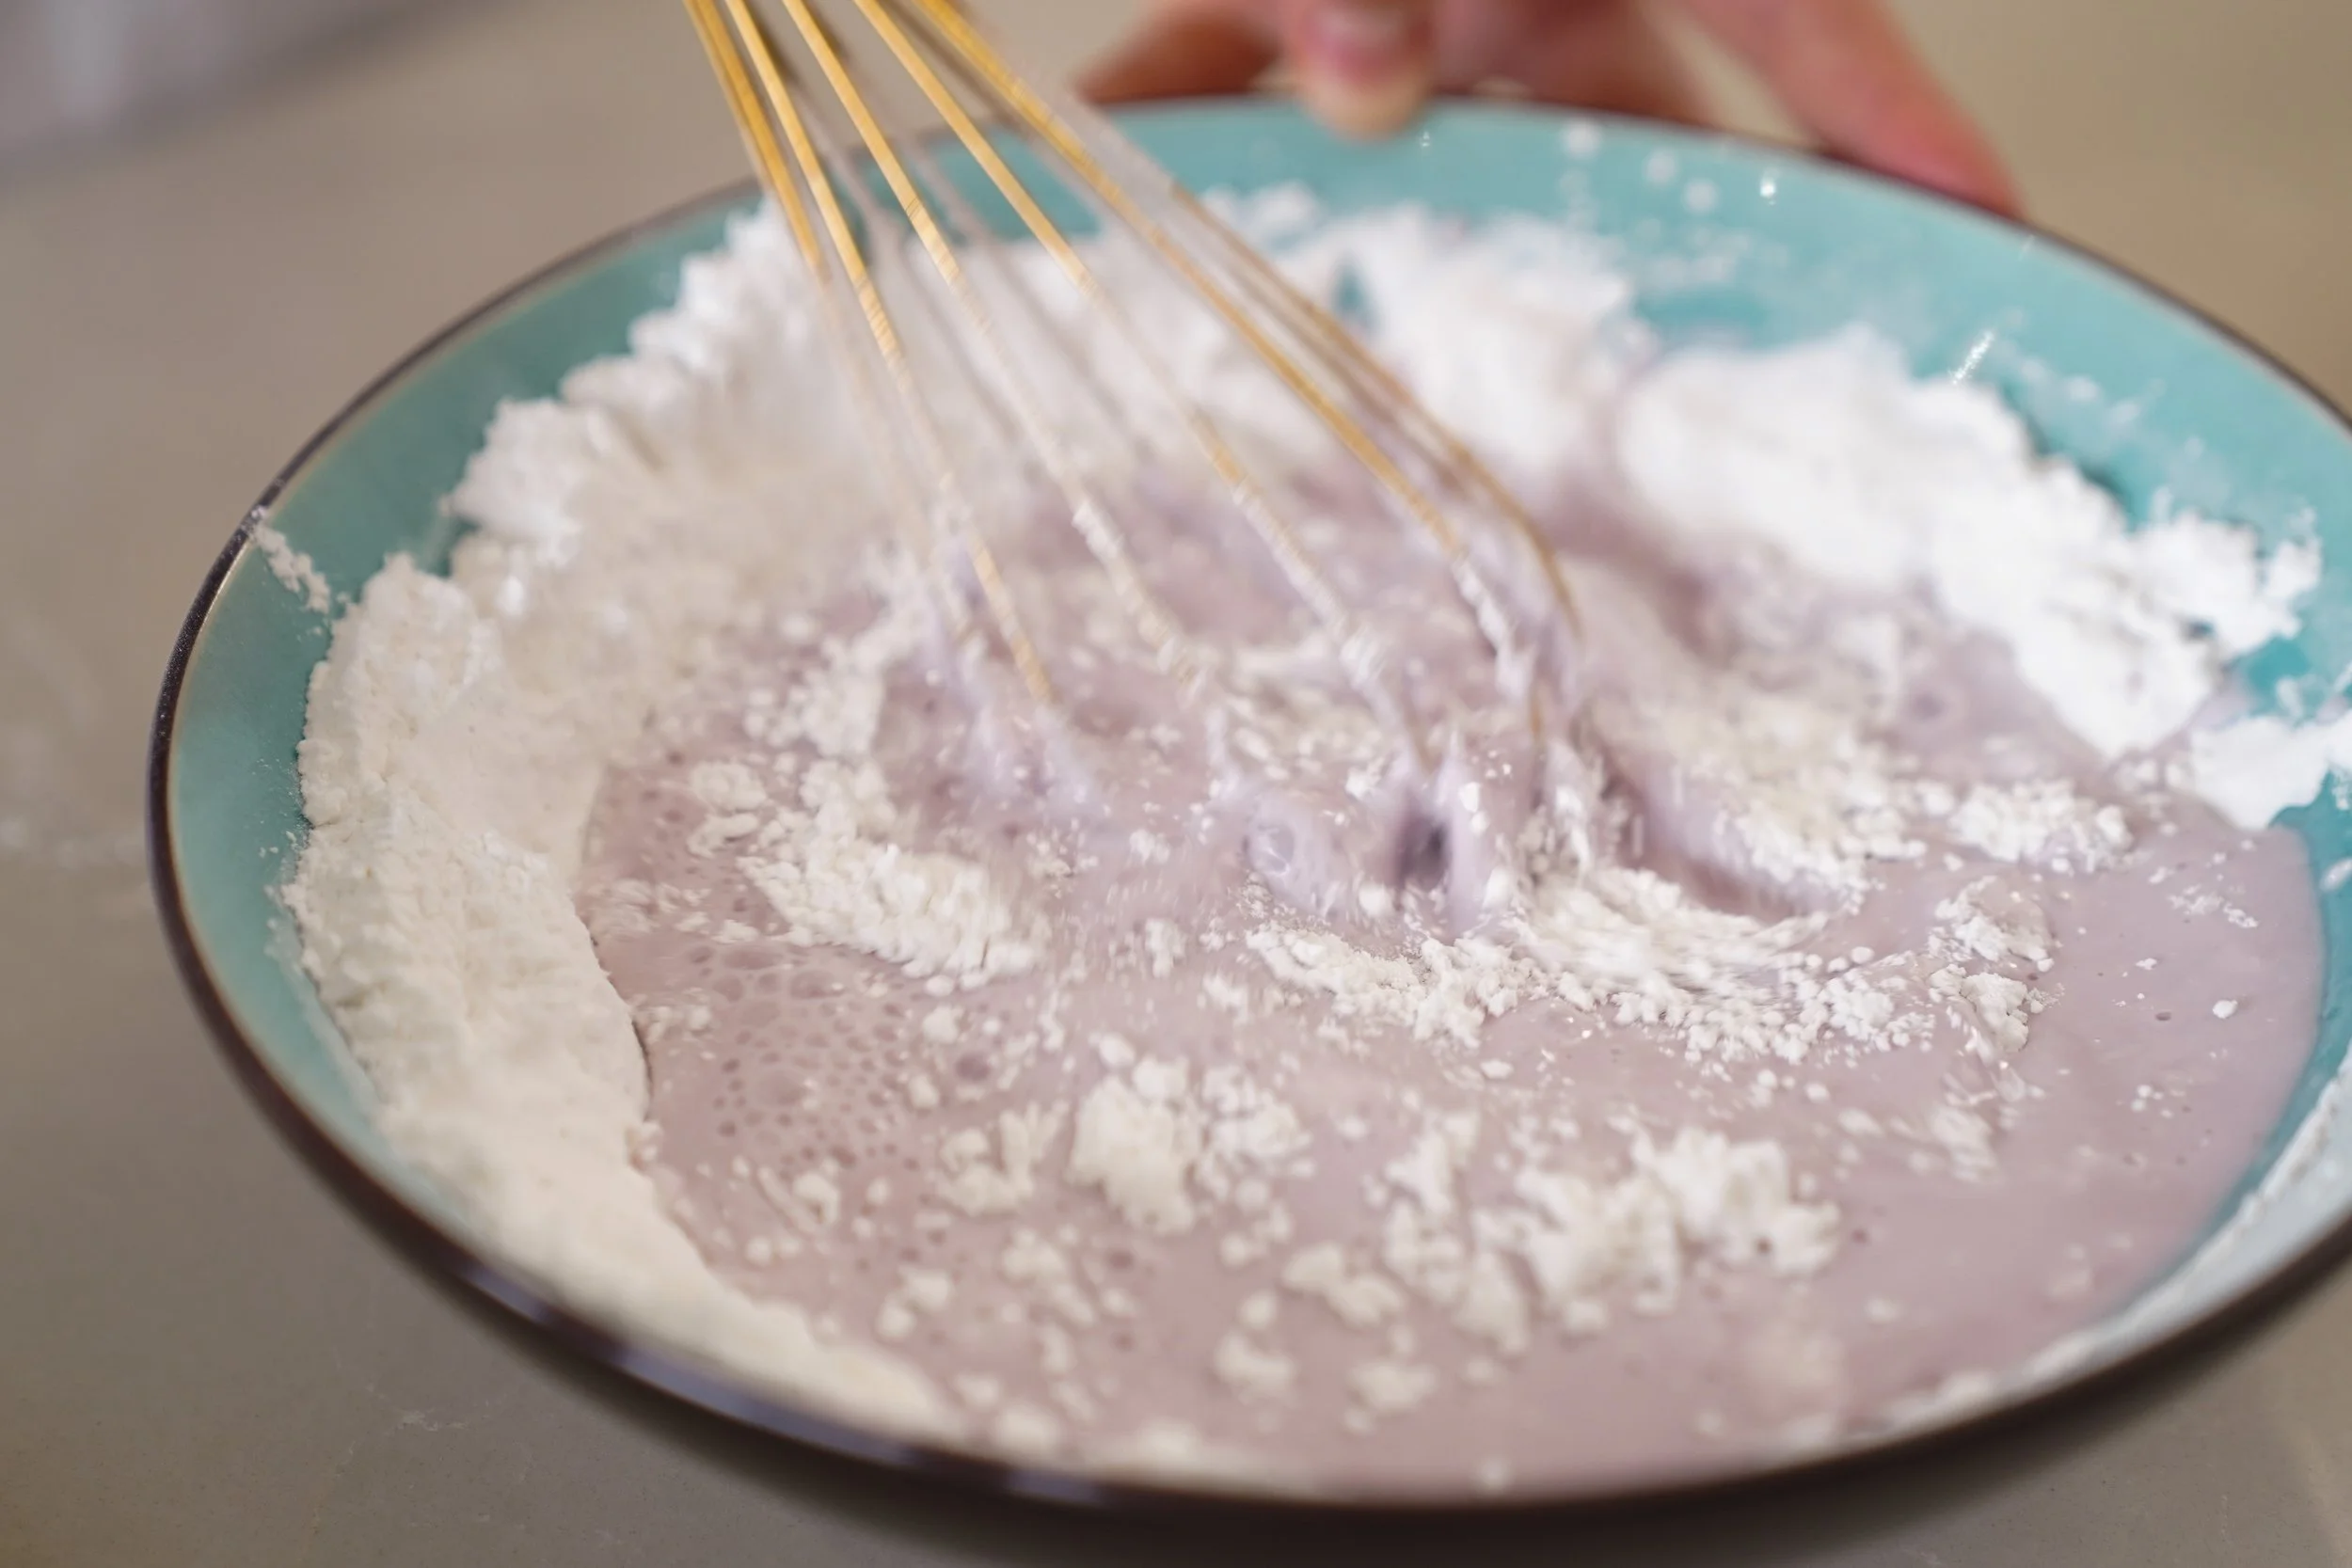
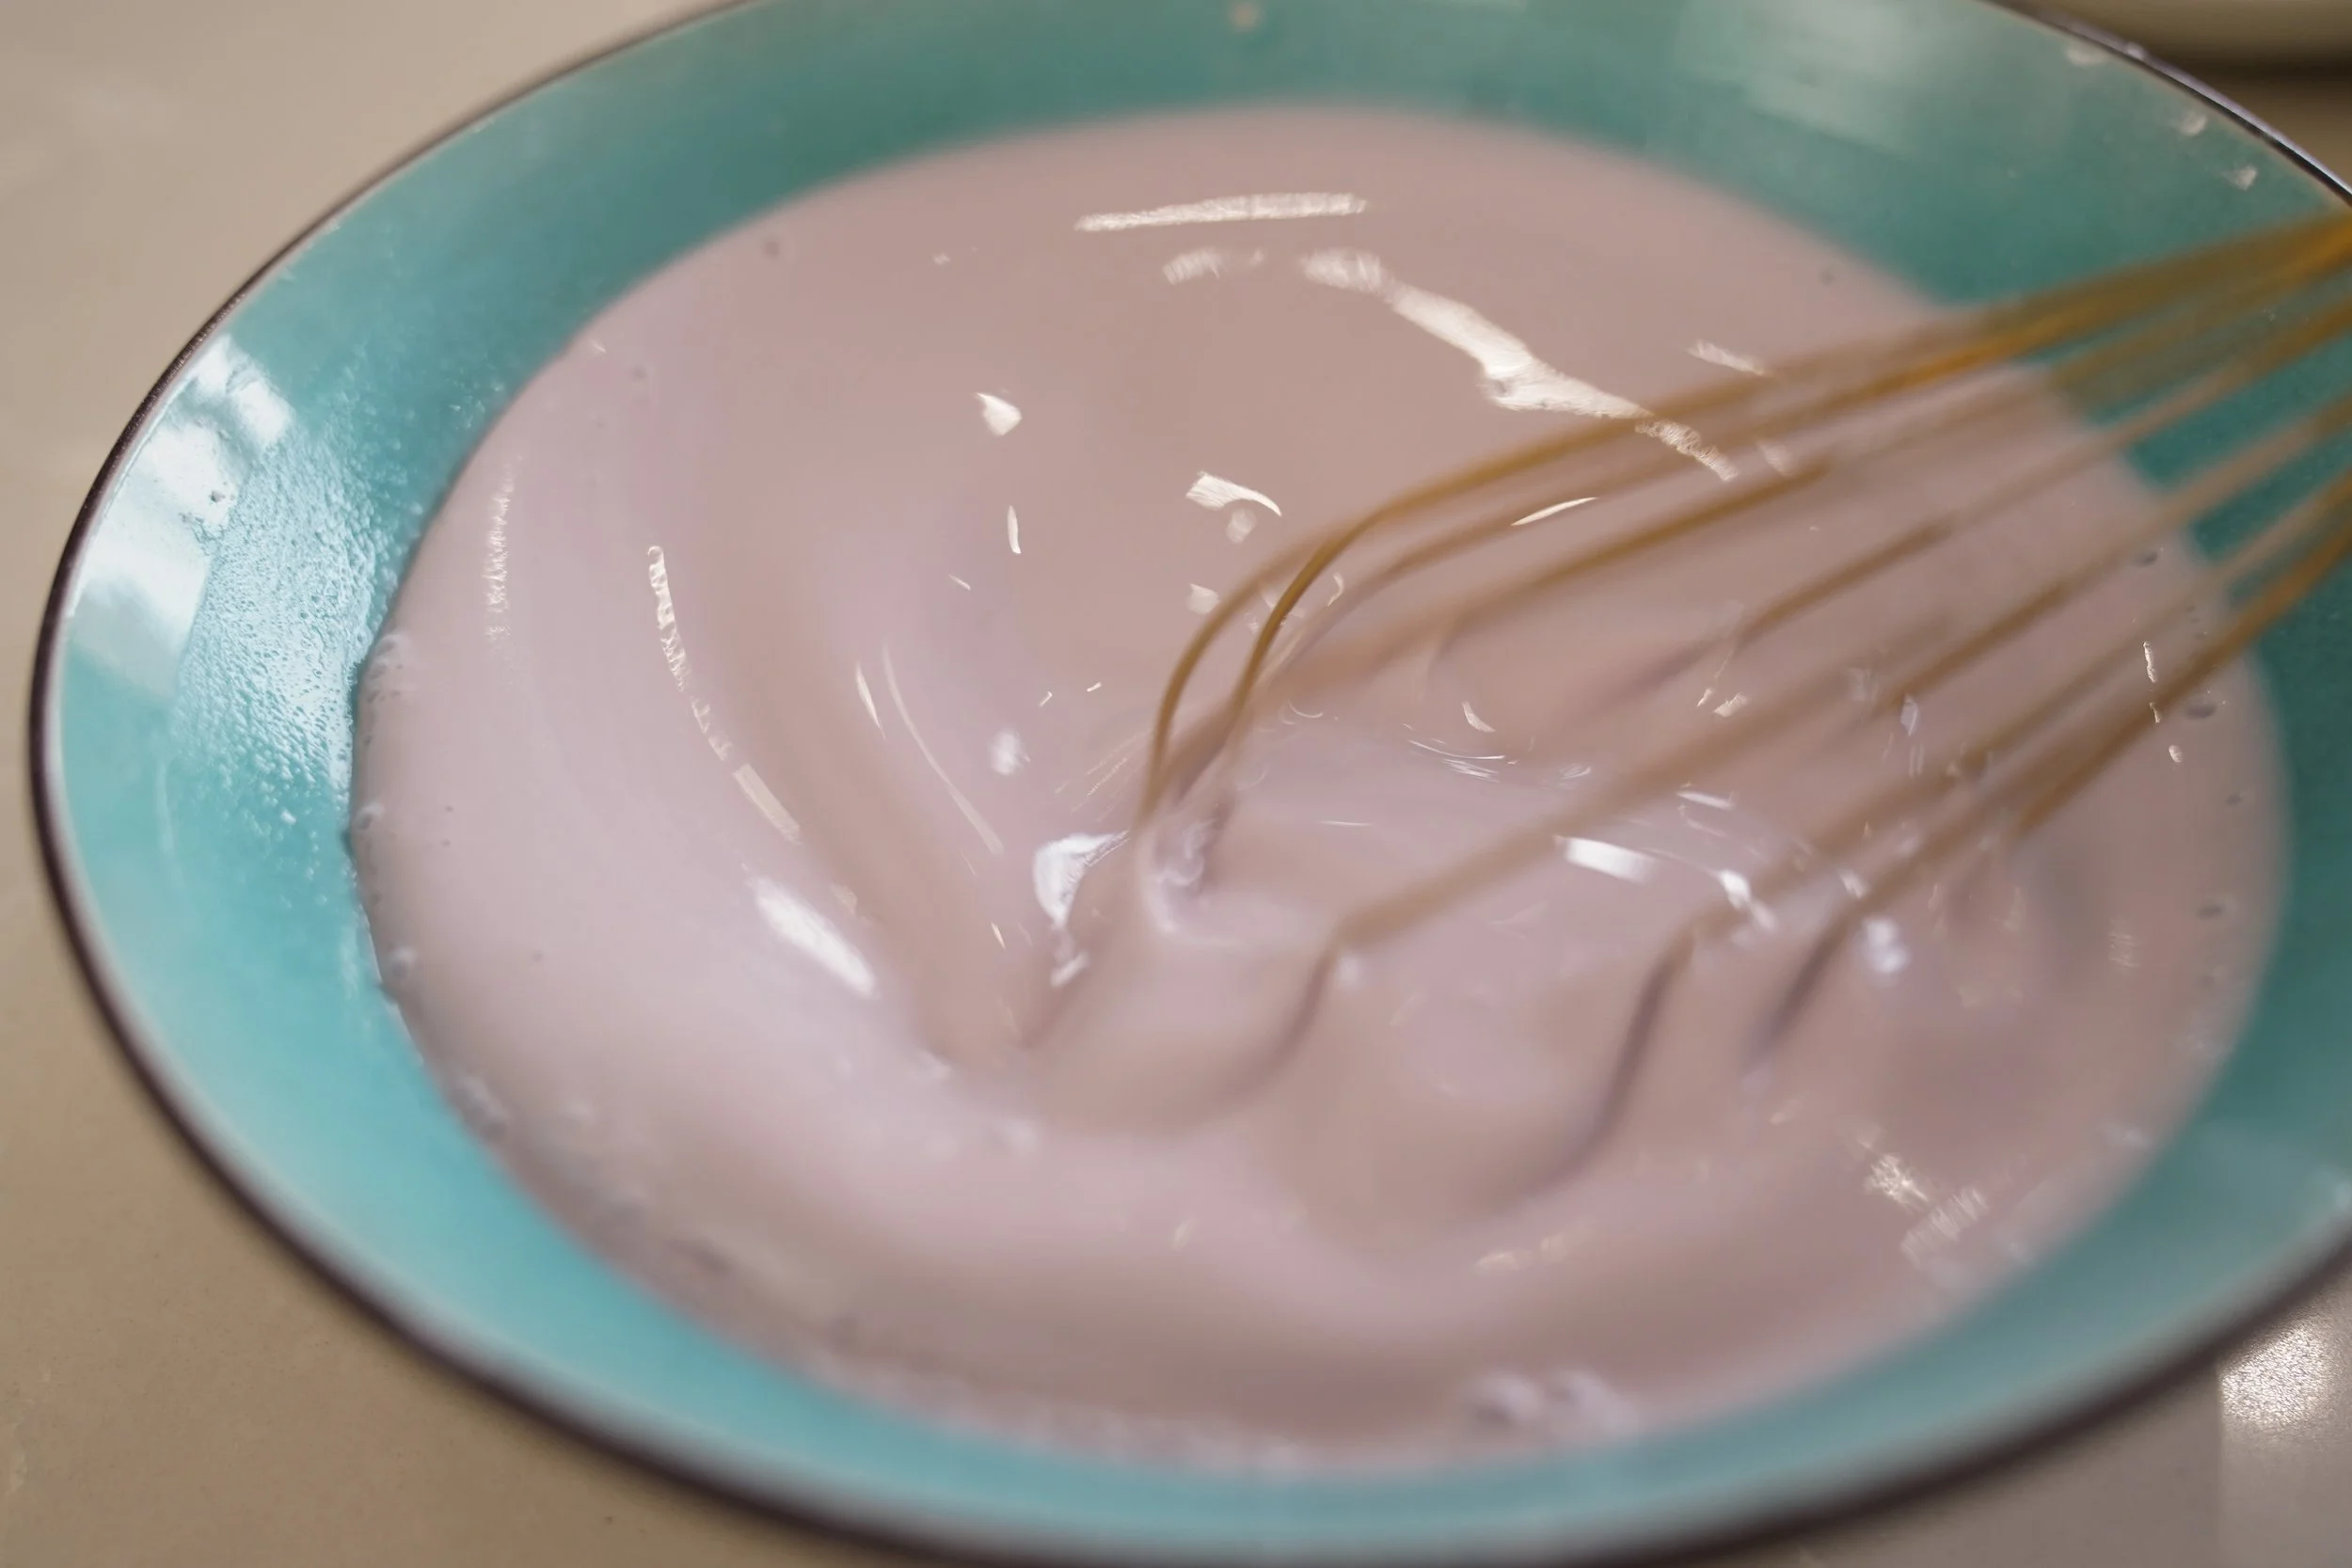
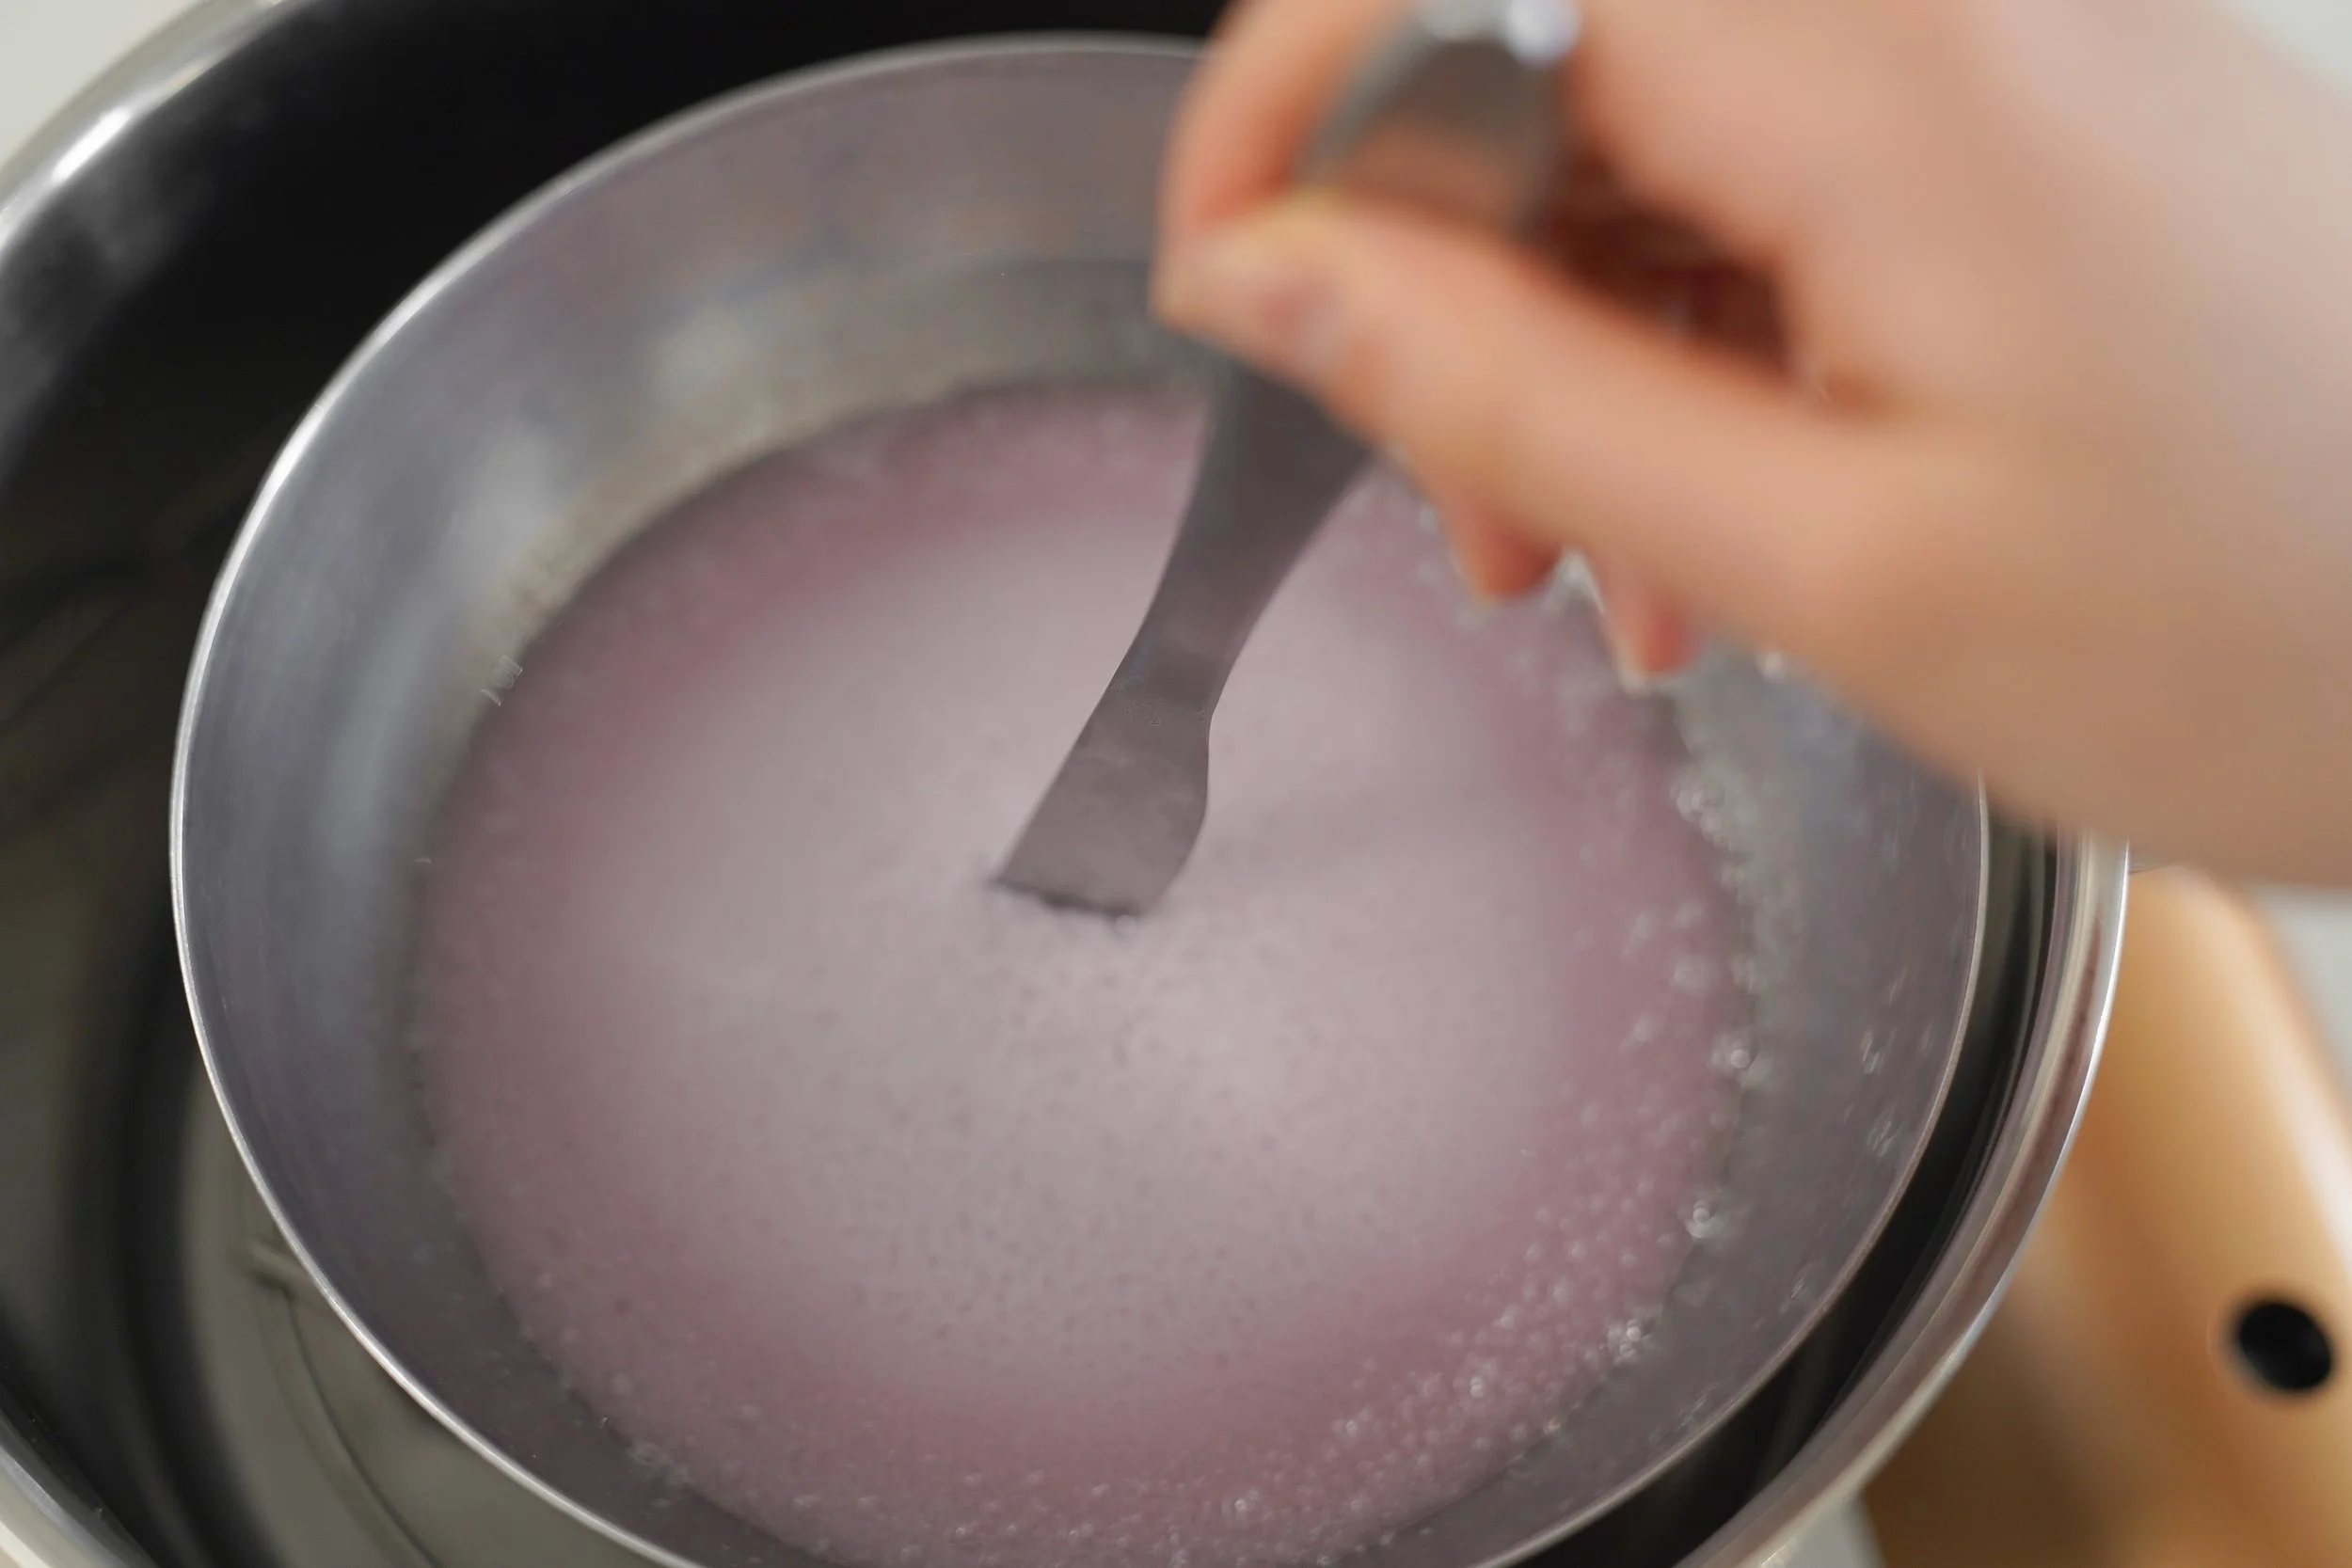
7. Combine all ingredients and pass through a sieve if there are any lumps.
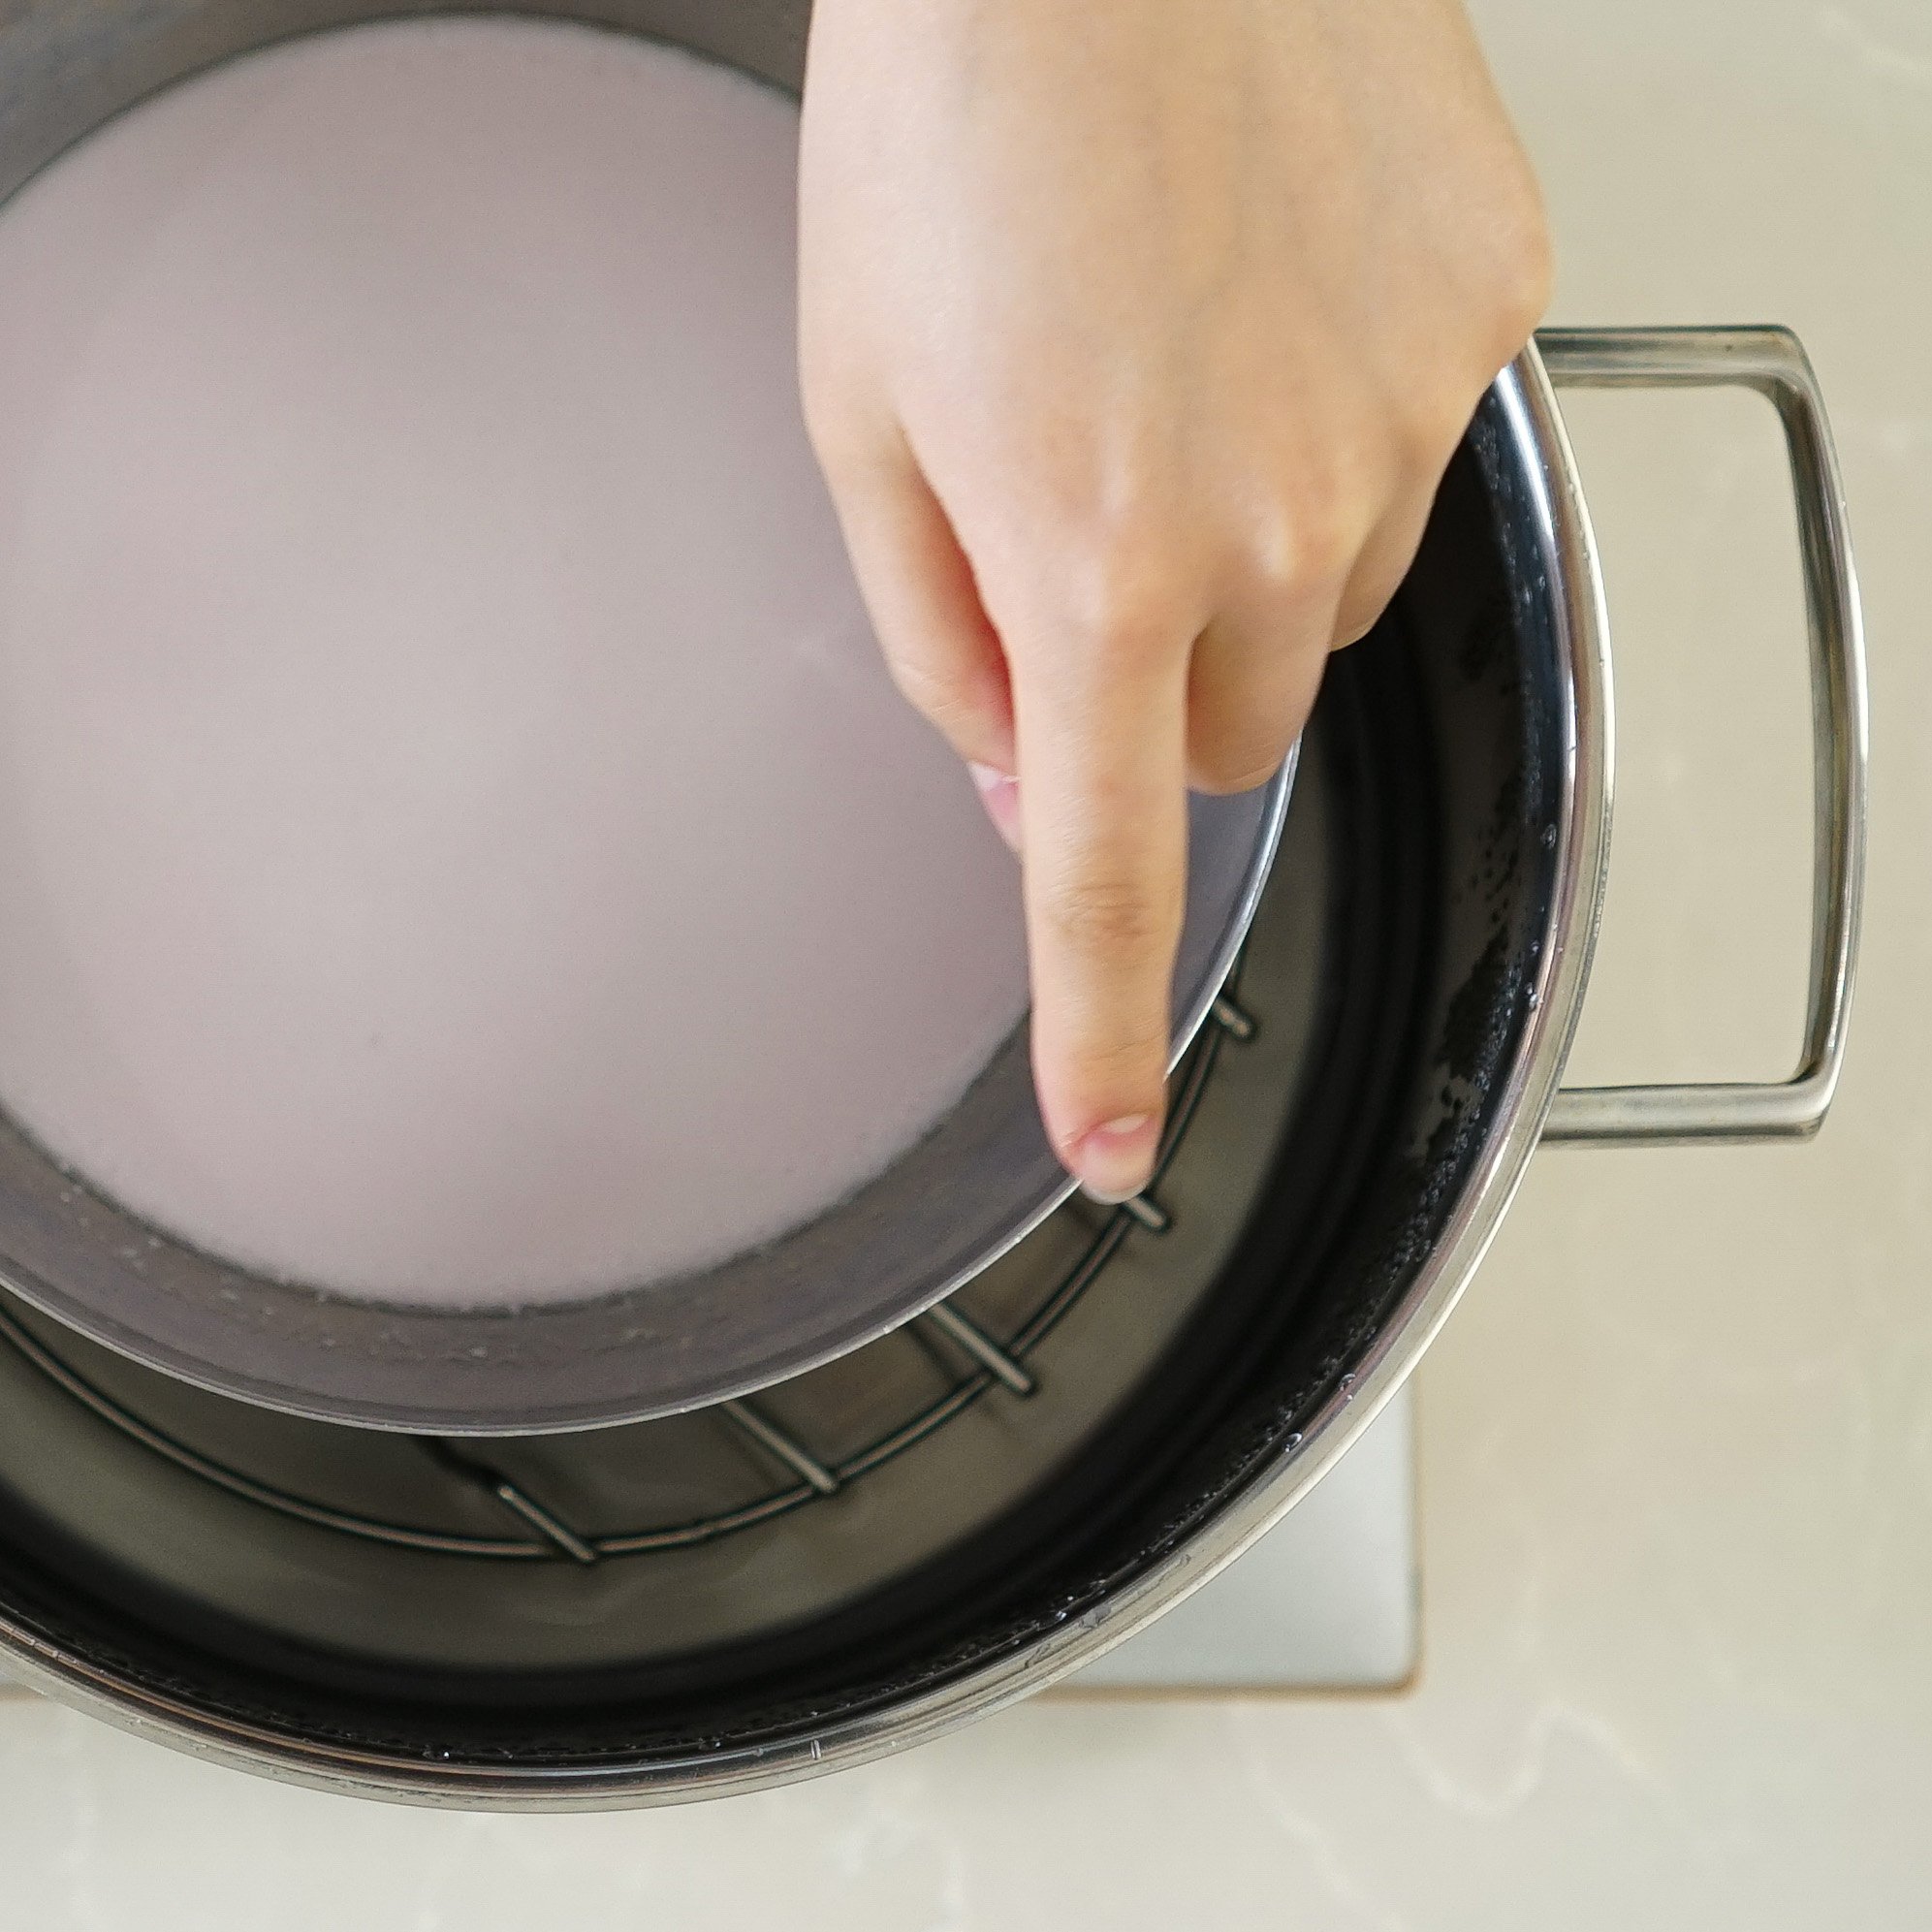
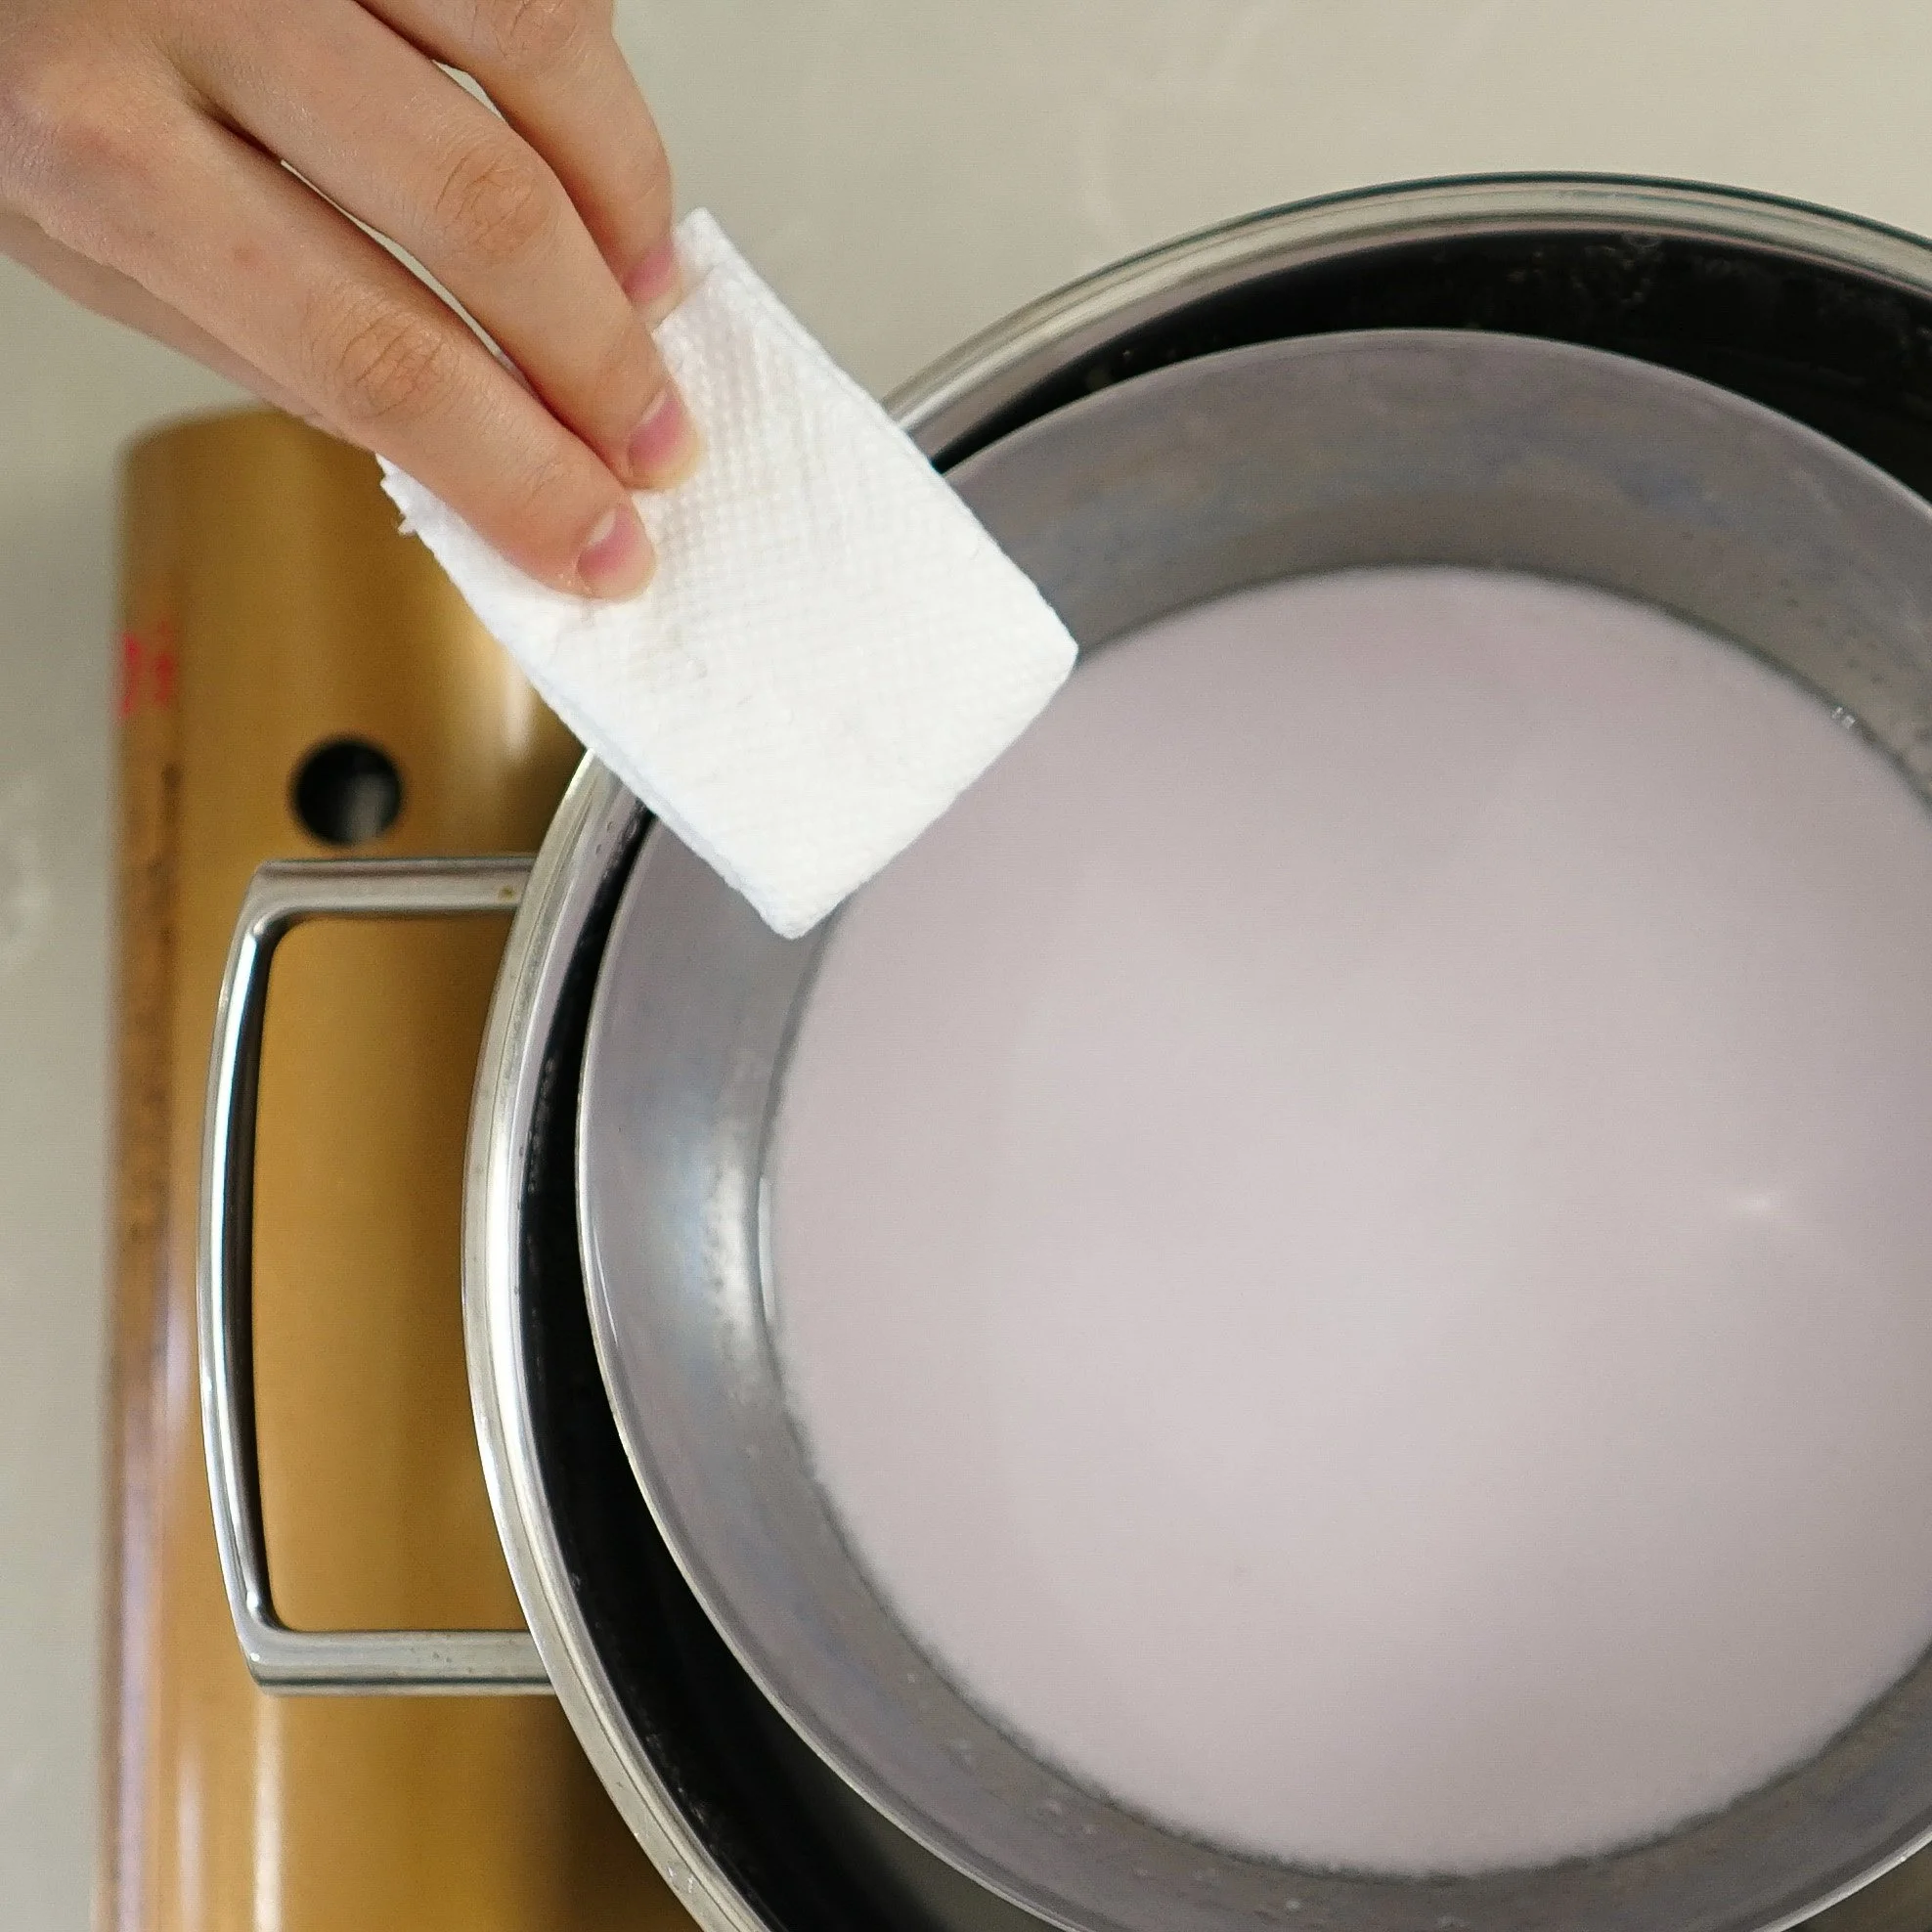
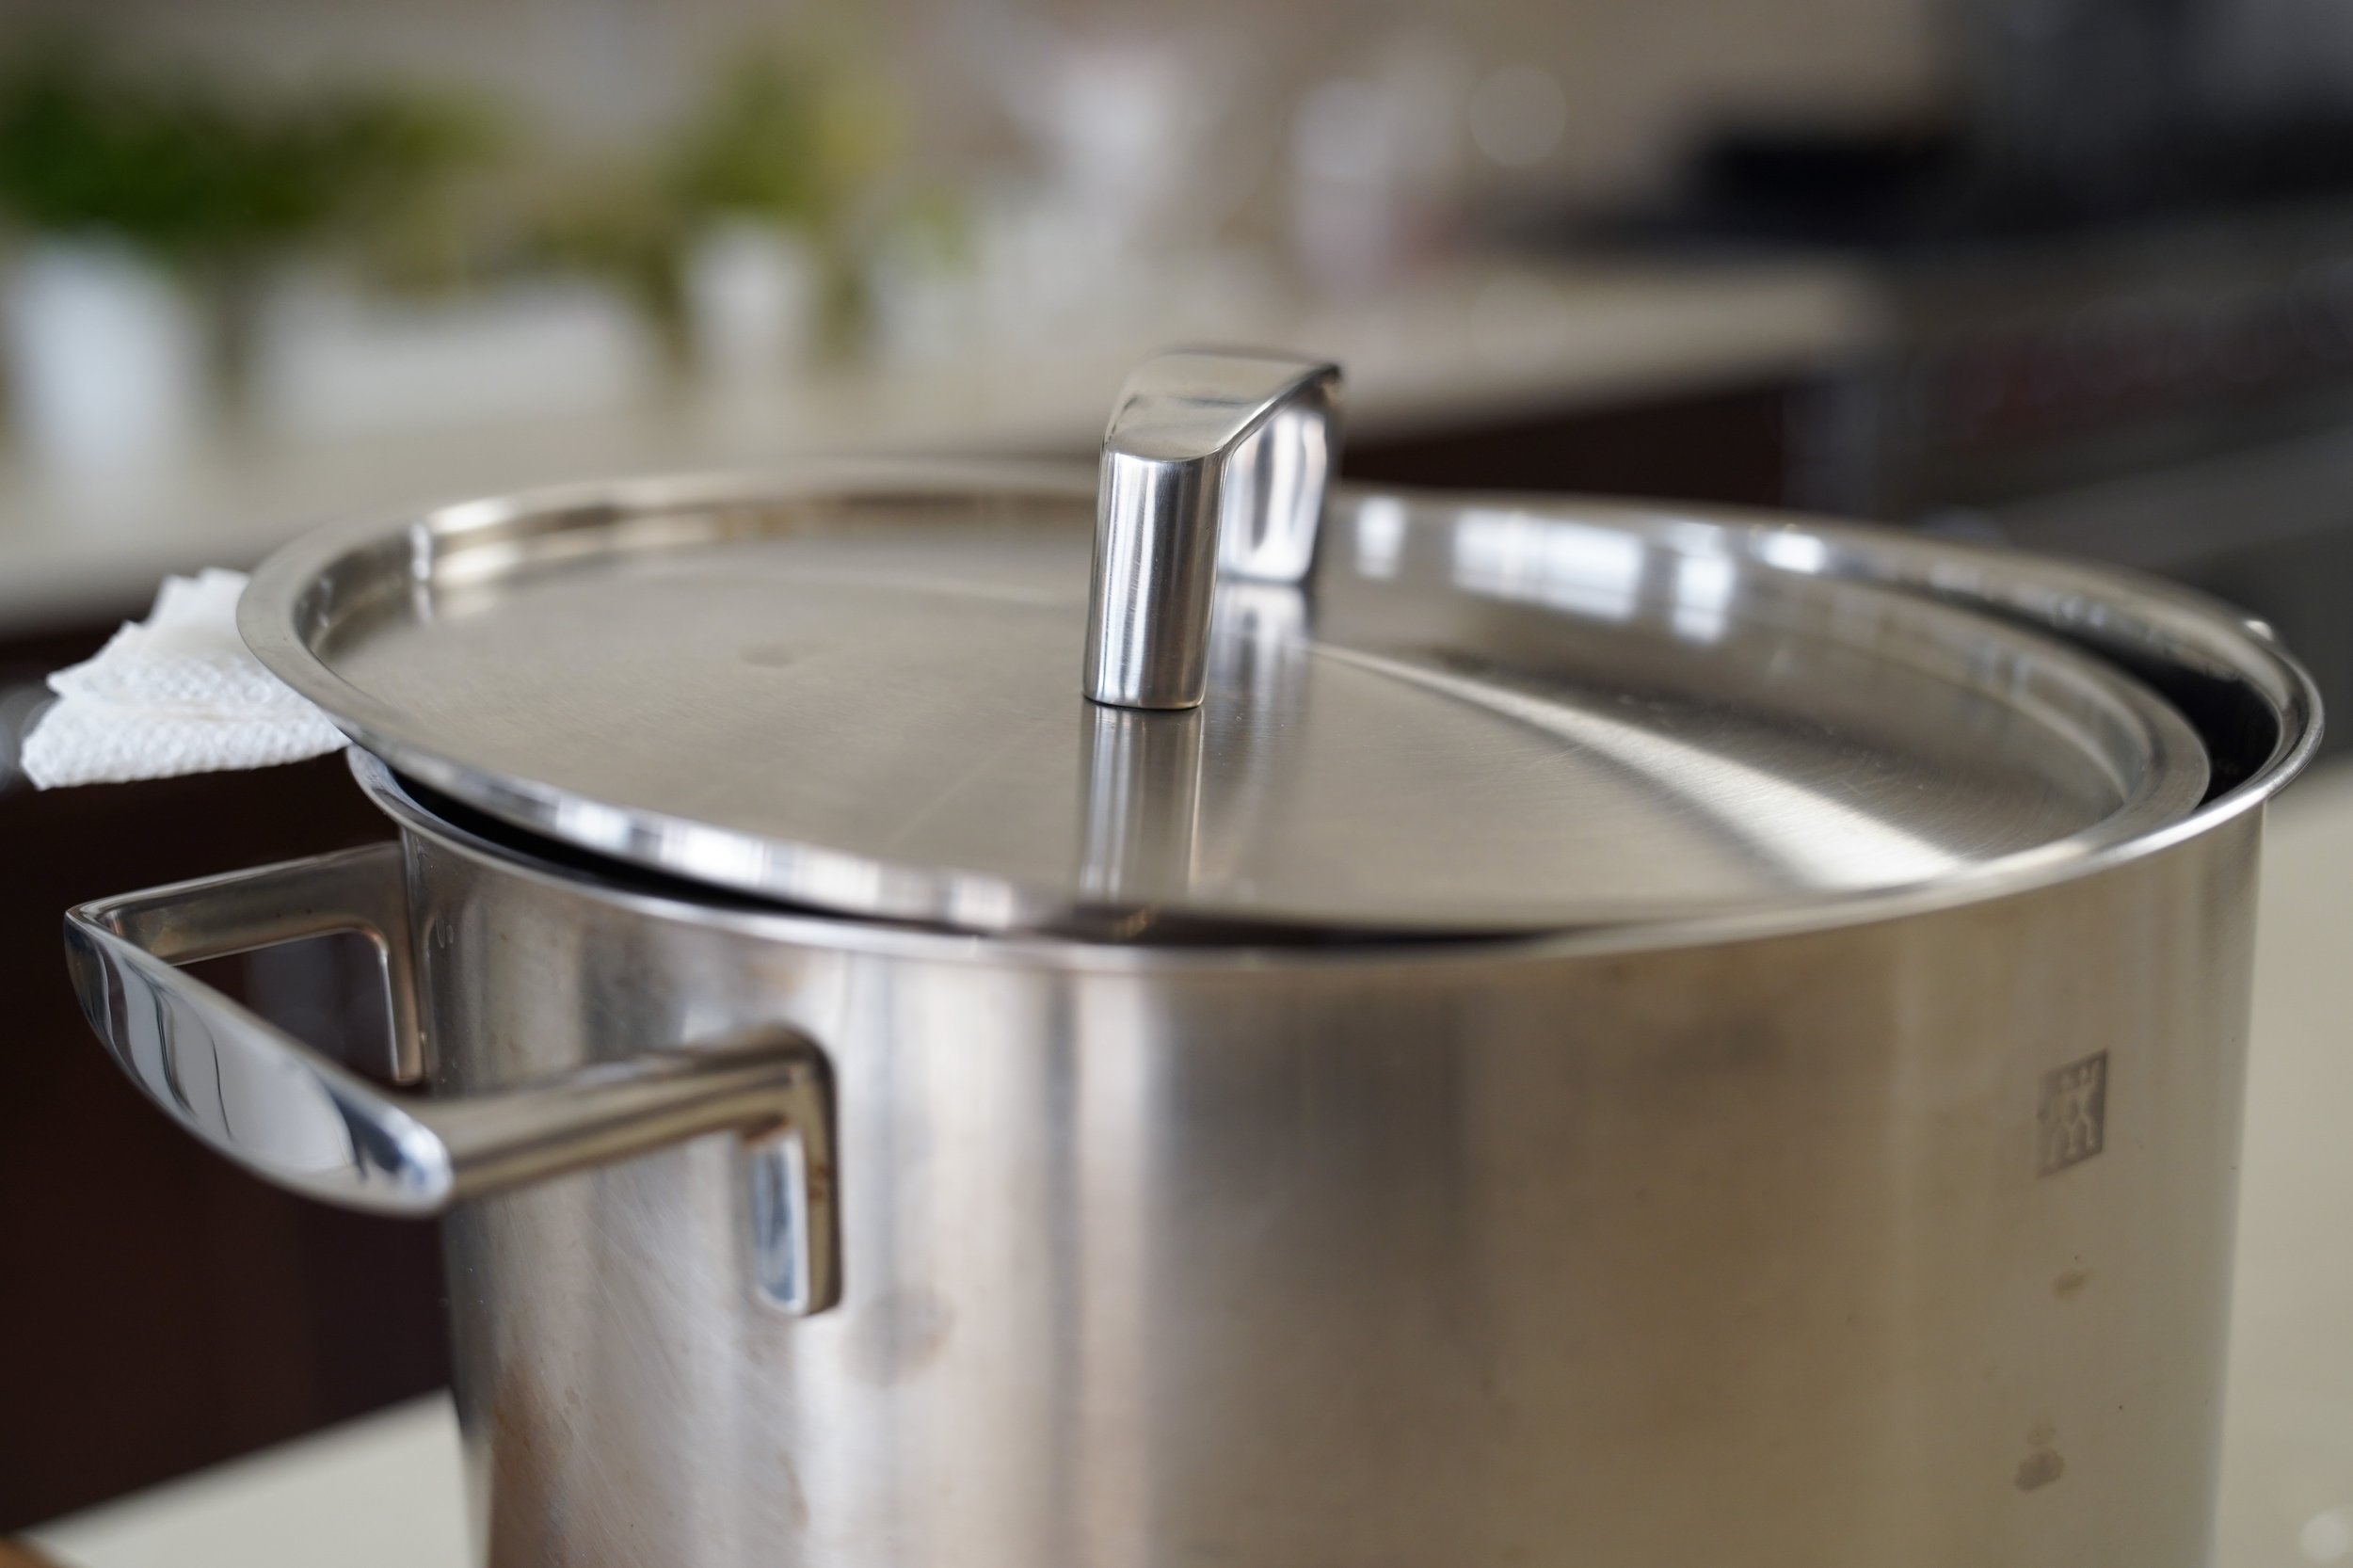
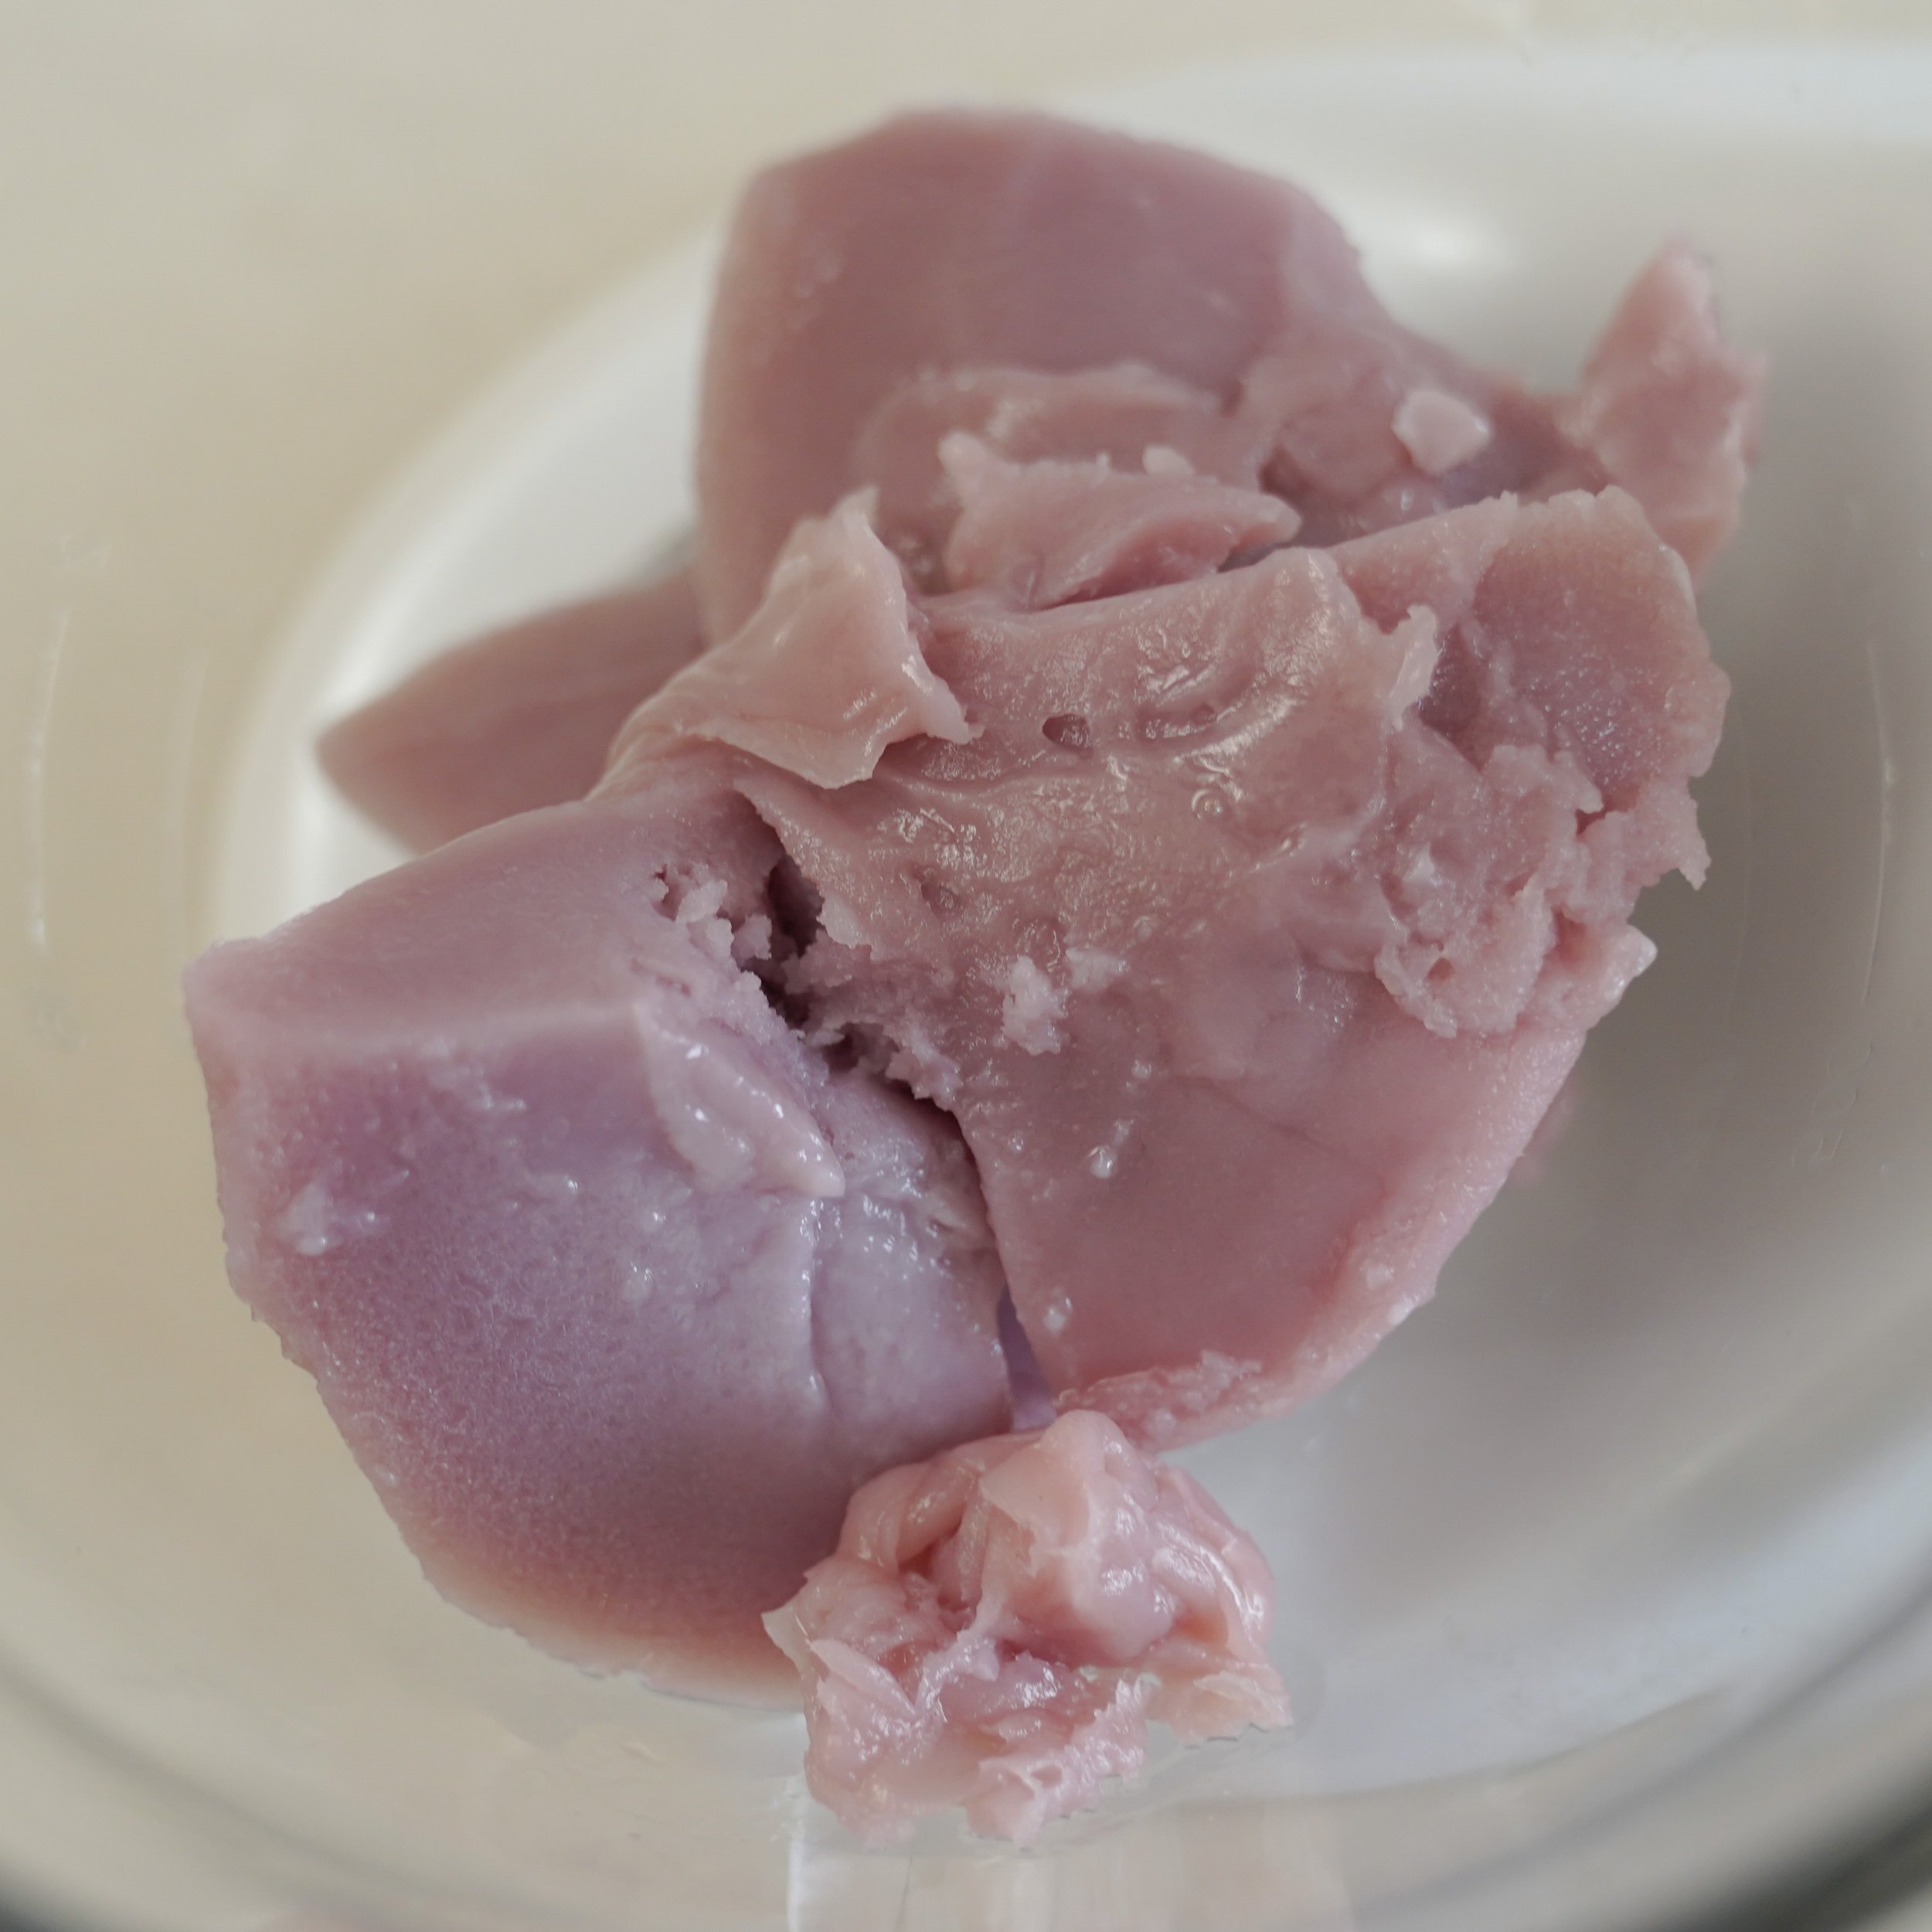
8. Steam for 30-35 mins on medium heat until no liquid batter remains (test by cutting the dough with a knife). Place a folded paper towel between the lid so that it rests on a slant, this way the condensation that forms while steaming won’t drip into the bowl.
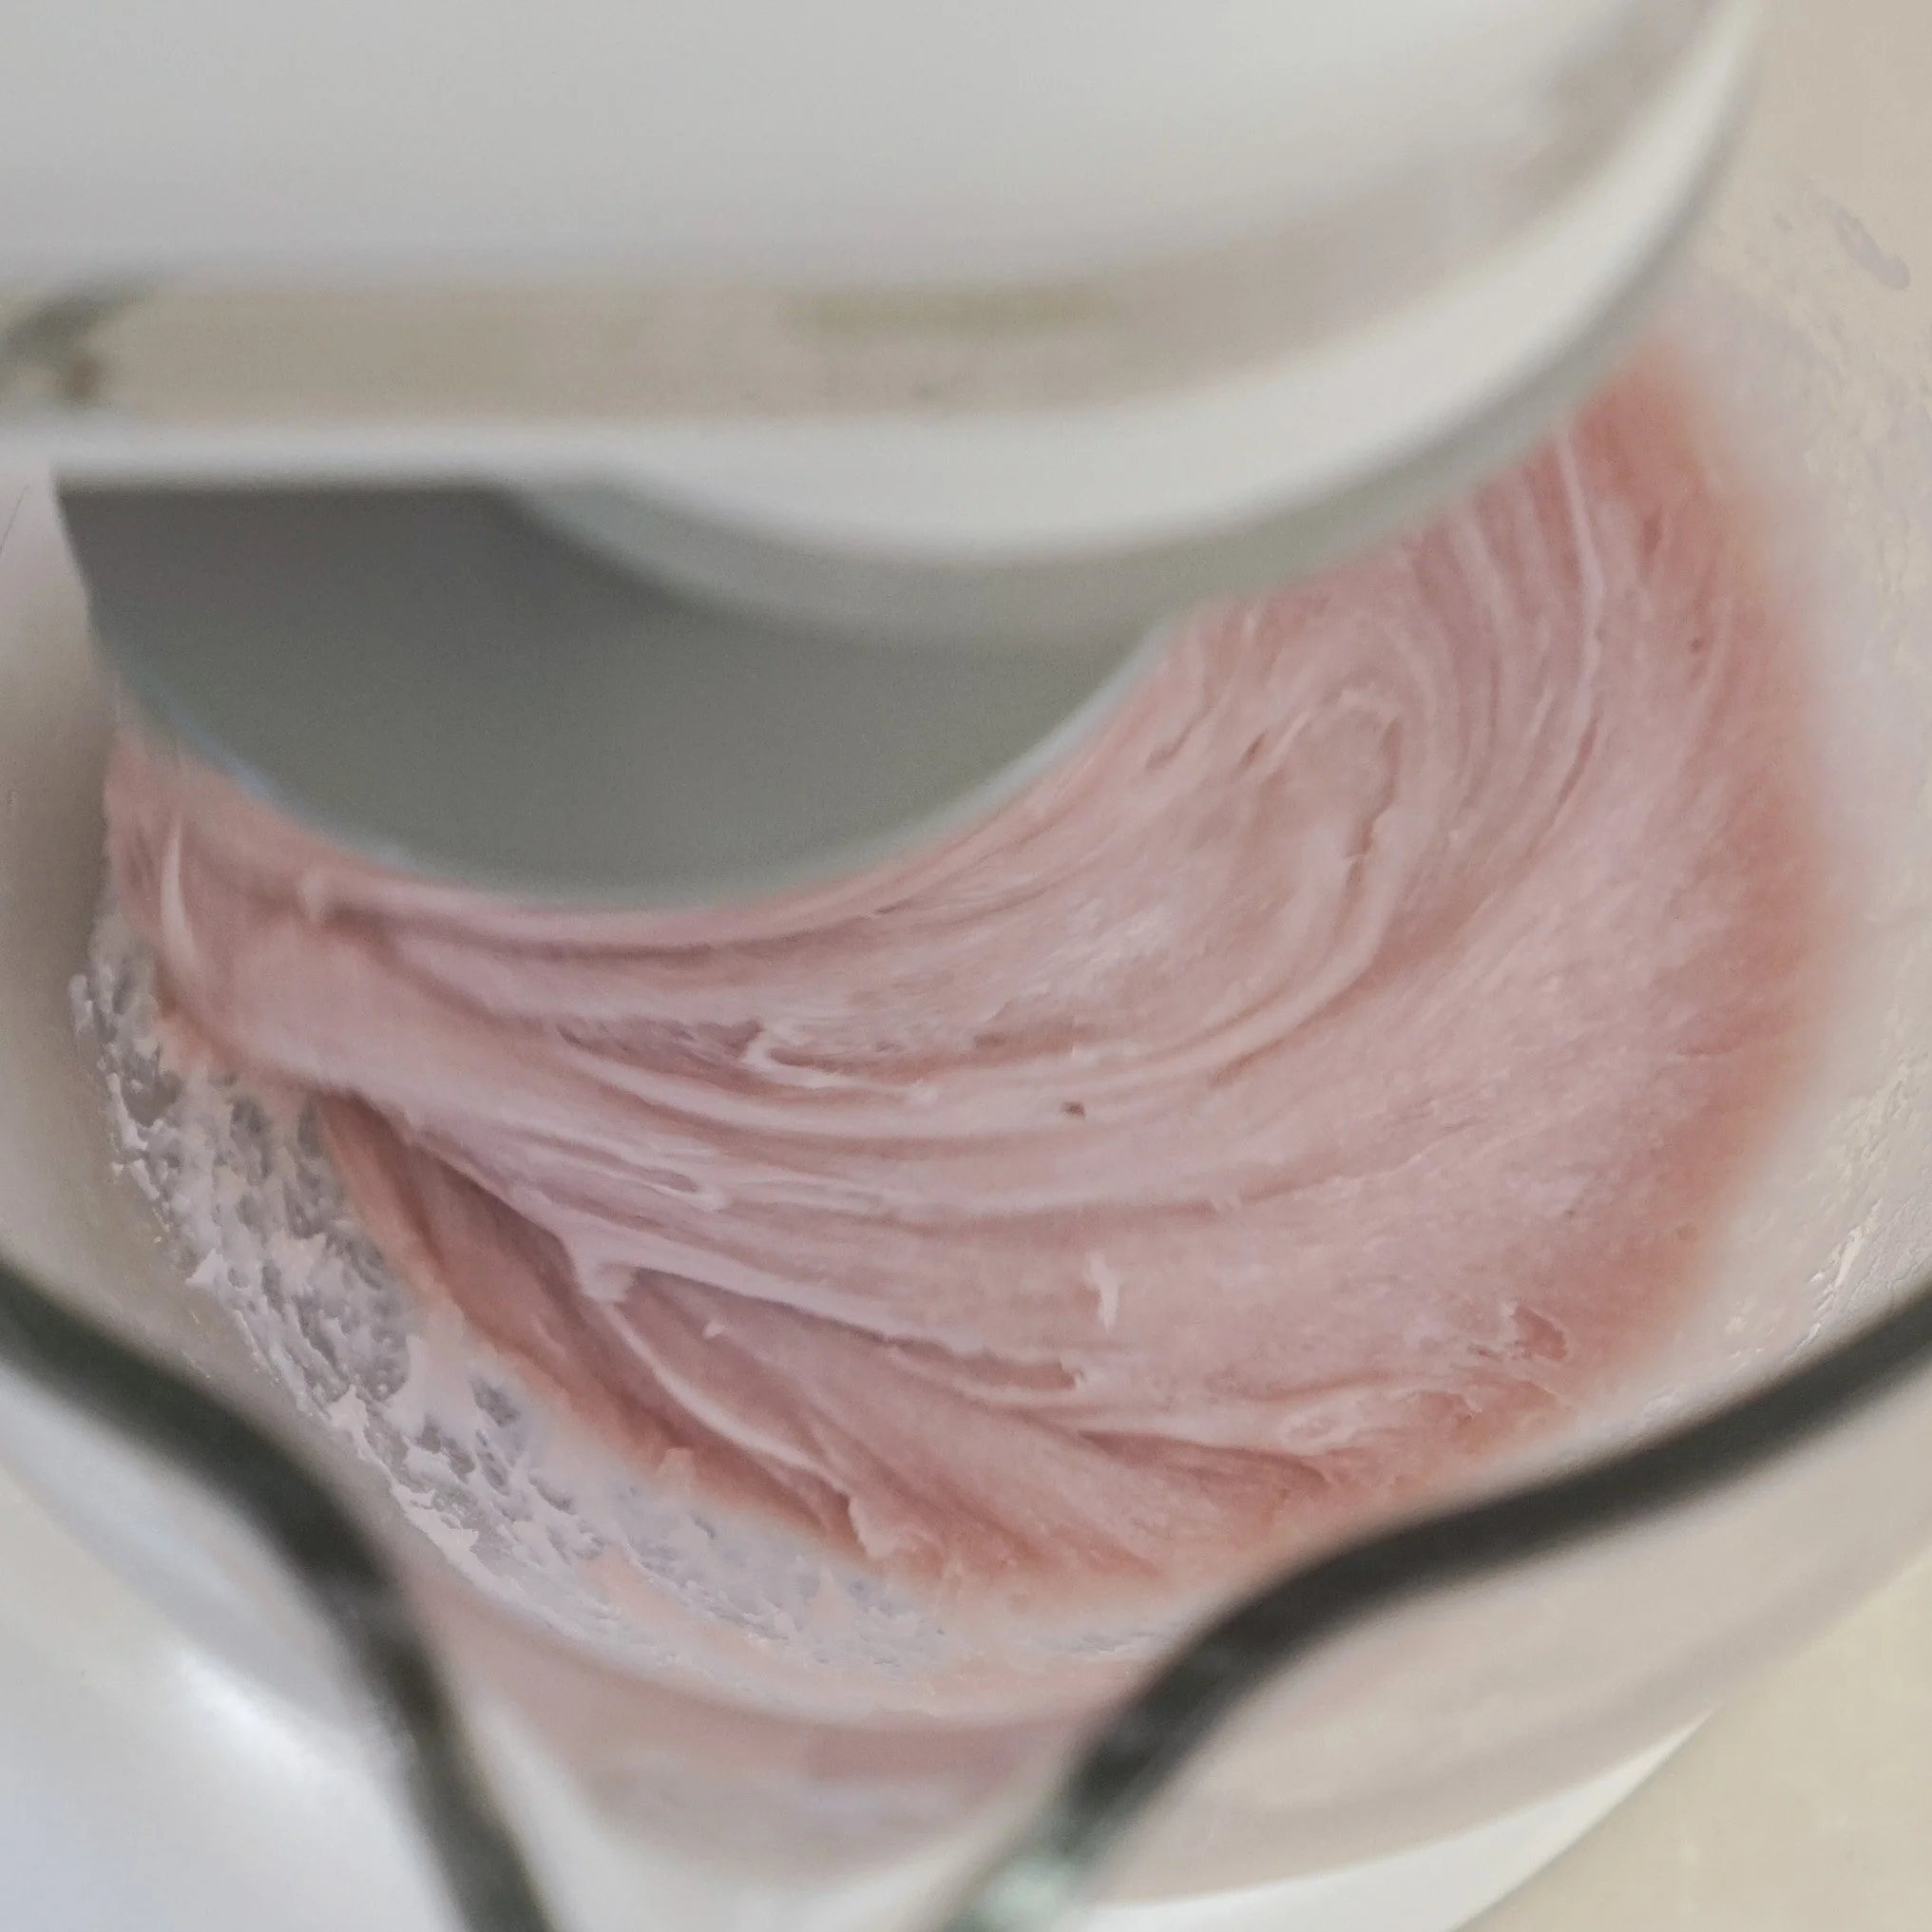
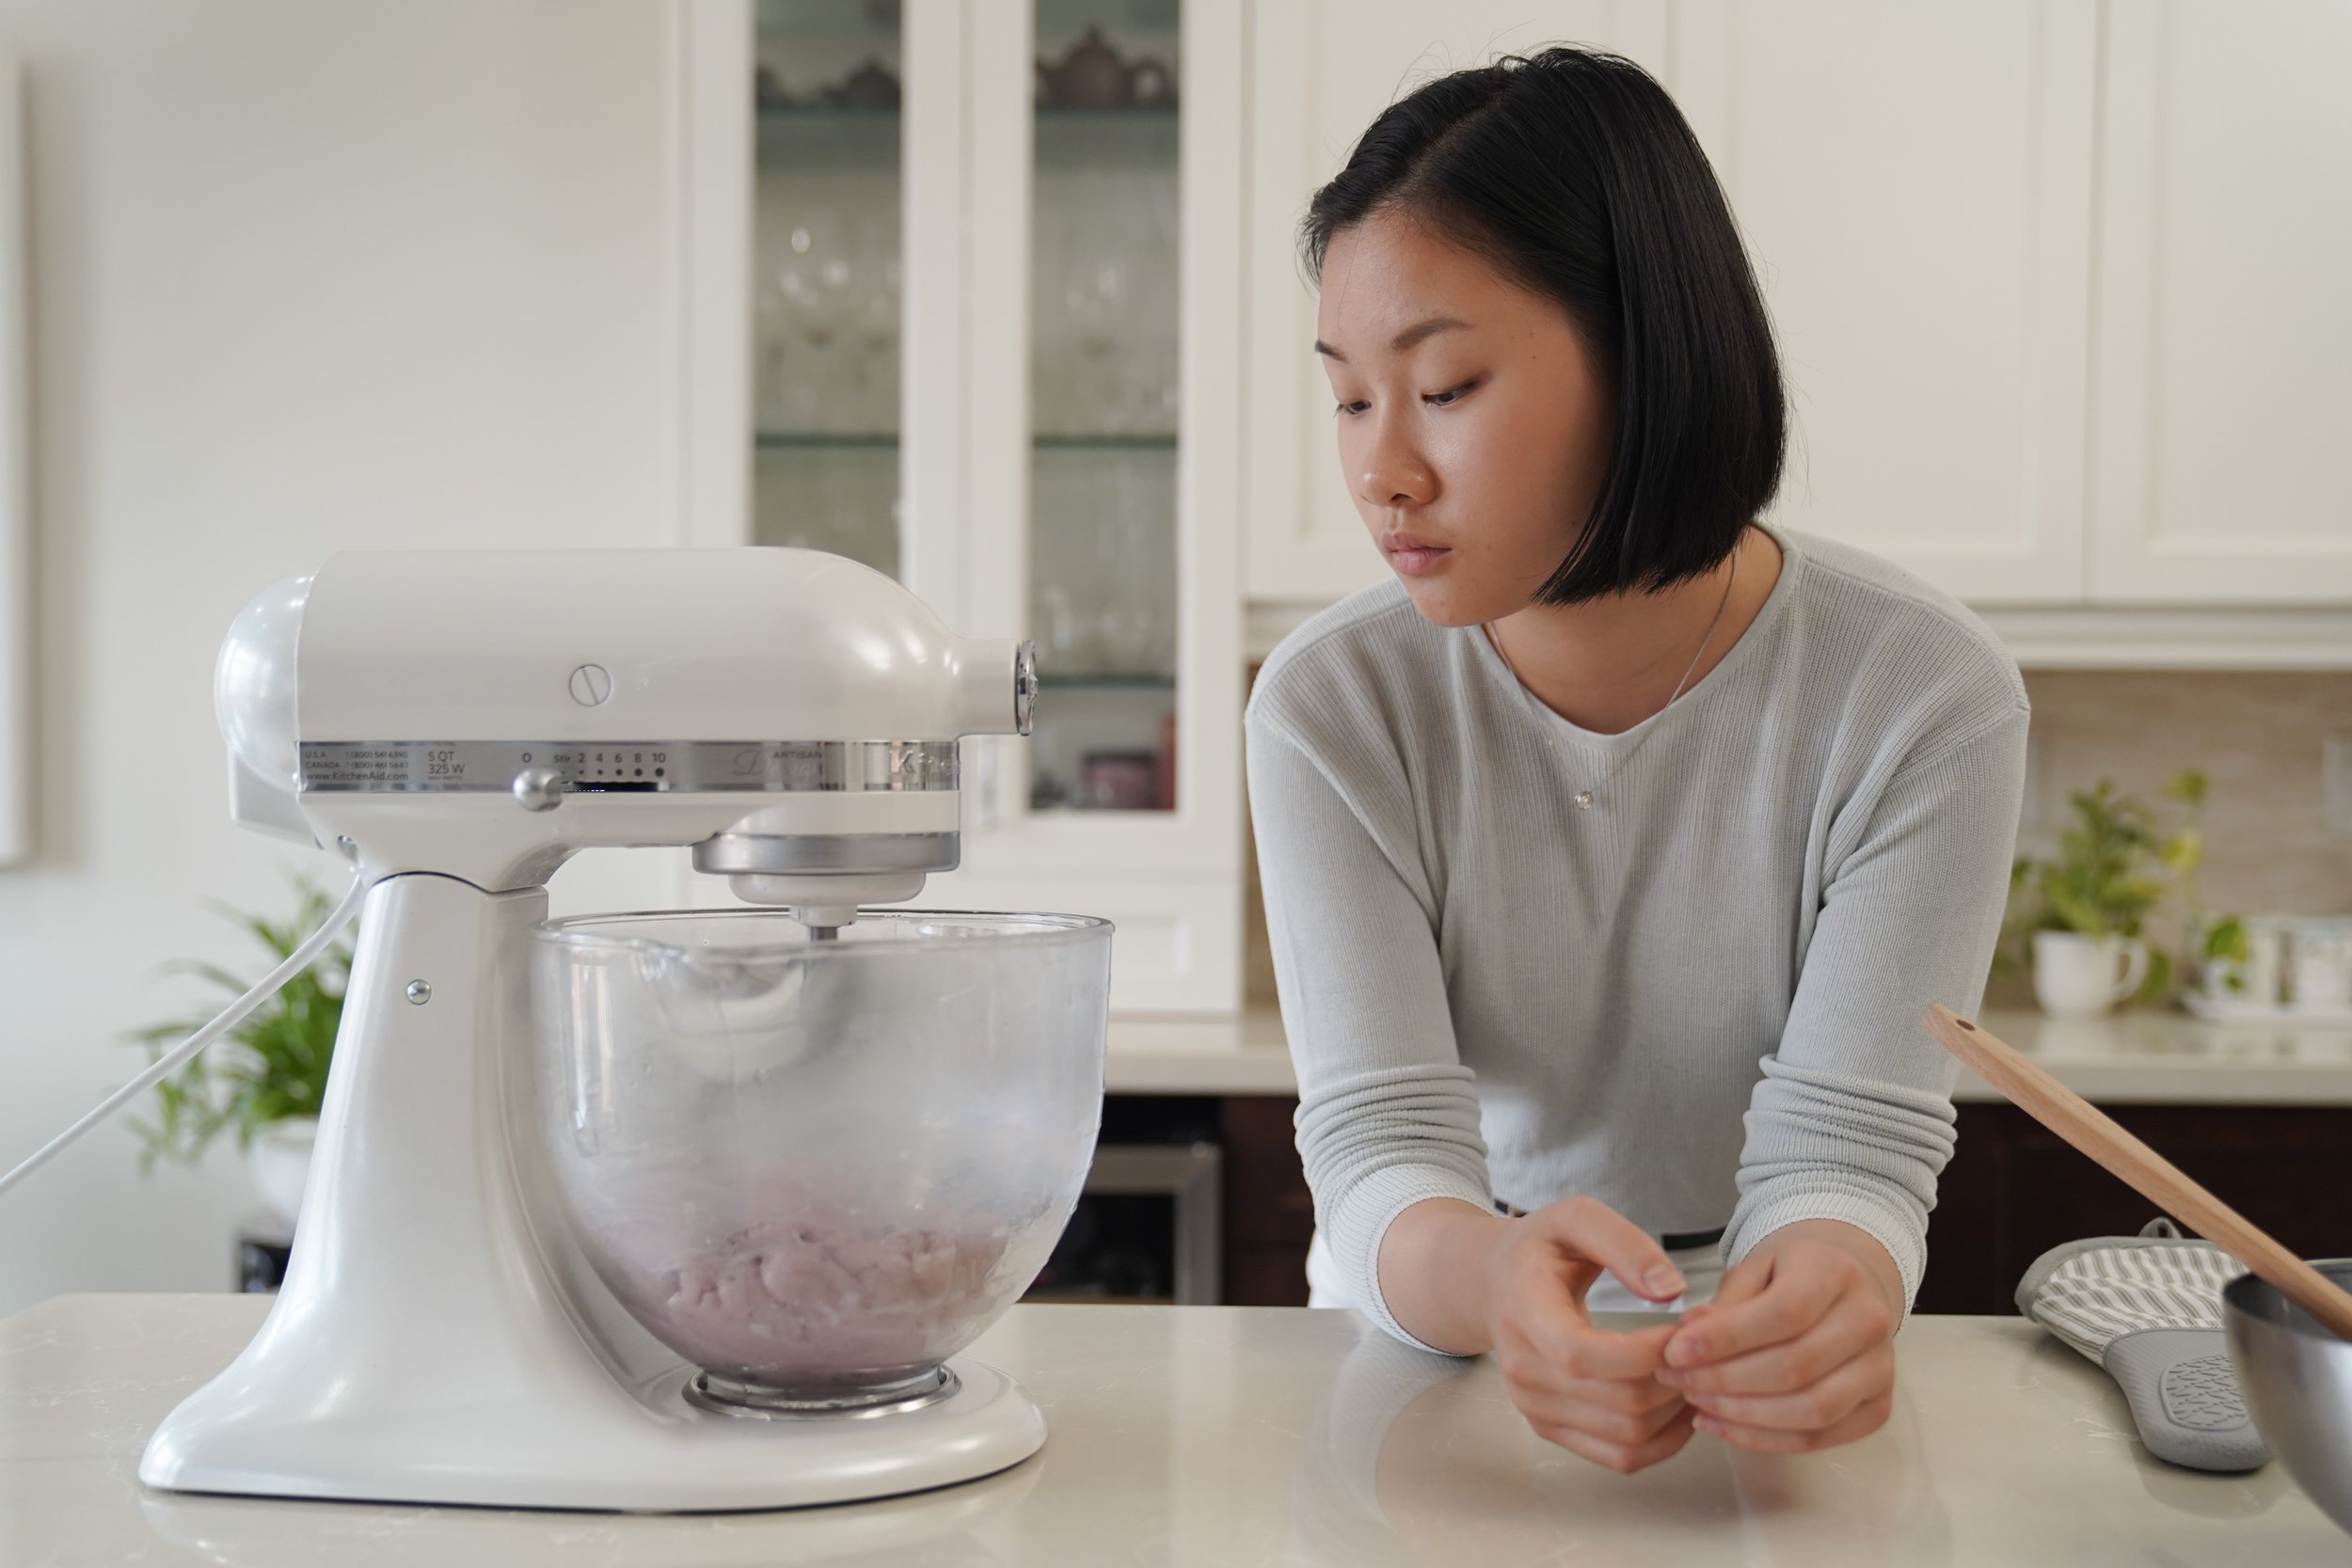
9. Transfer the cooked dough into a stand mixer bowl fitted with a hook attachment. Knead for 10 mins on medium-low speed, scraping the sides occasionally, until the dough is smooth and slightly cooled. (doing this by hand also works, it will however be quite a sticky process…)
10. Wrap the dough in a piece of plastic and place it in the fridge to chill for at least 3 hours, best overnight.
Assembly
11. To prepare an edible dusting powder, cook the glutinous rice flour on medium heat until it turns slightly golden brown. Make sure to stir constantly and do not let it burn!
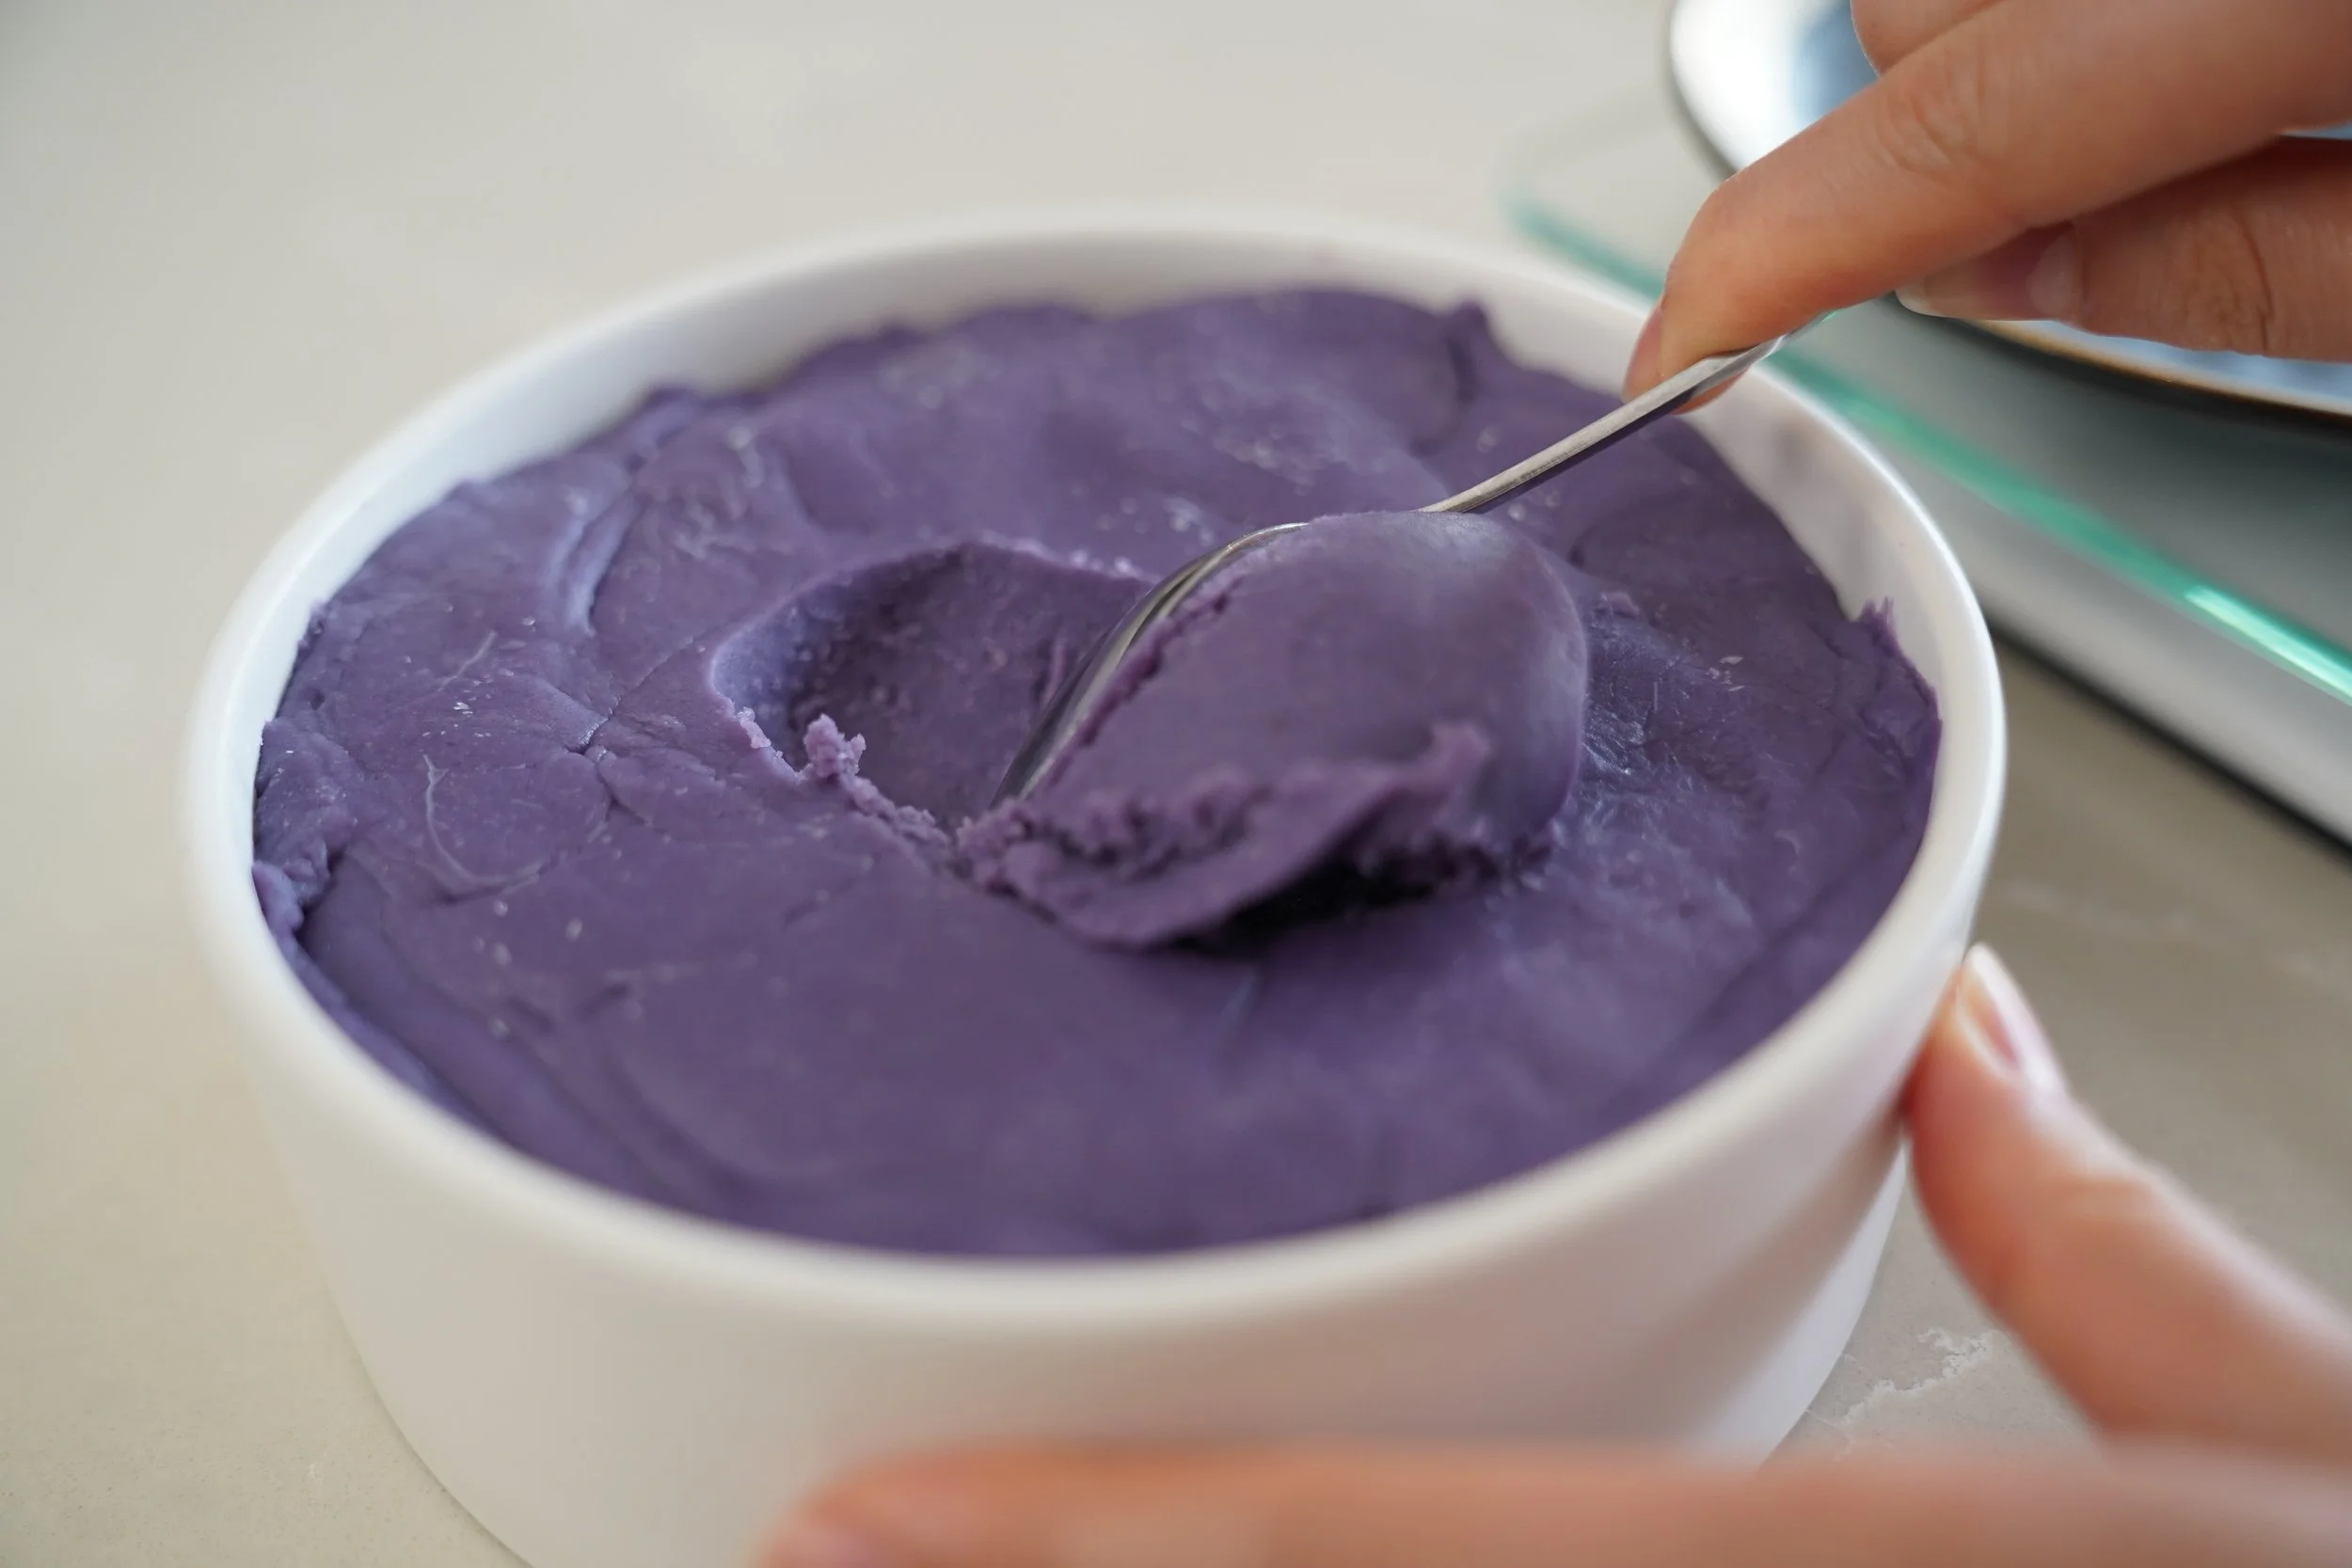
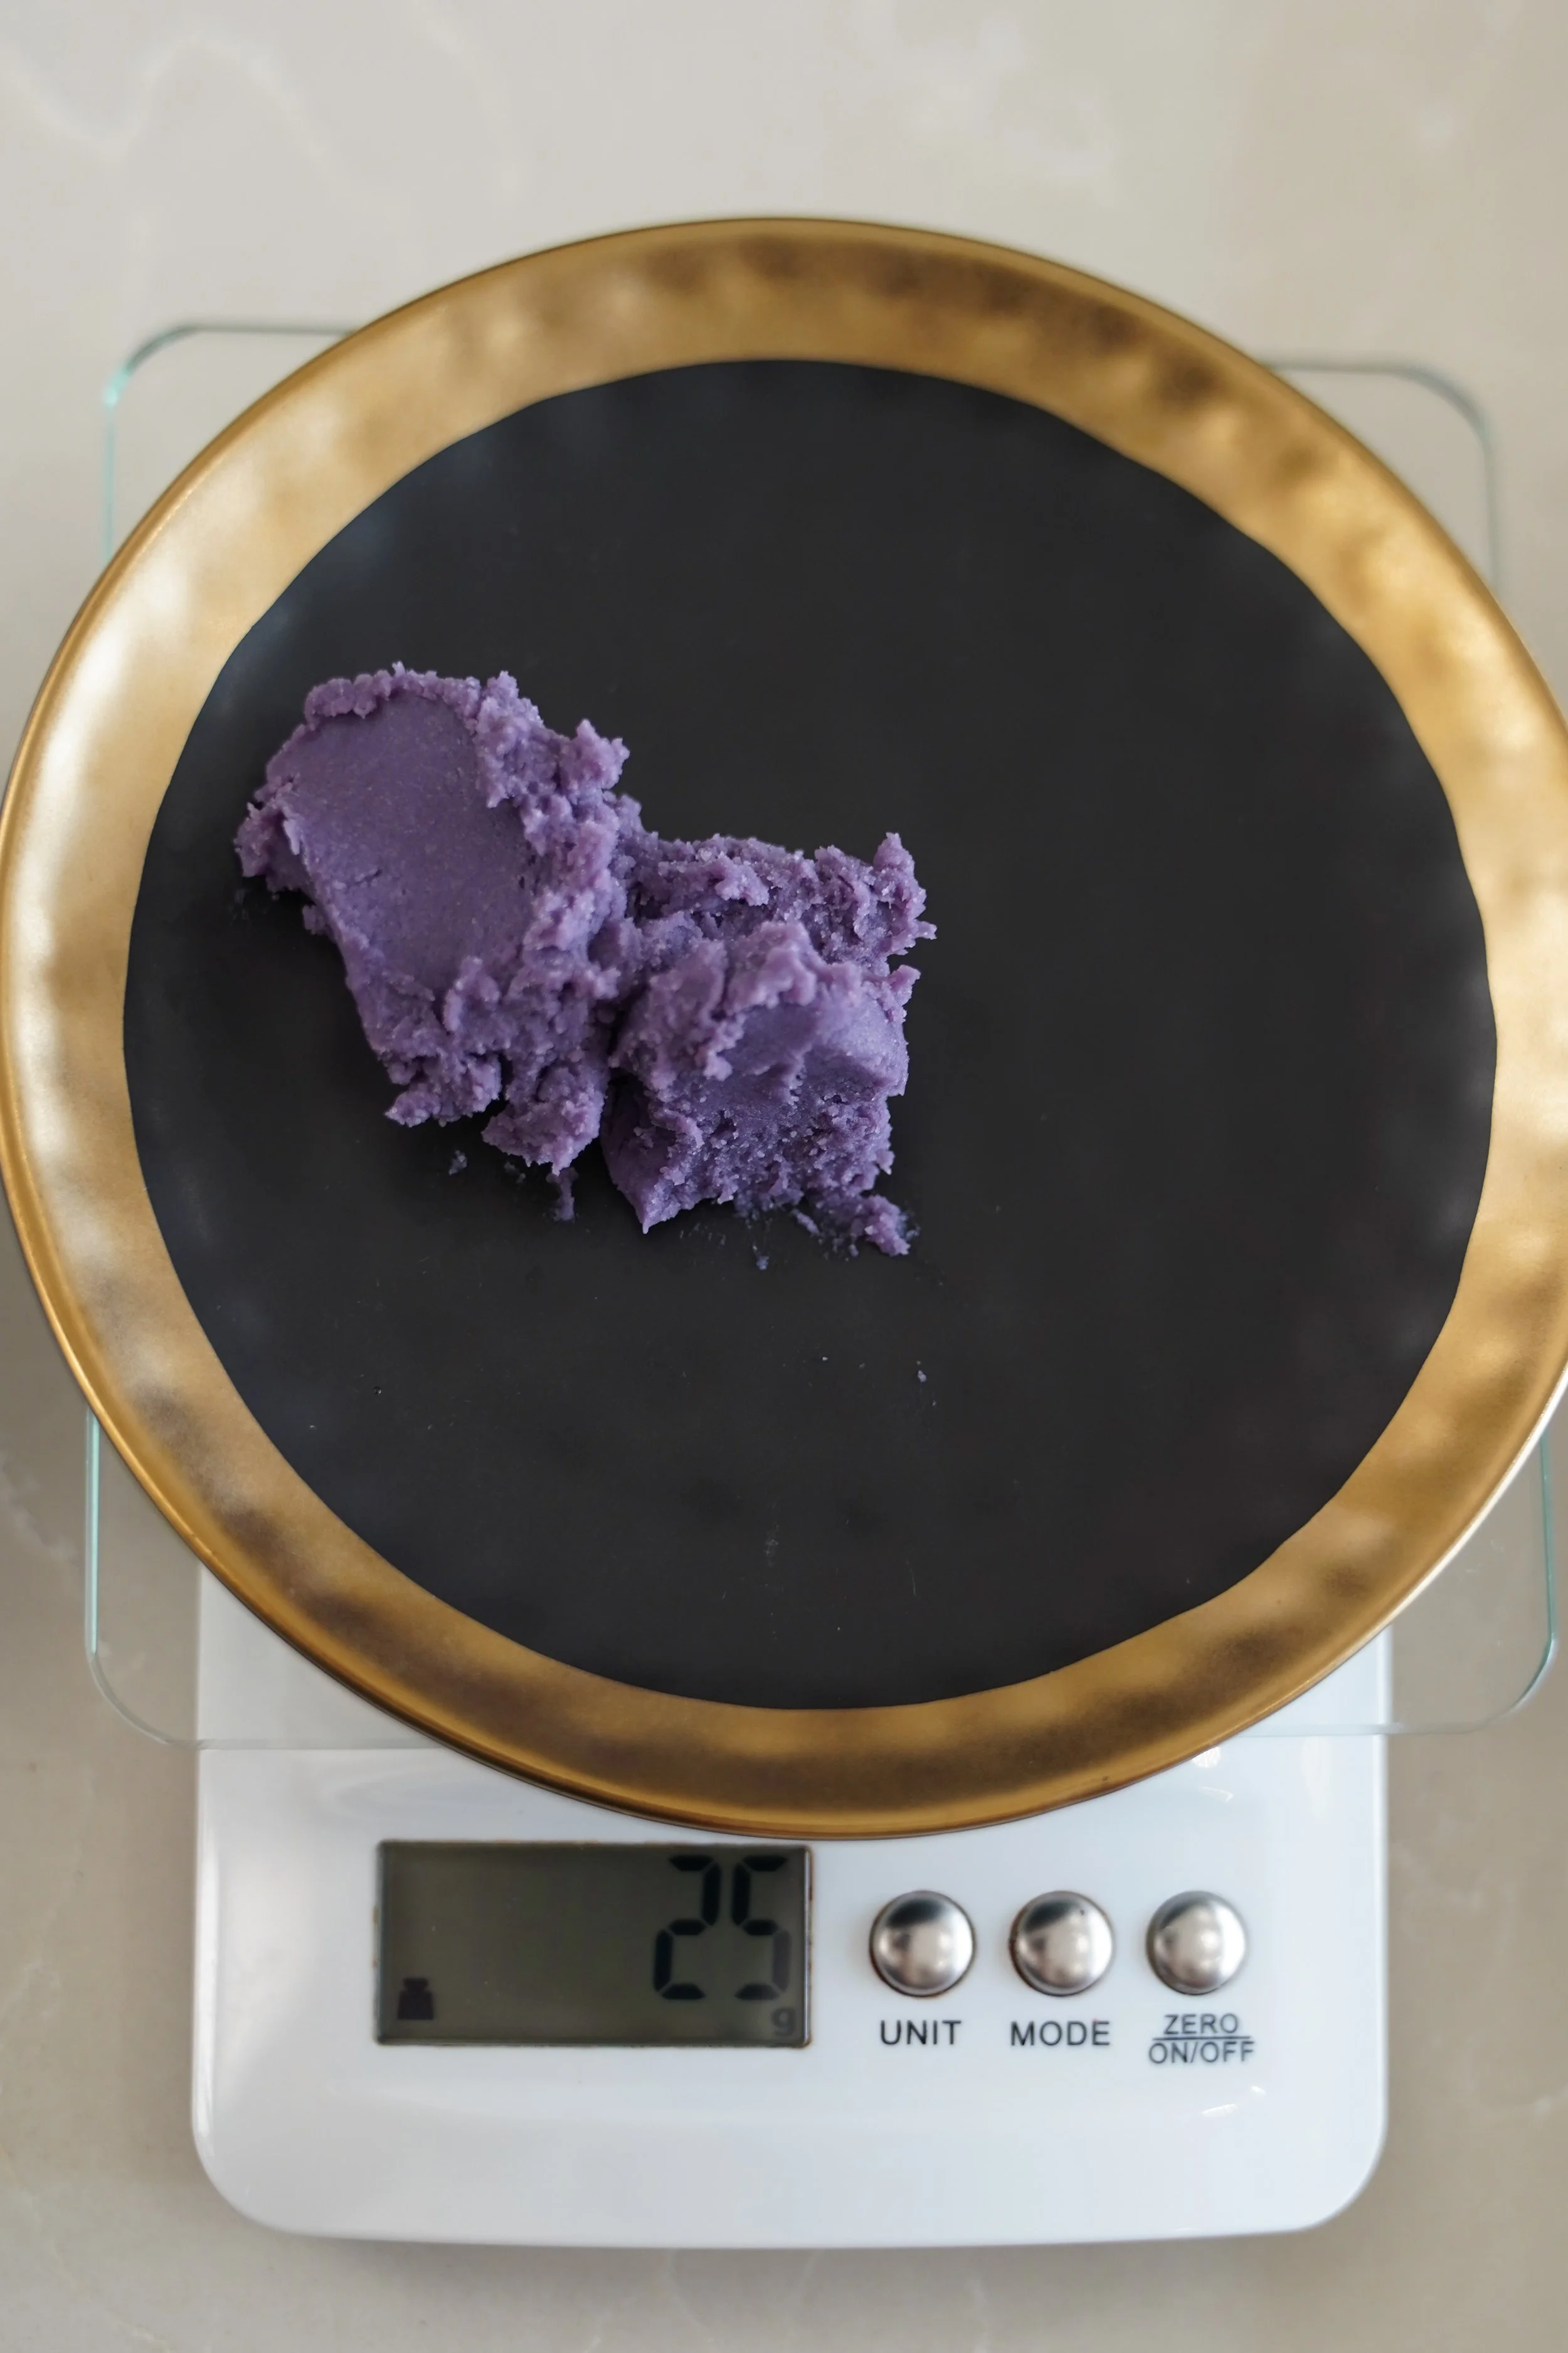
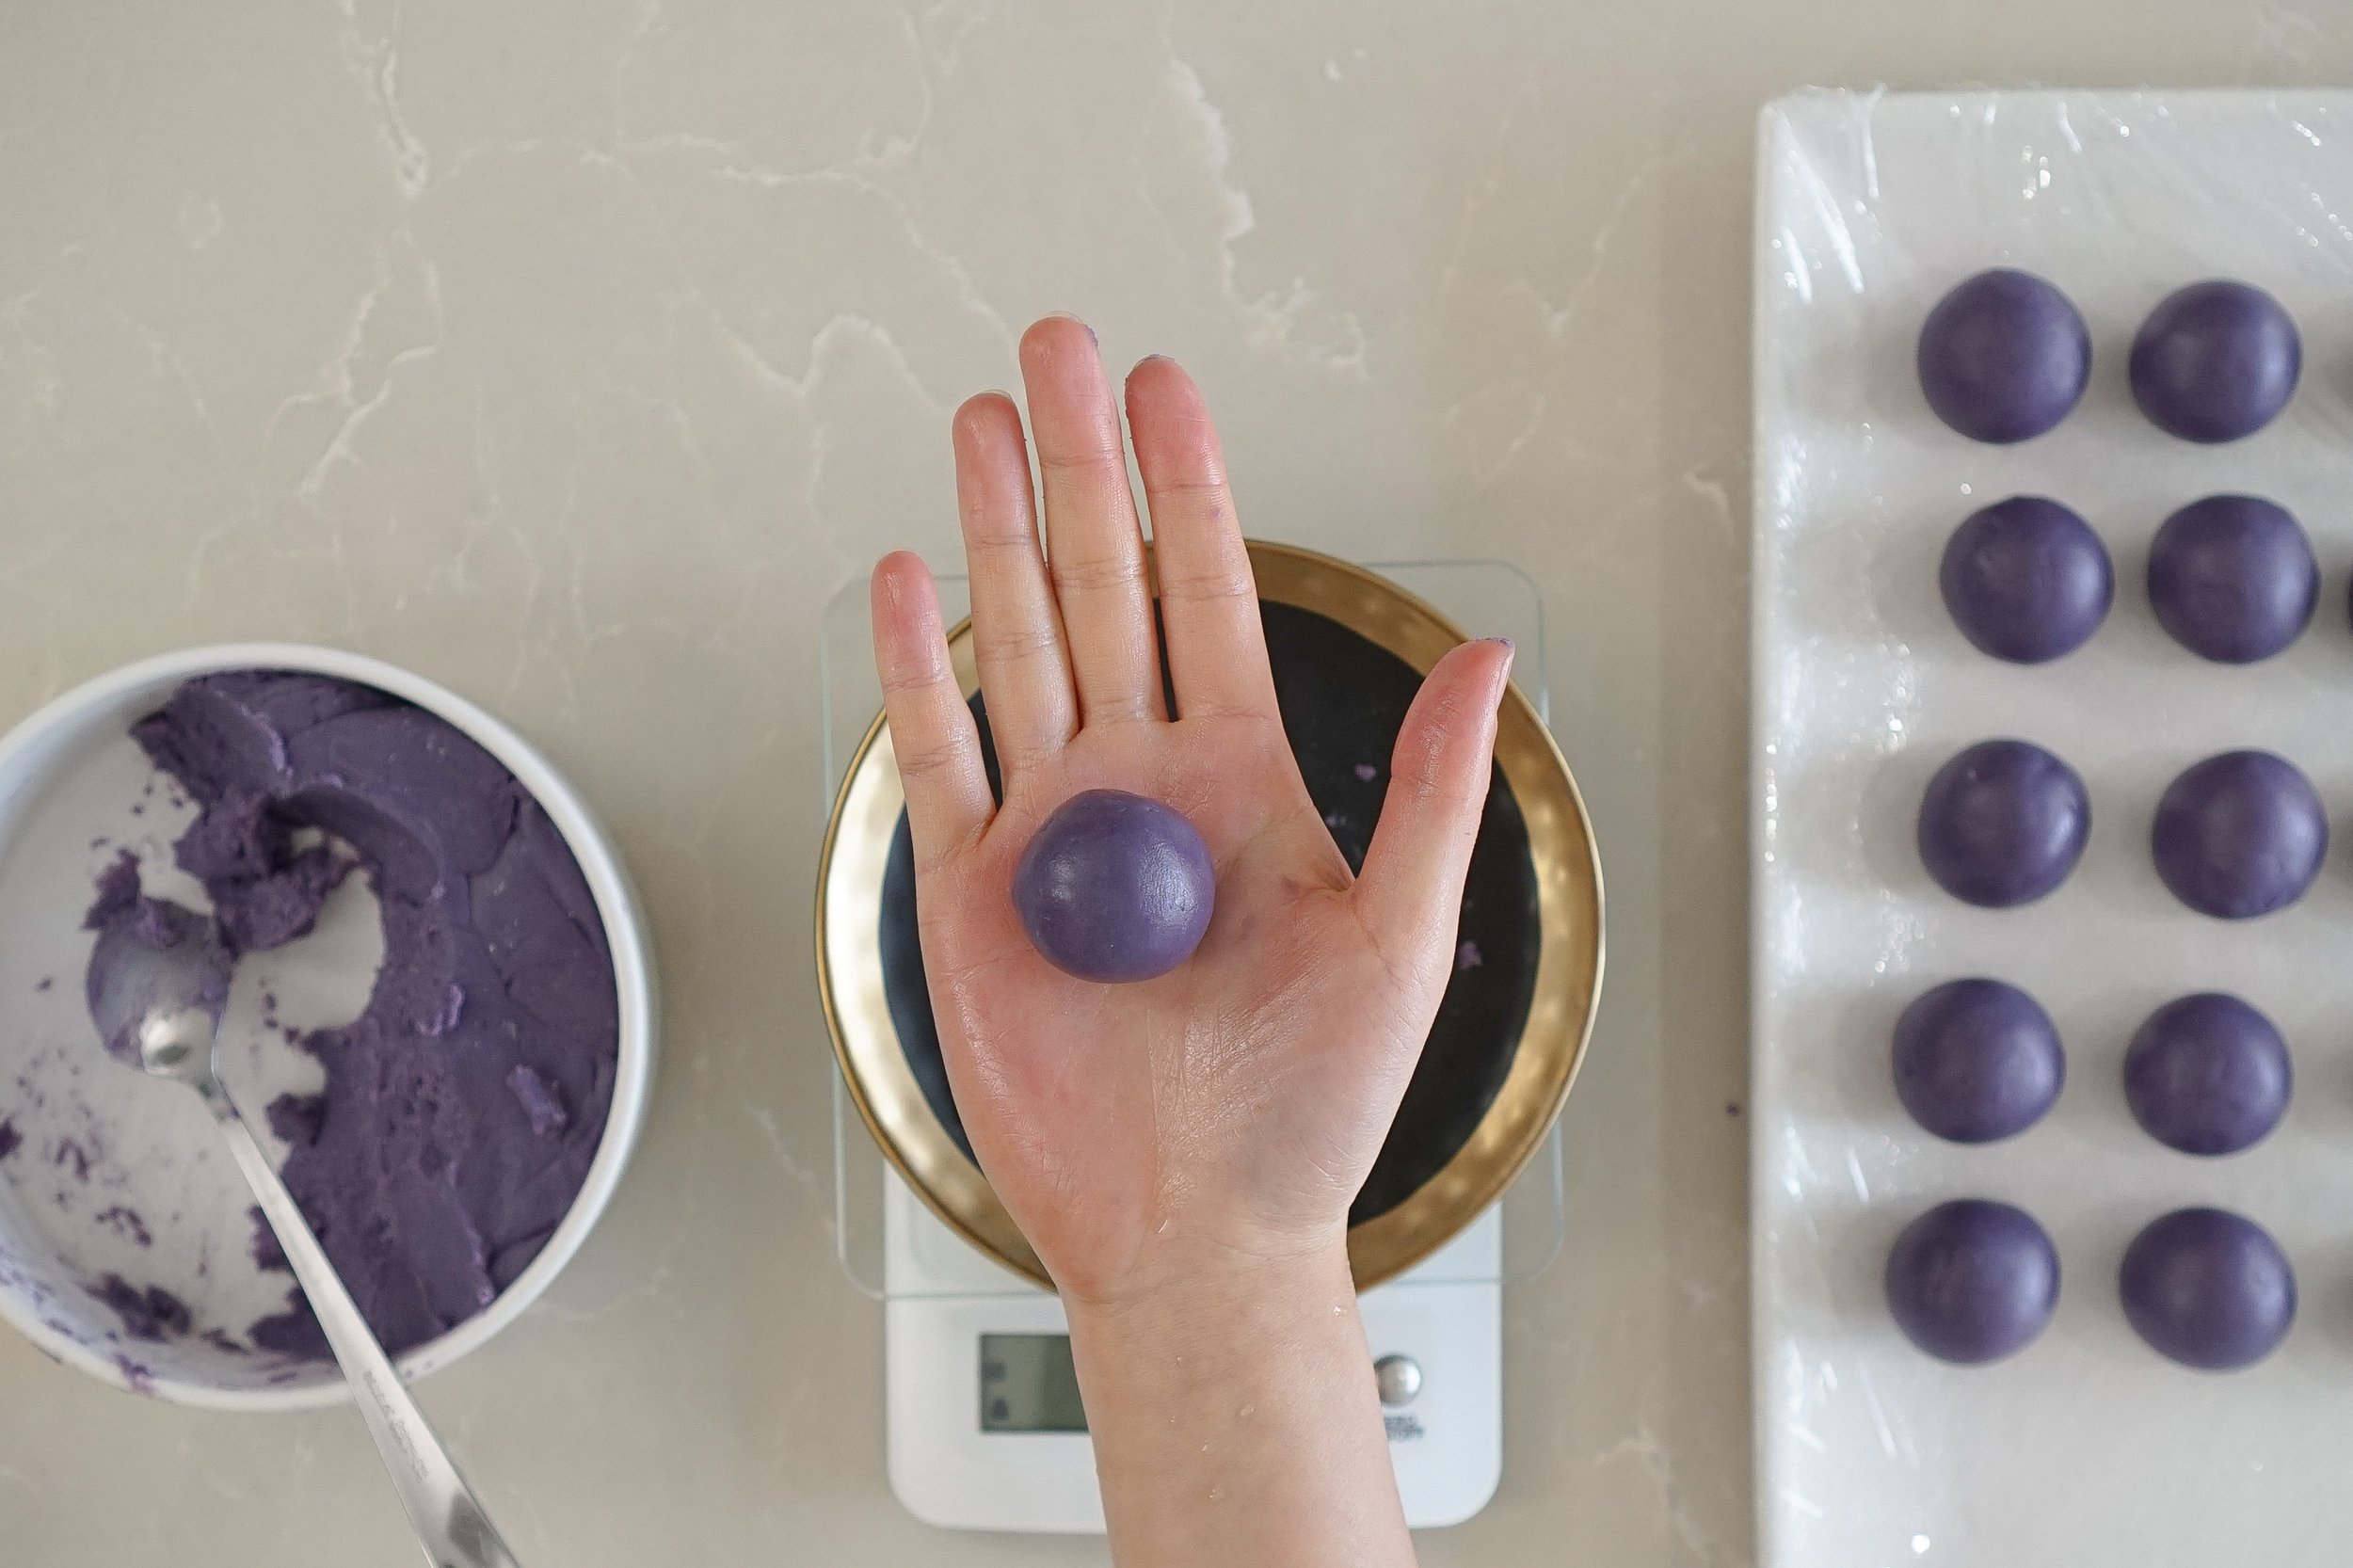
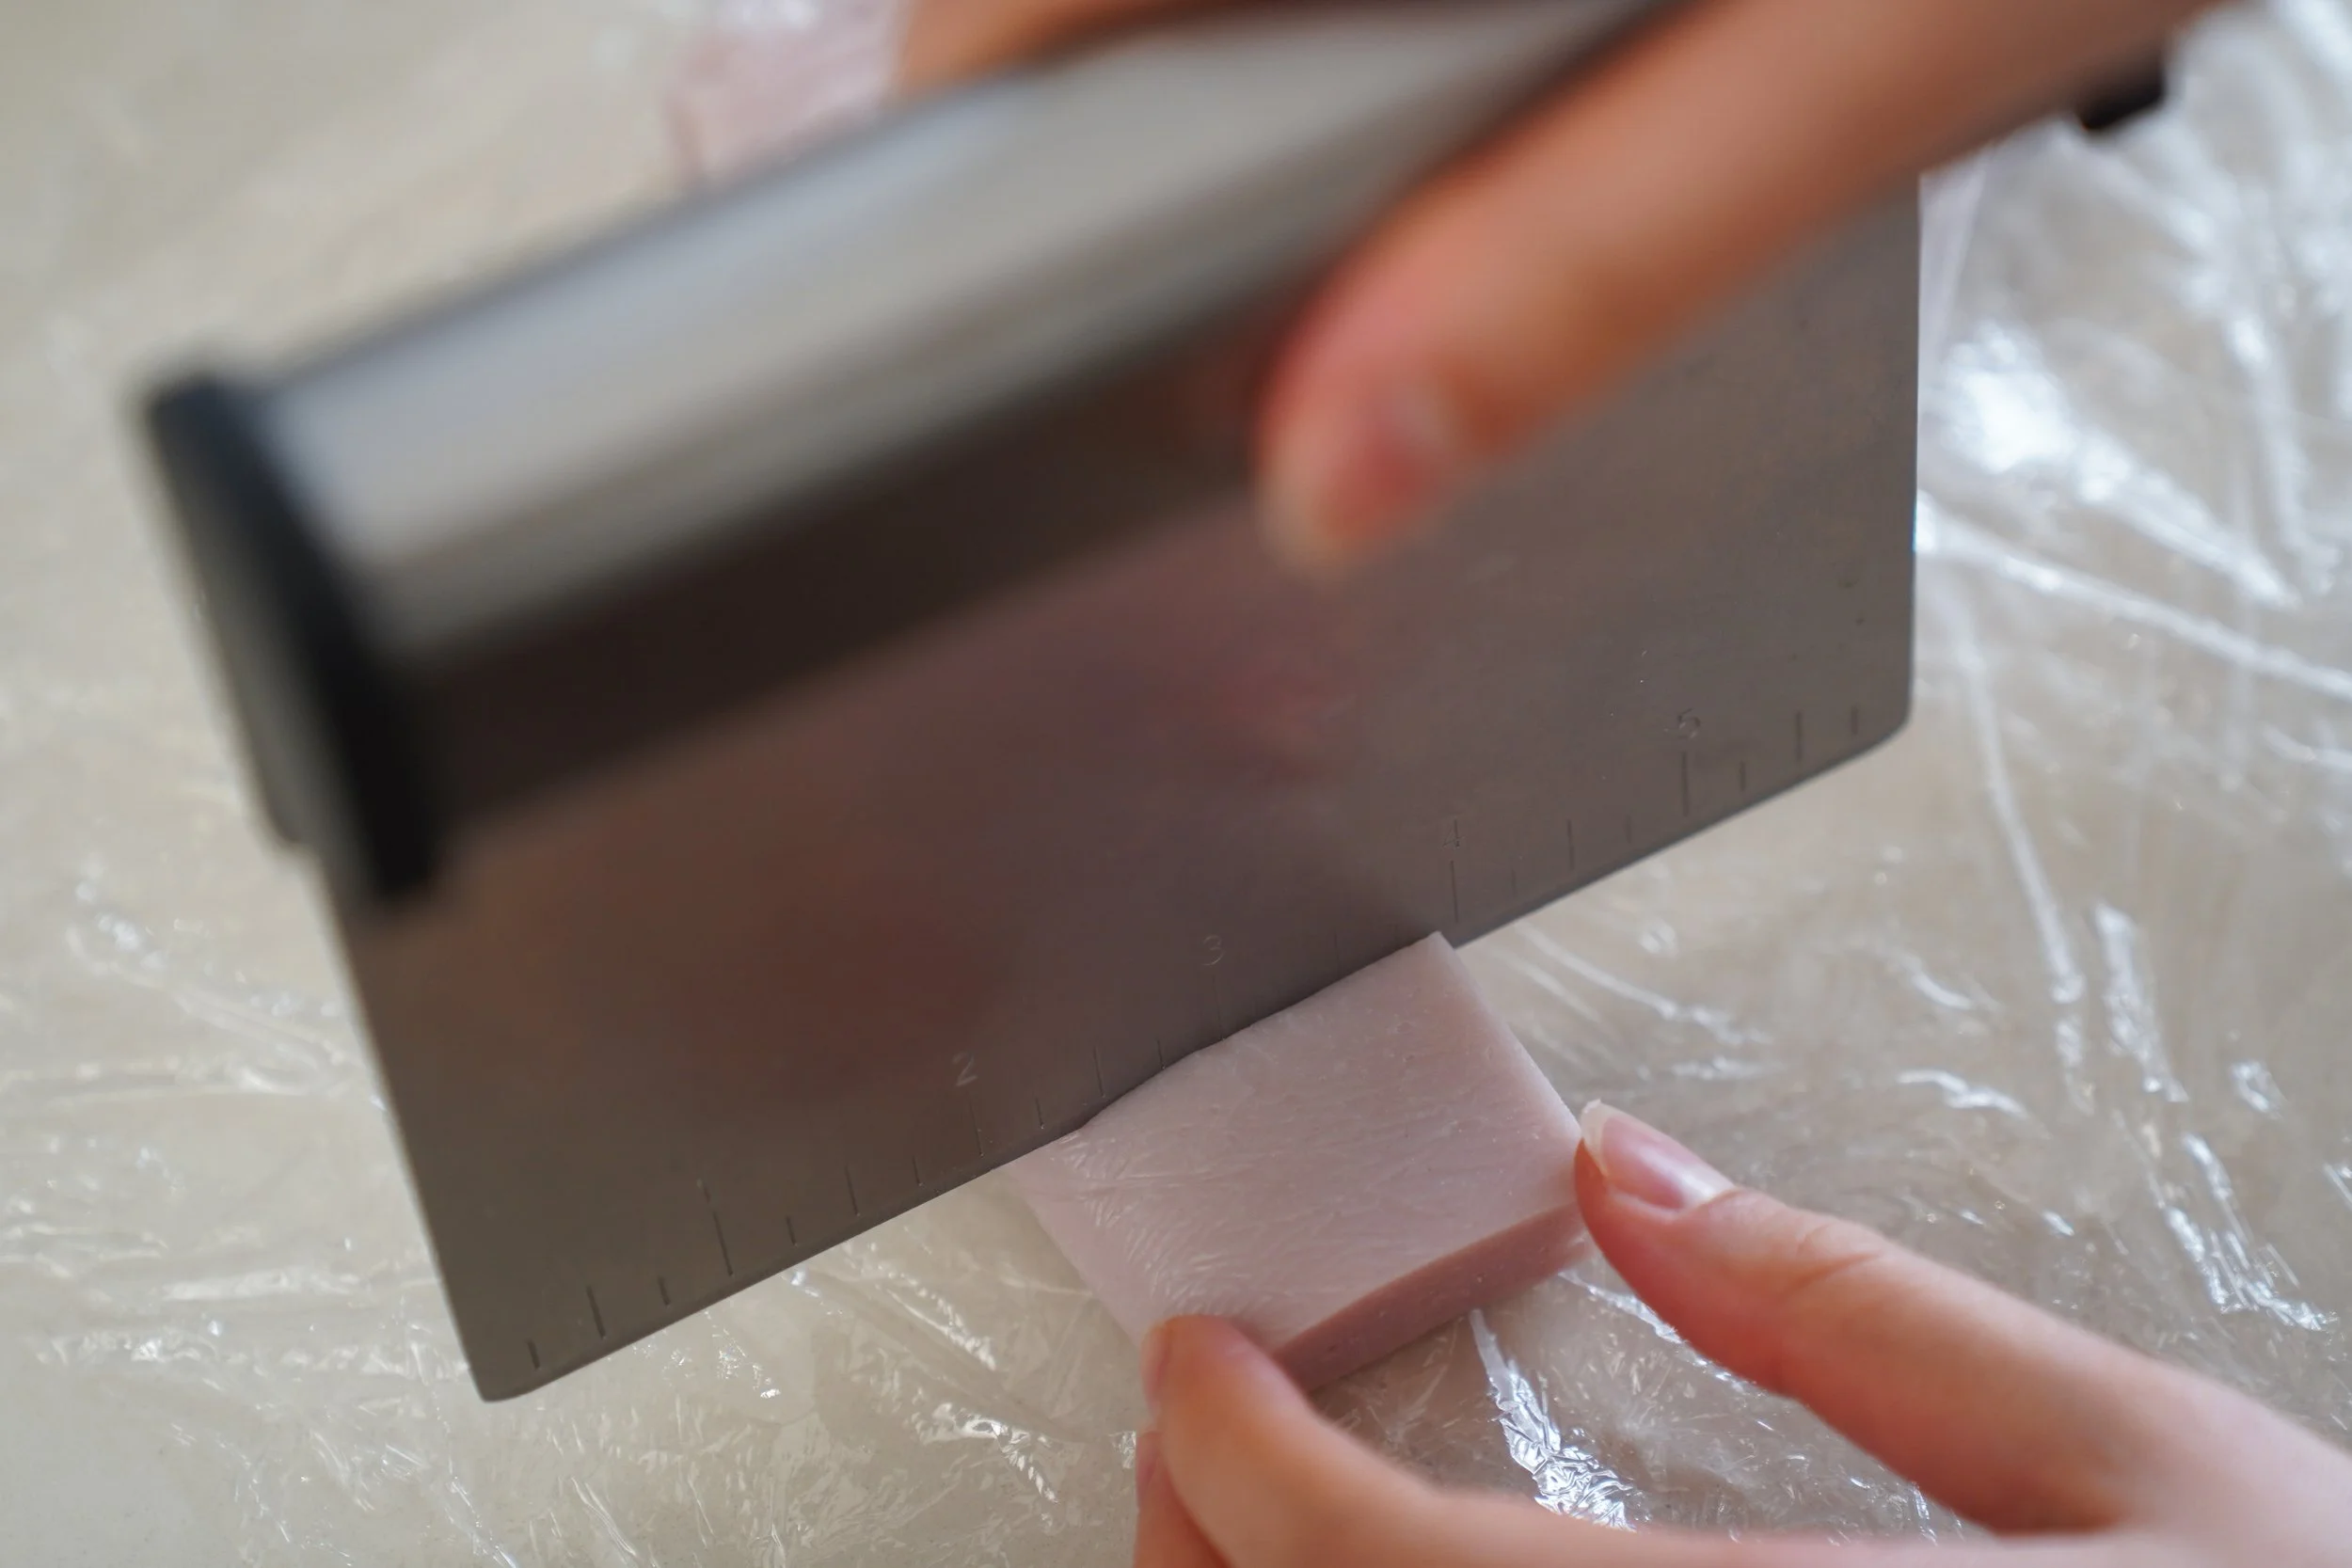
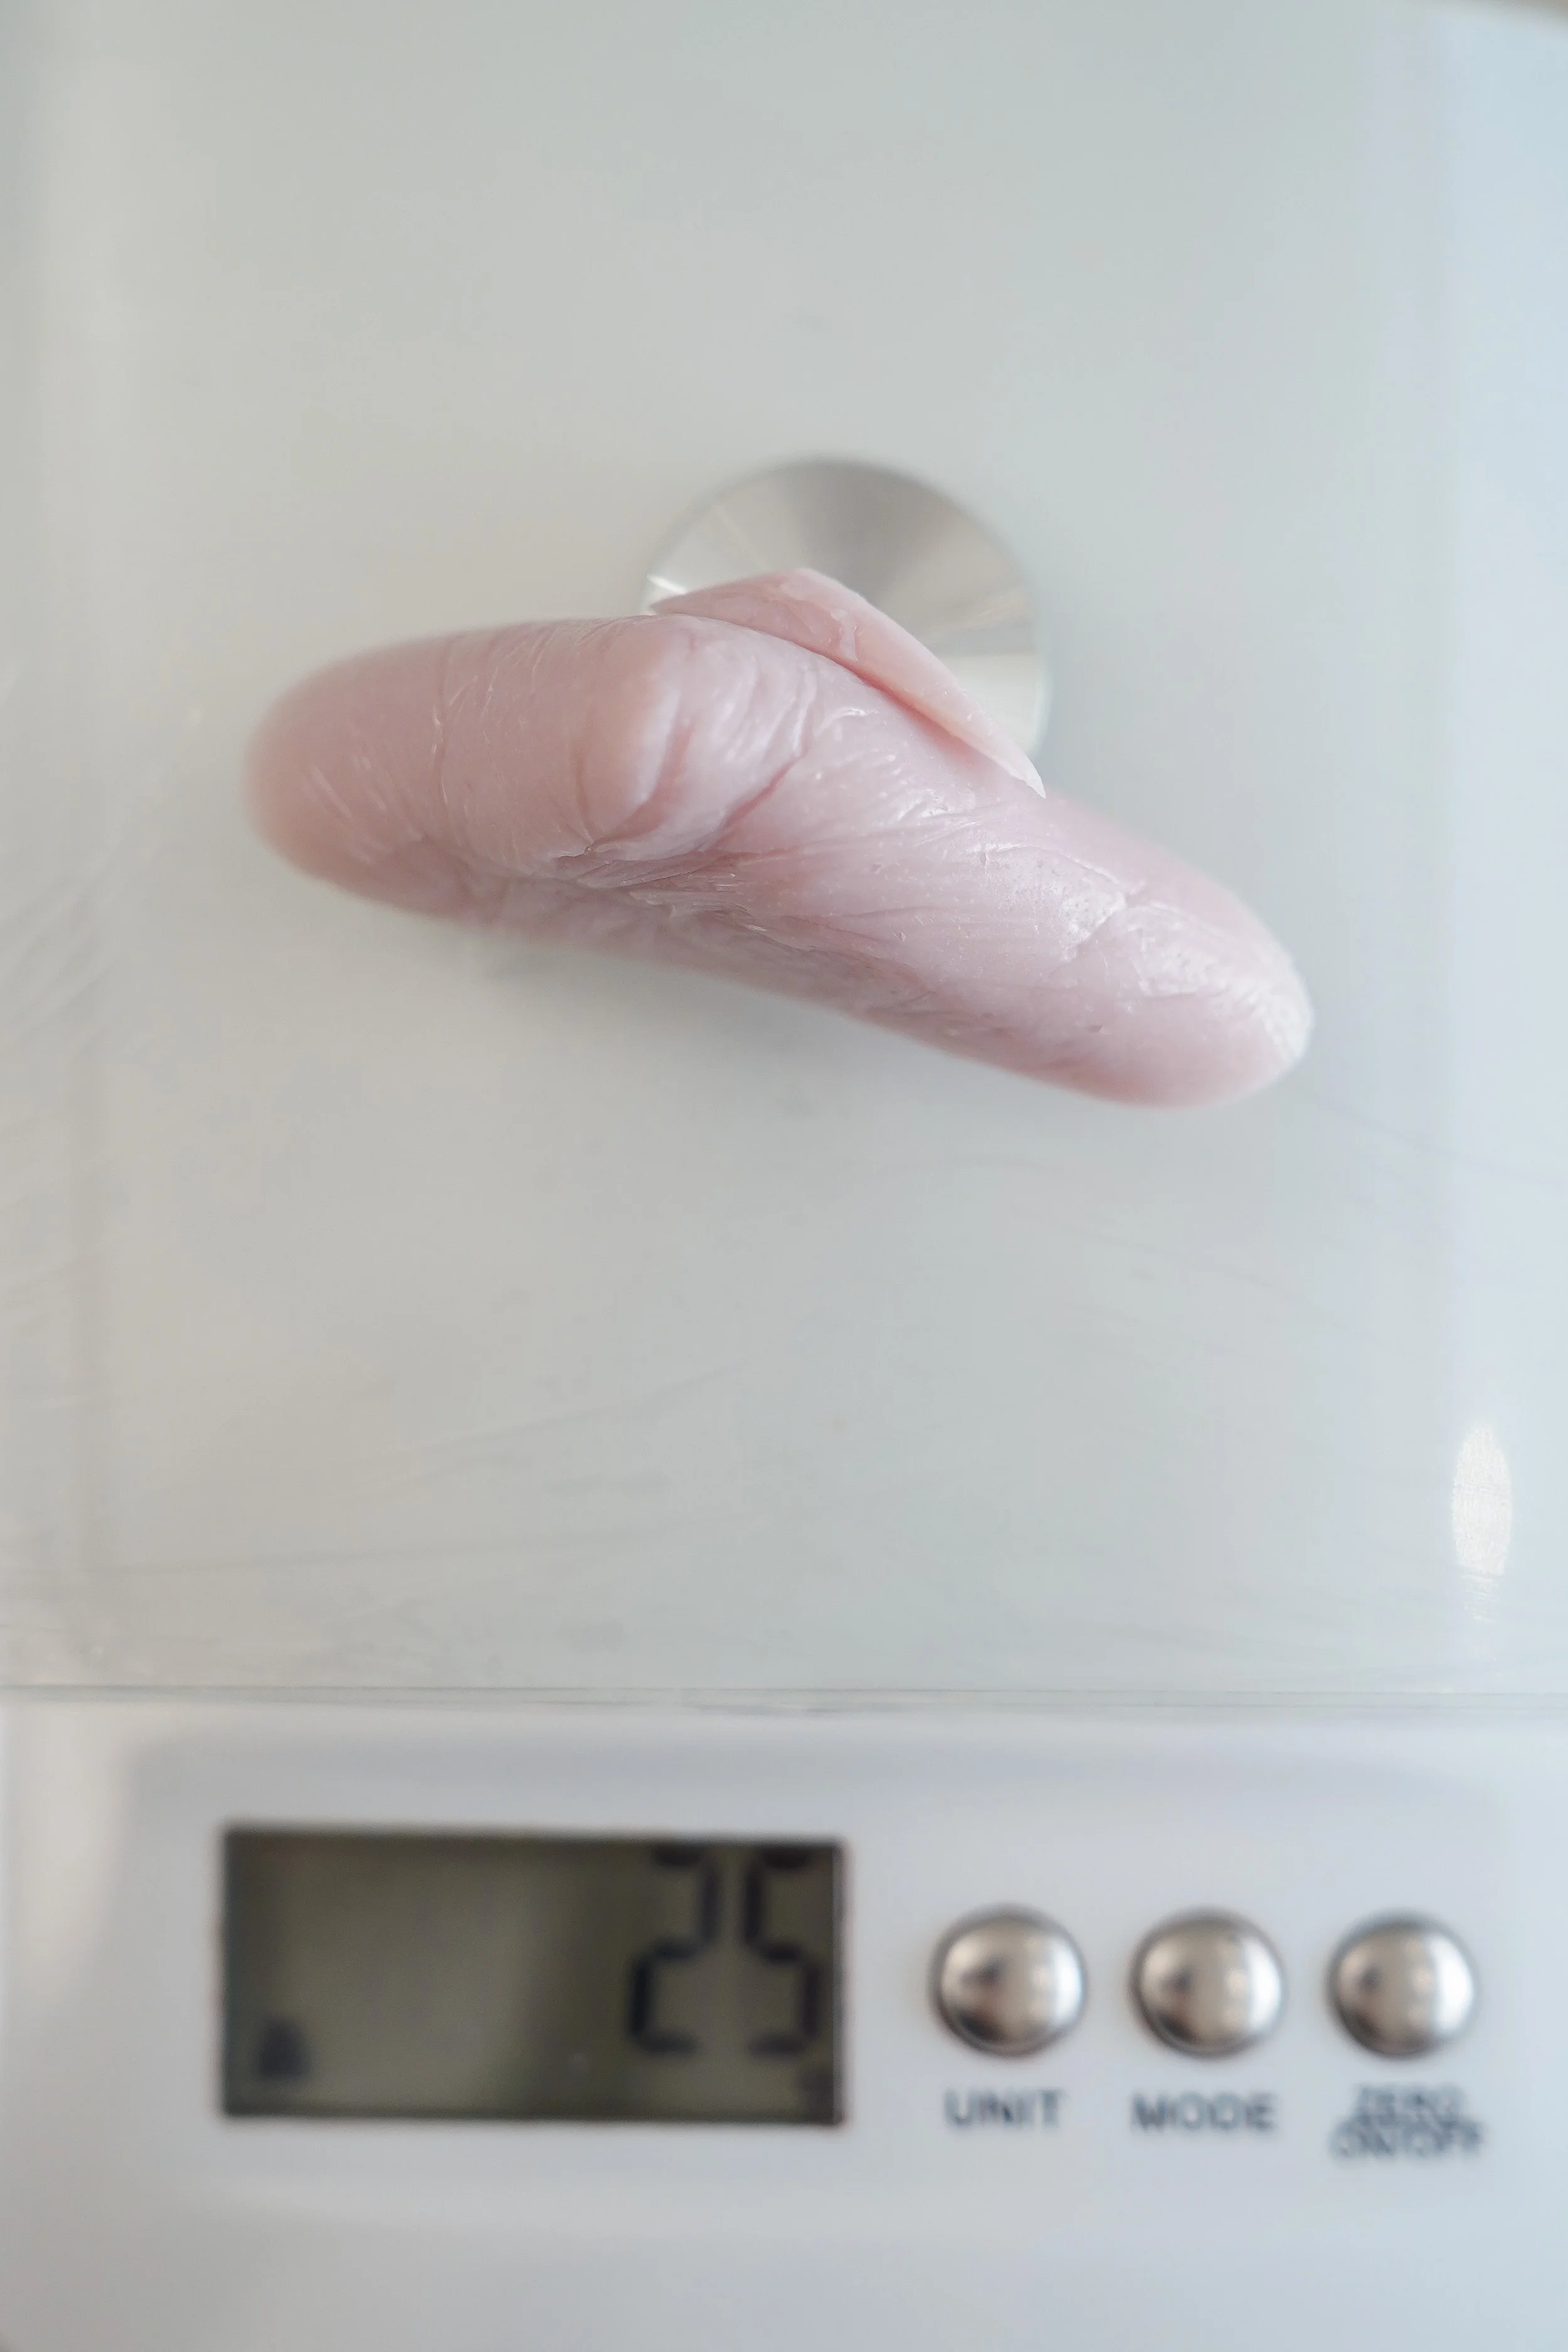
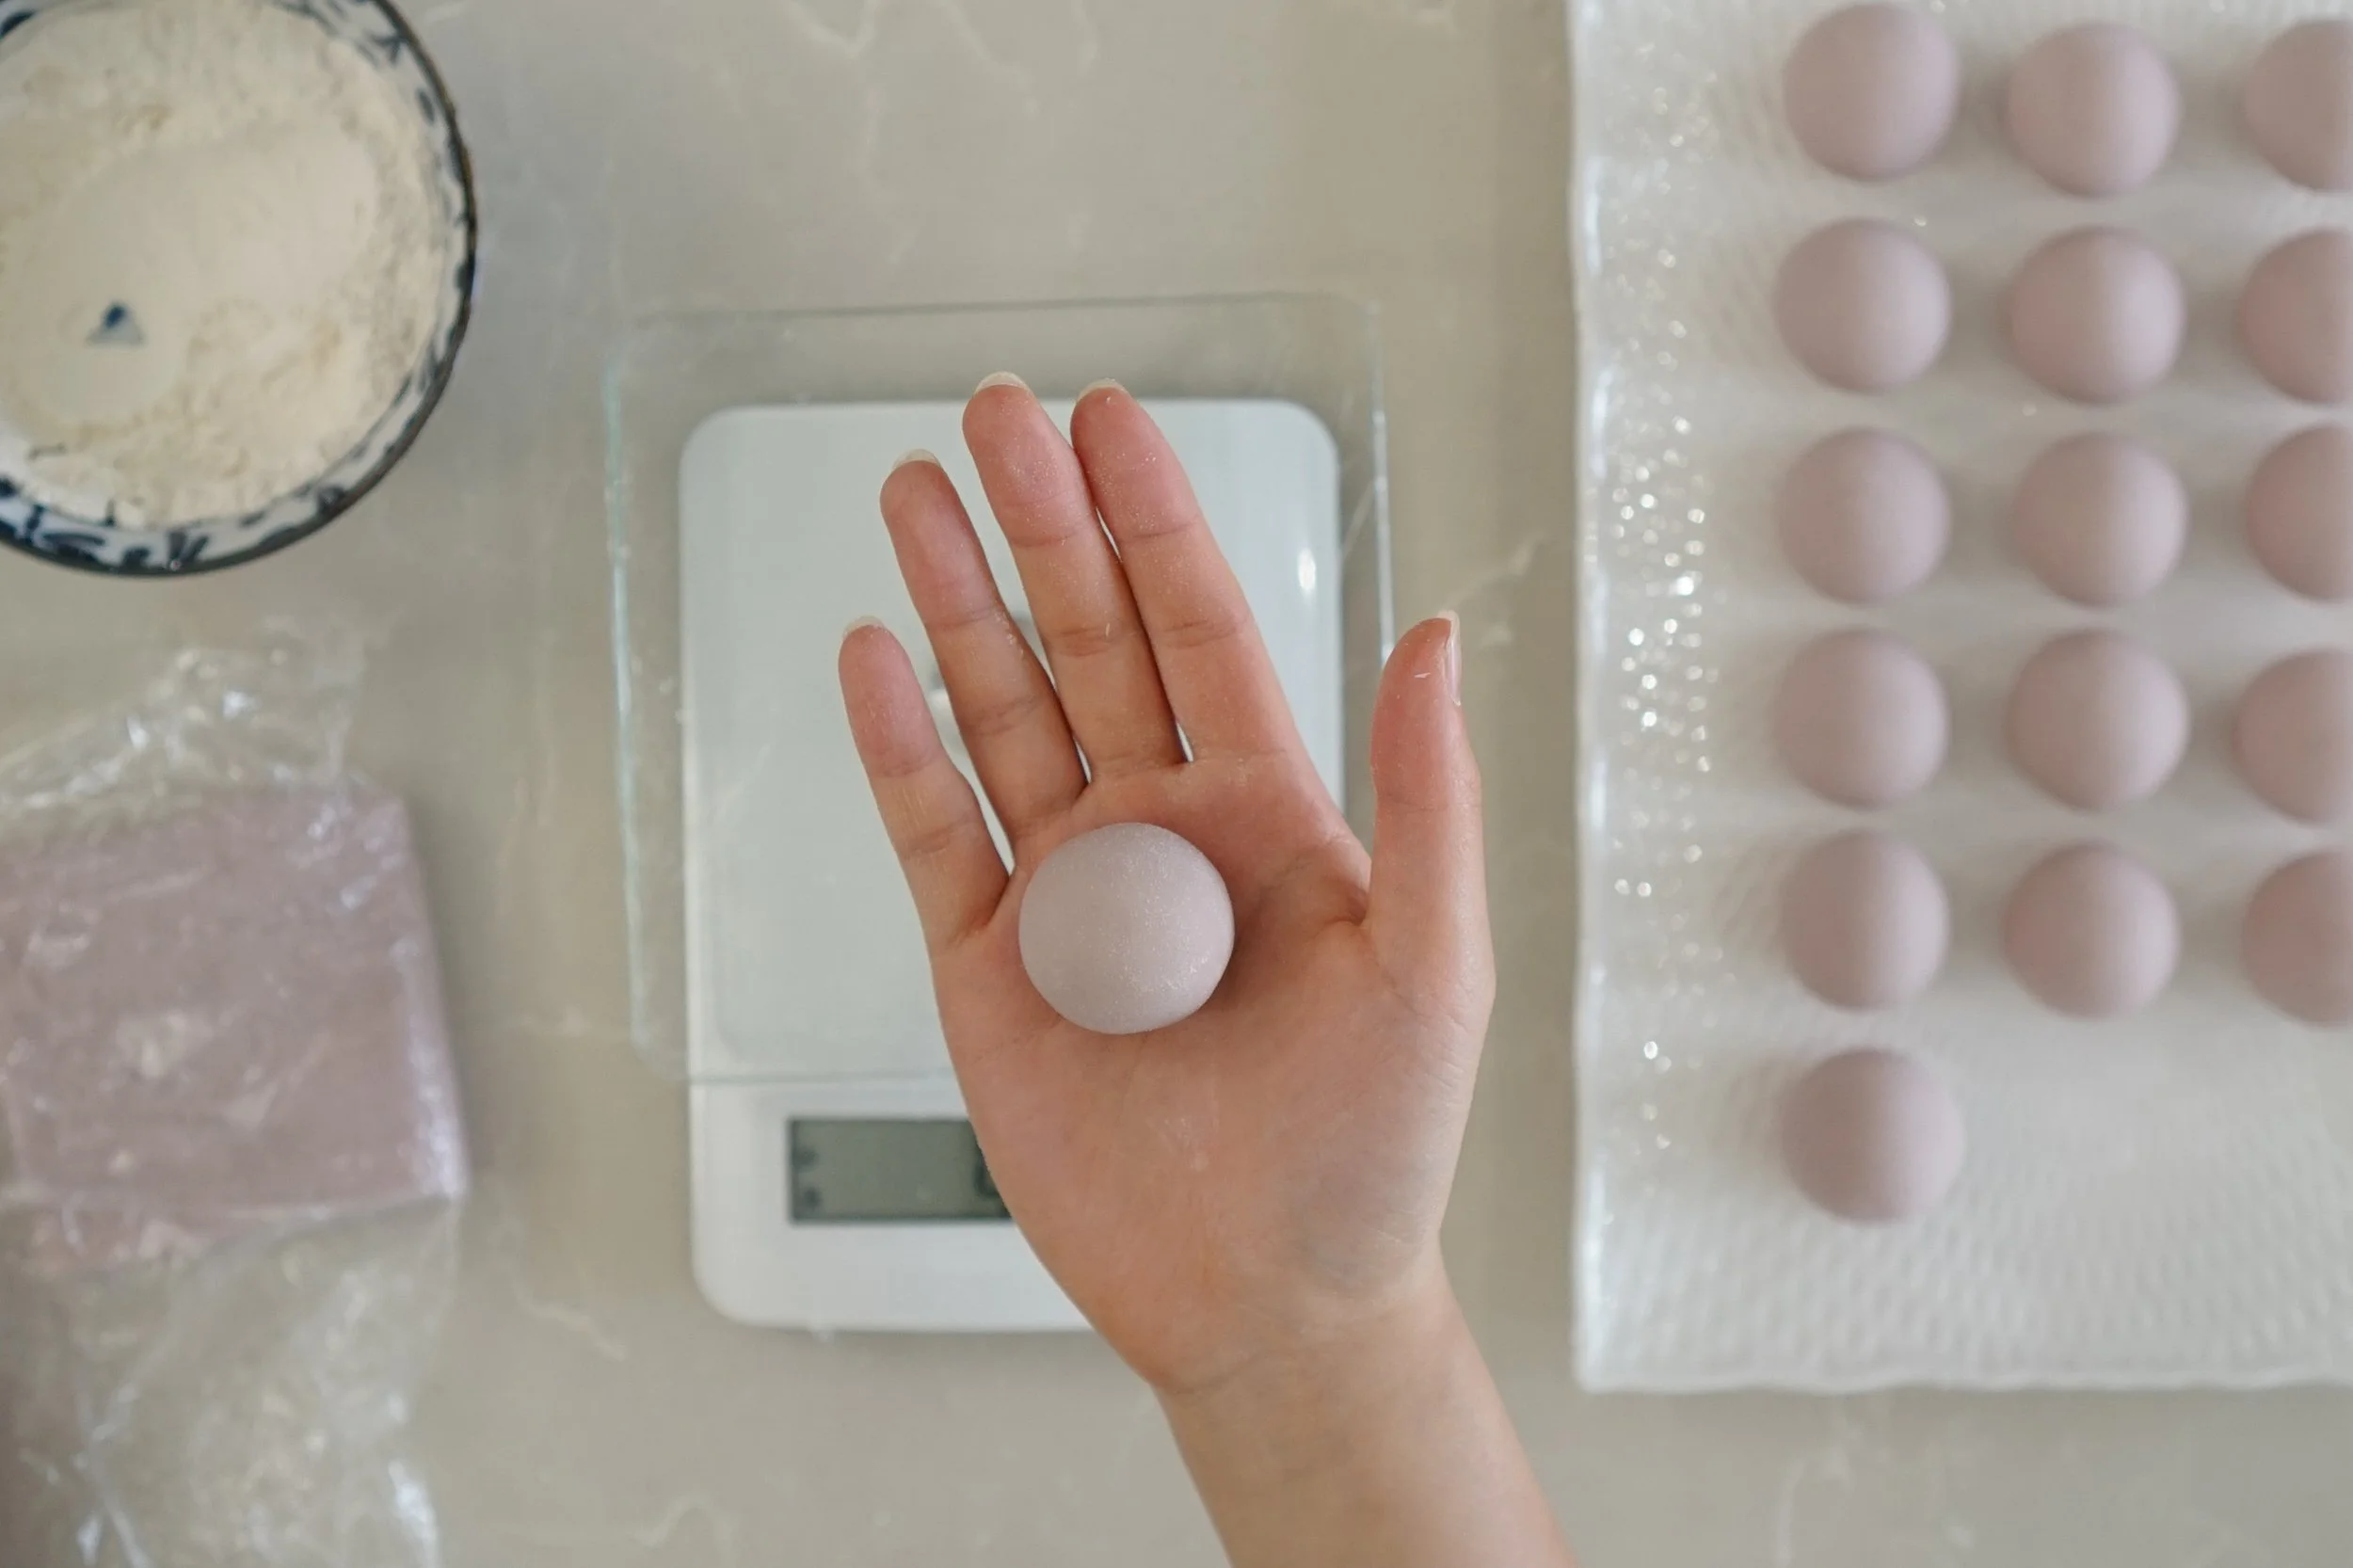
12. Once both the filling and snow skin are cold and stiff, divide them into desired portions. As I’m making 50g mooncakes, I’m measuring out 25g for the filling and 25g for the snow skin but you may adjust the ratio accordingly. (keep the snow skin and filling covered to avoid them drying out.) Use the cooked glutinous rice flour when needed.
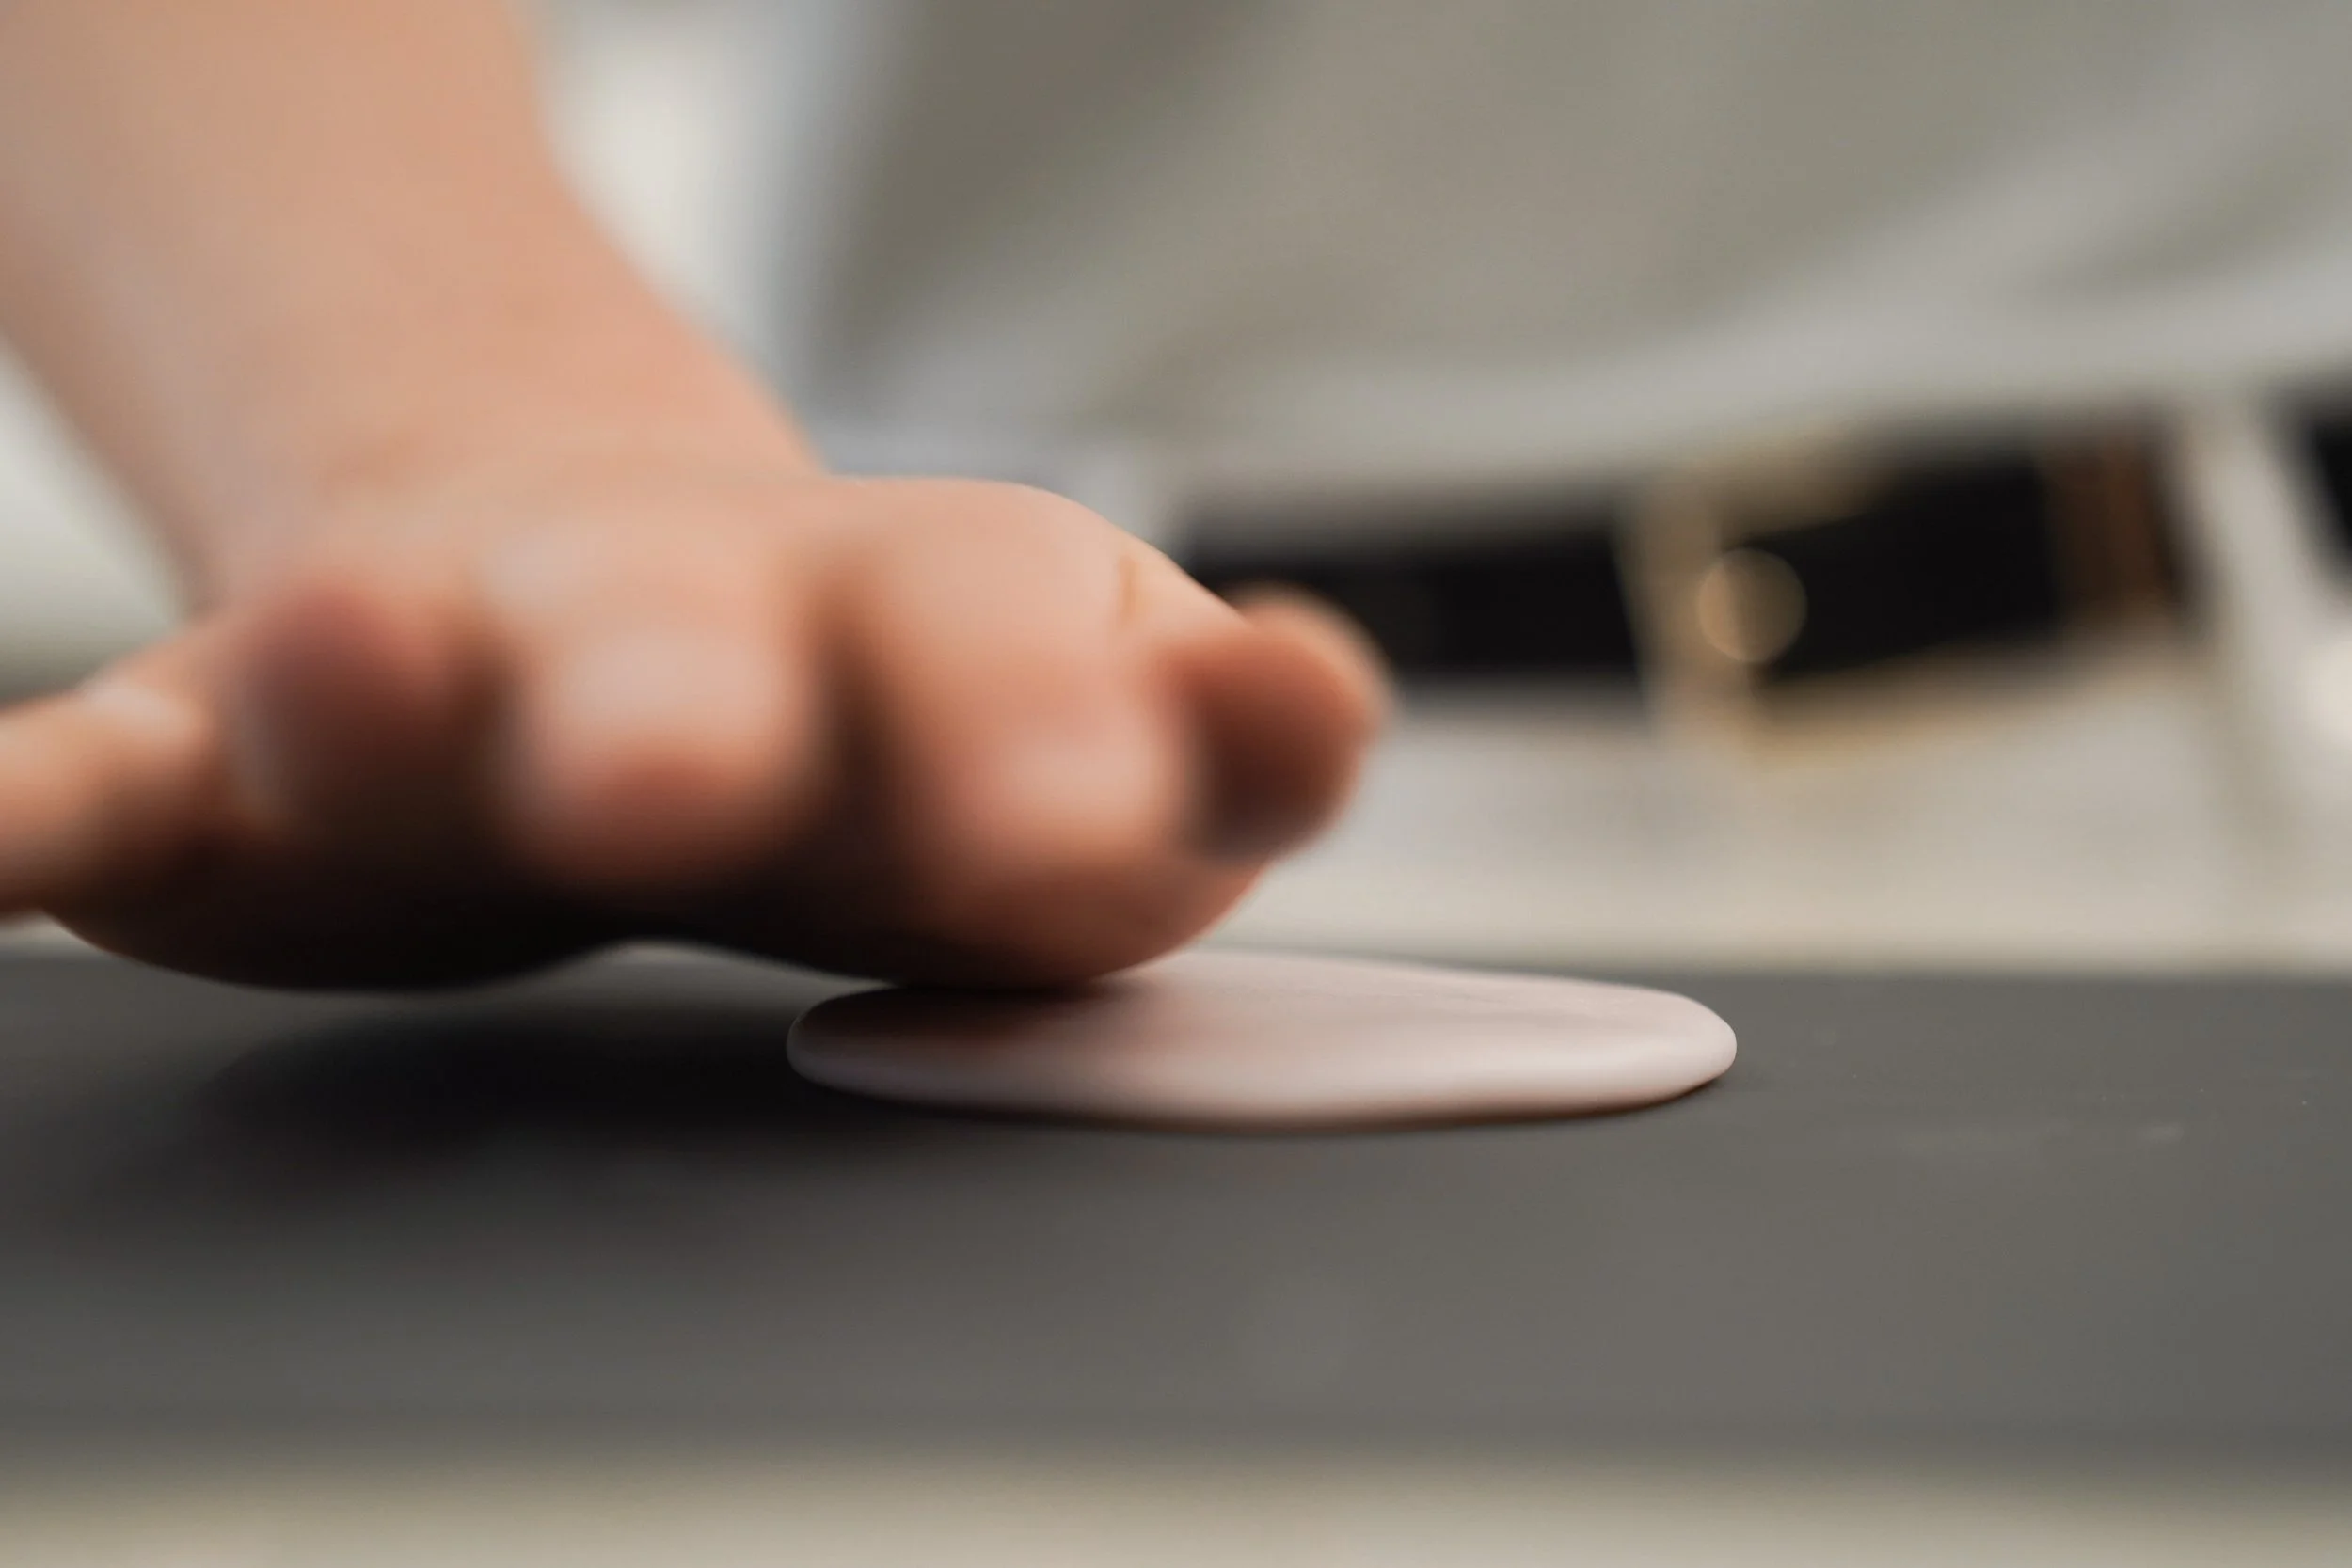
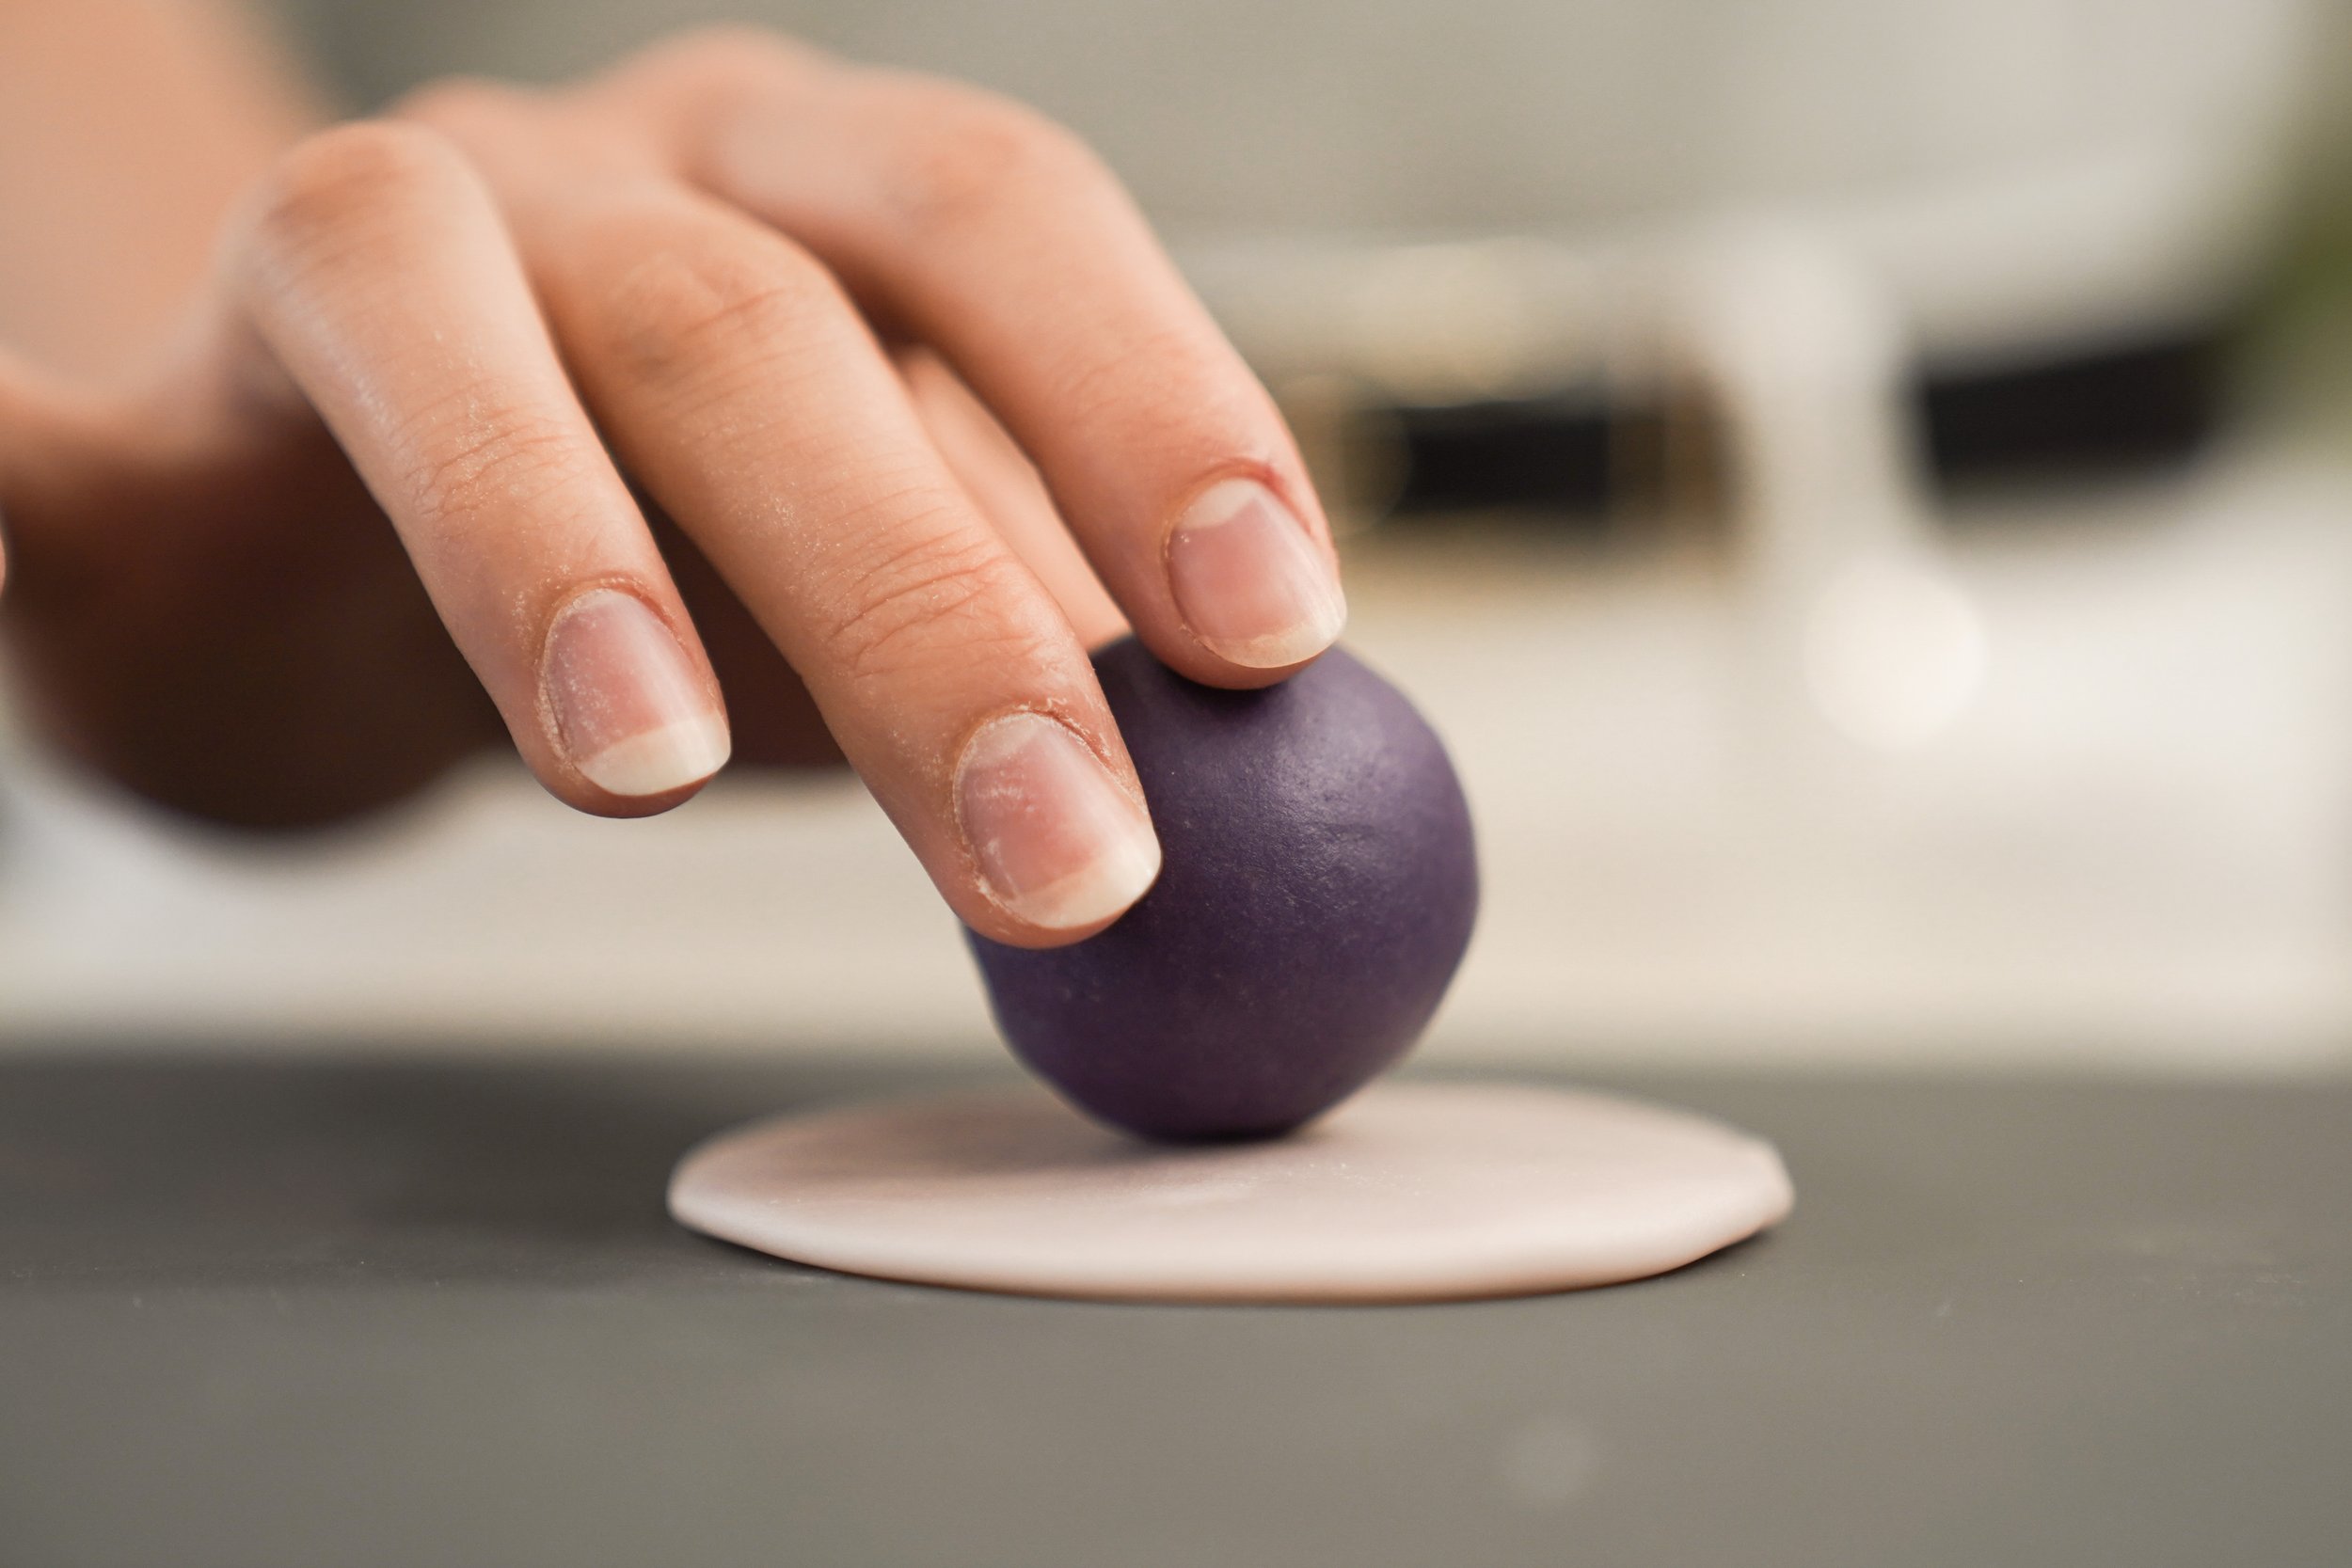
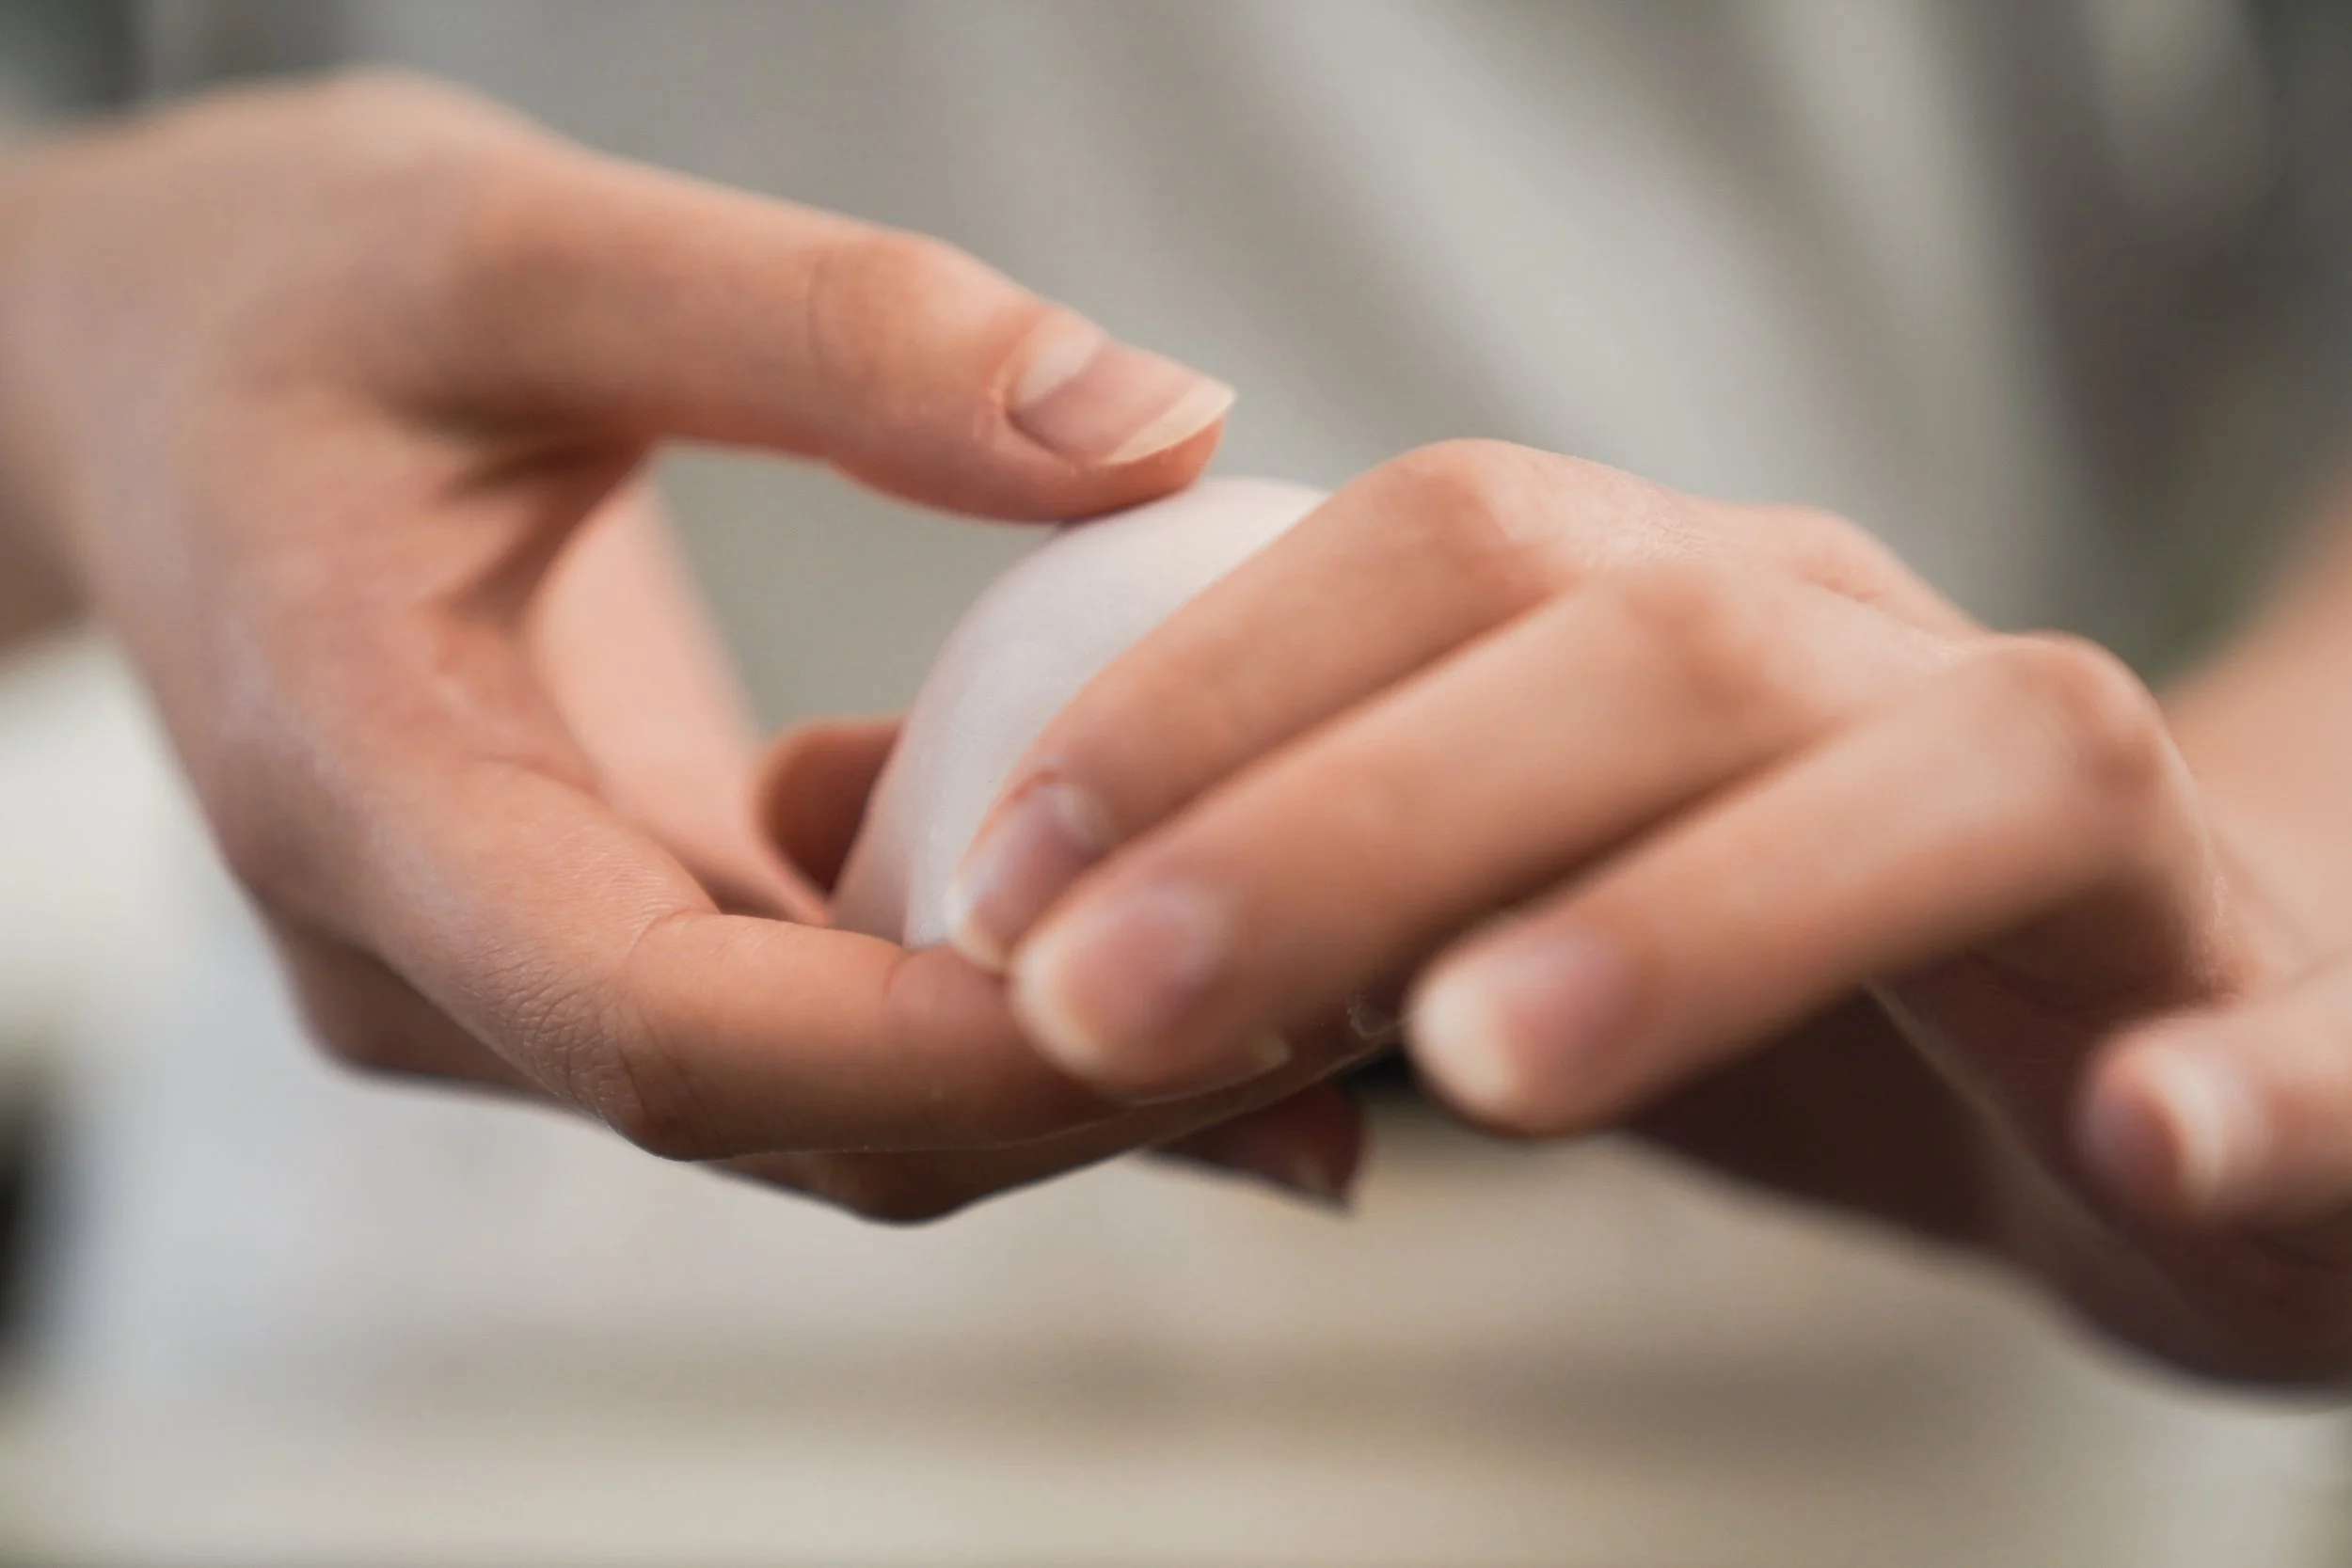
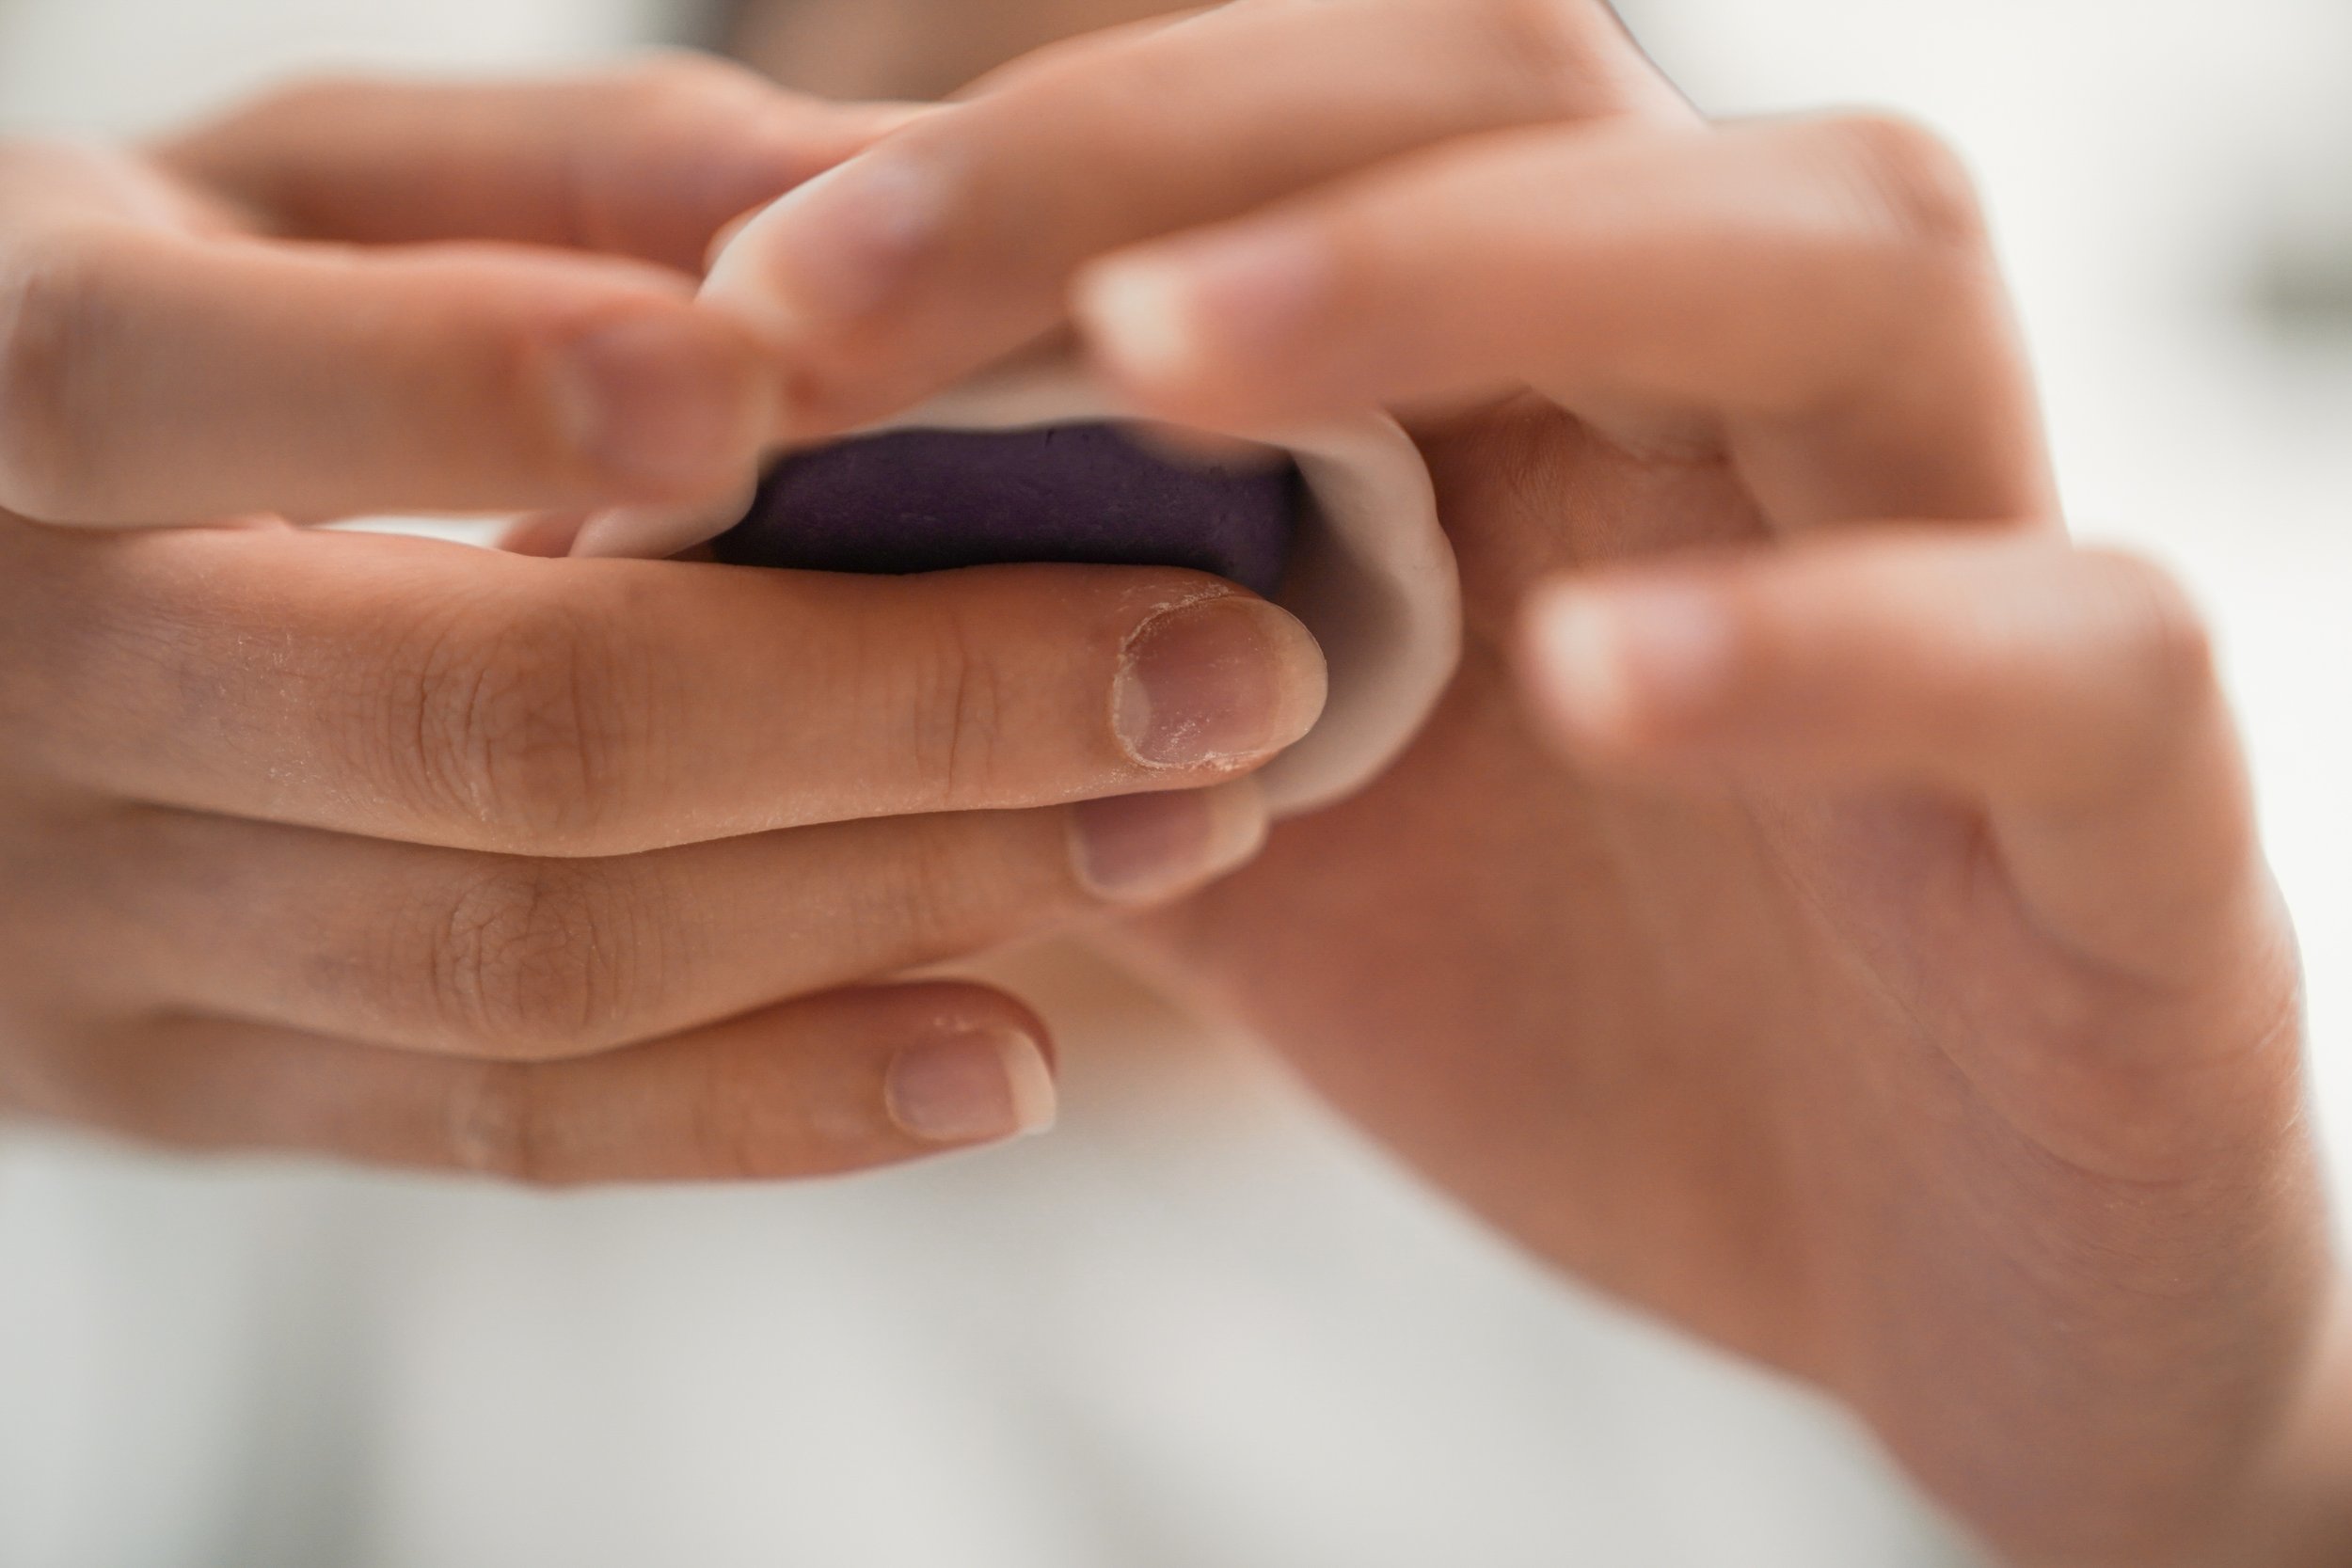
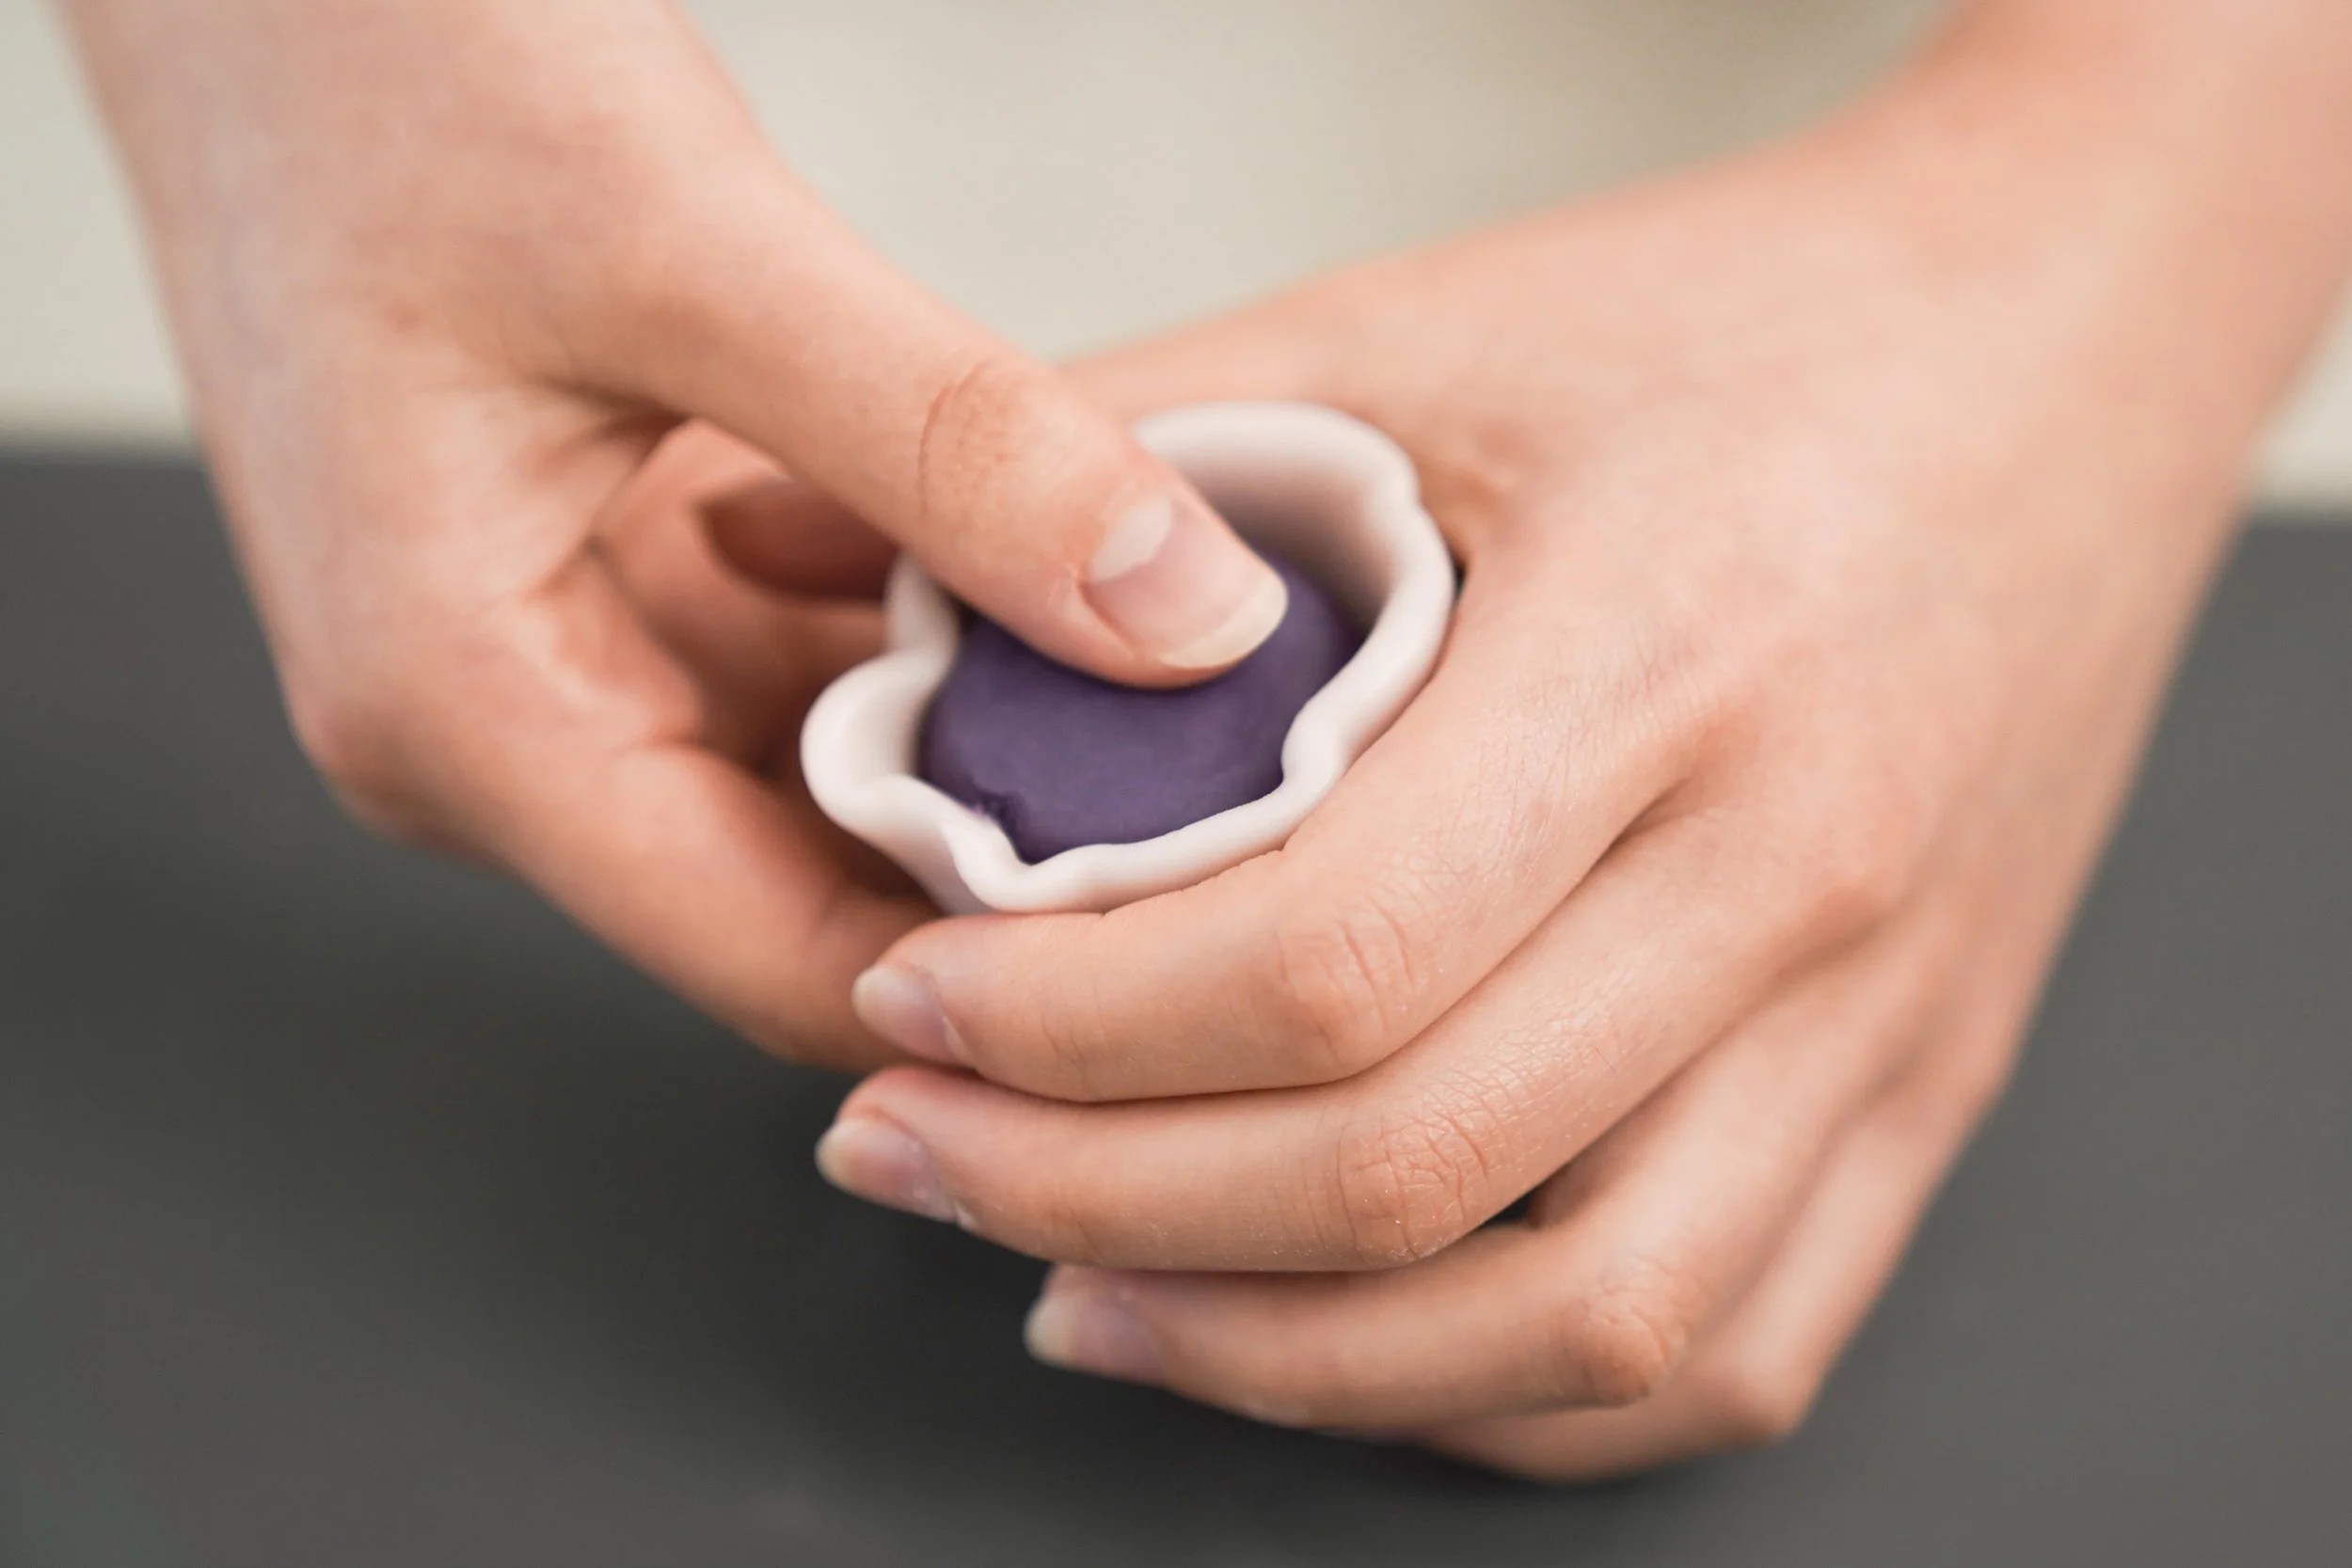
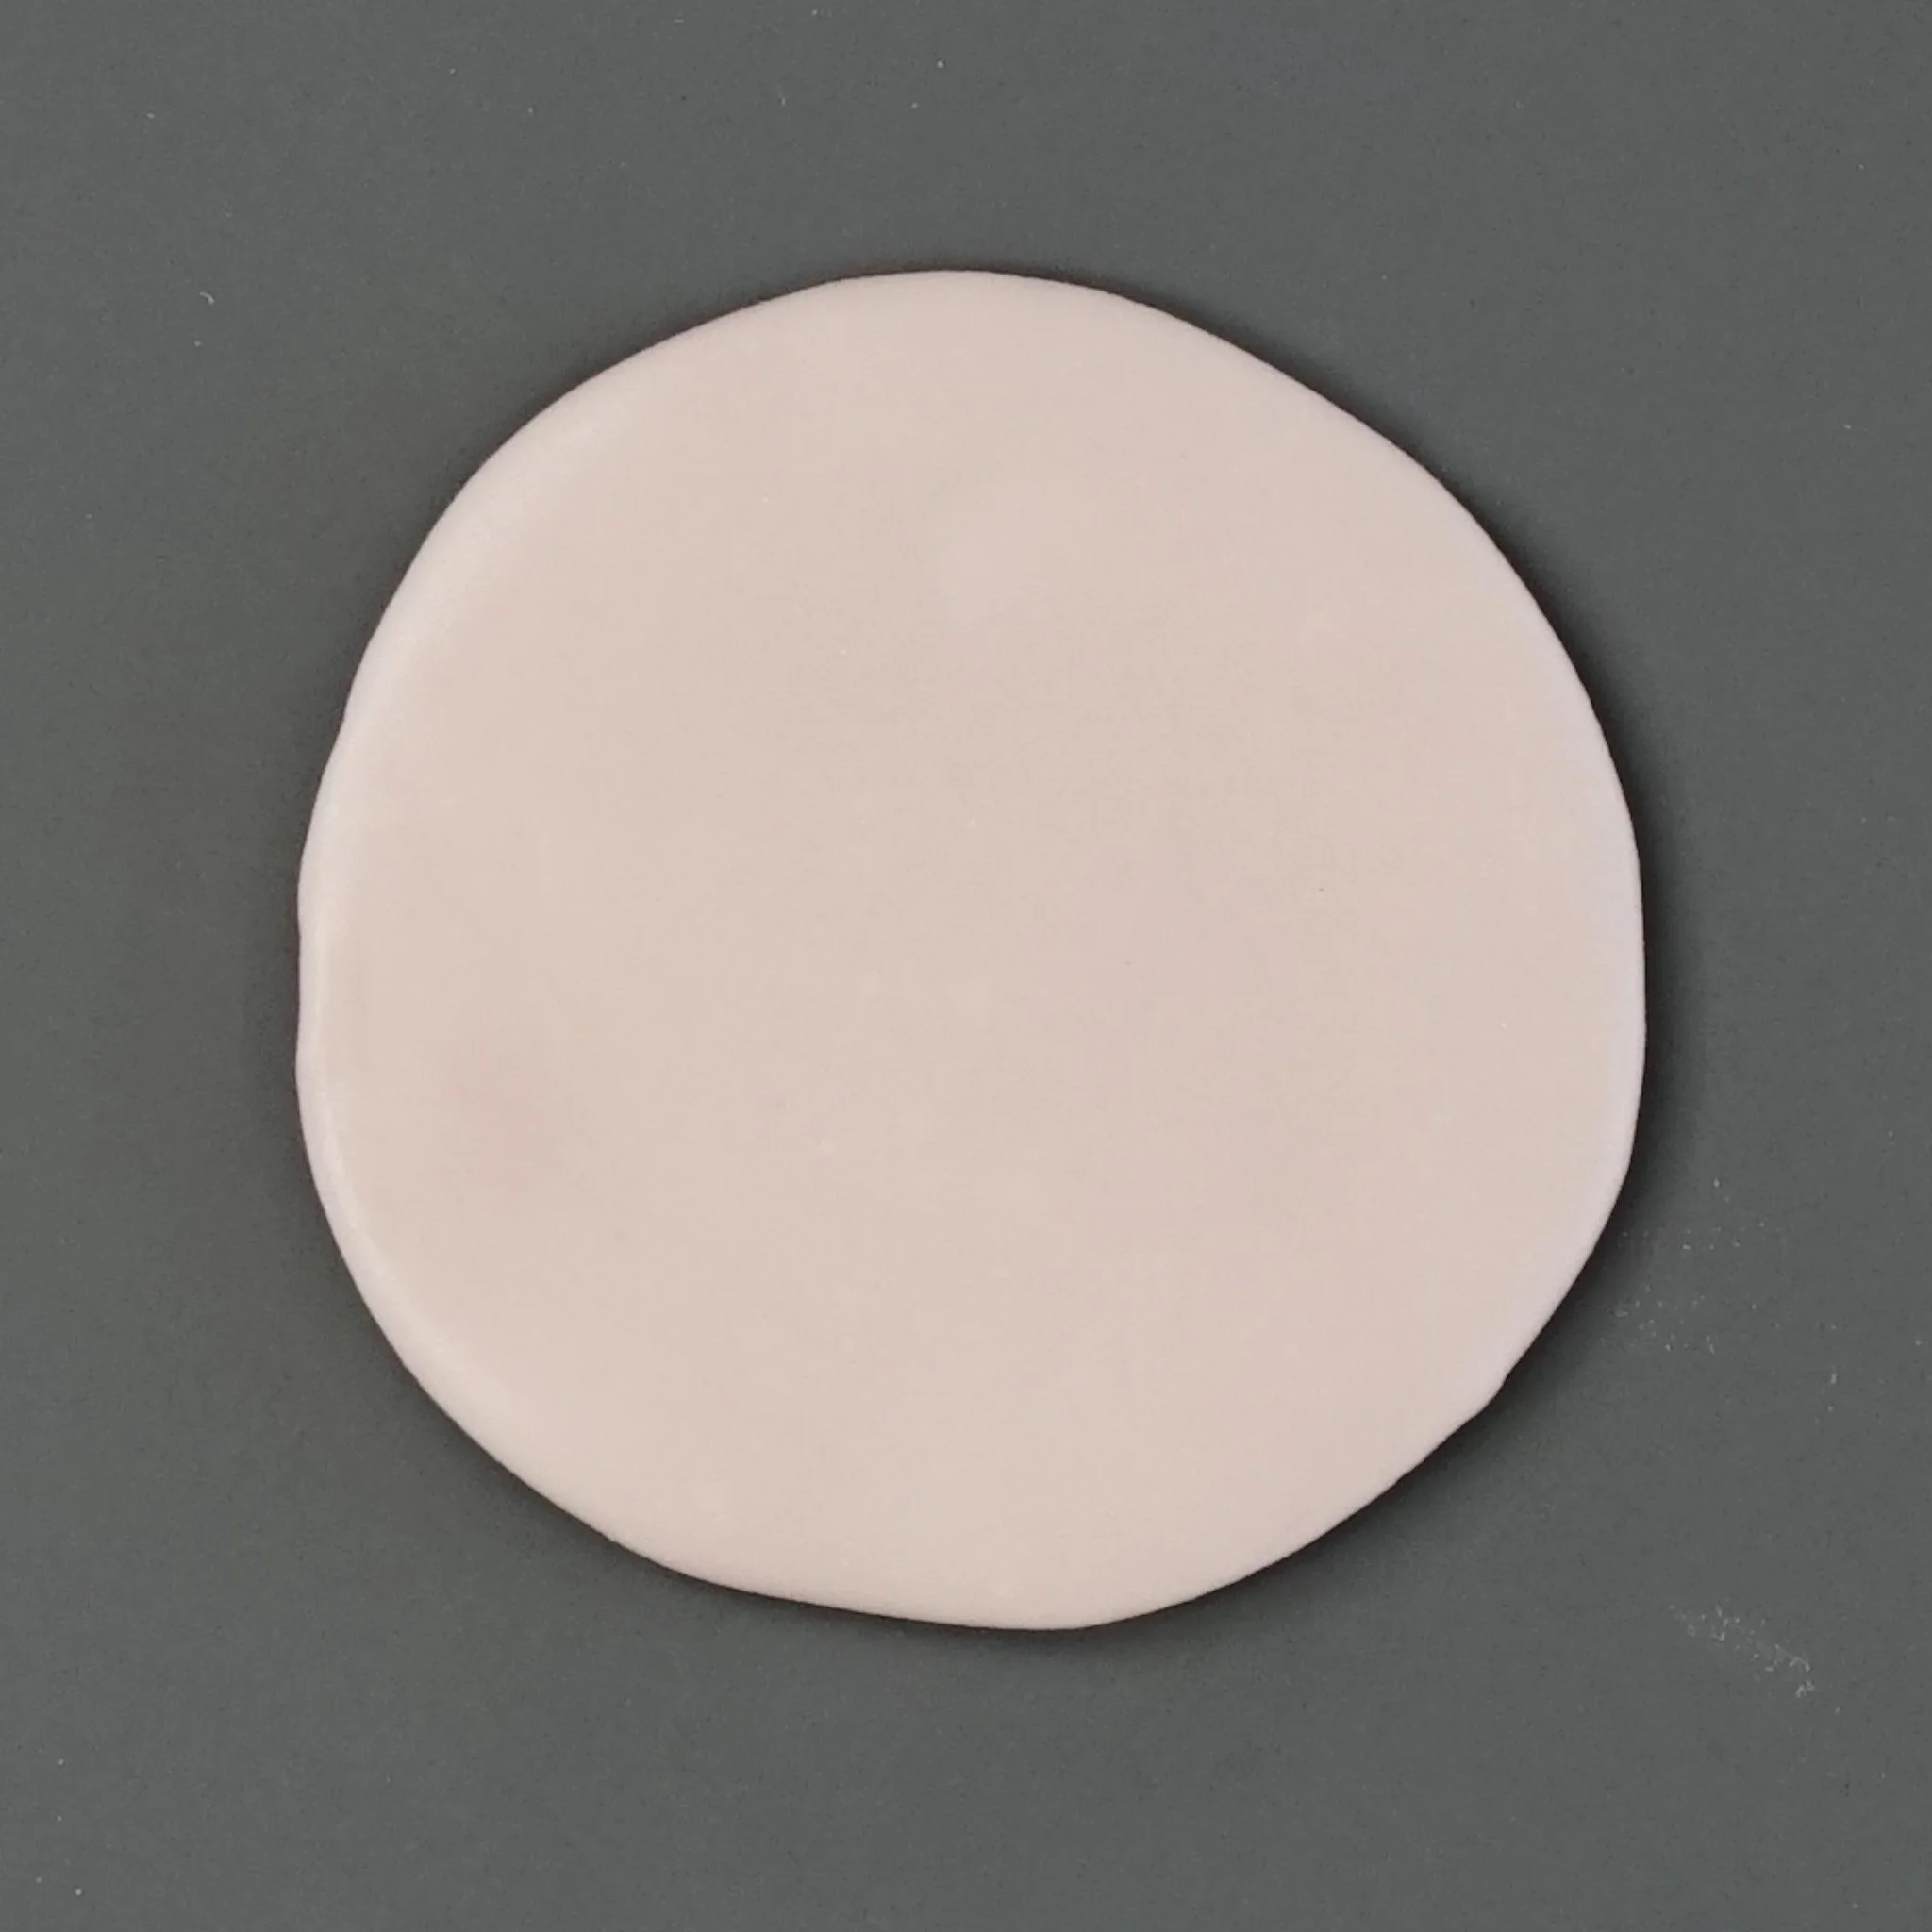
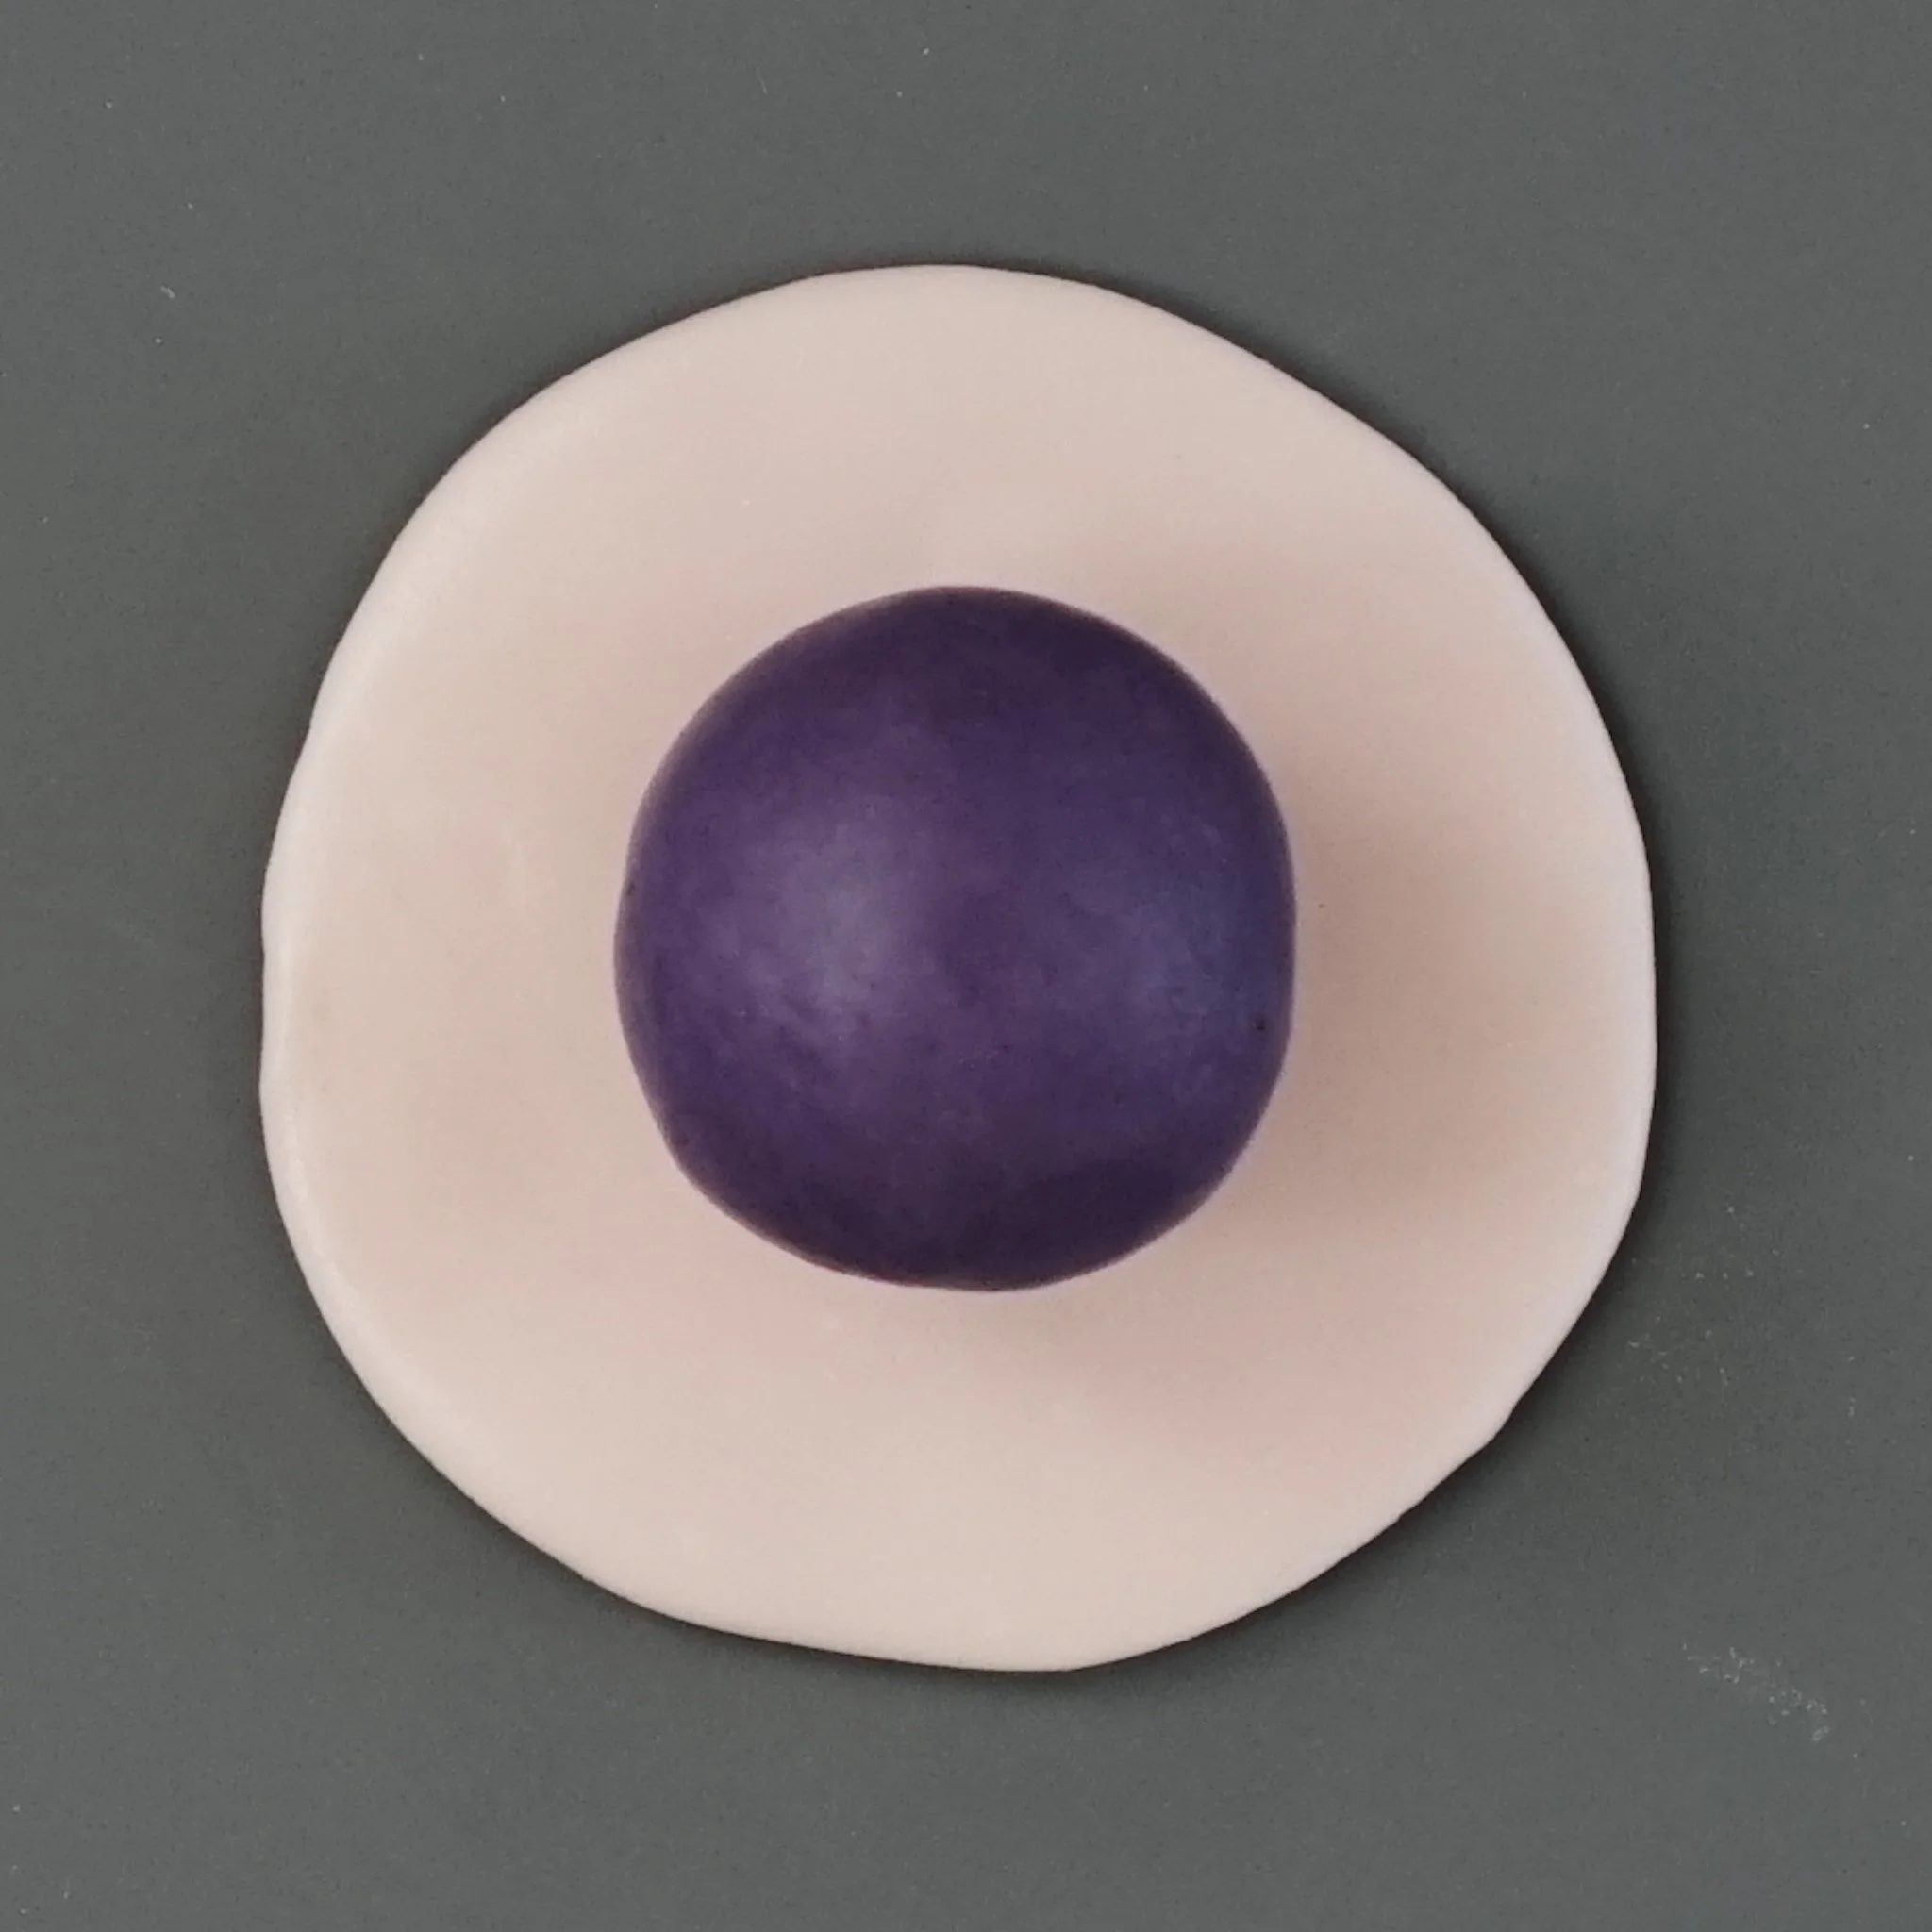
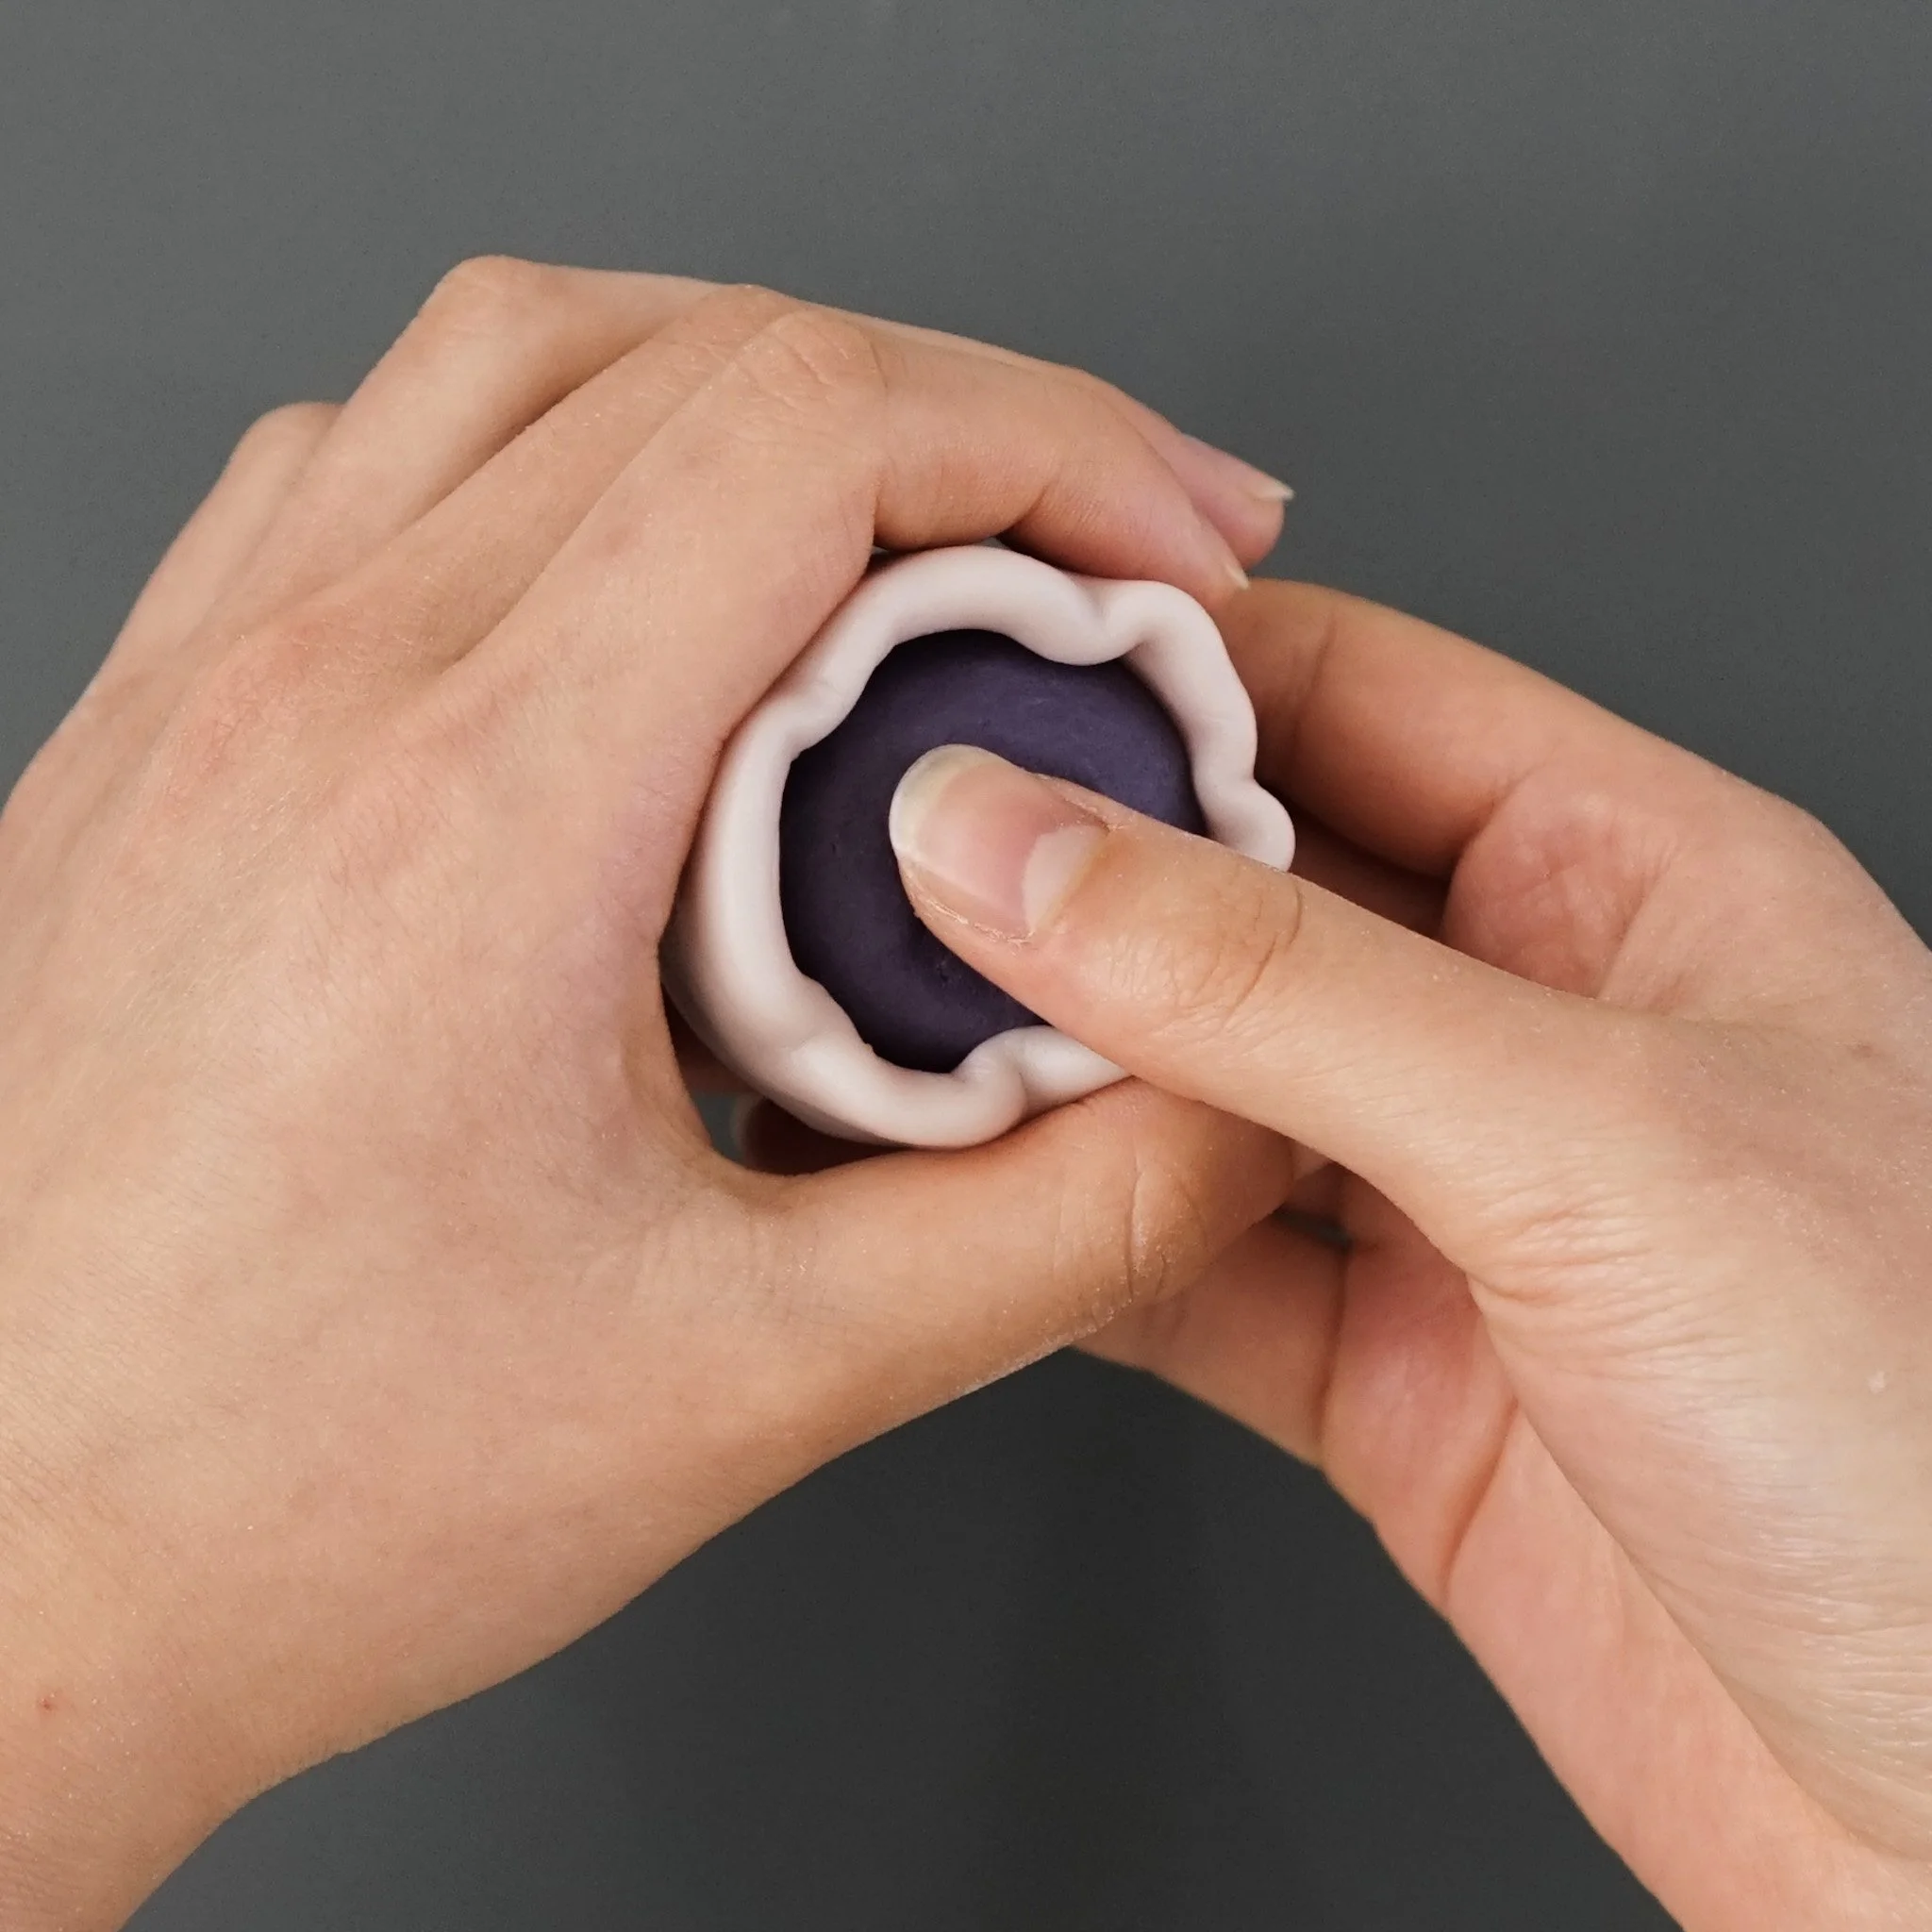
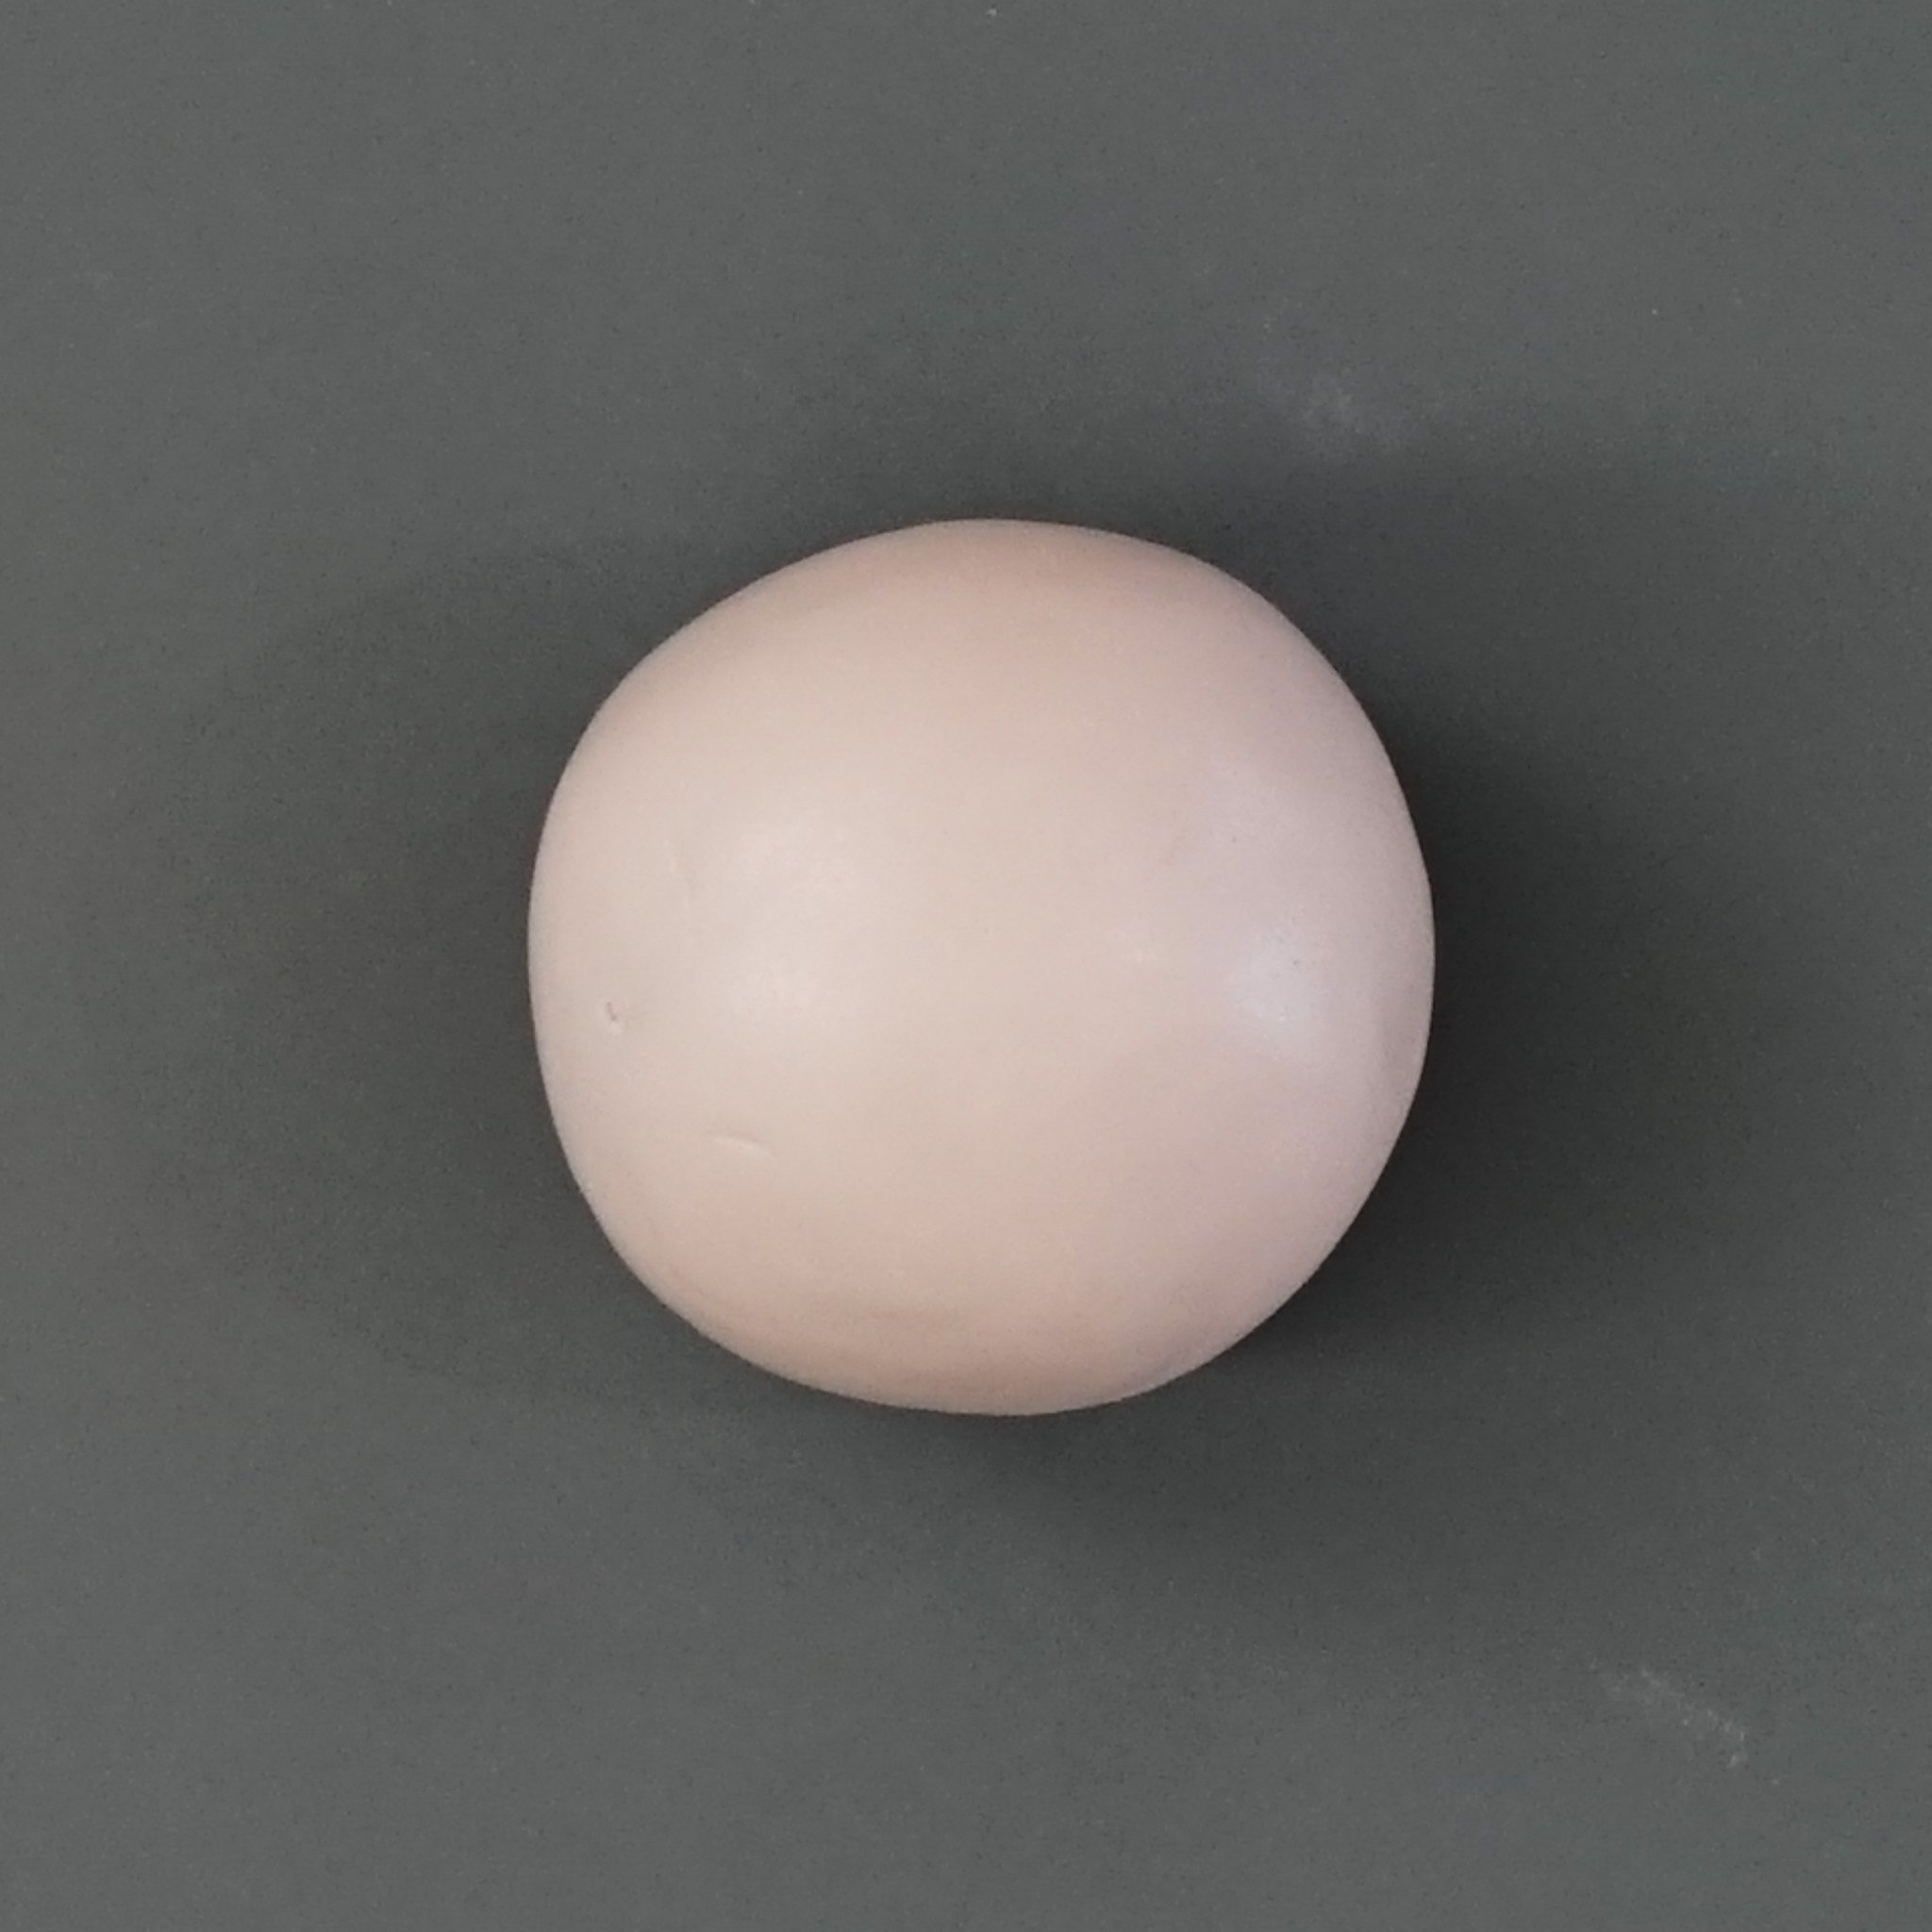
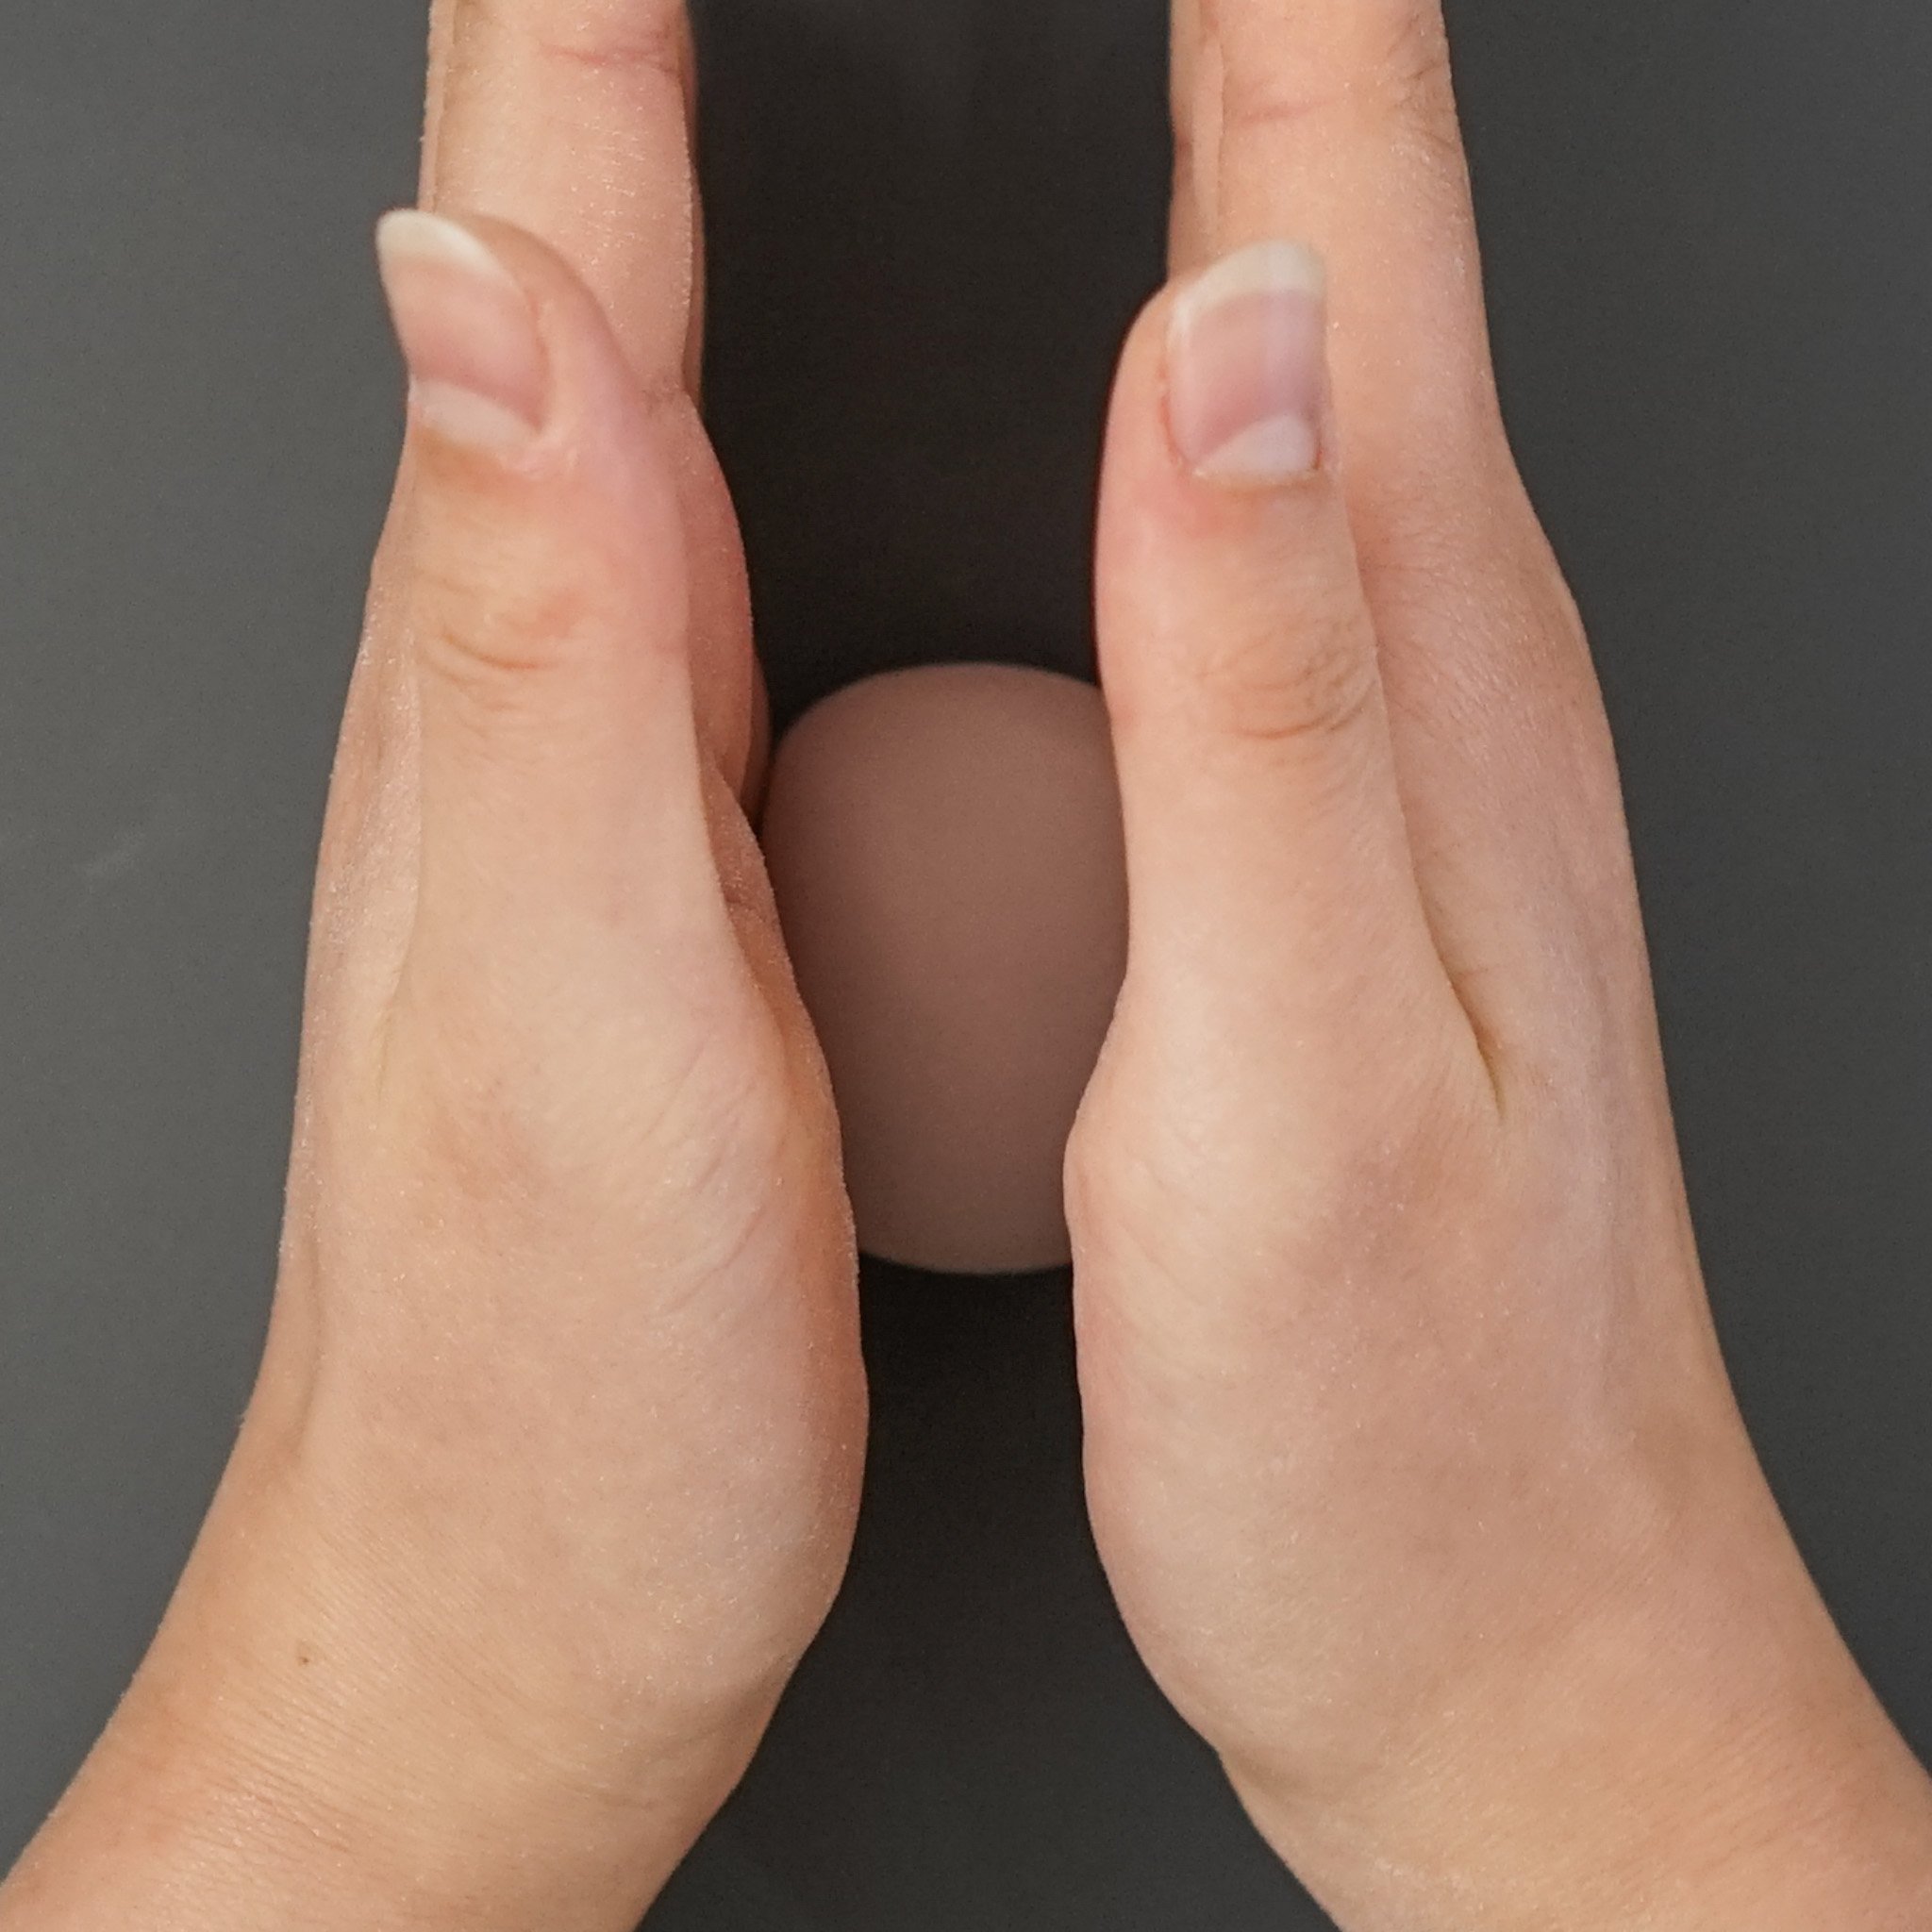
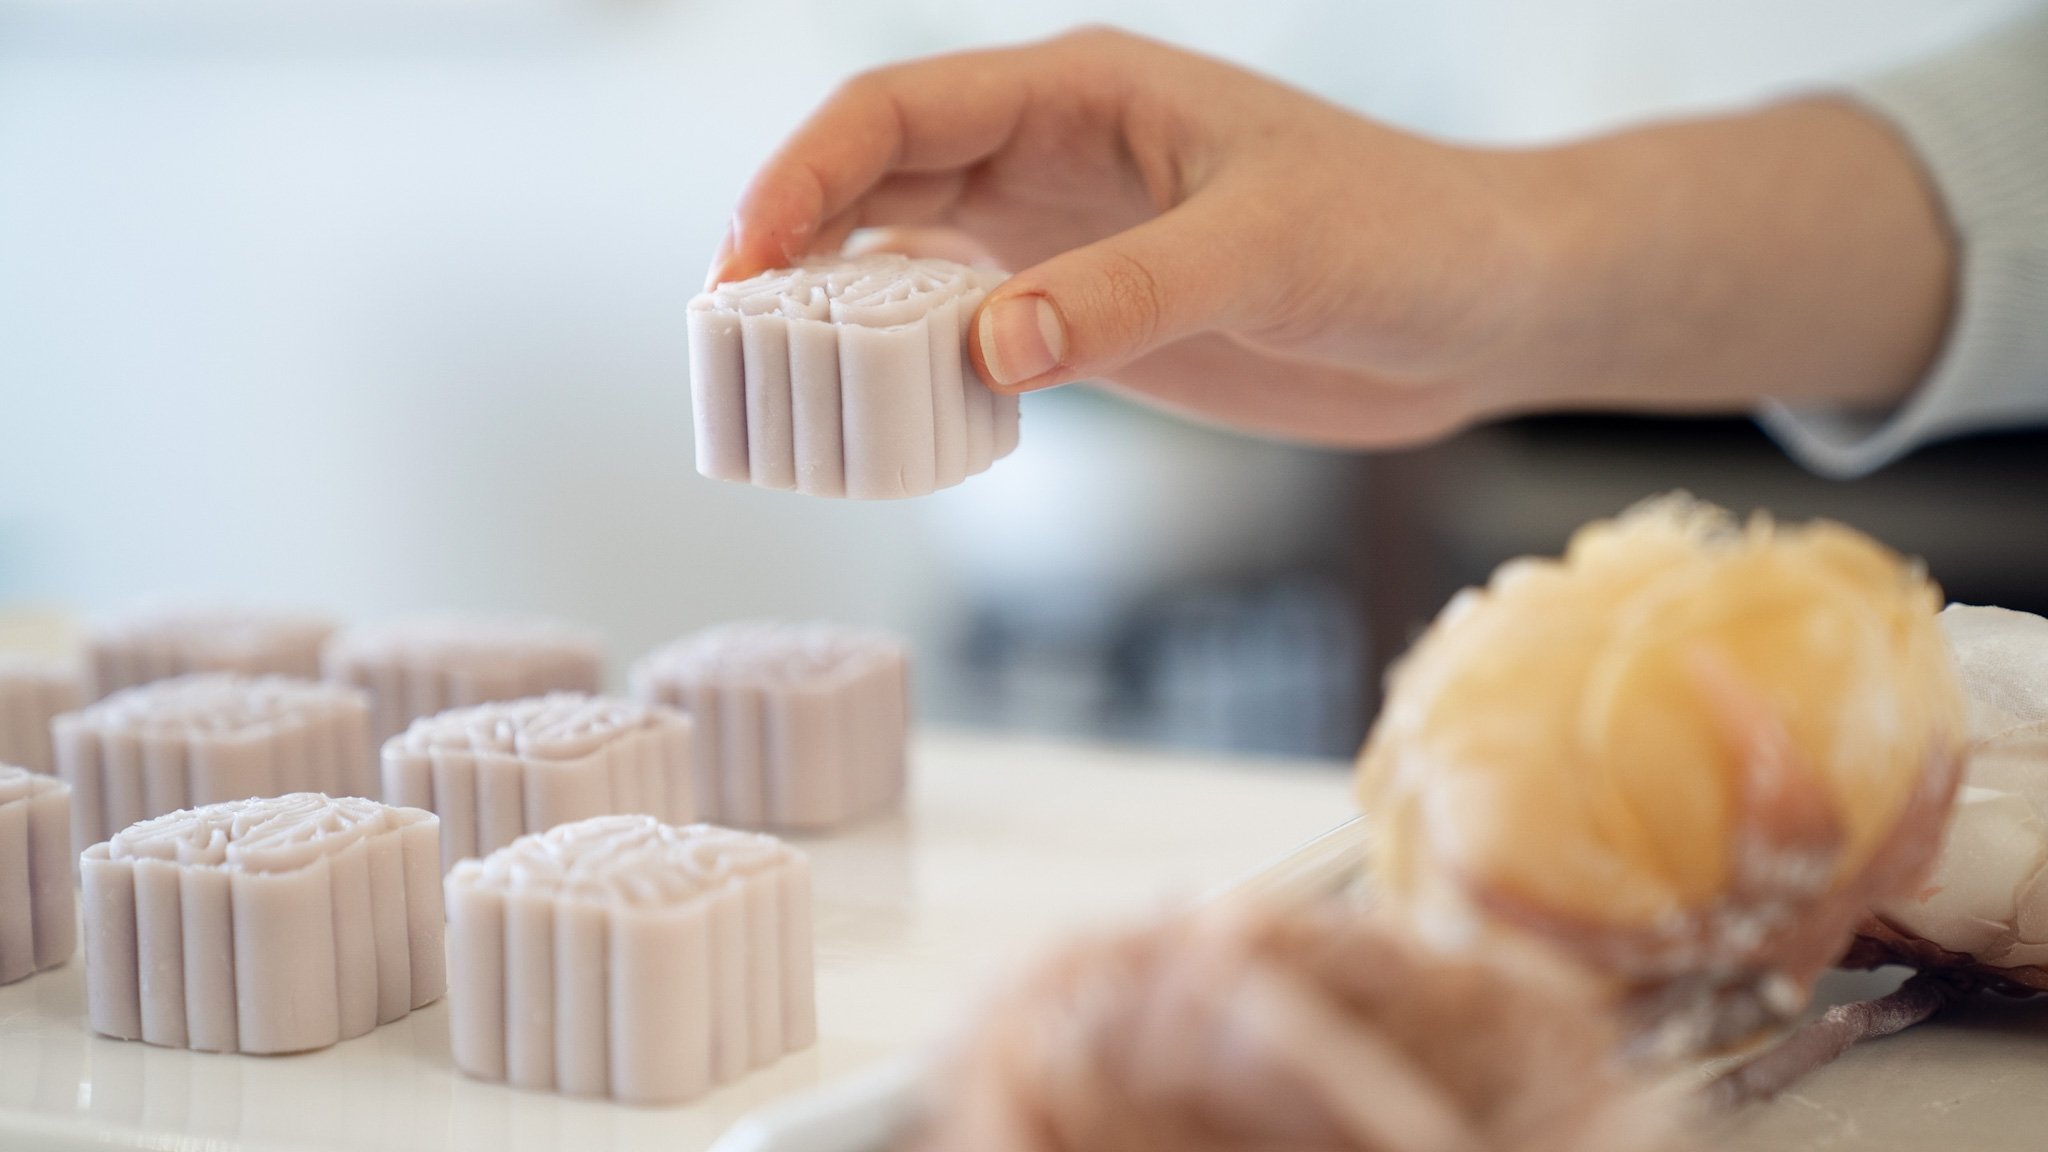
13. To assemble, flatten a piece of snow skin slightly to cover the filling. Gently knead the filling to soften up slightly if it has become too firm, then place onto the flattened snow skin. Close up the mooncake slowly, then roll it between your palms to seal it completely.
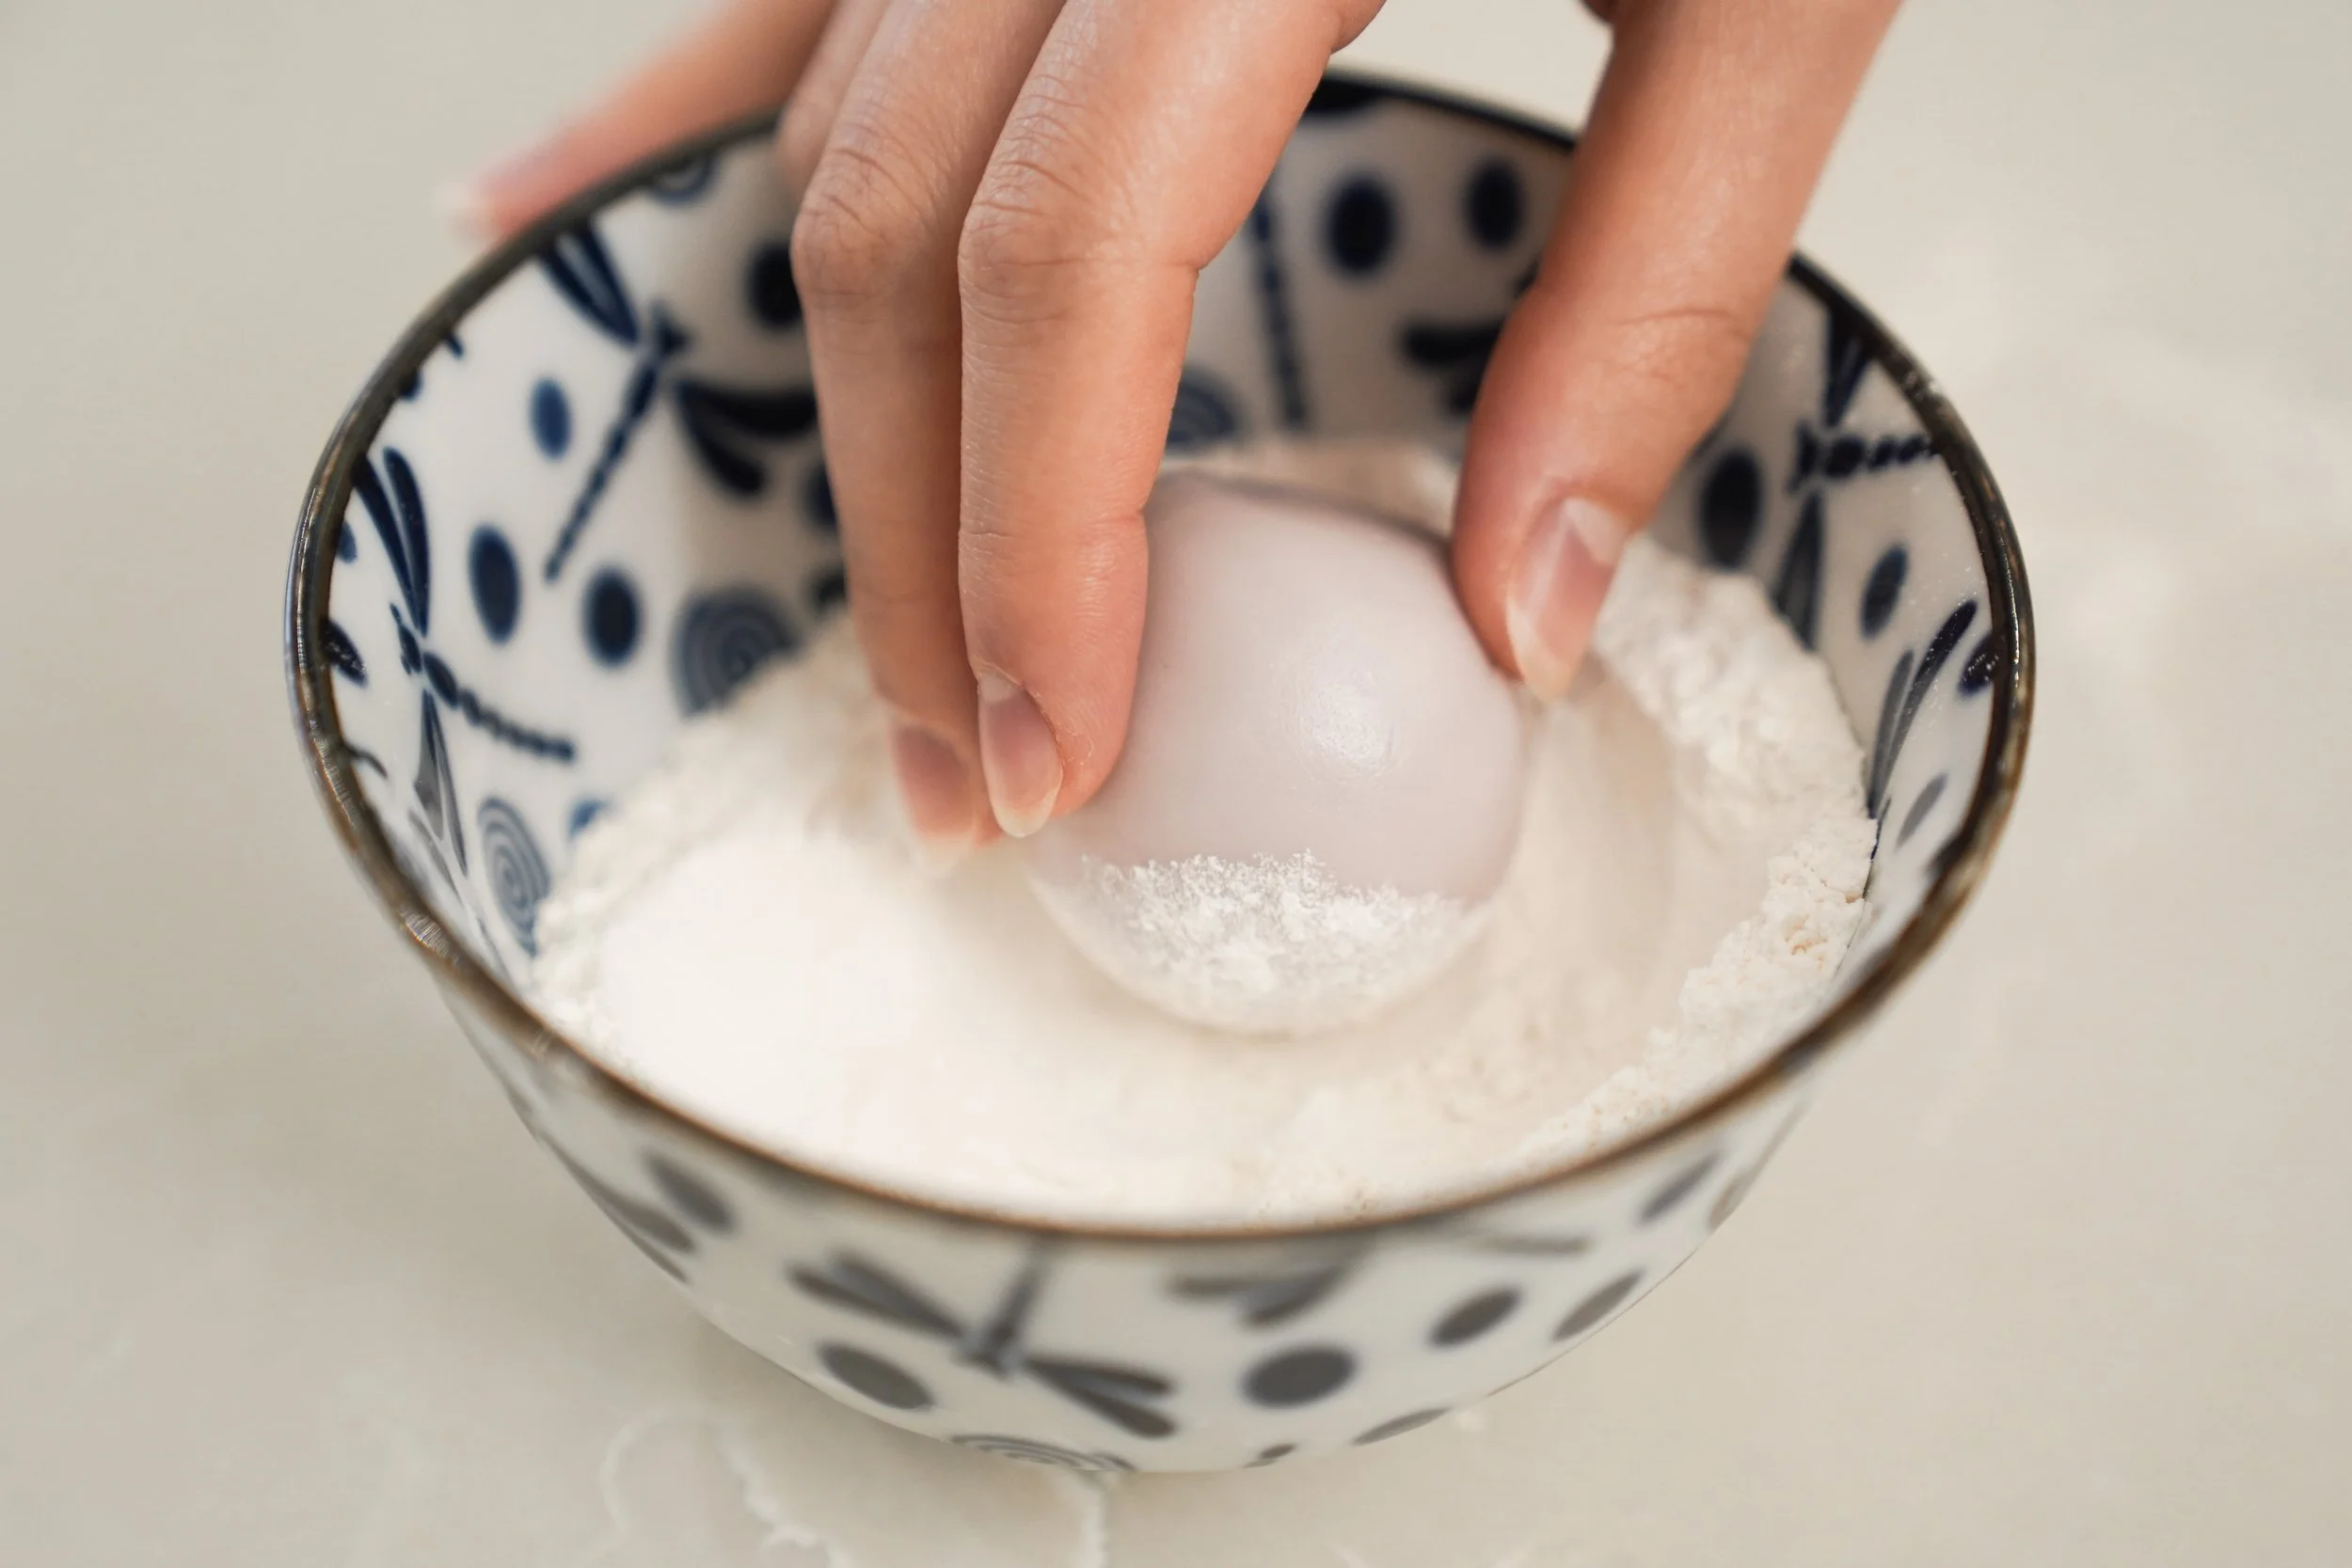
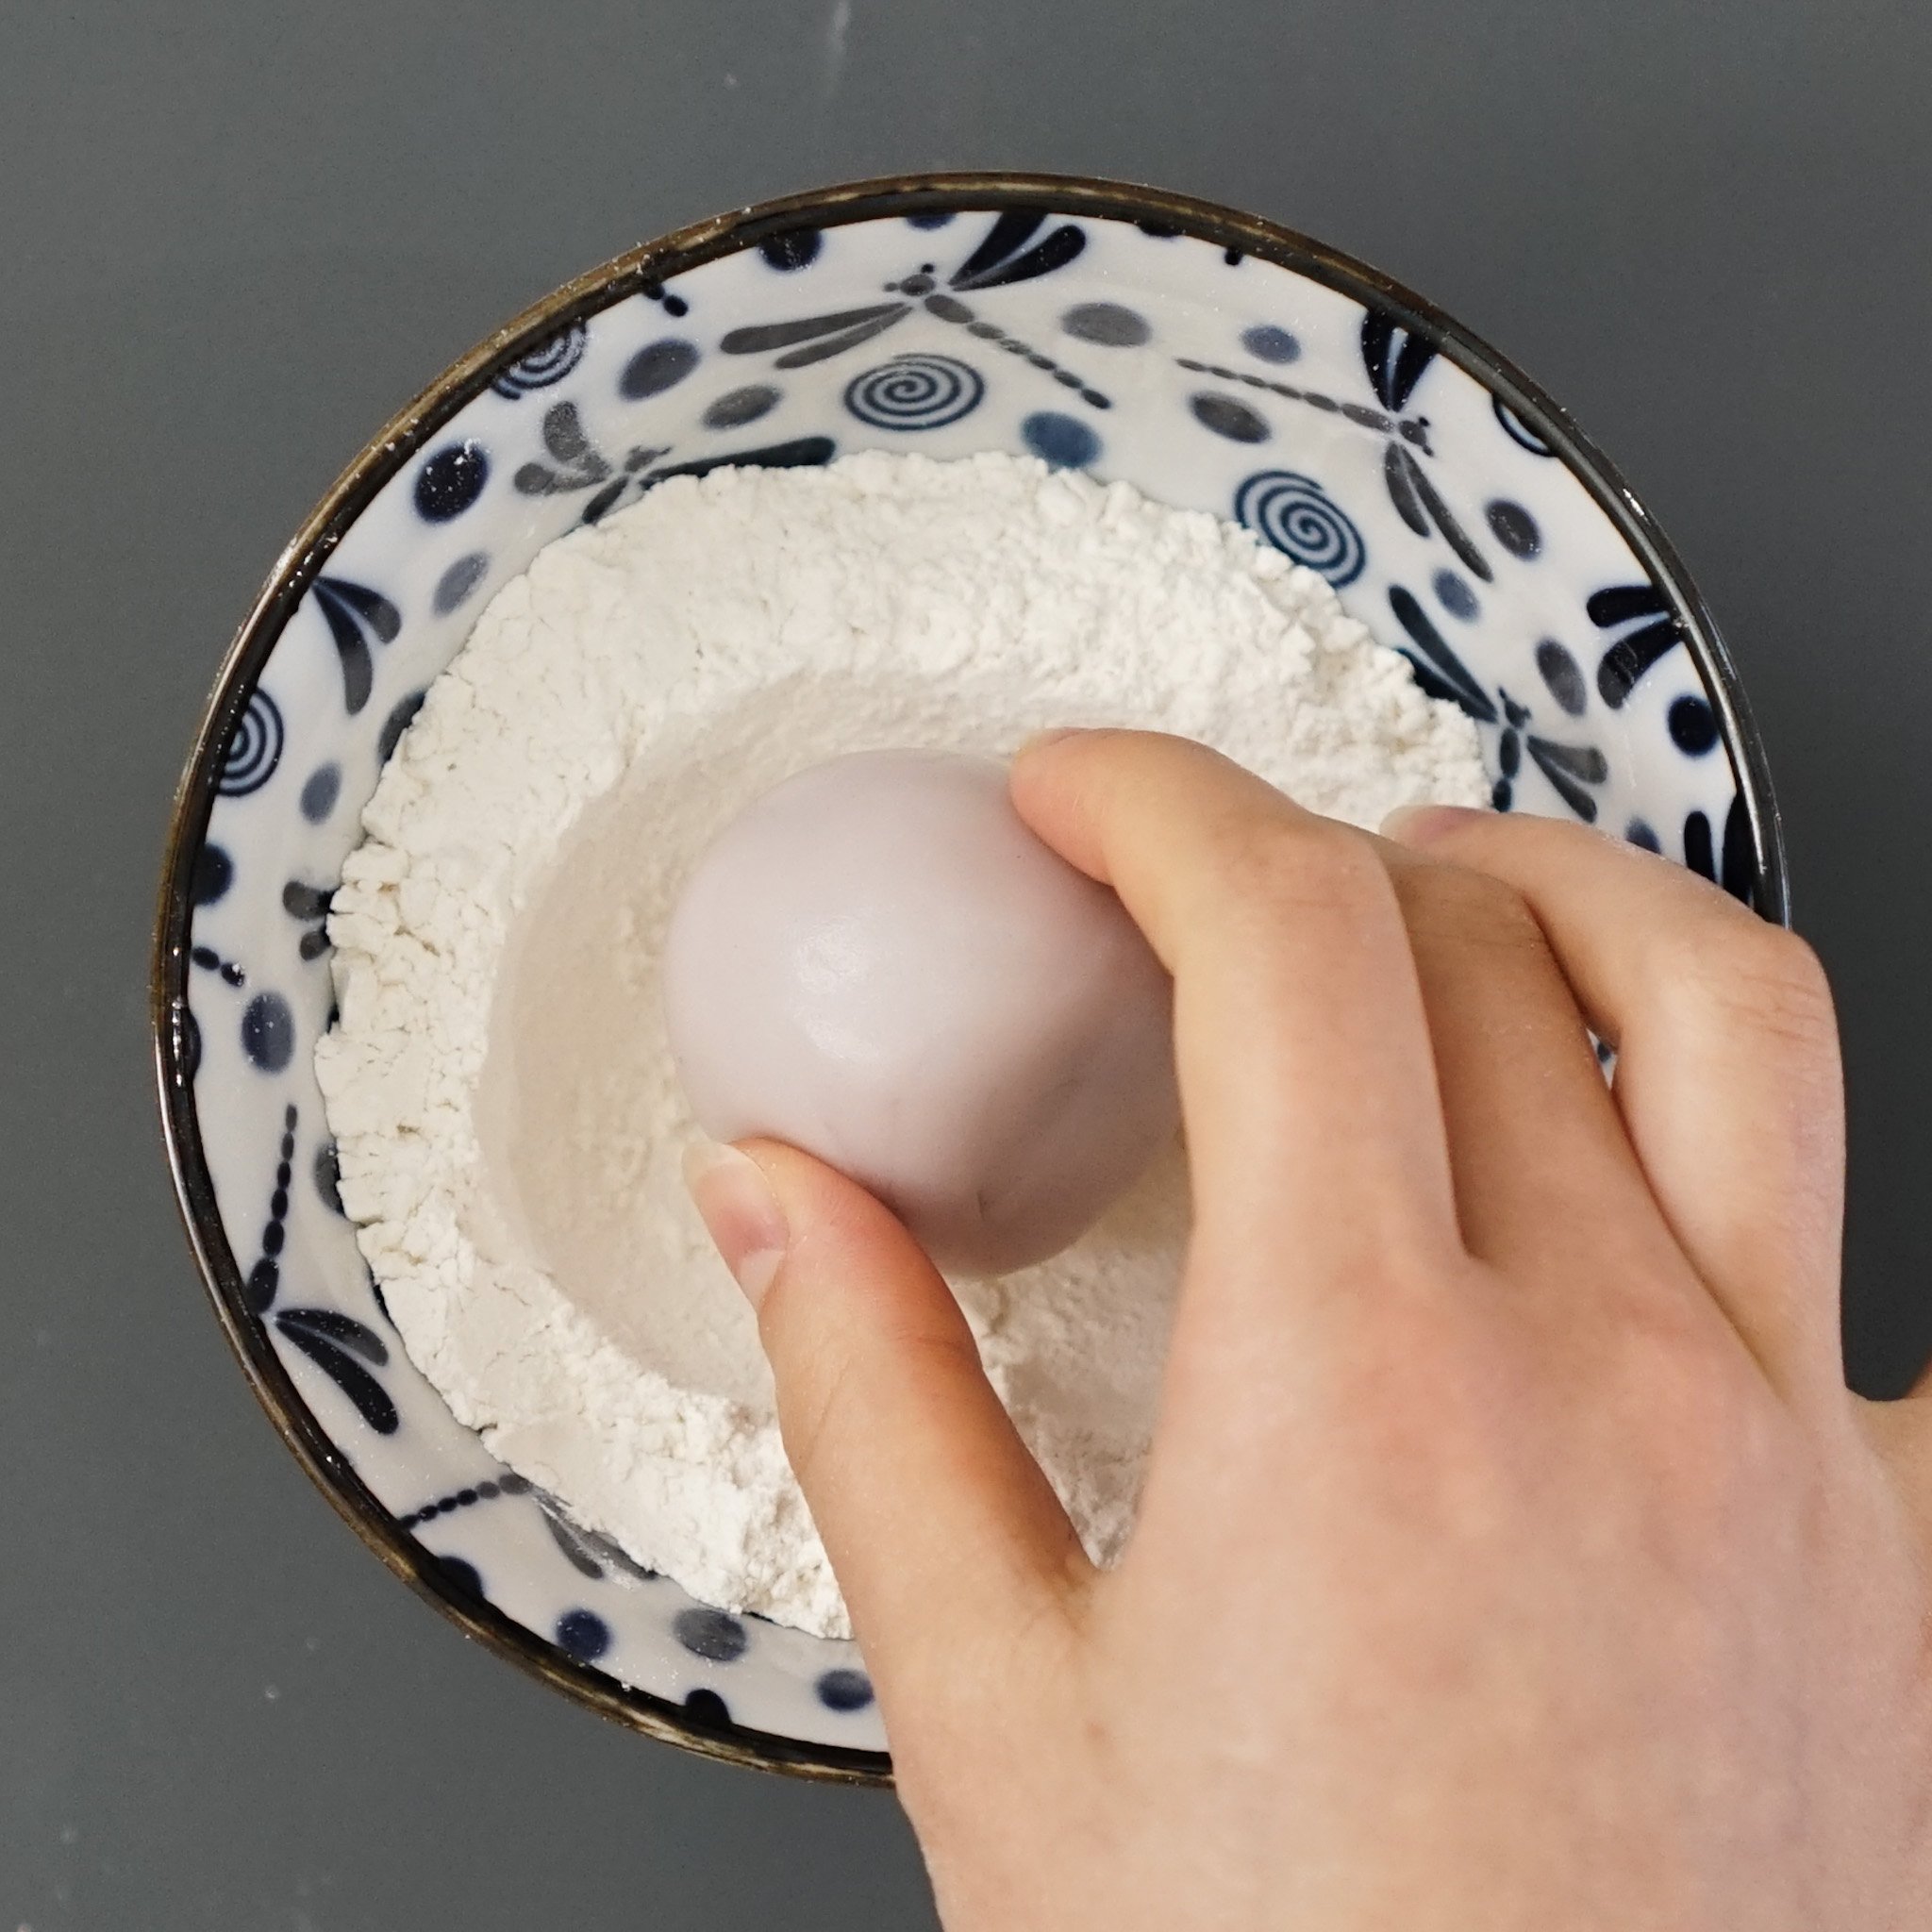
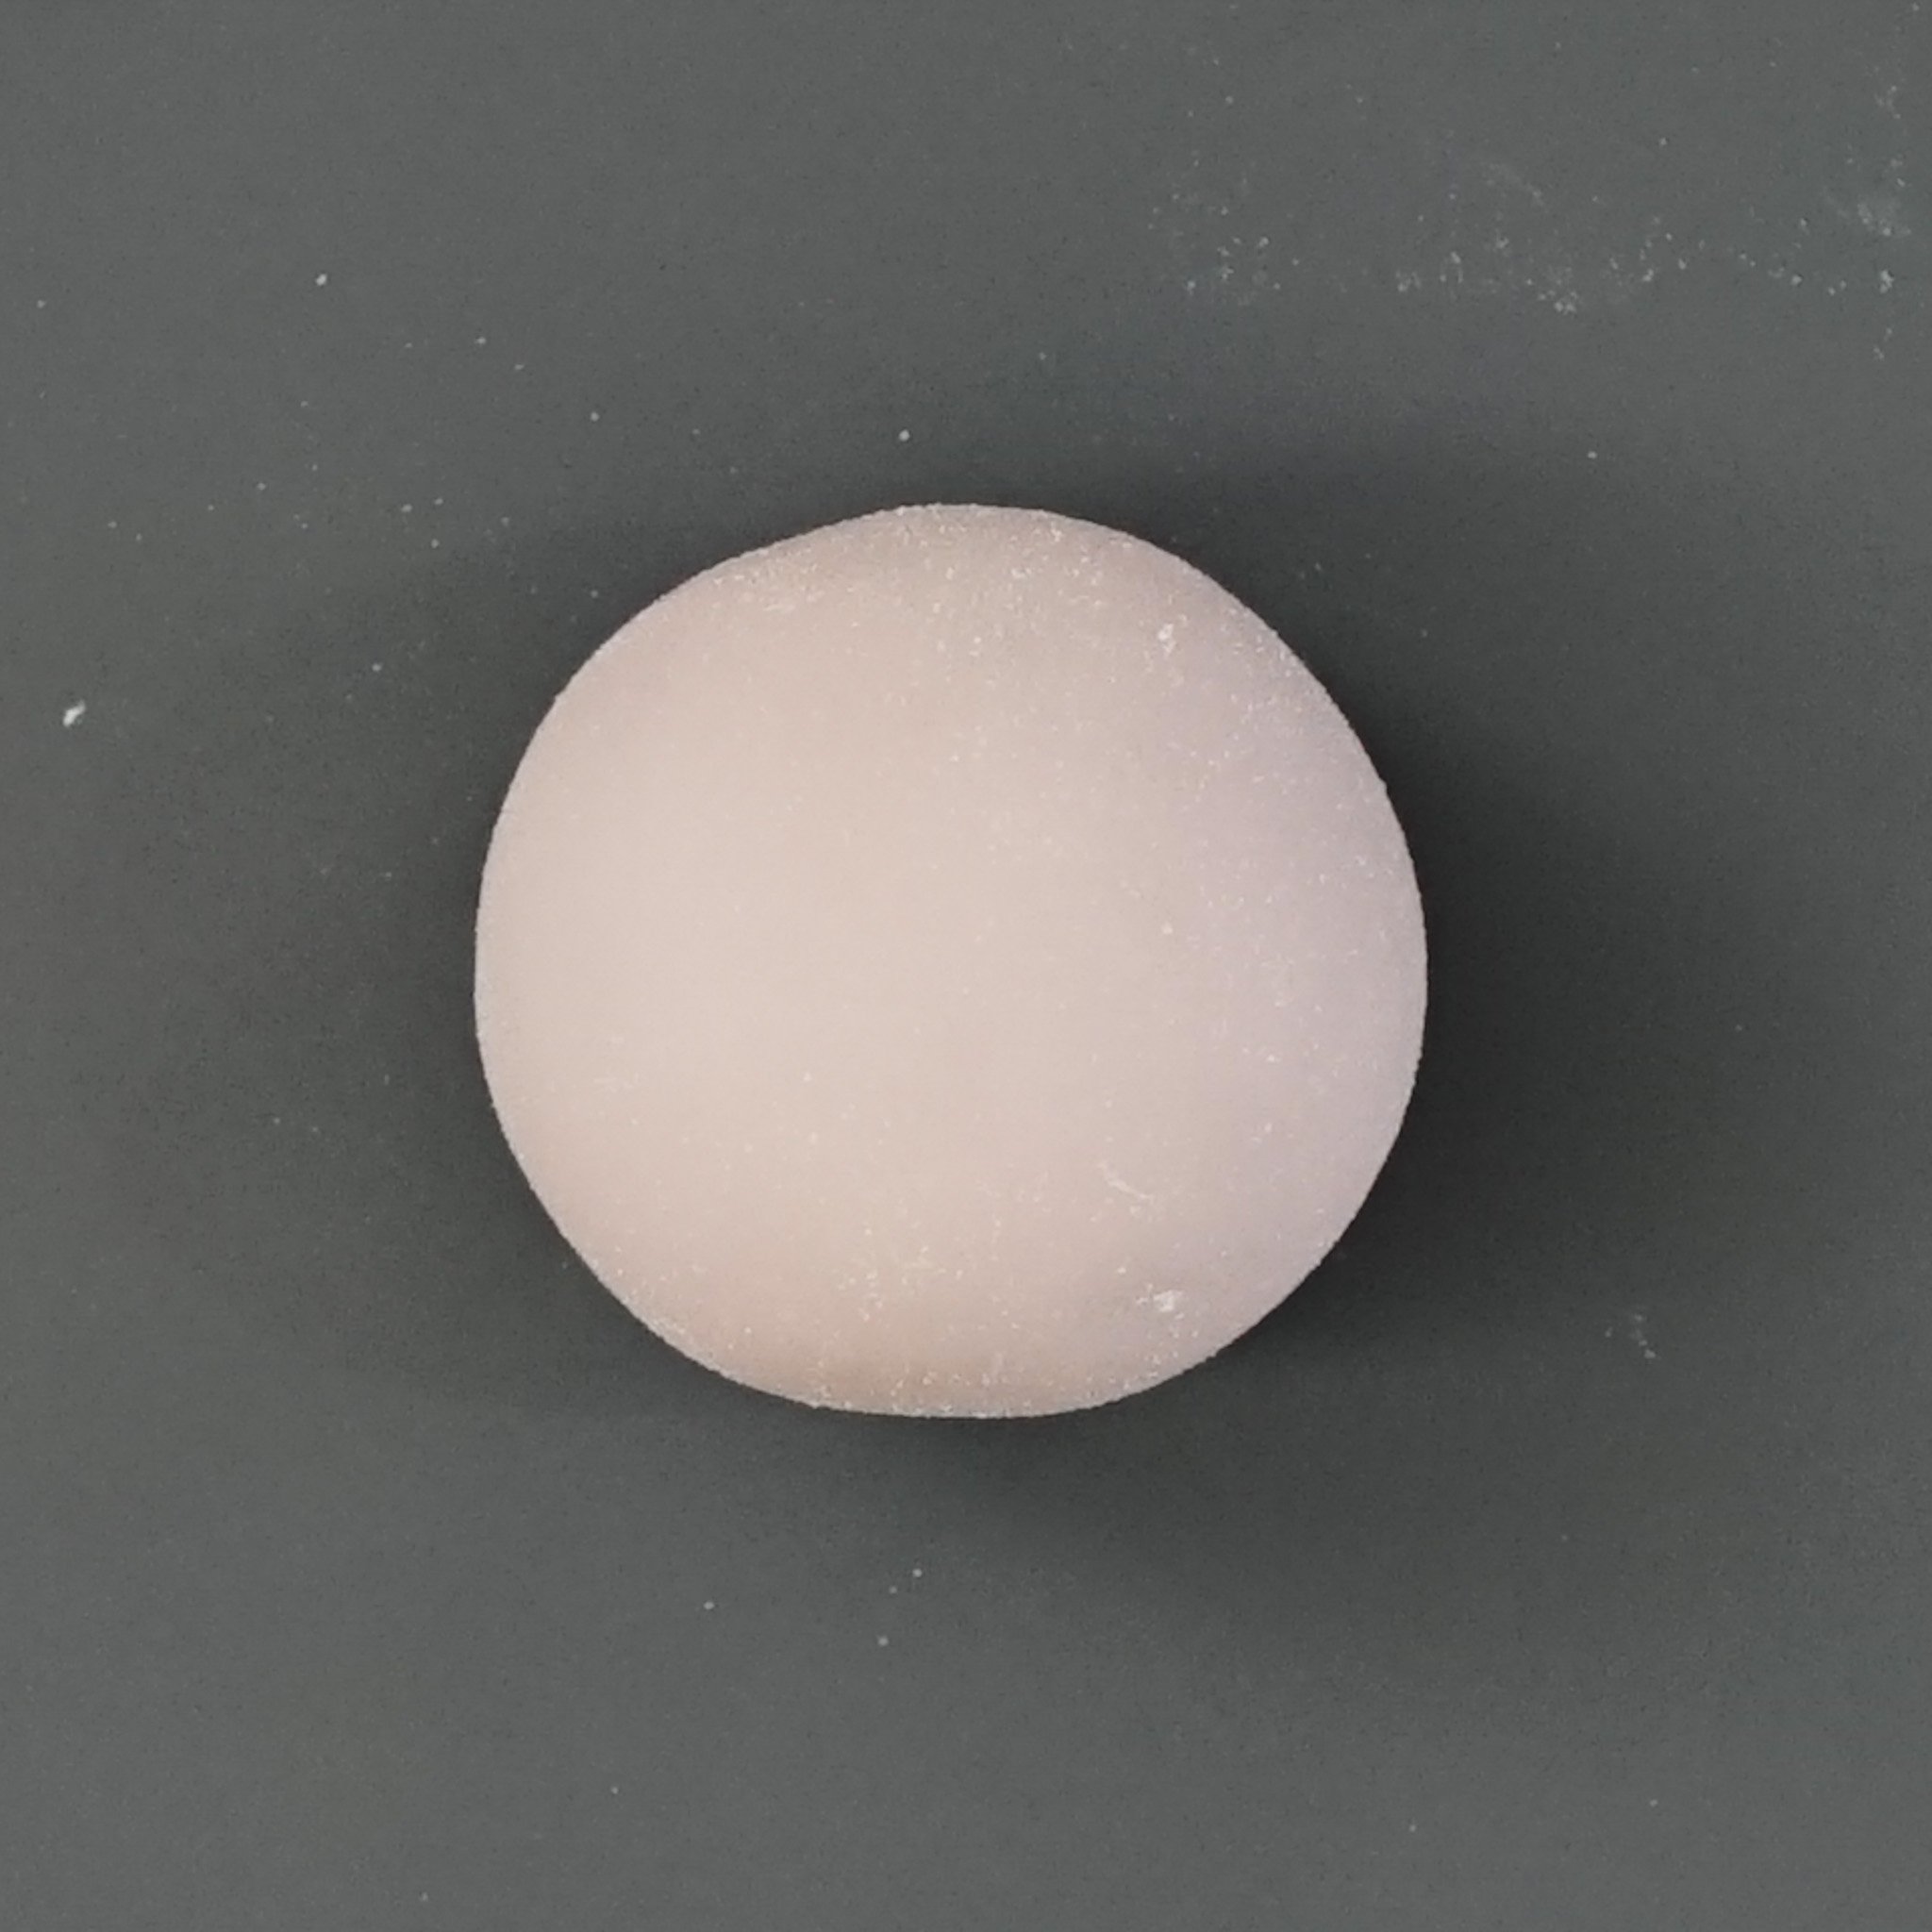
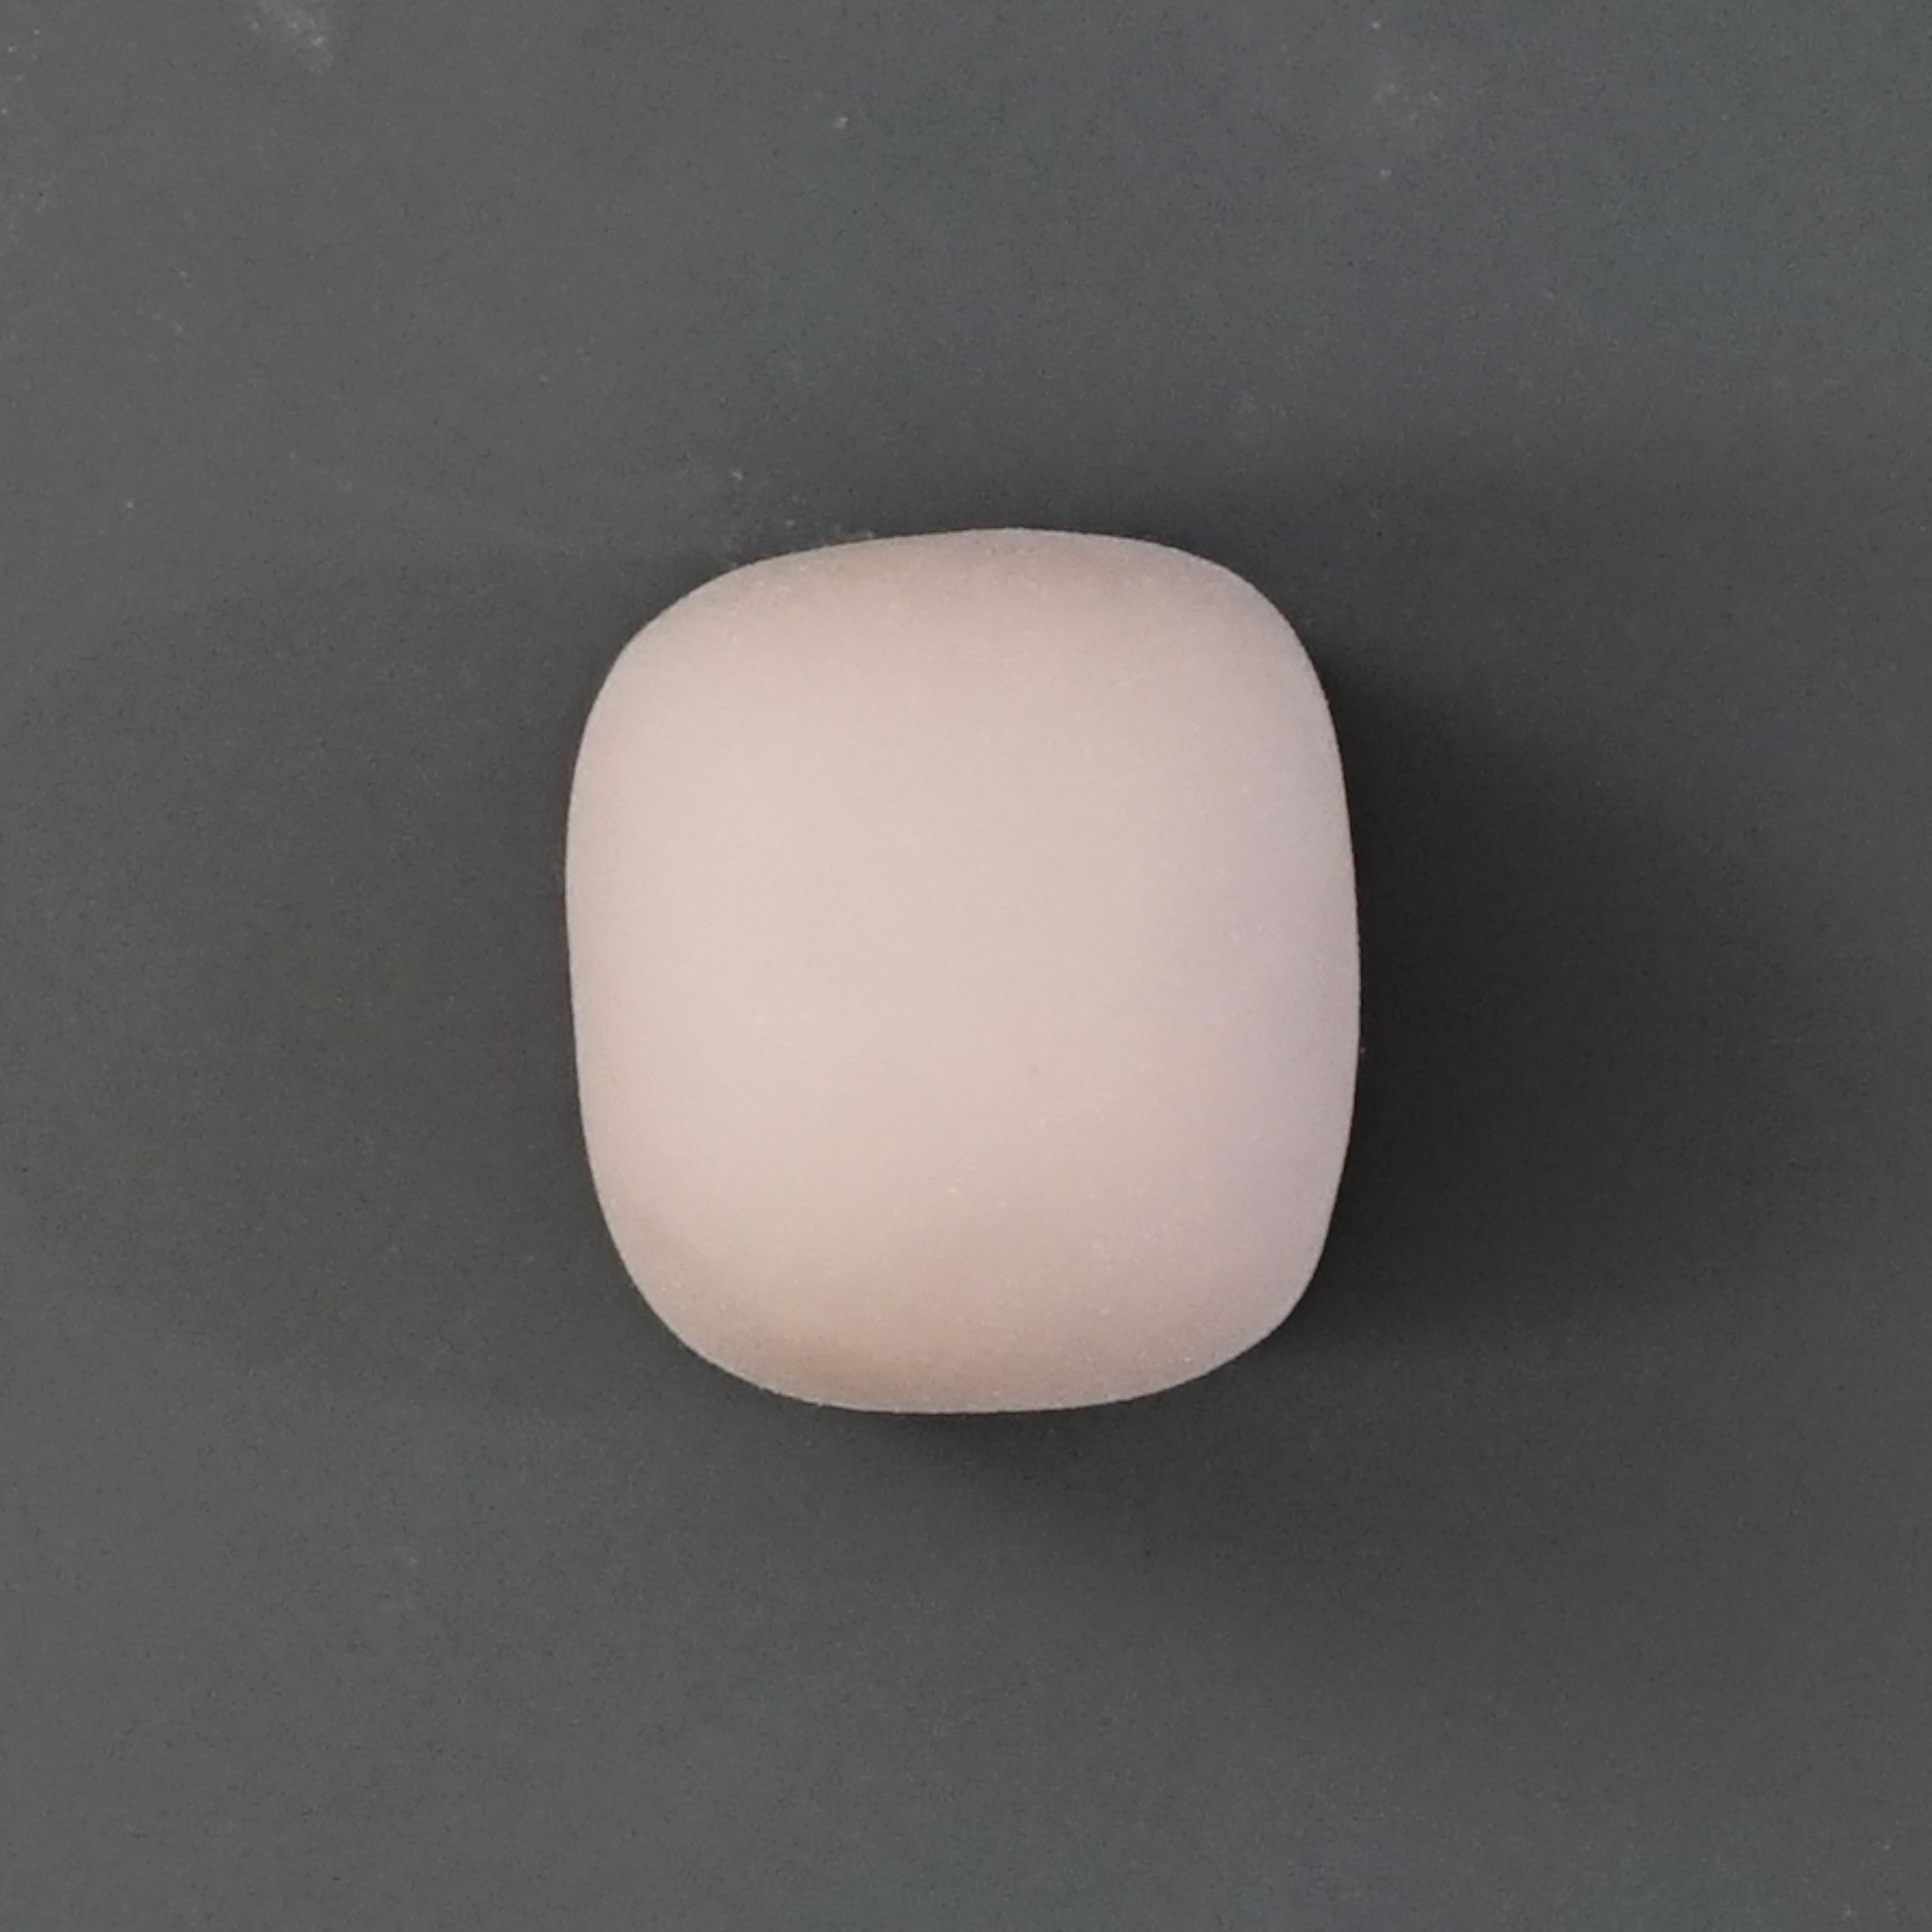
14. Lightly dust the unpressed mooncake with cooked glutinous rice flour and gently shape it with your palms so it fits the mooncake mould.
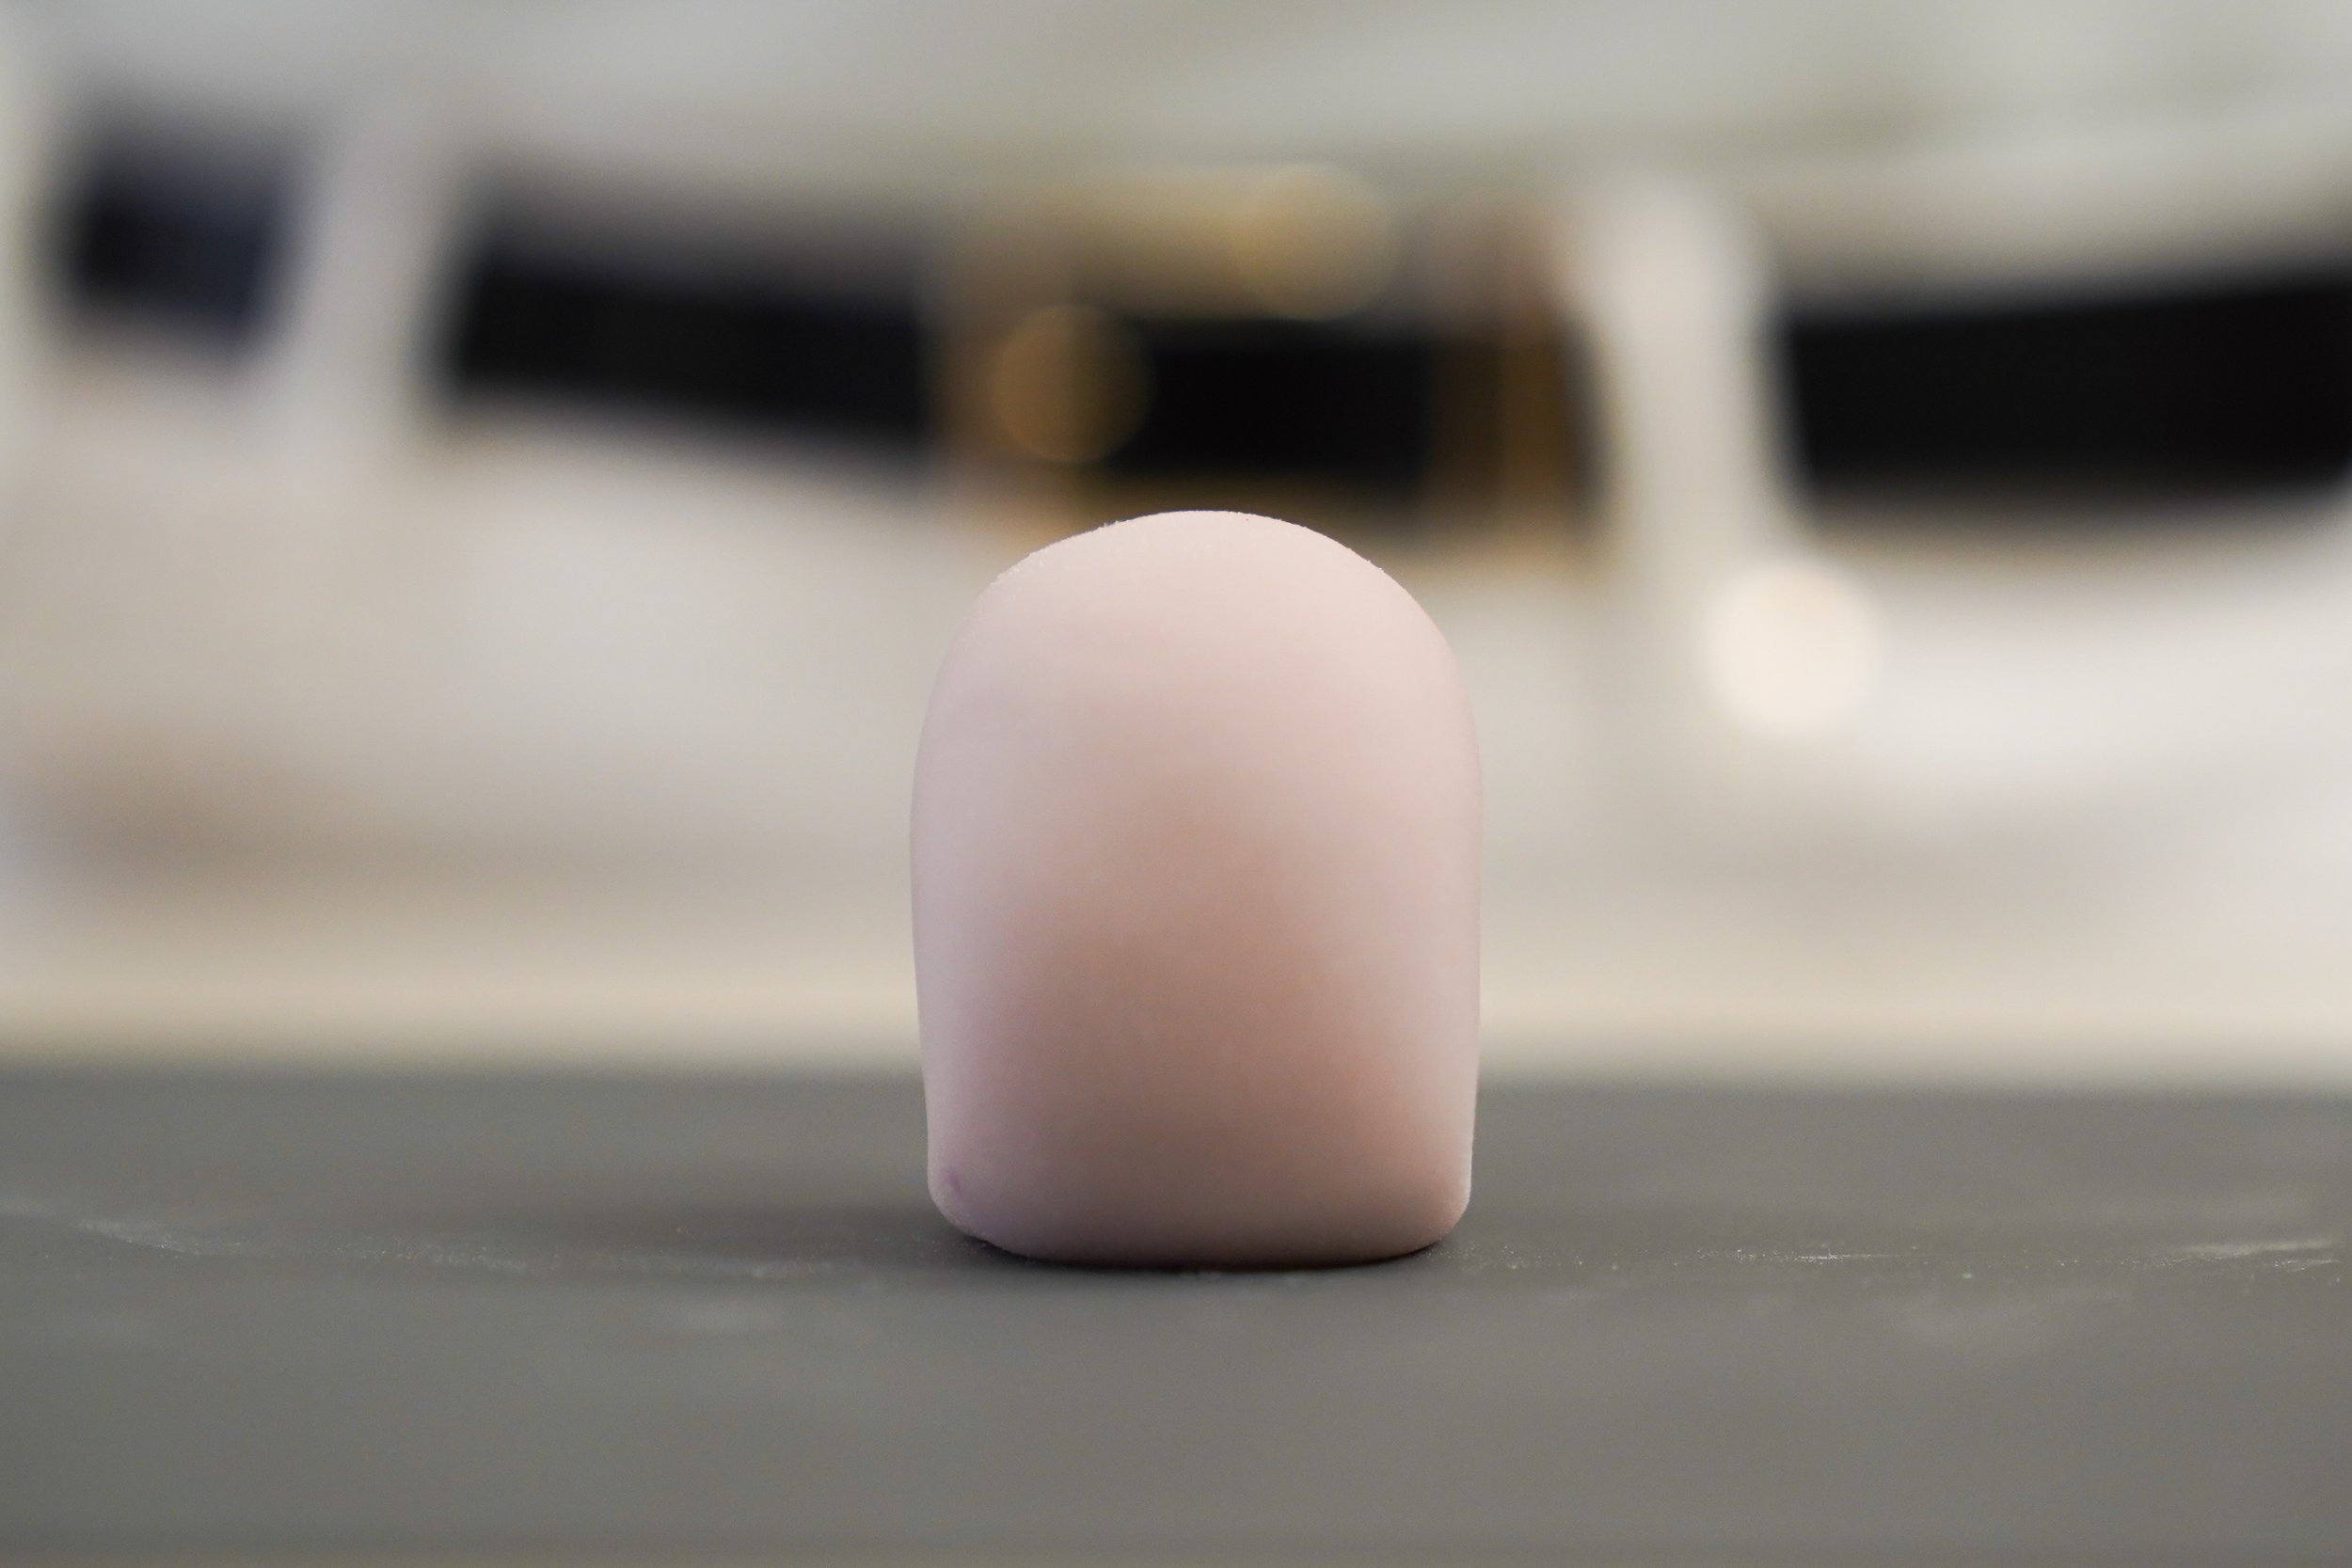
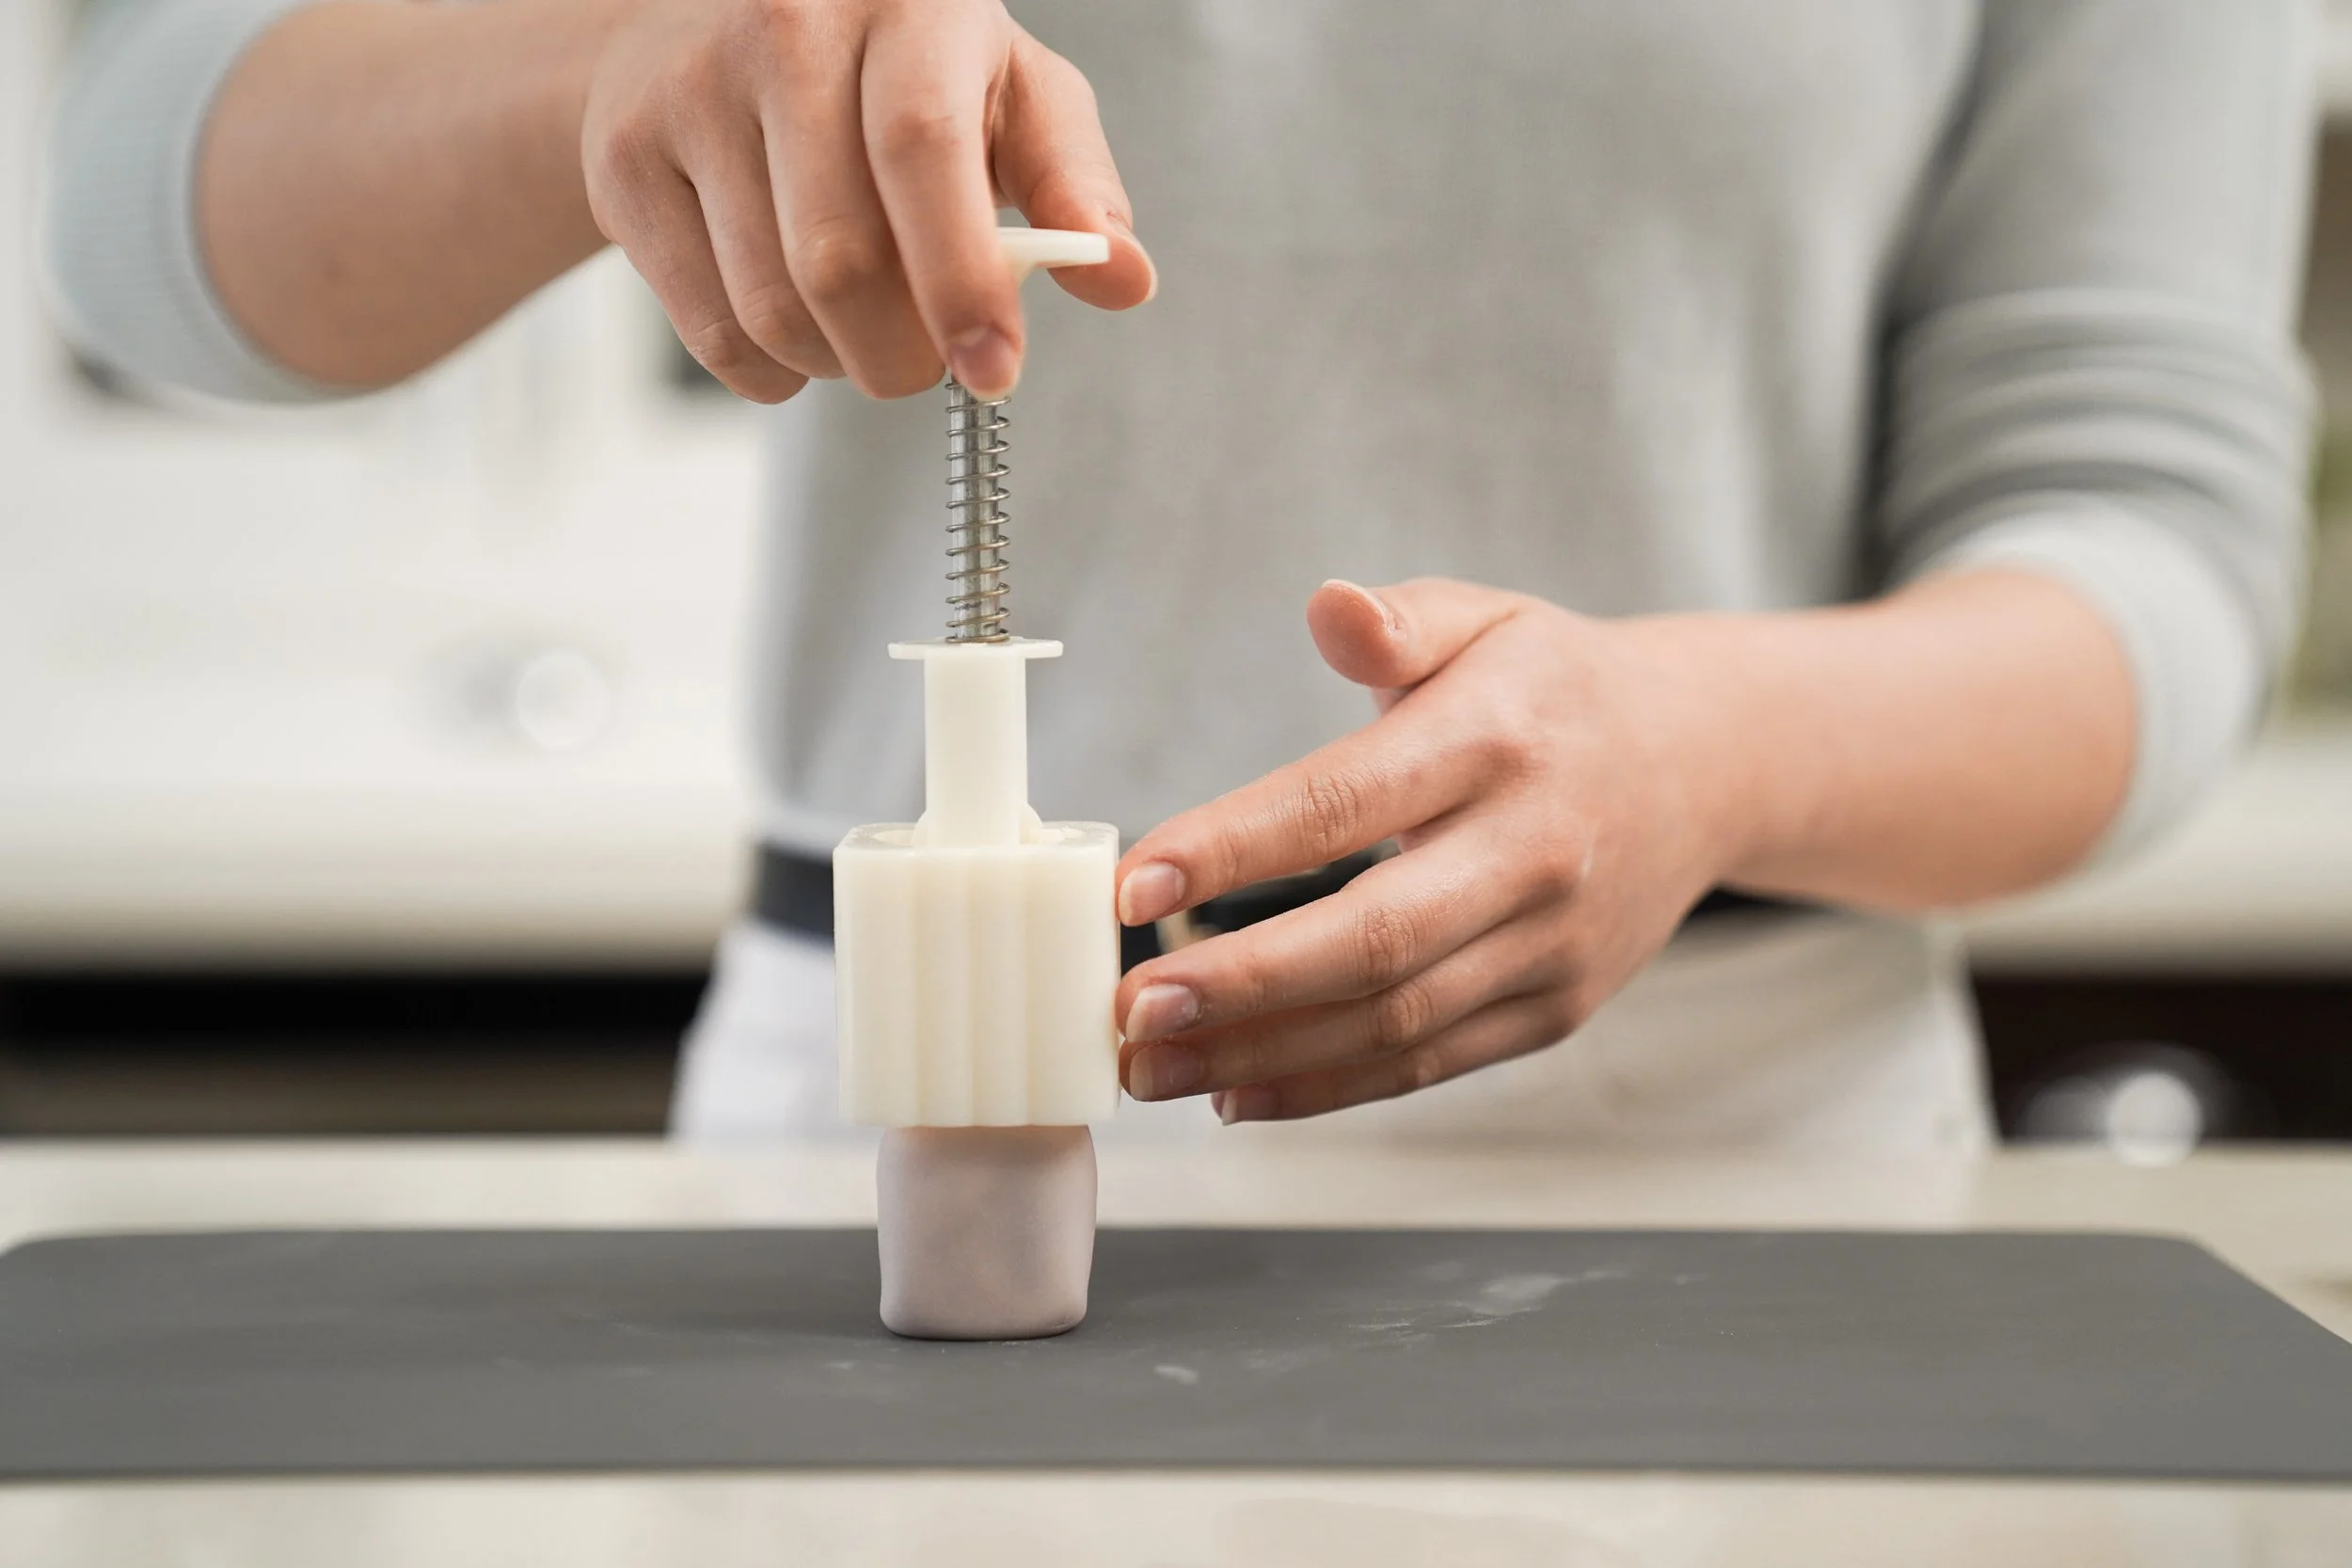
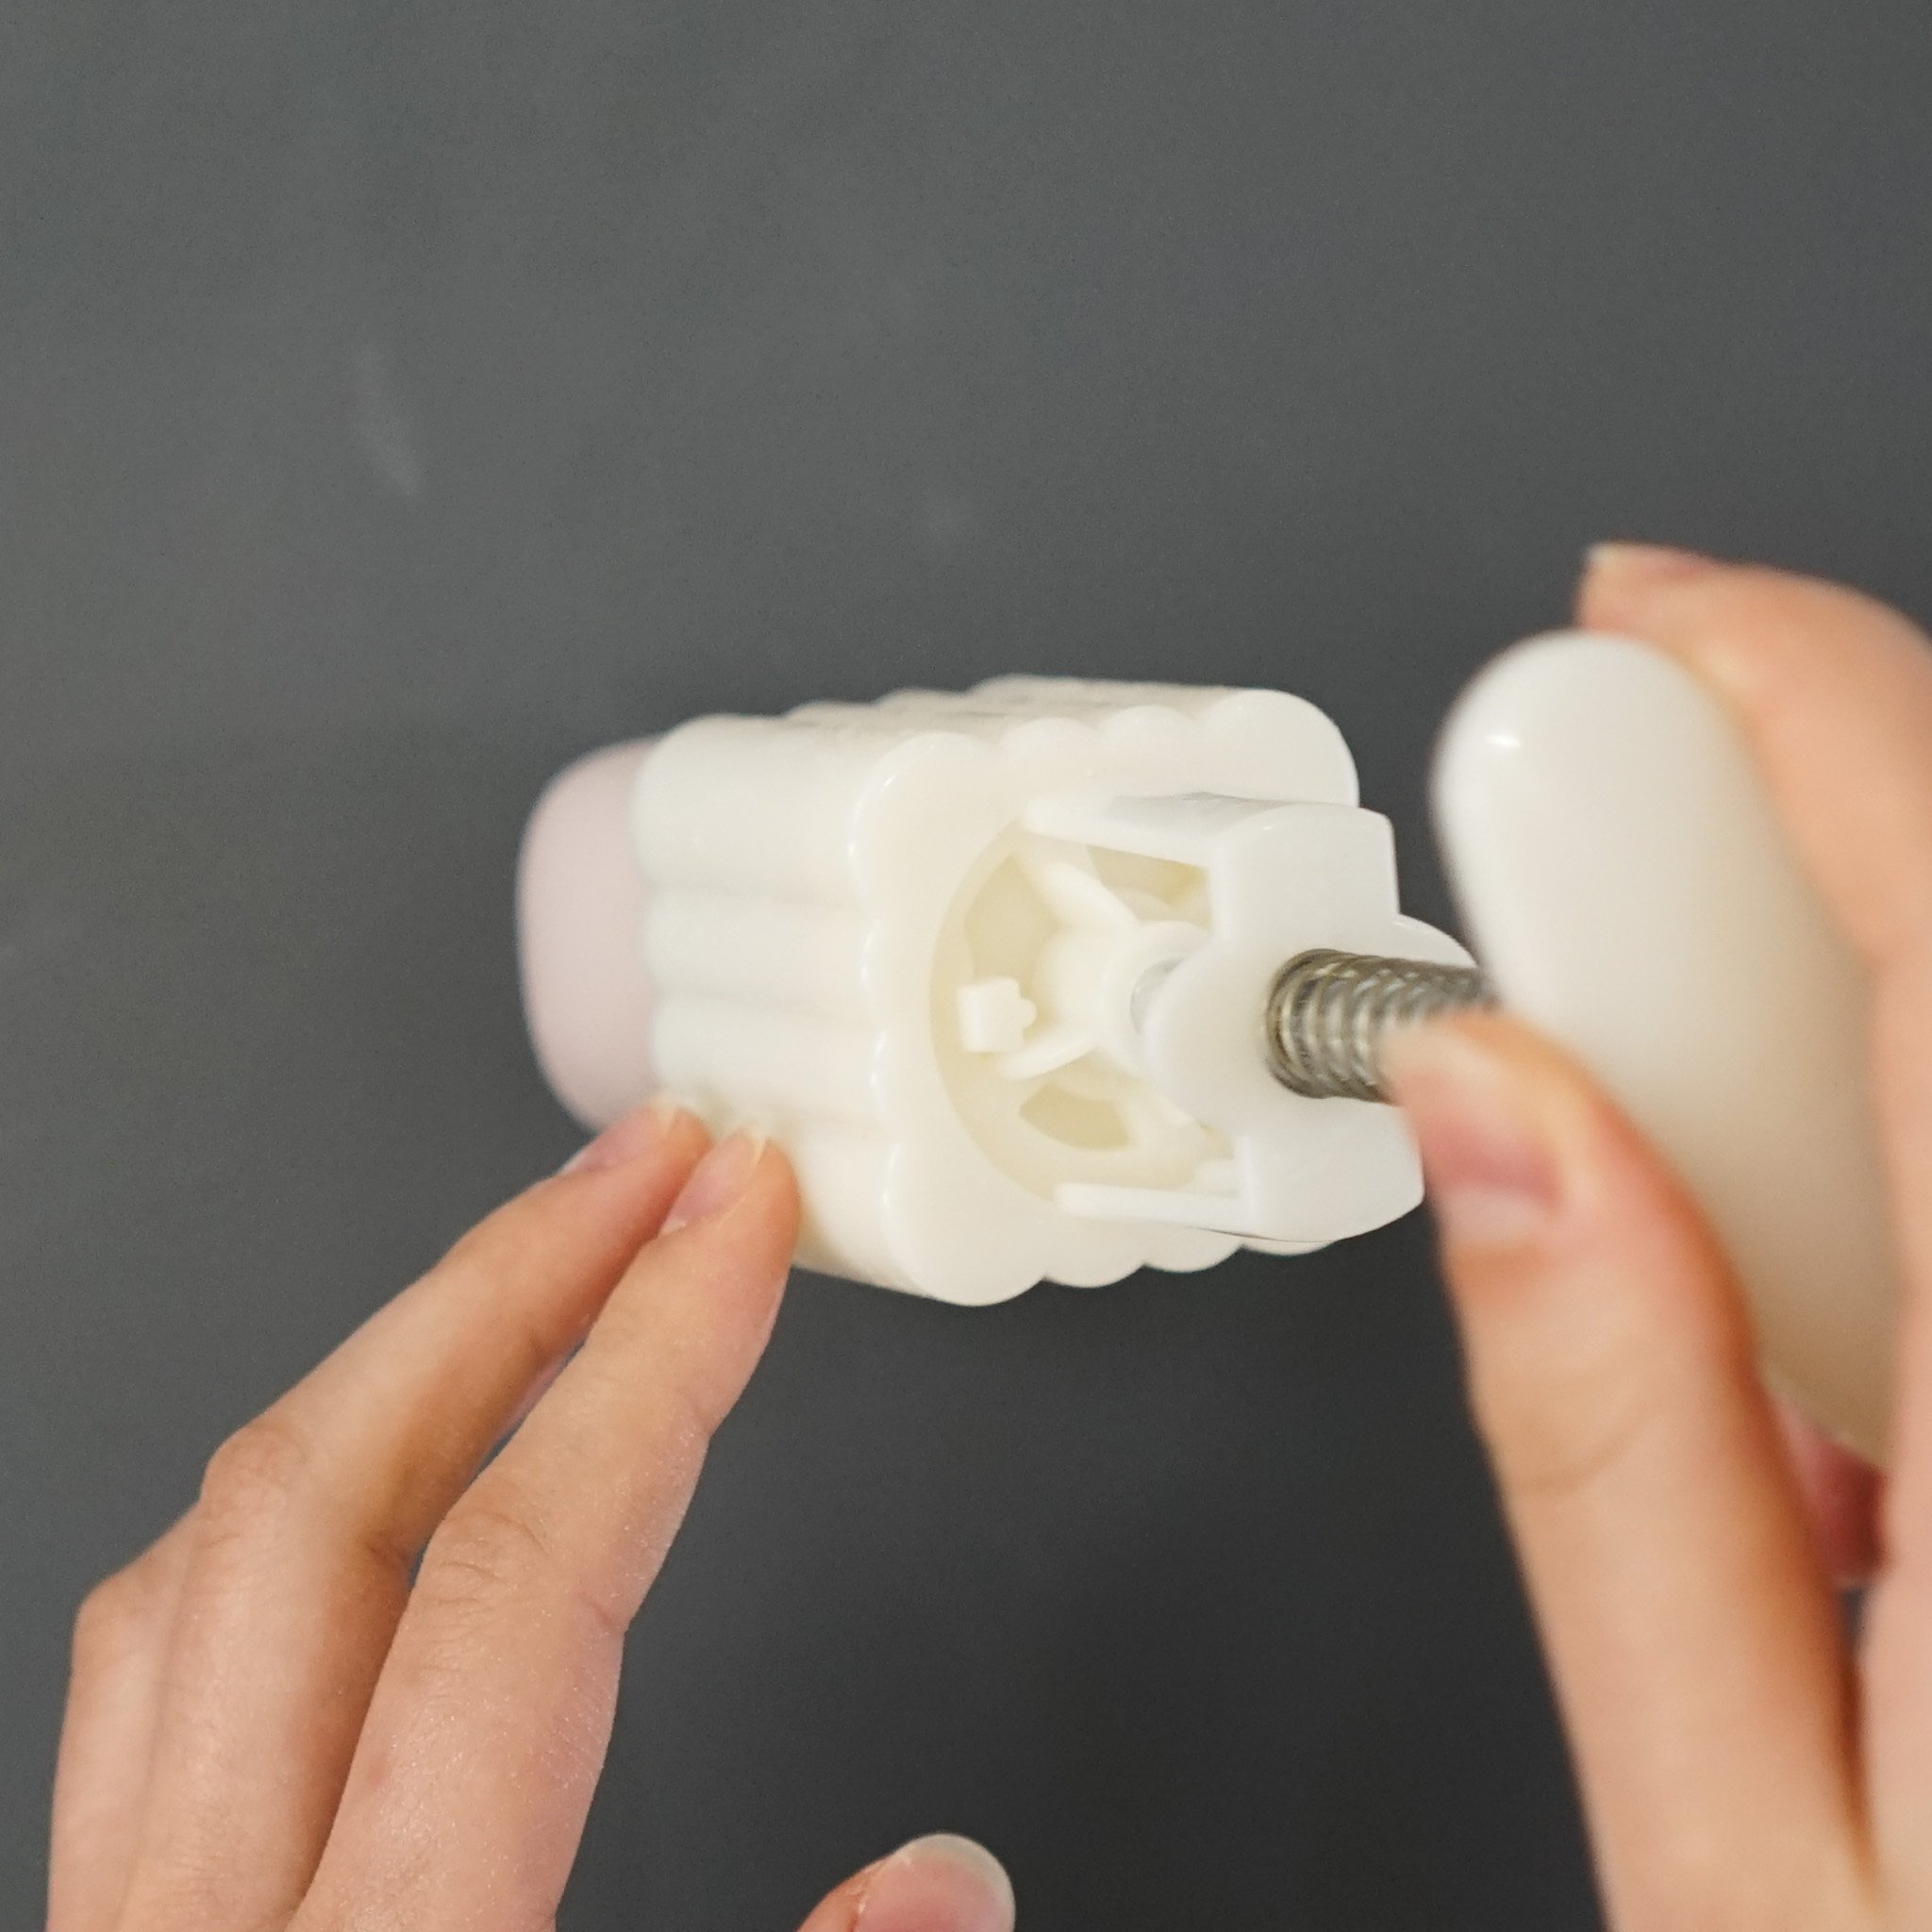
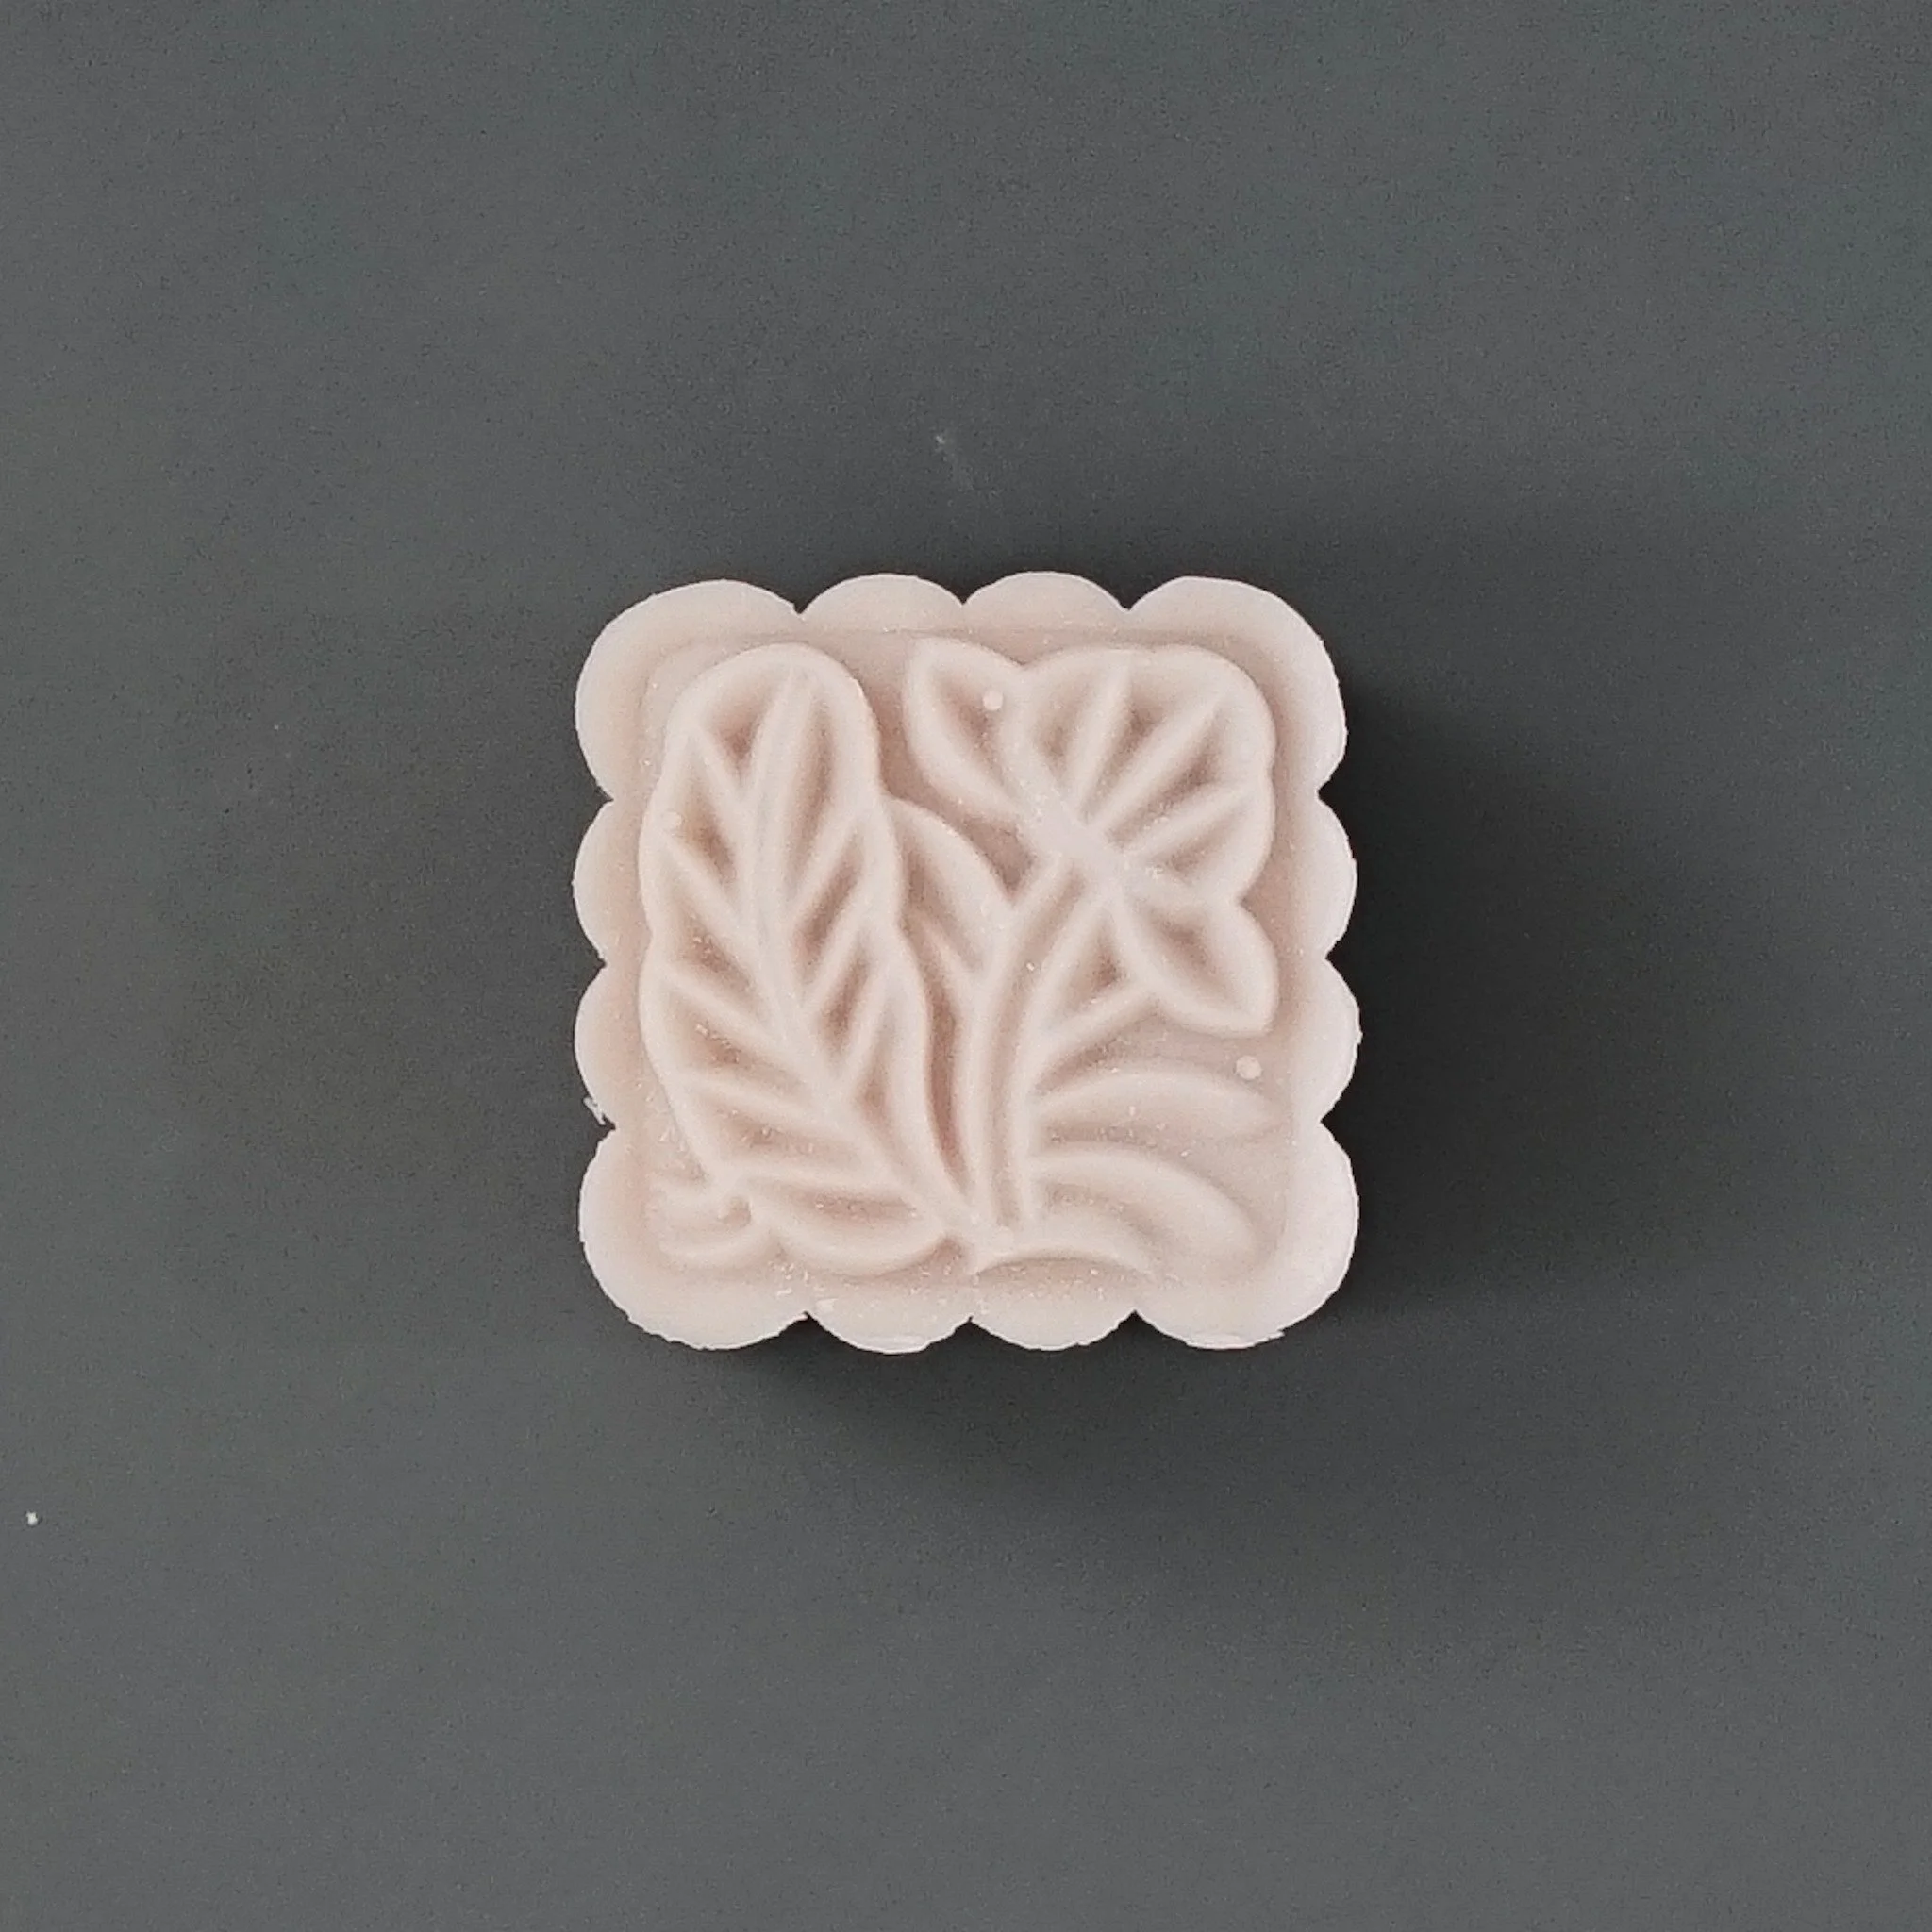
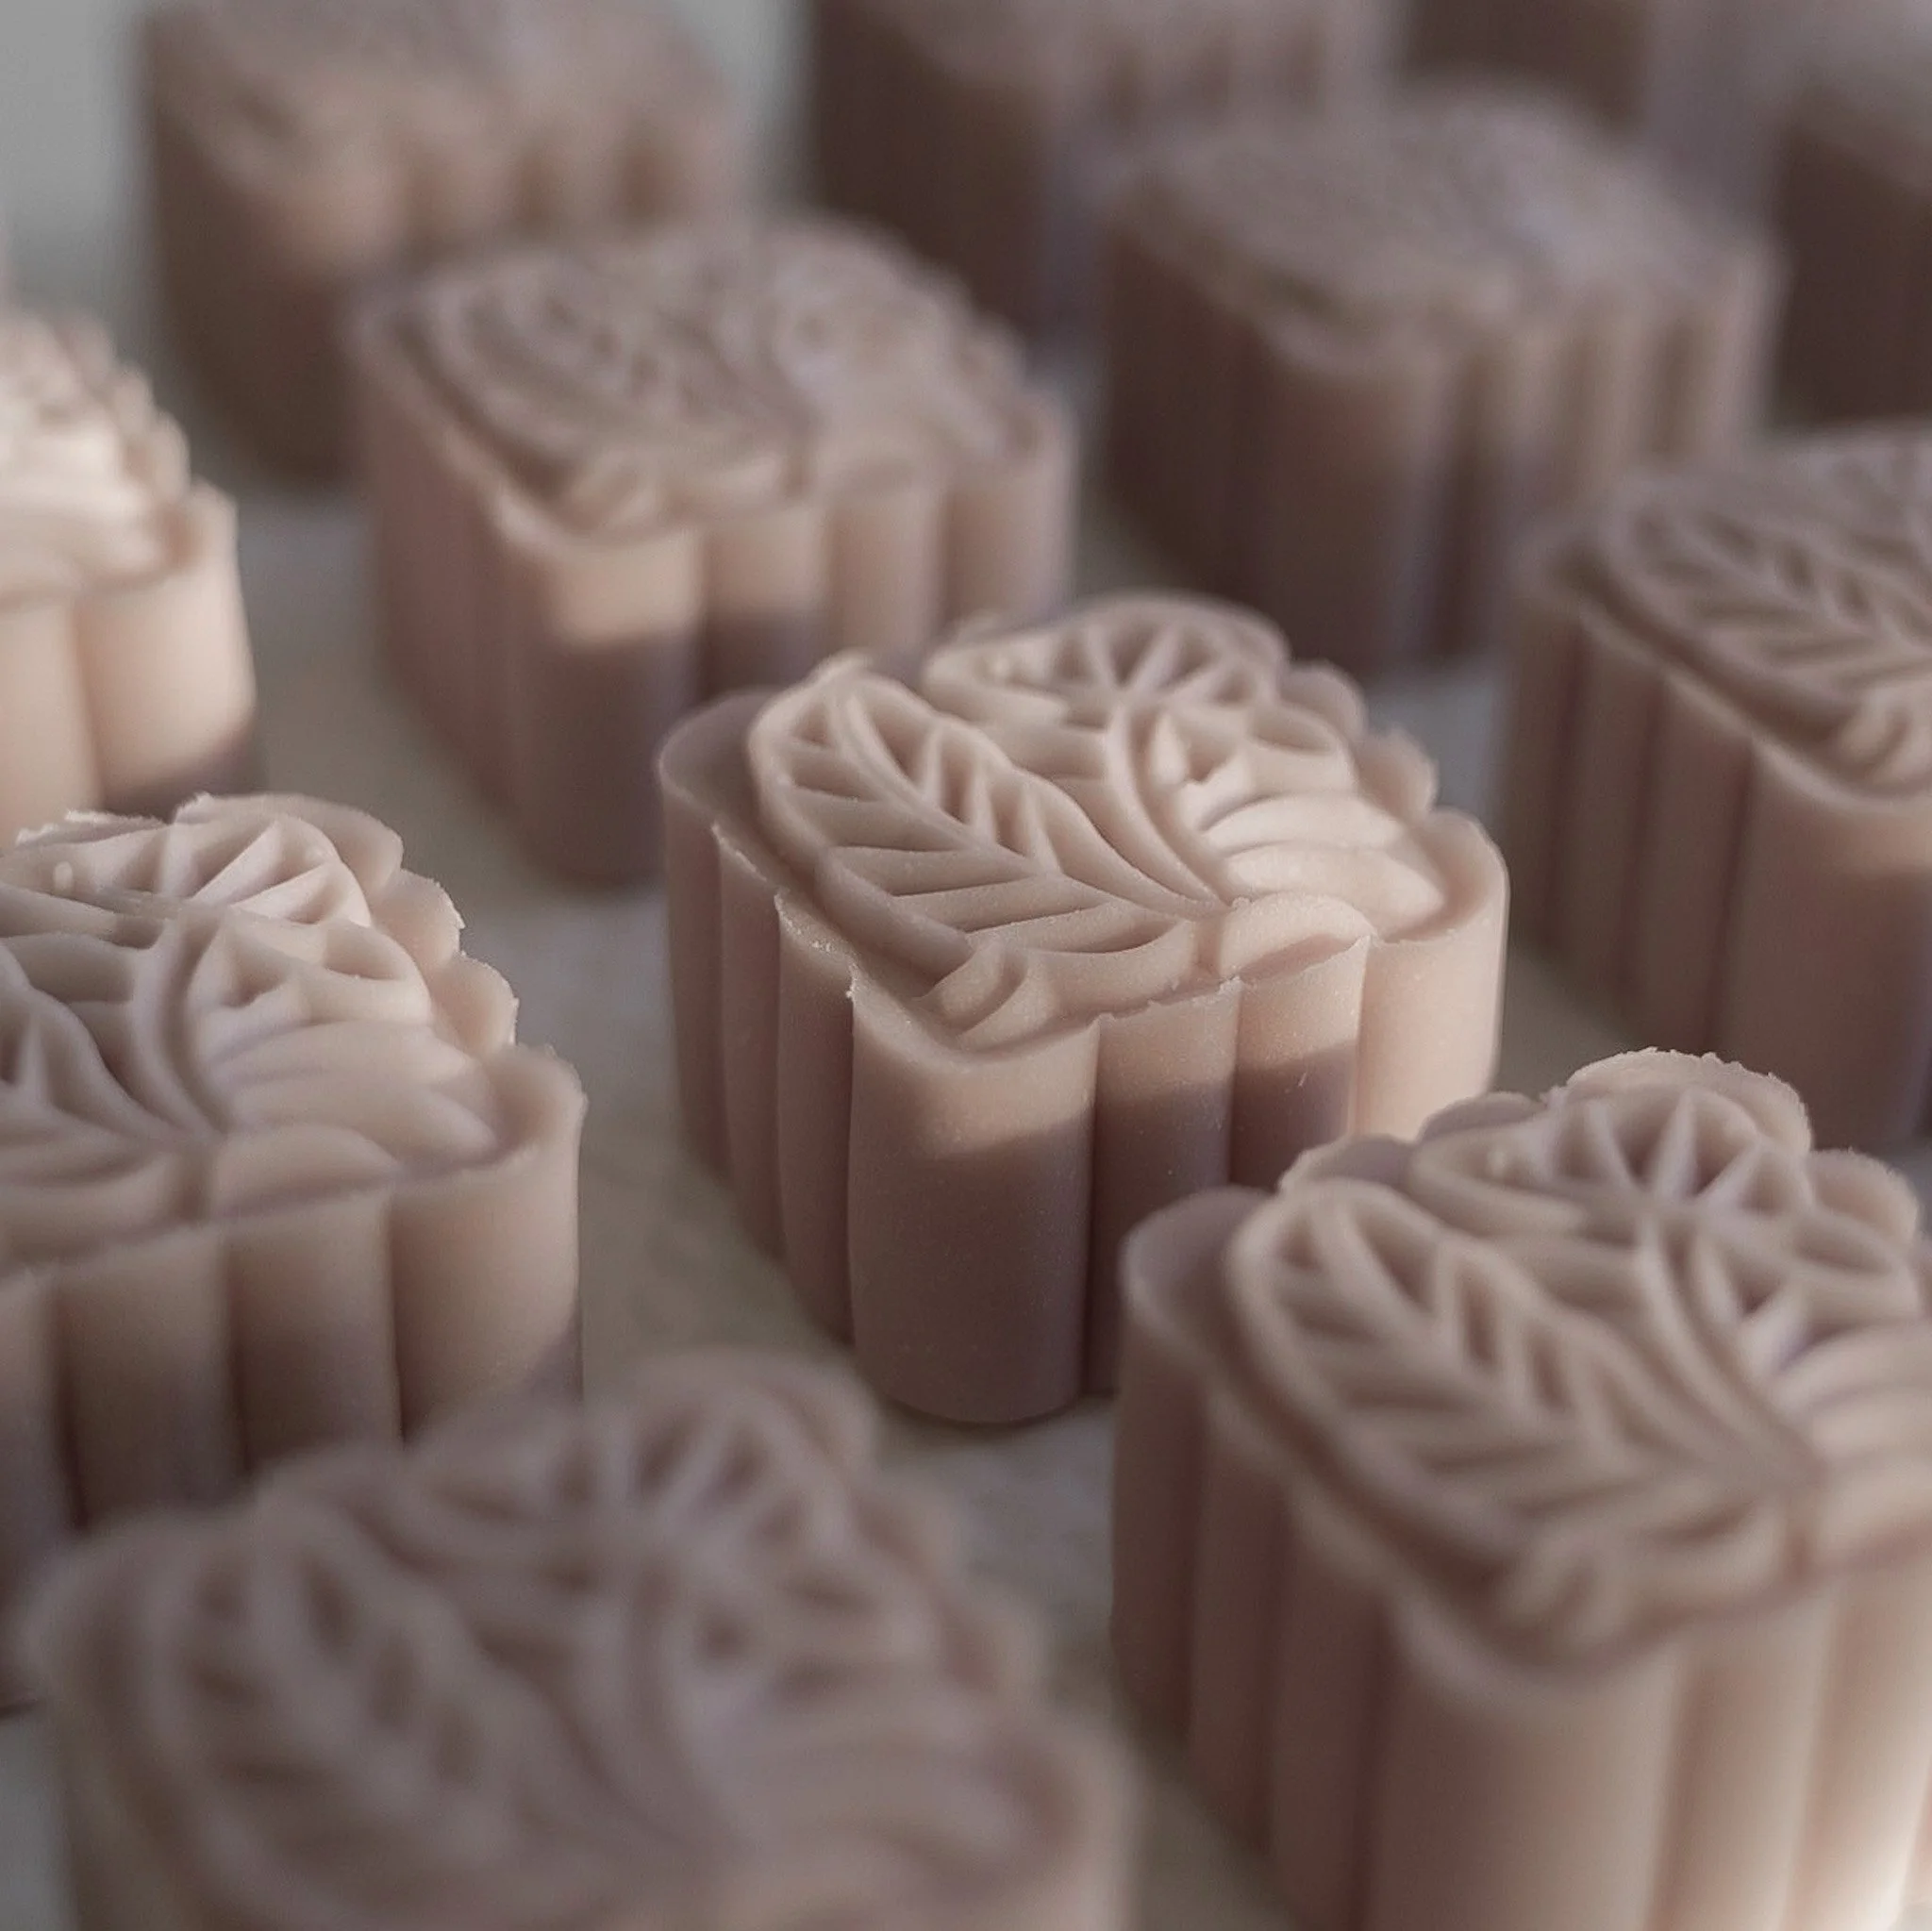
15. Press firmly on the mooncake mould and release to reveal your finished product.
16. Repeat with all 25 mooncakes.
Serve!
17. Chilling for a couple of hours before consuming is recommended but otherwise, enjoy!


