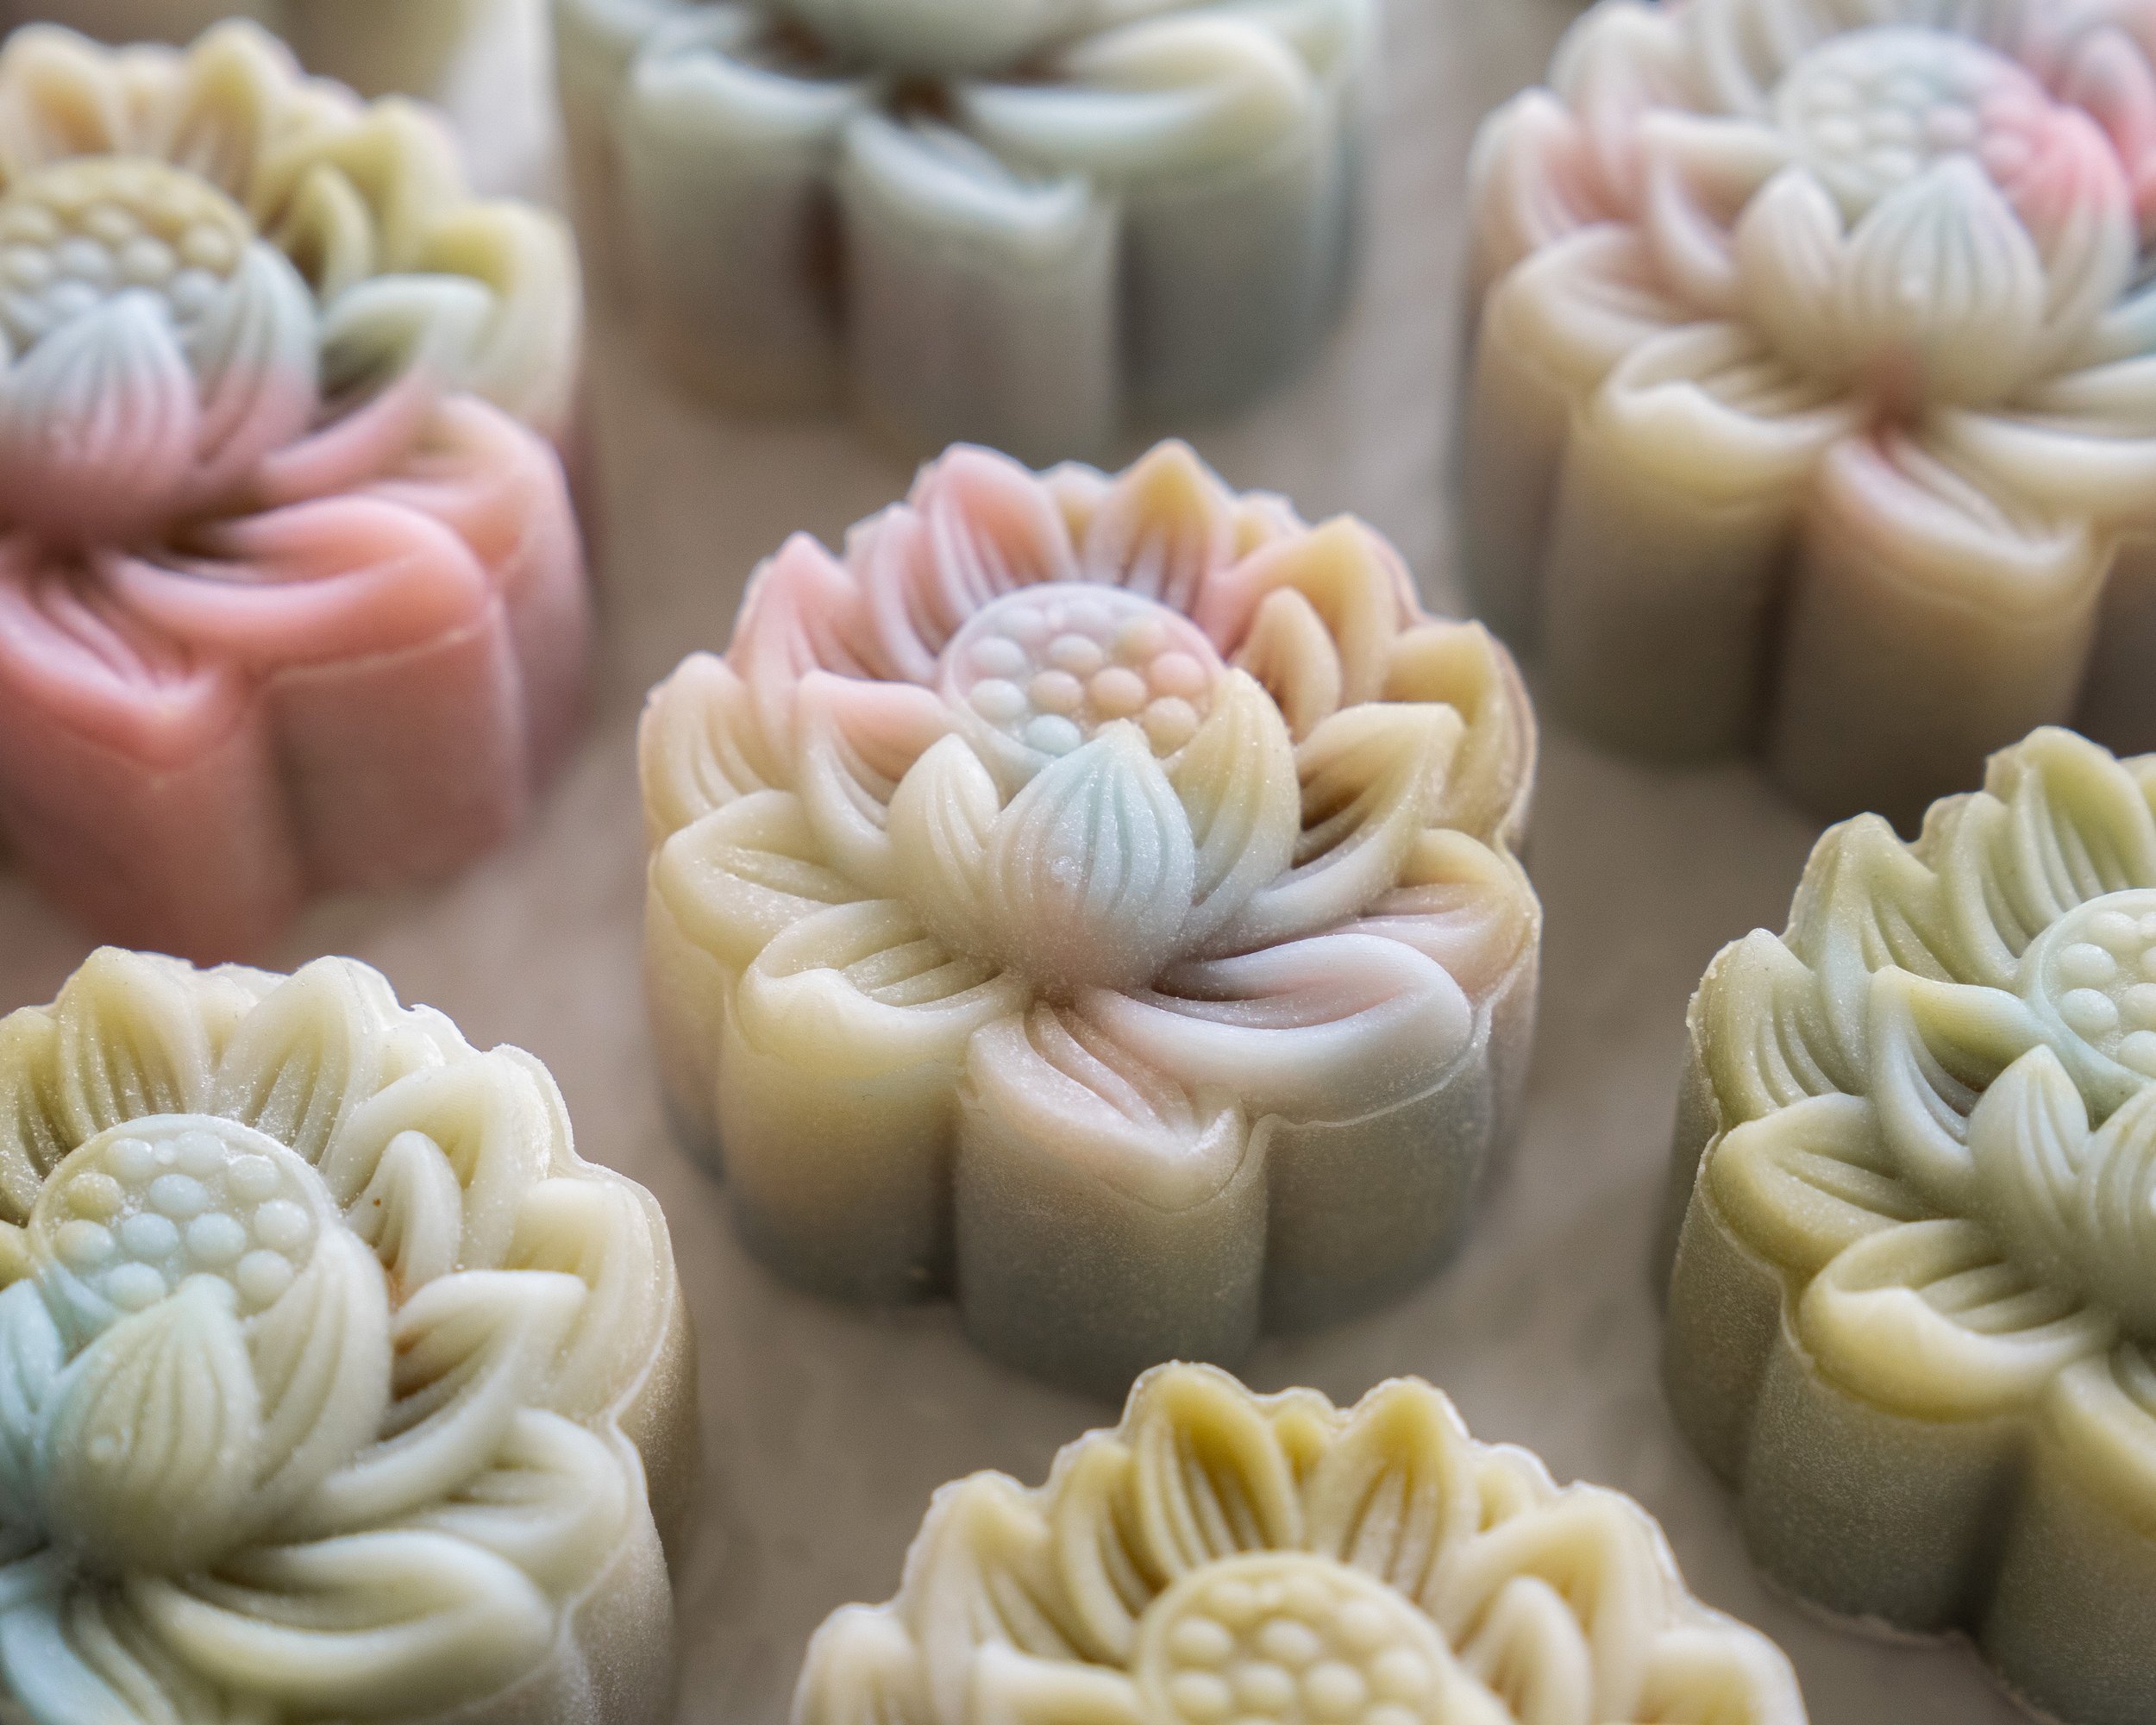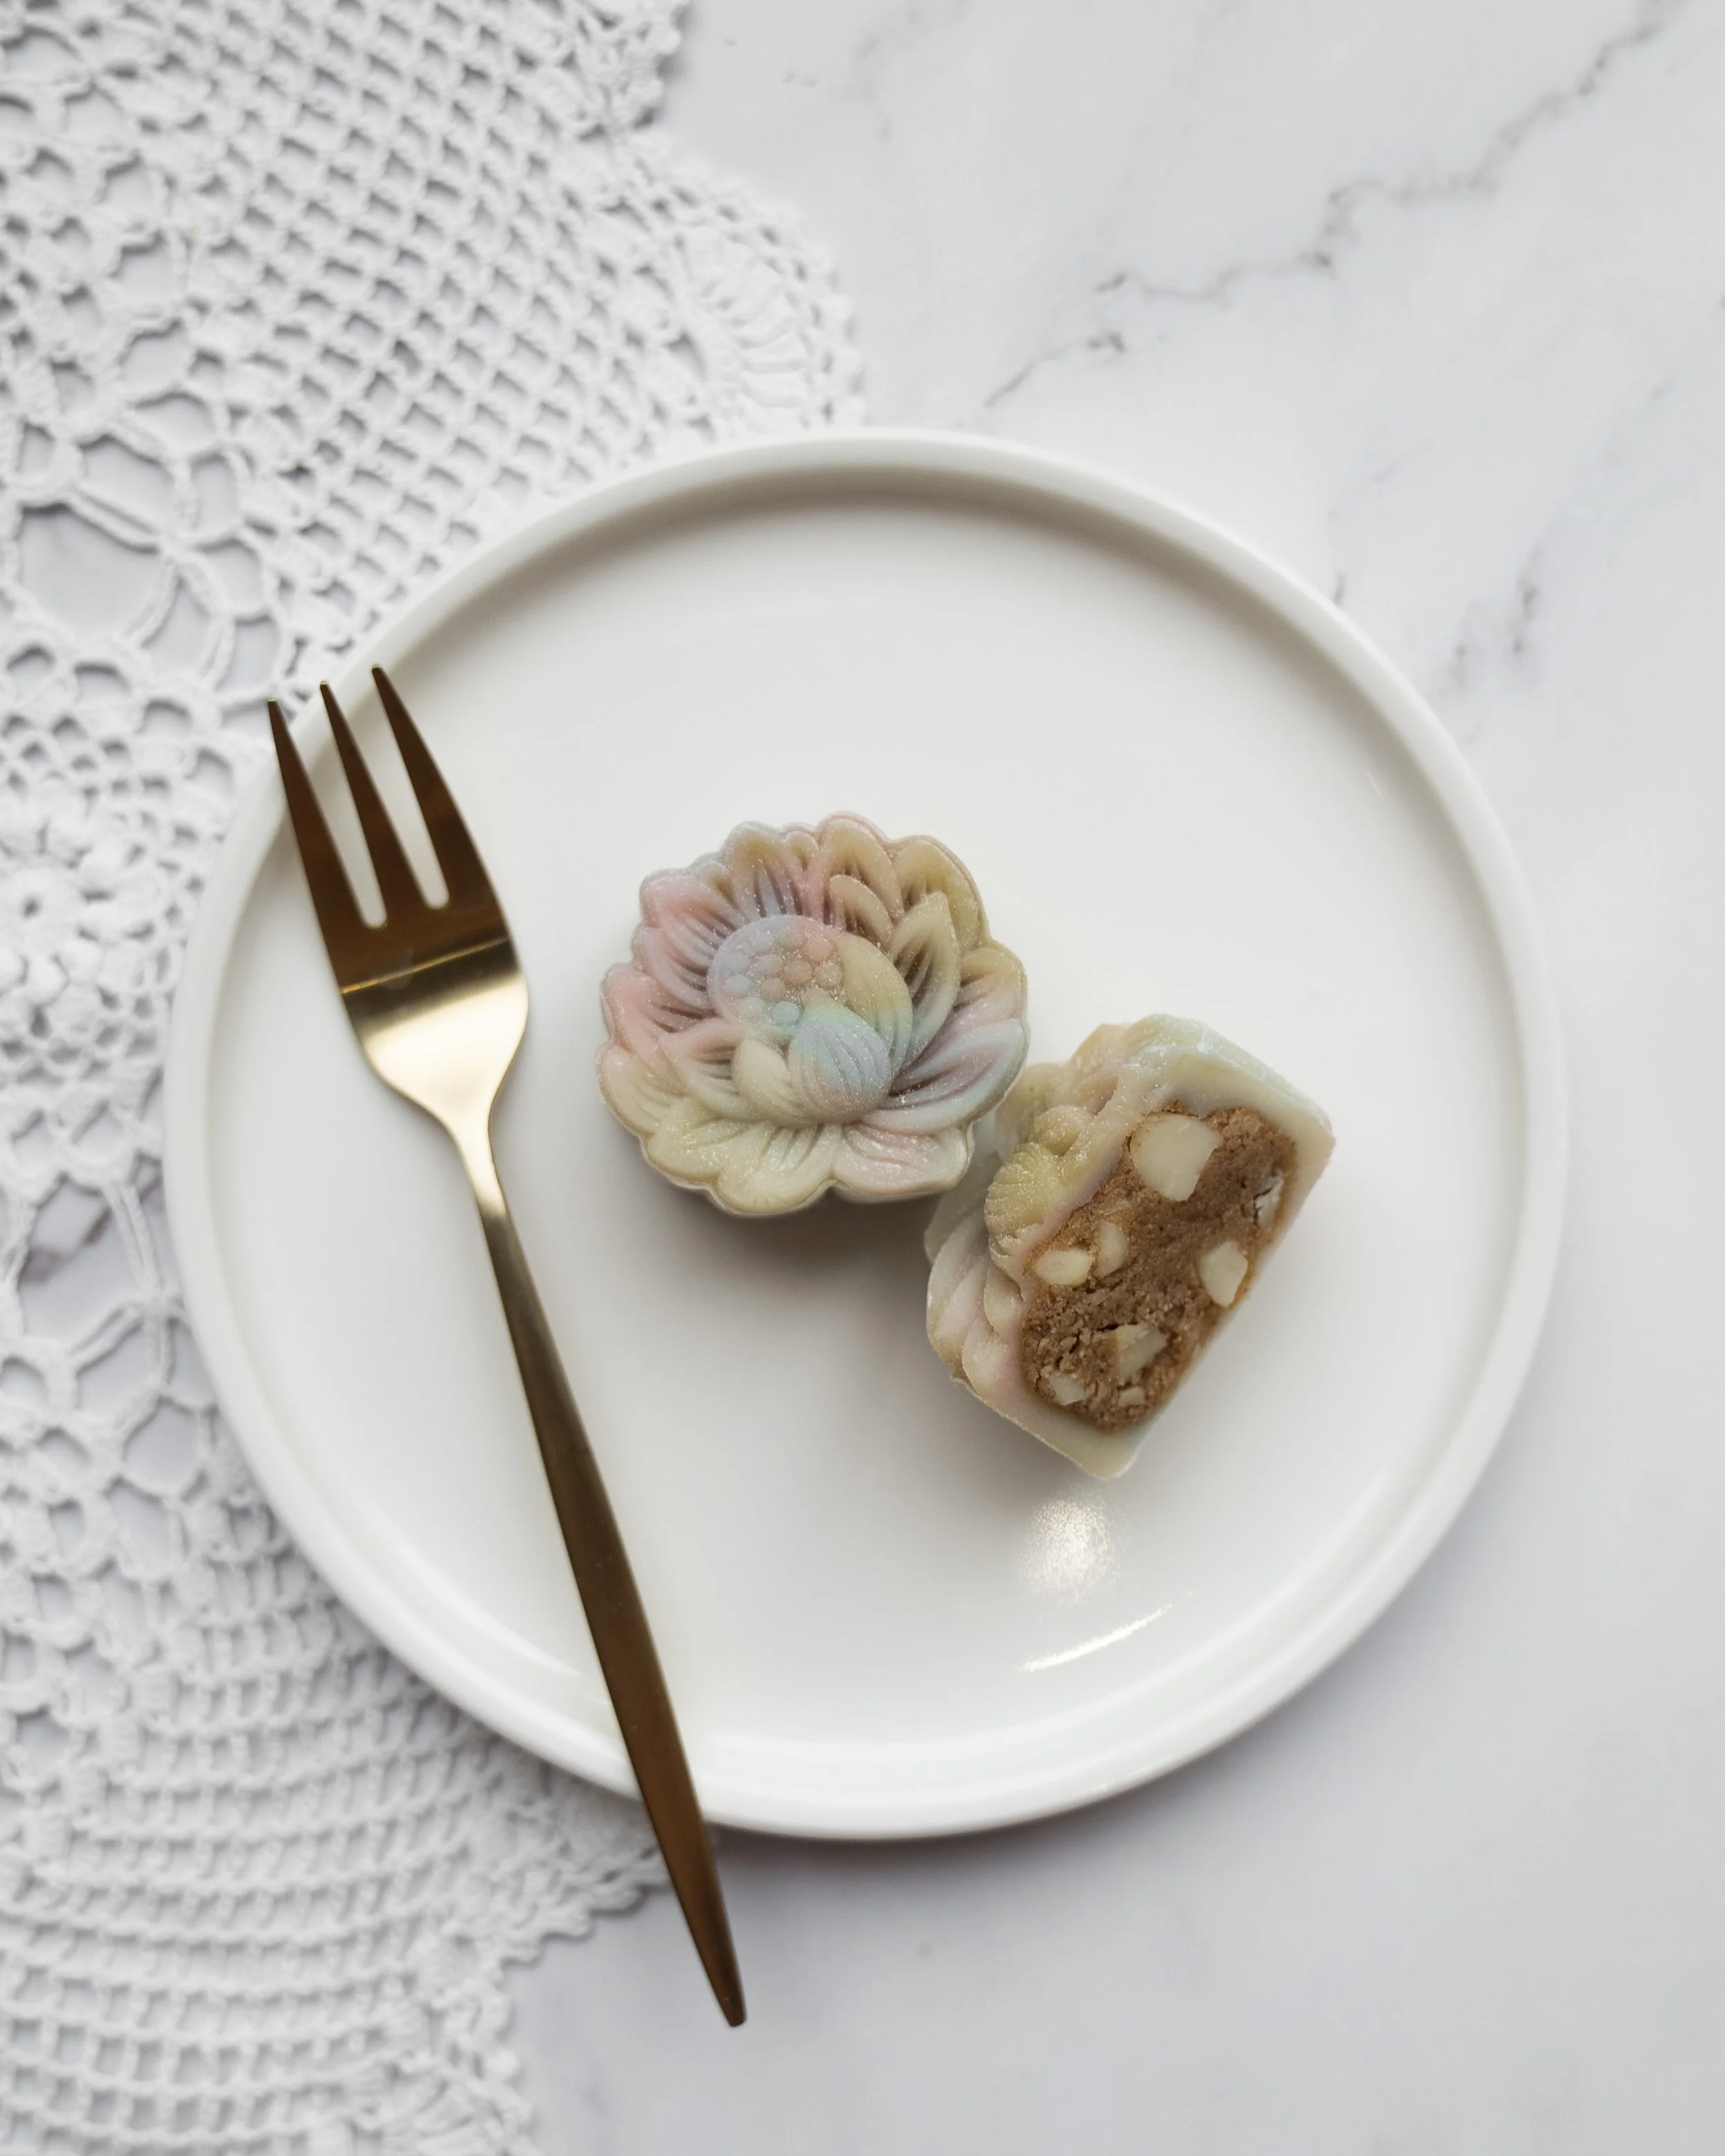
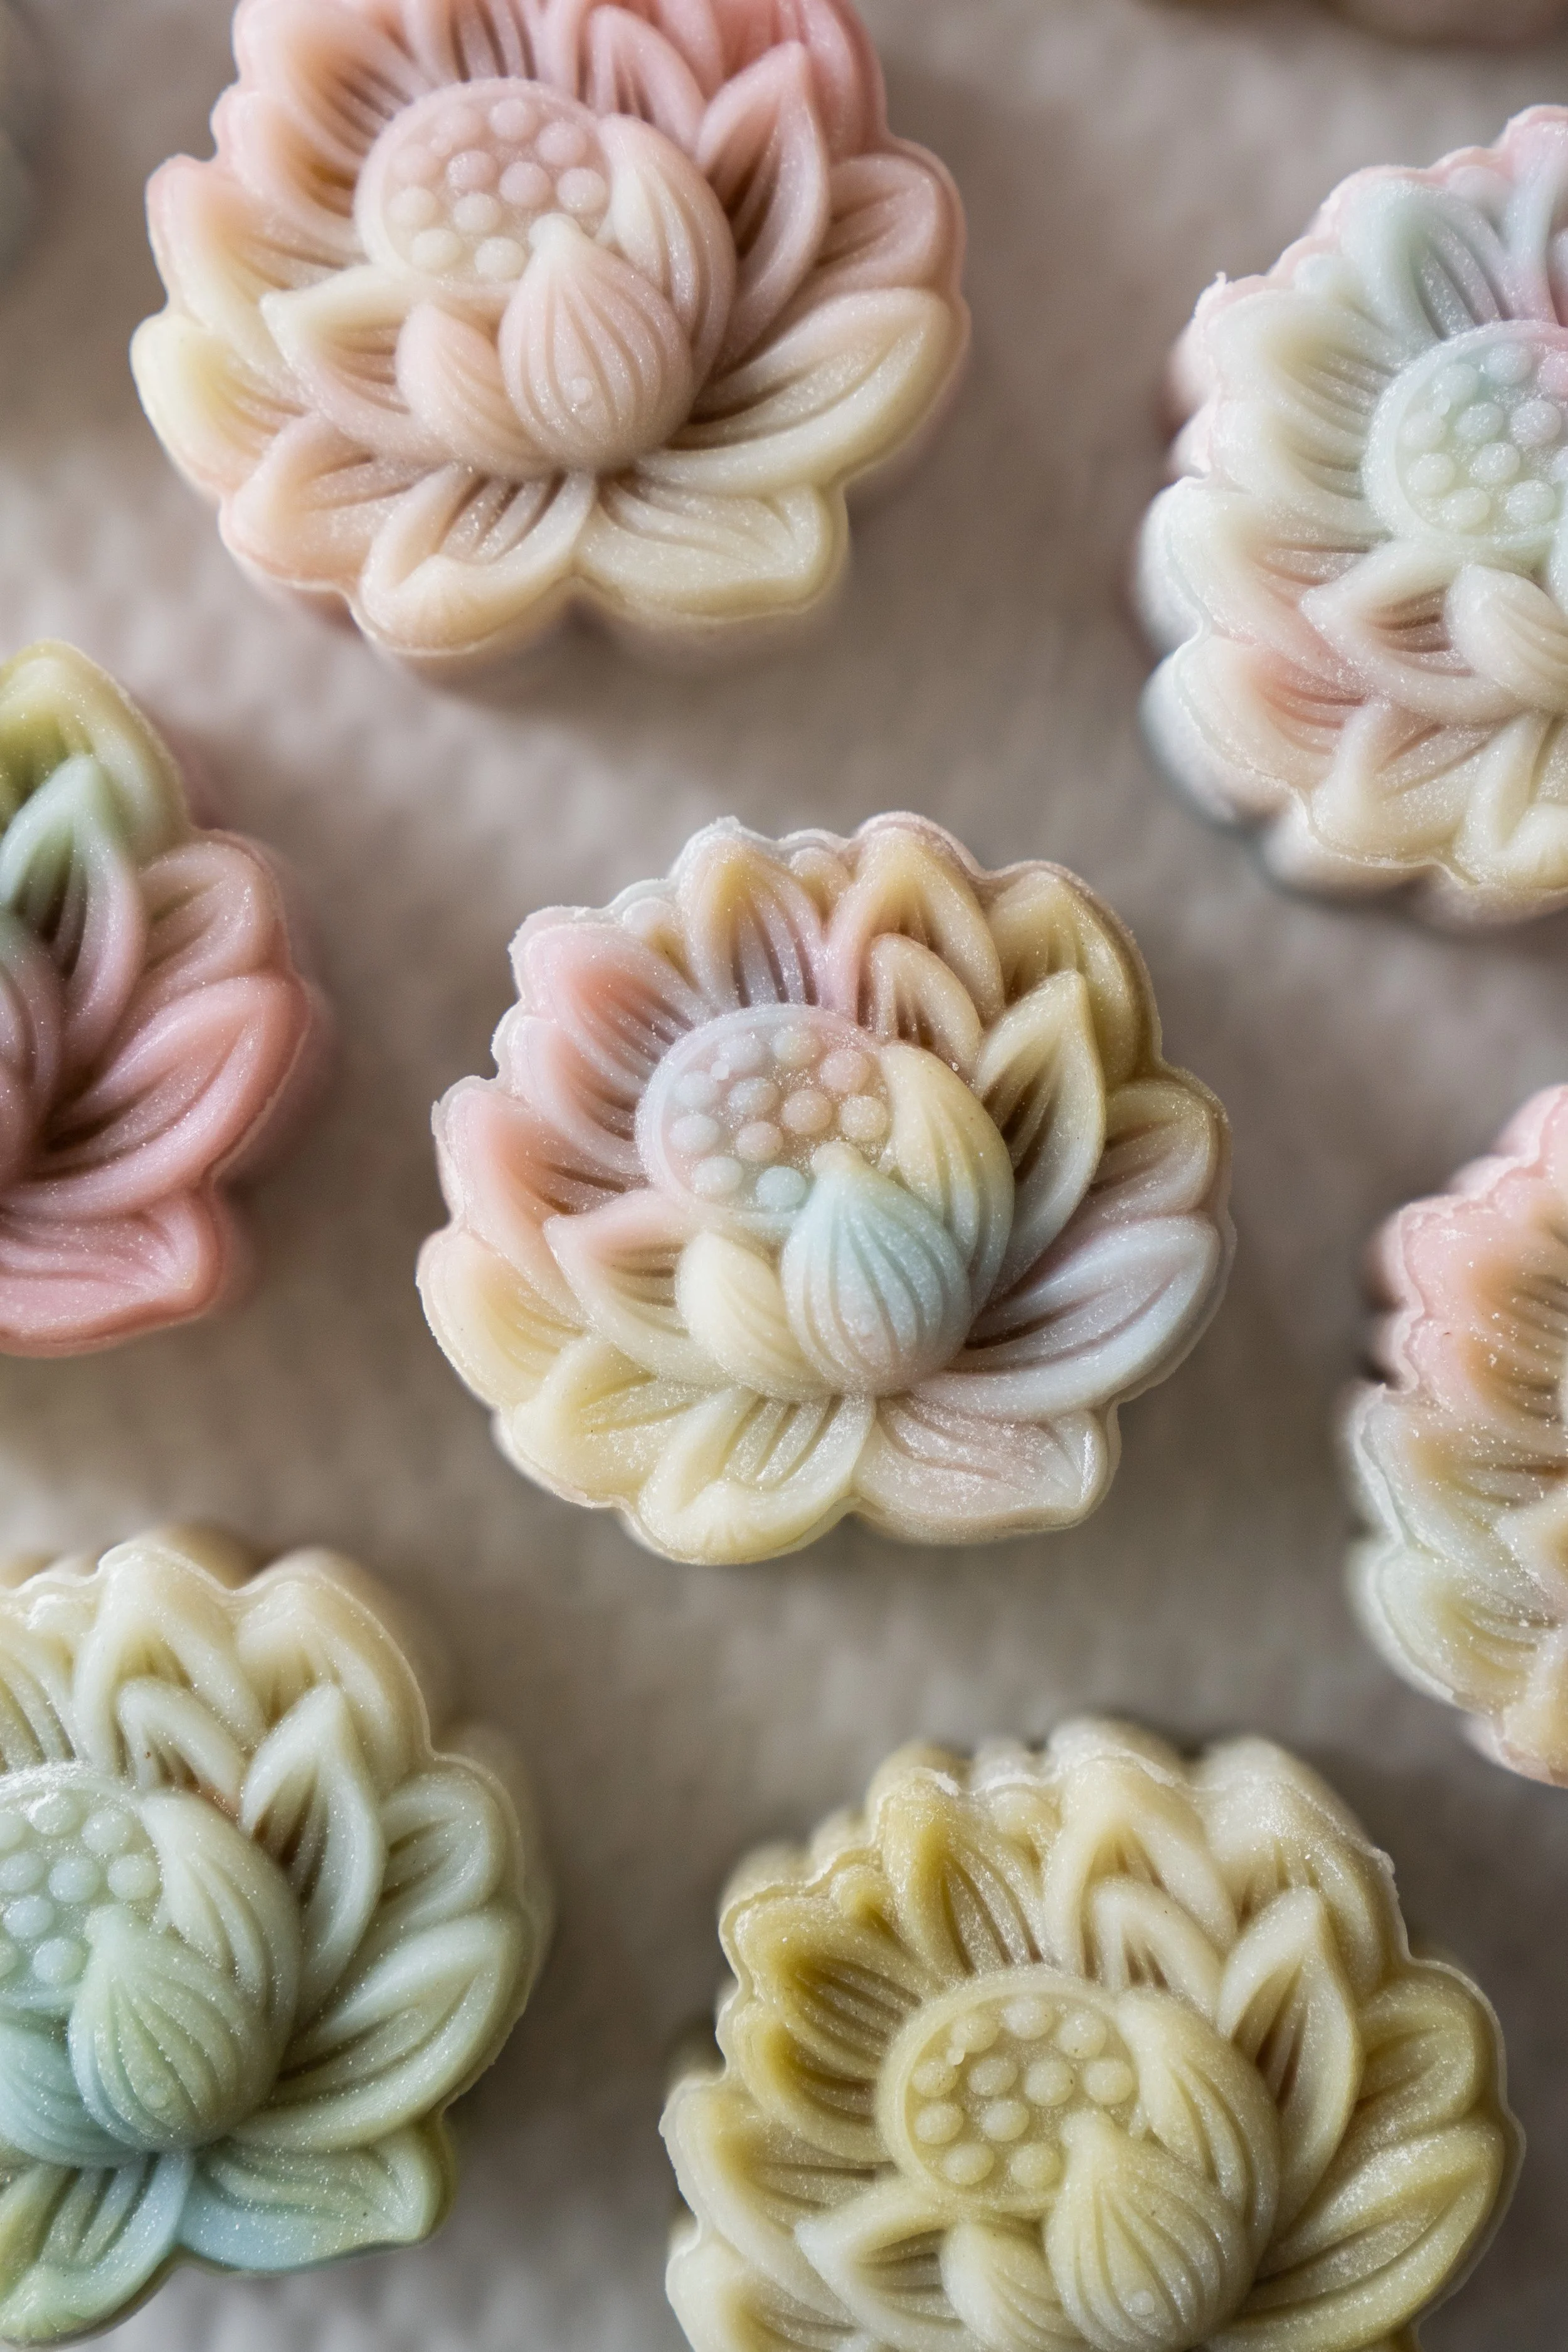
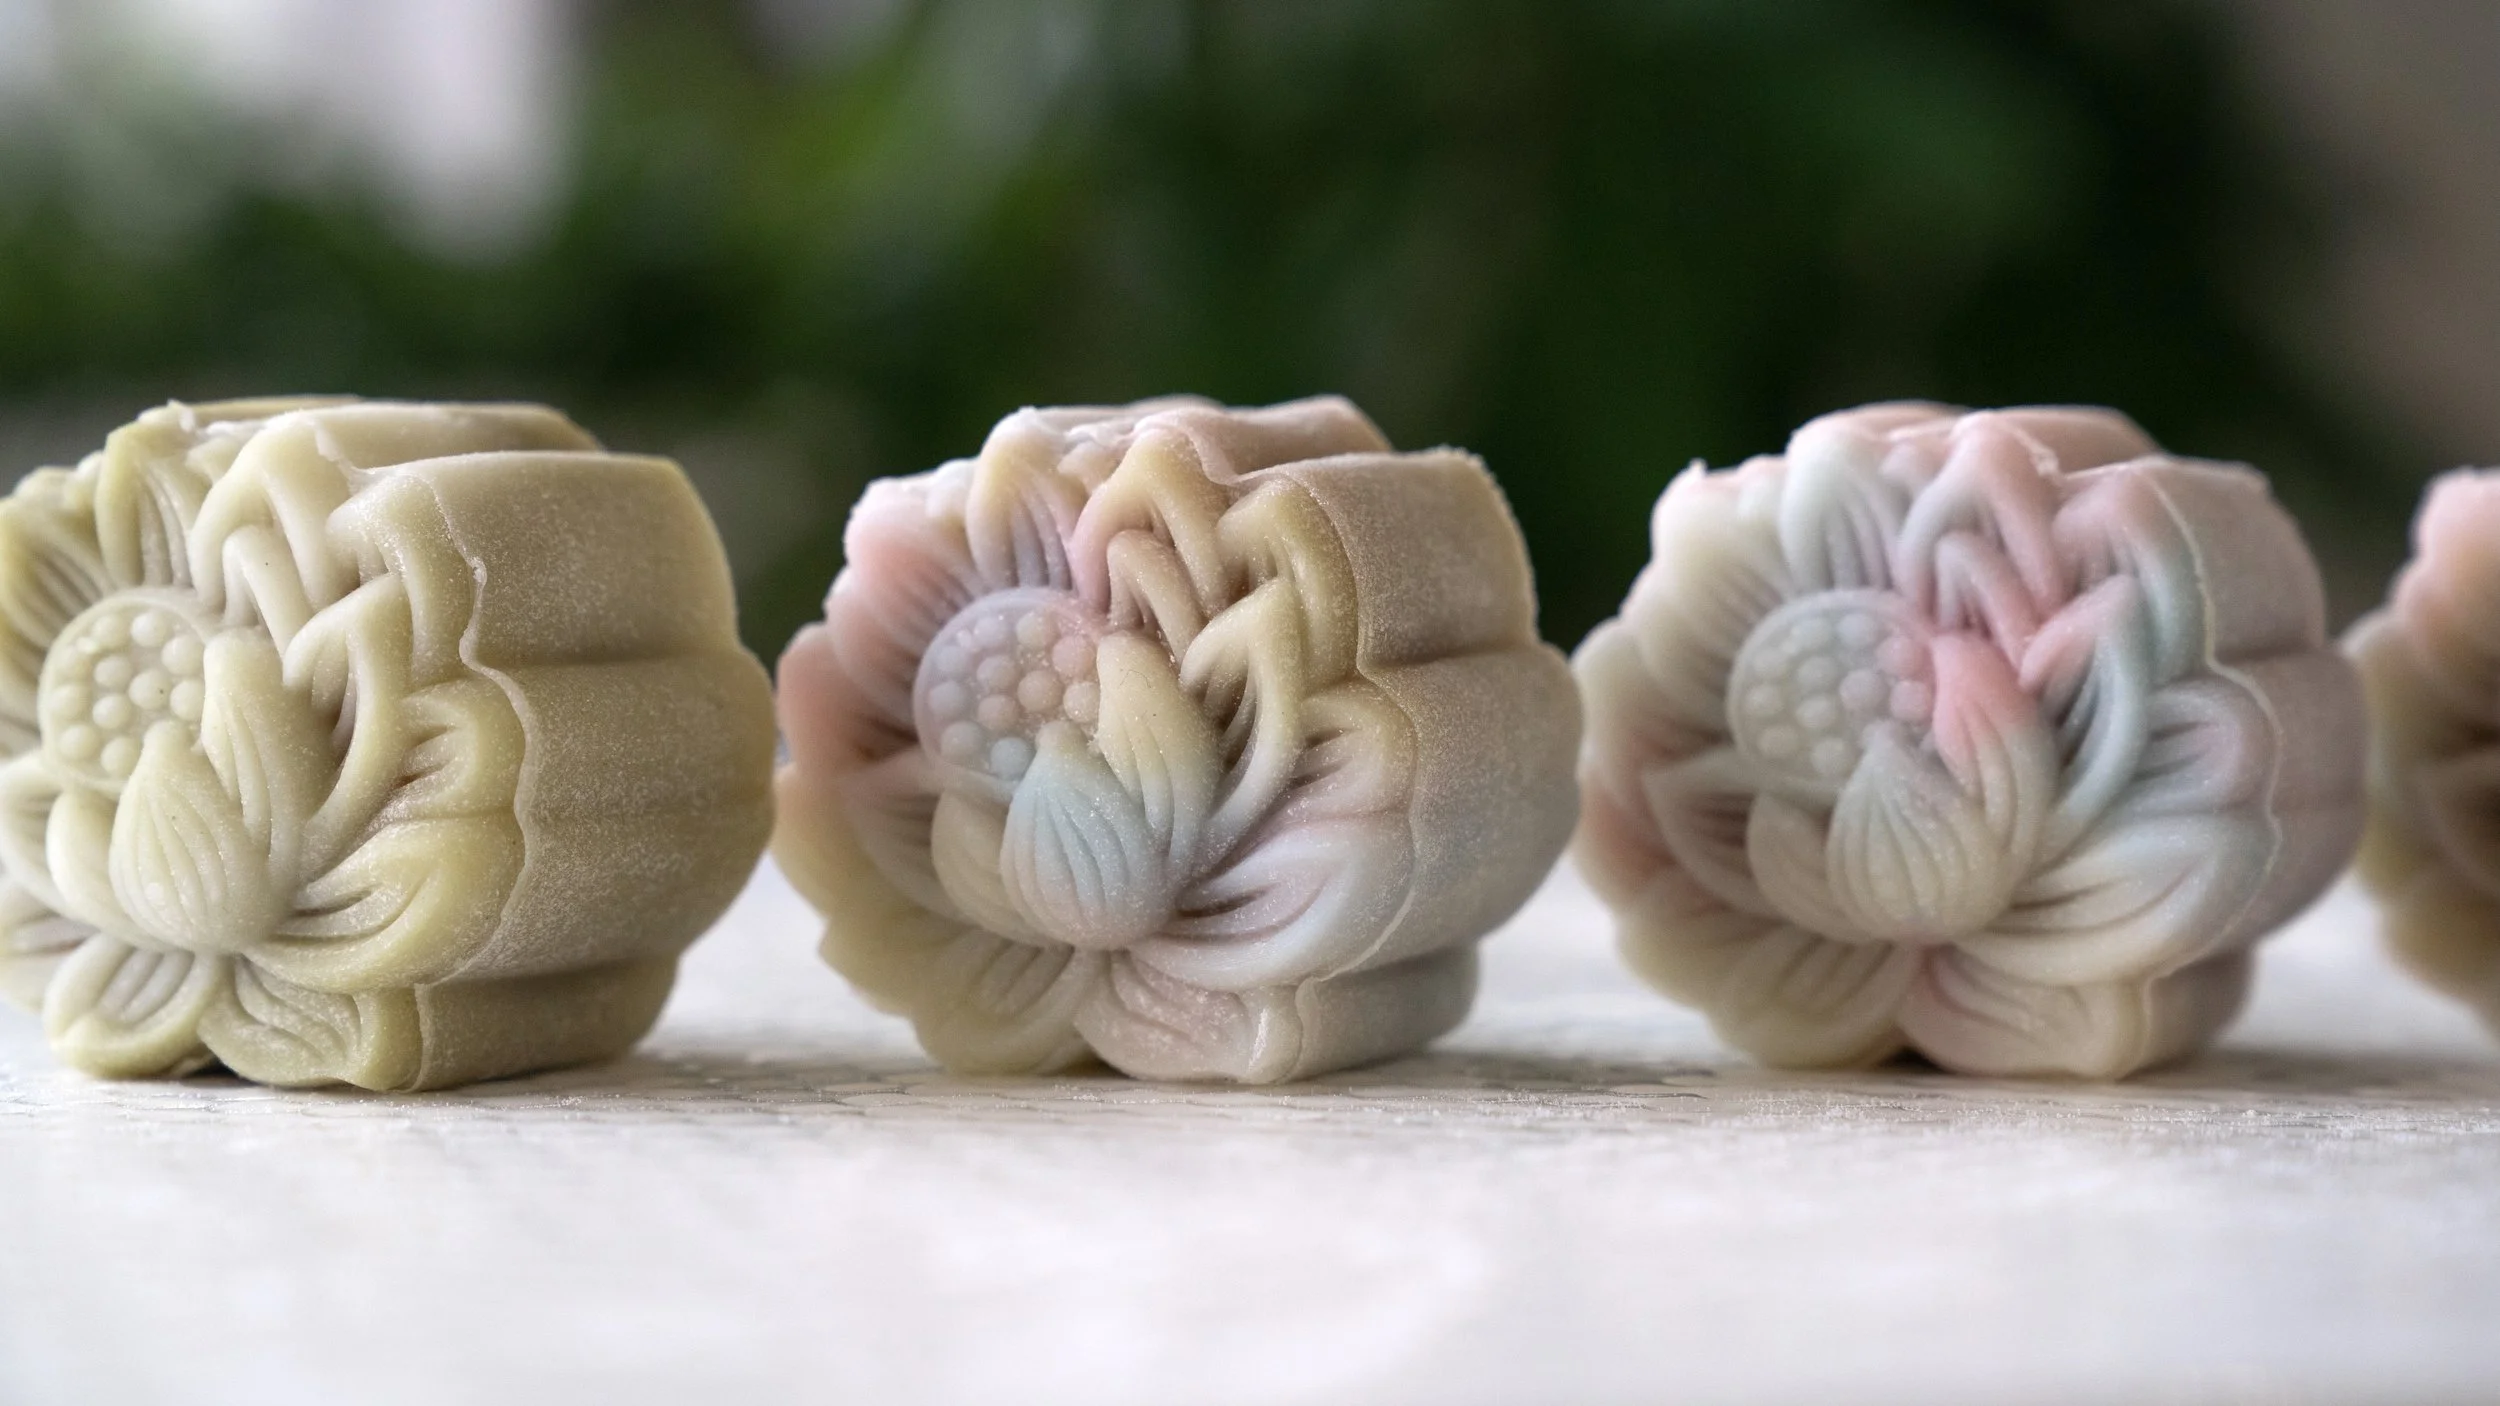
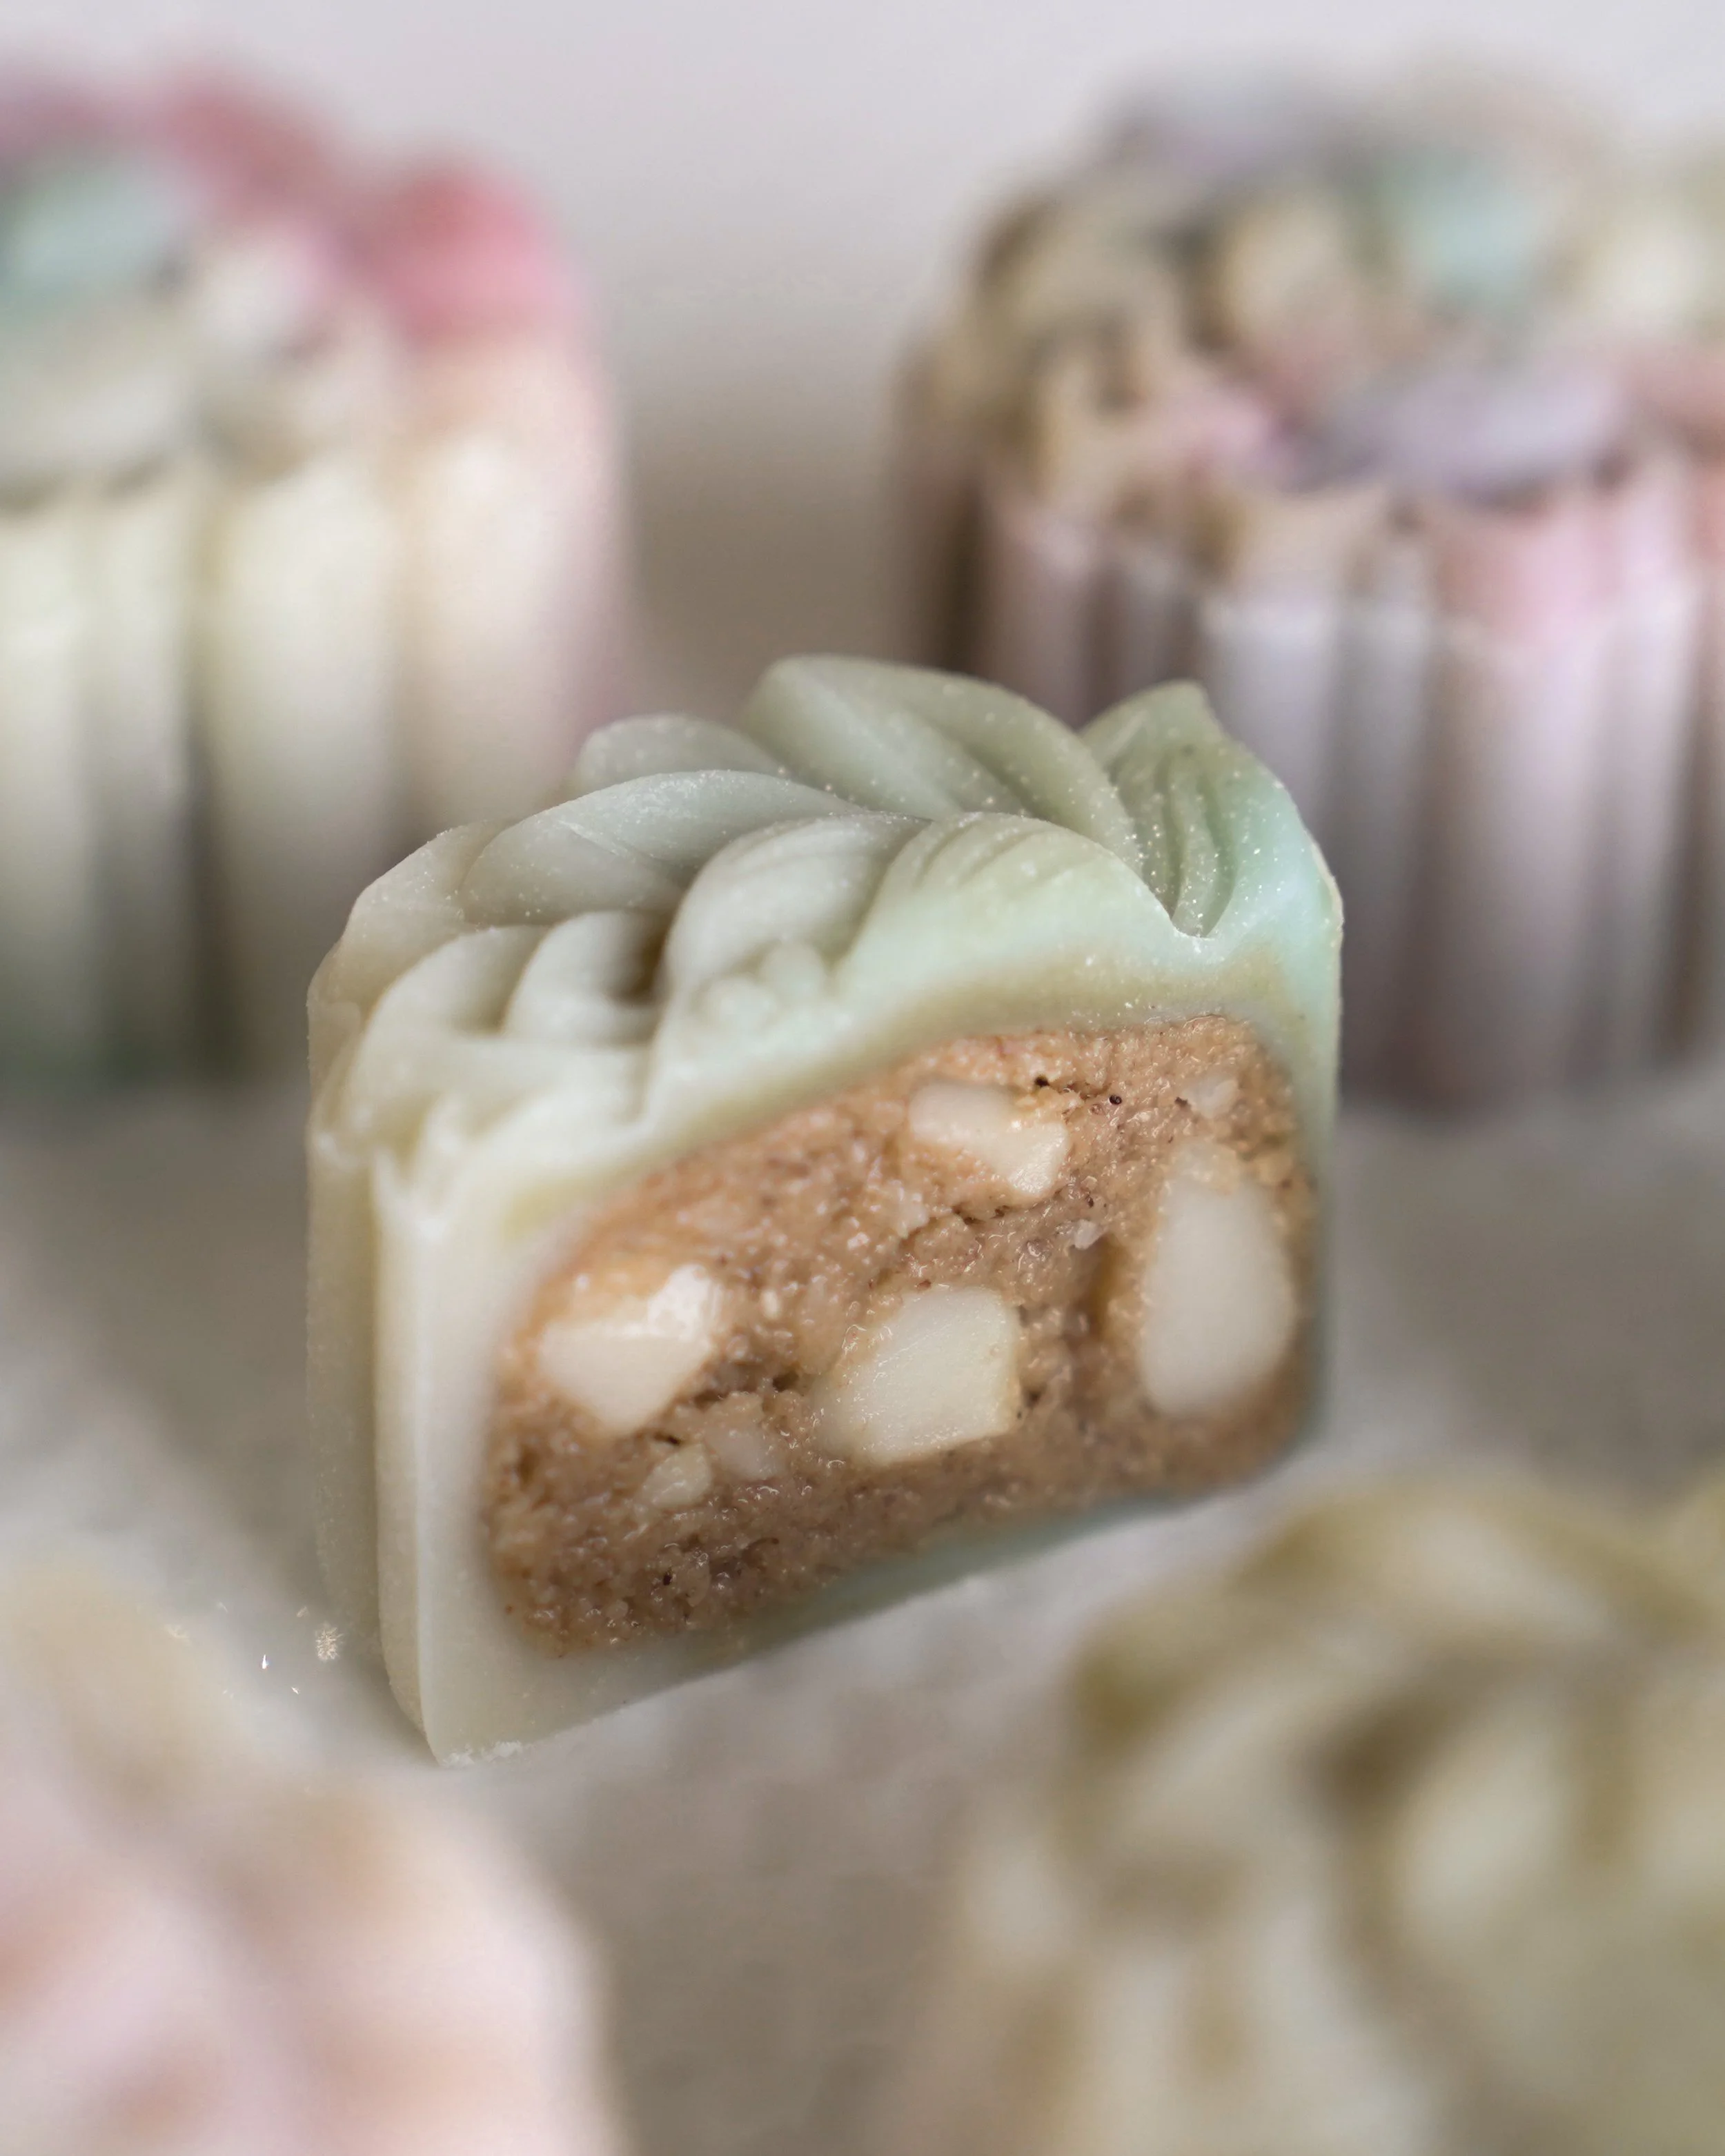
White Sesame & Macadamia Nut Snow Skin Mooncakes
Recipe Published: Sept 1, 2022
Written by: Jasma

INGREDIENTS
Snow skin:
40 g (1/3 cup) glutinous rice flour
40 g (1/3 cup) rice flour
20 g (1 1/2 tbsp) corn starch
50 g (1/2 cup) icing sugar
130 g (1/2 cup + 2 tbsp) milk
20 g (1 tbsp) sweetened condensed milk
30 g (2 tbsp) unsalted butter, melted
Pinch of salt
Natural food colouring for the snow skin:
Blue spirulina powder
Fresh beet juice
Matcha powder
Cooked Glutinous Rice Flour:
40 g (1/3 cup) glutinous rice flour
Filling:
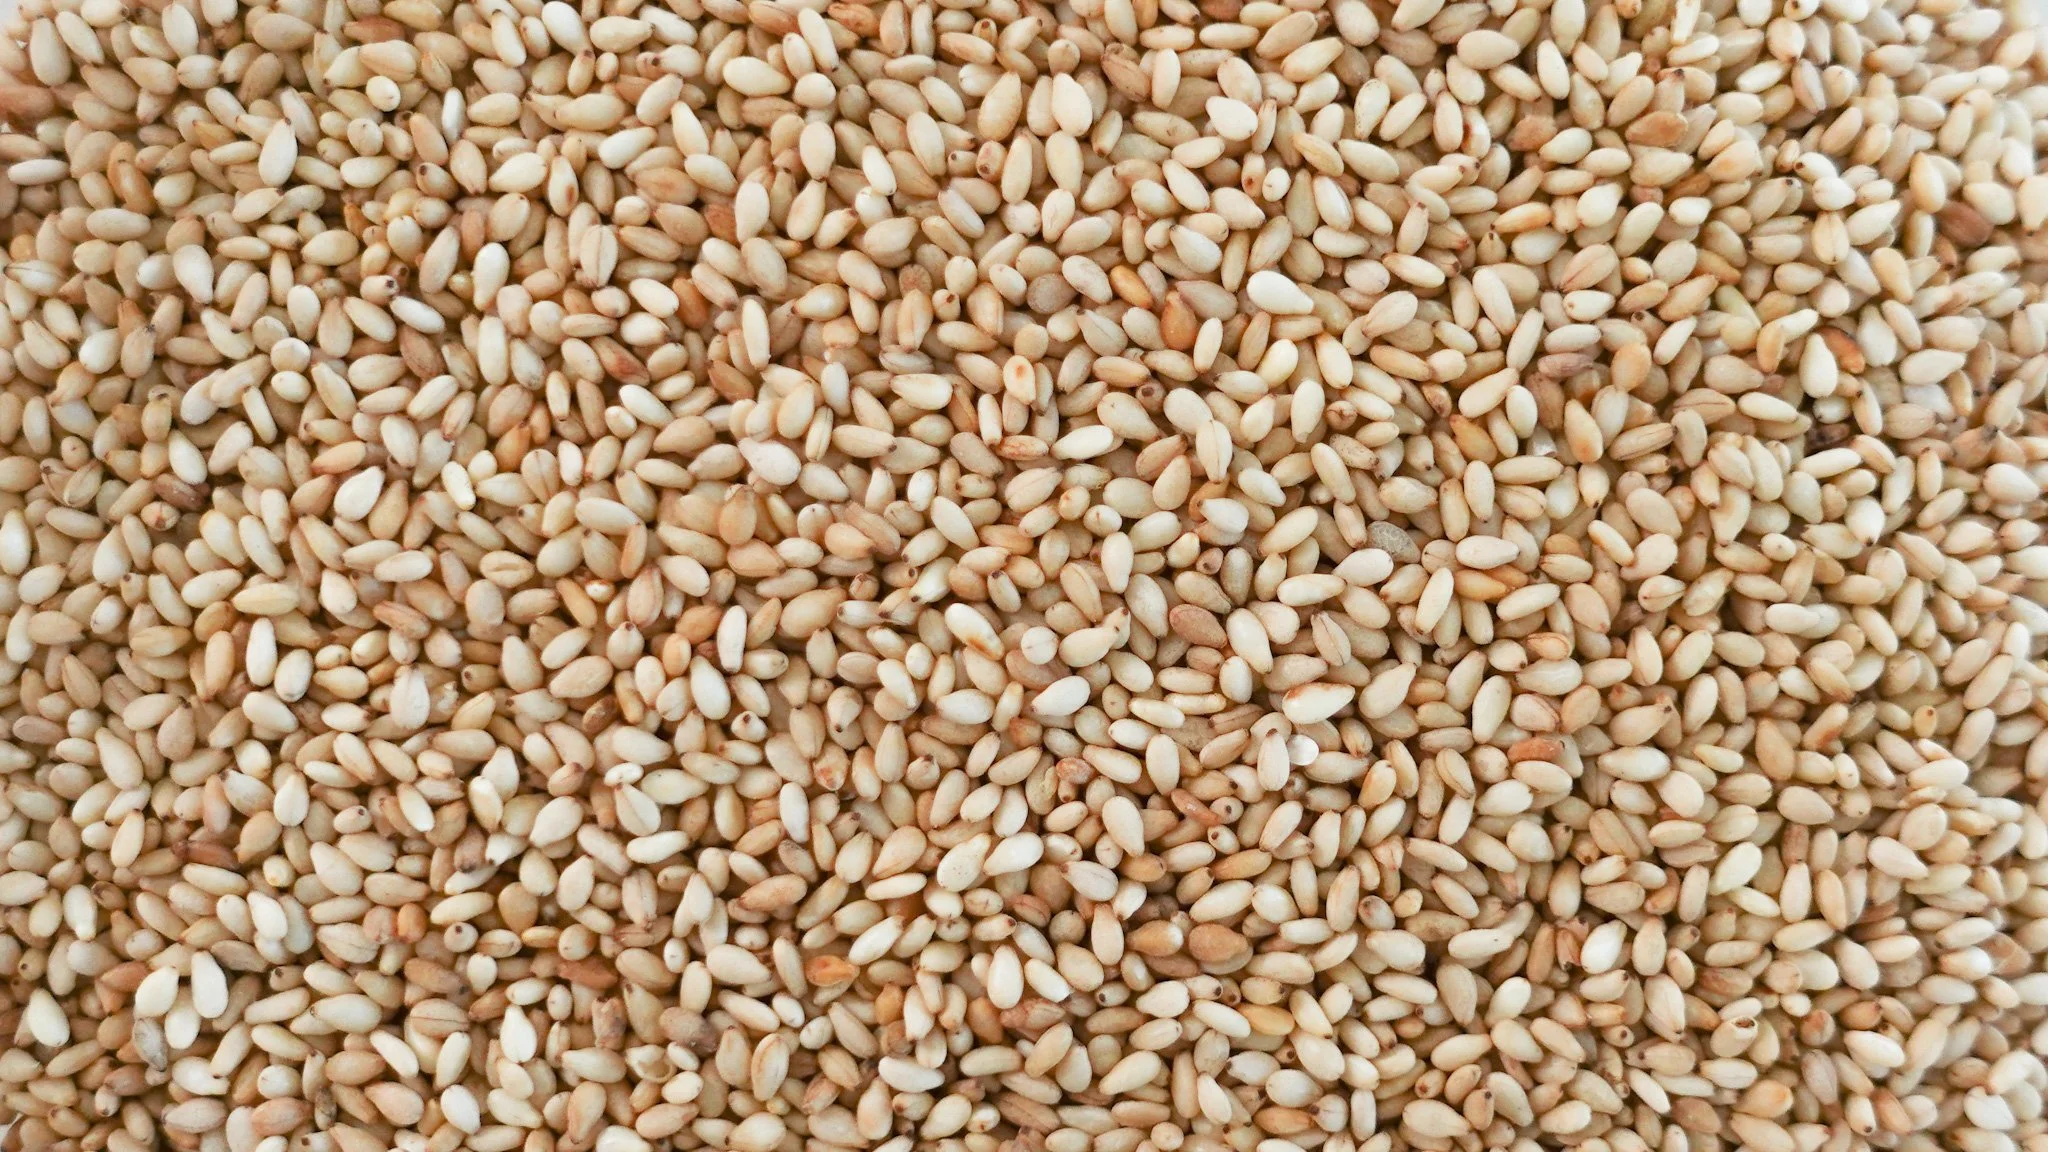
160 g (1 1/3 cups) roasted white sesame seeds
25 g (2 tbsp) white granulated sugar
15 g (1 tbsp) unsalted butter
40 g (2 tbsp) honey
Pinch of salt
20g (2 tbsp) cooked glutinous rice flour
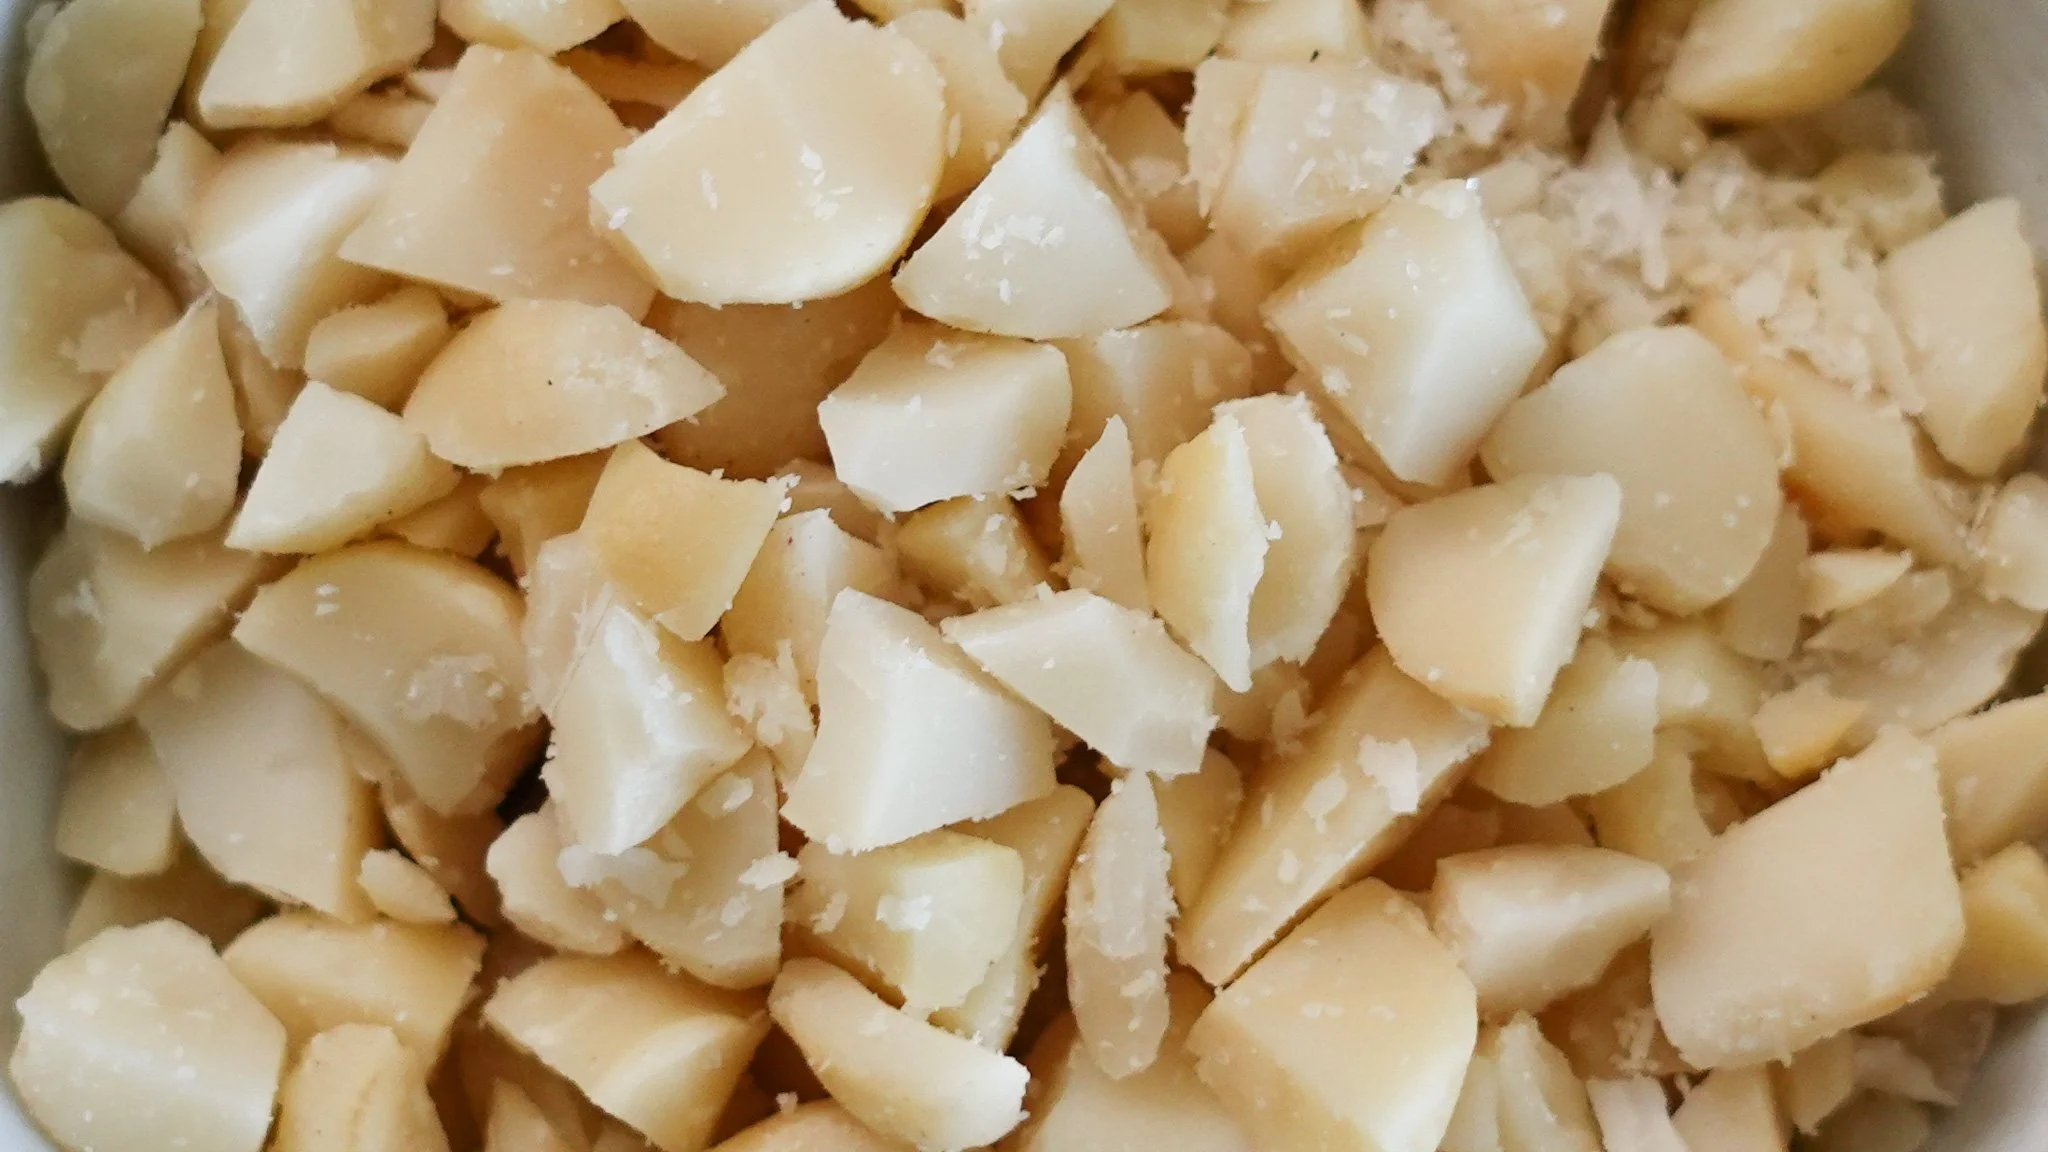
80 g (1/2 cup) chopped roasted macadamia nuts
SPECIAL EQUIPMENT
TIPS & RECIPE NOTES
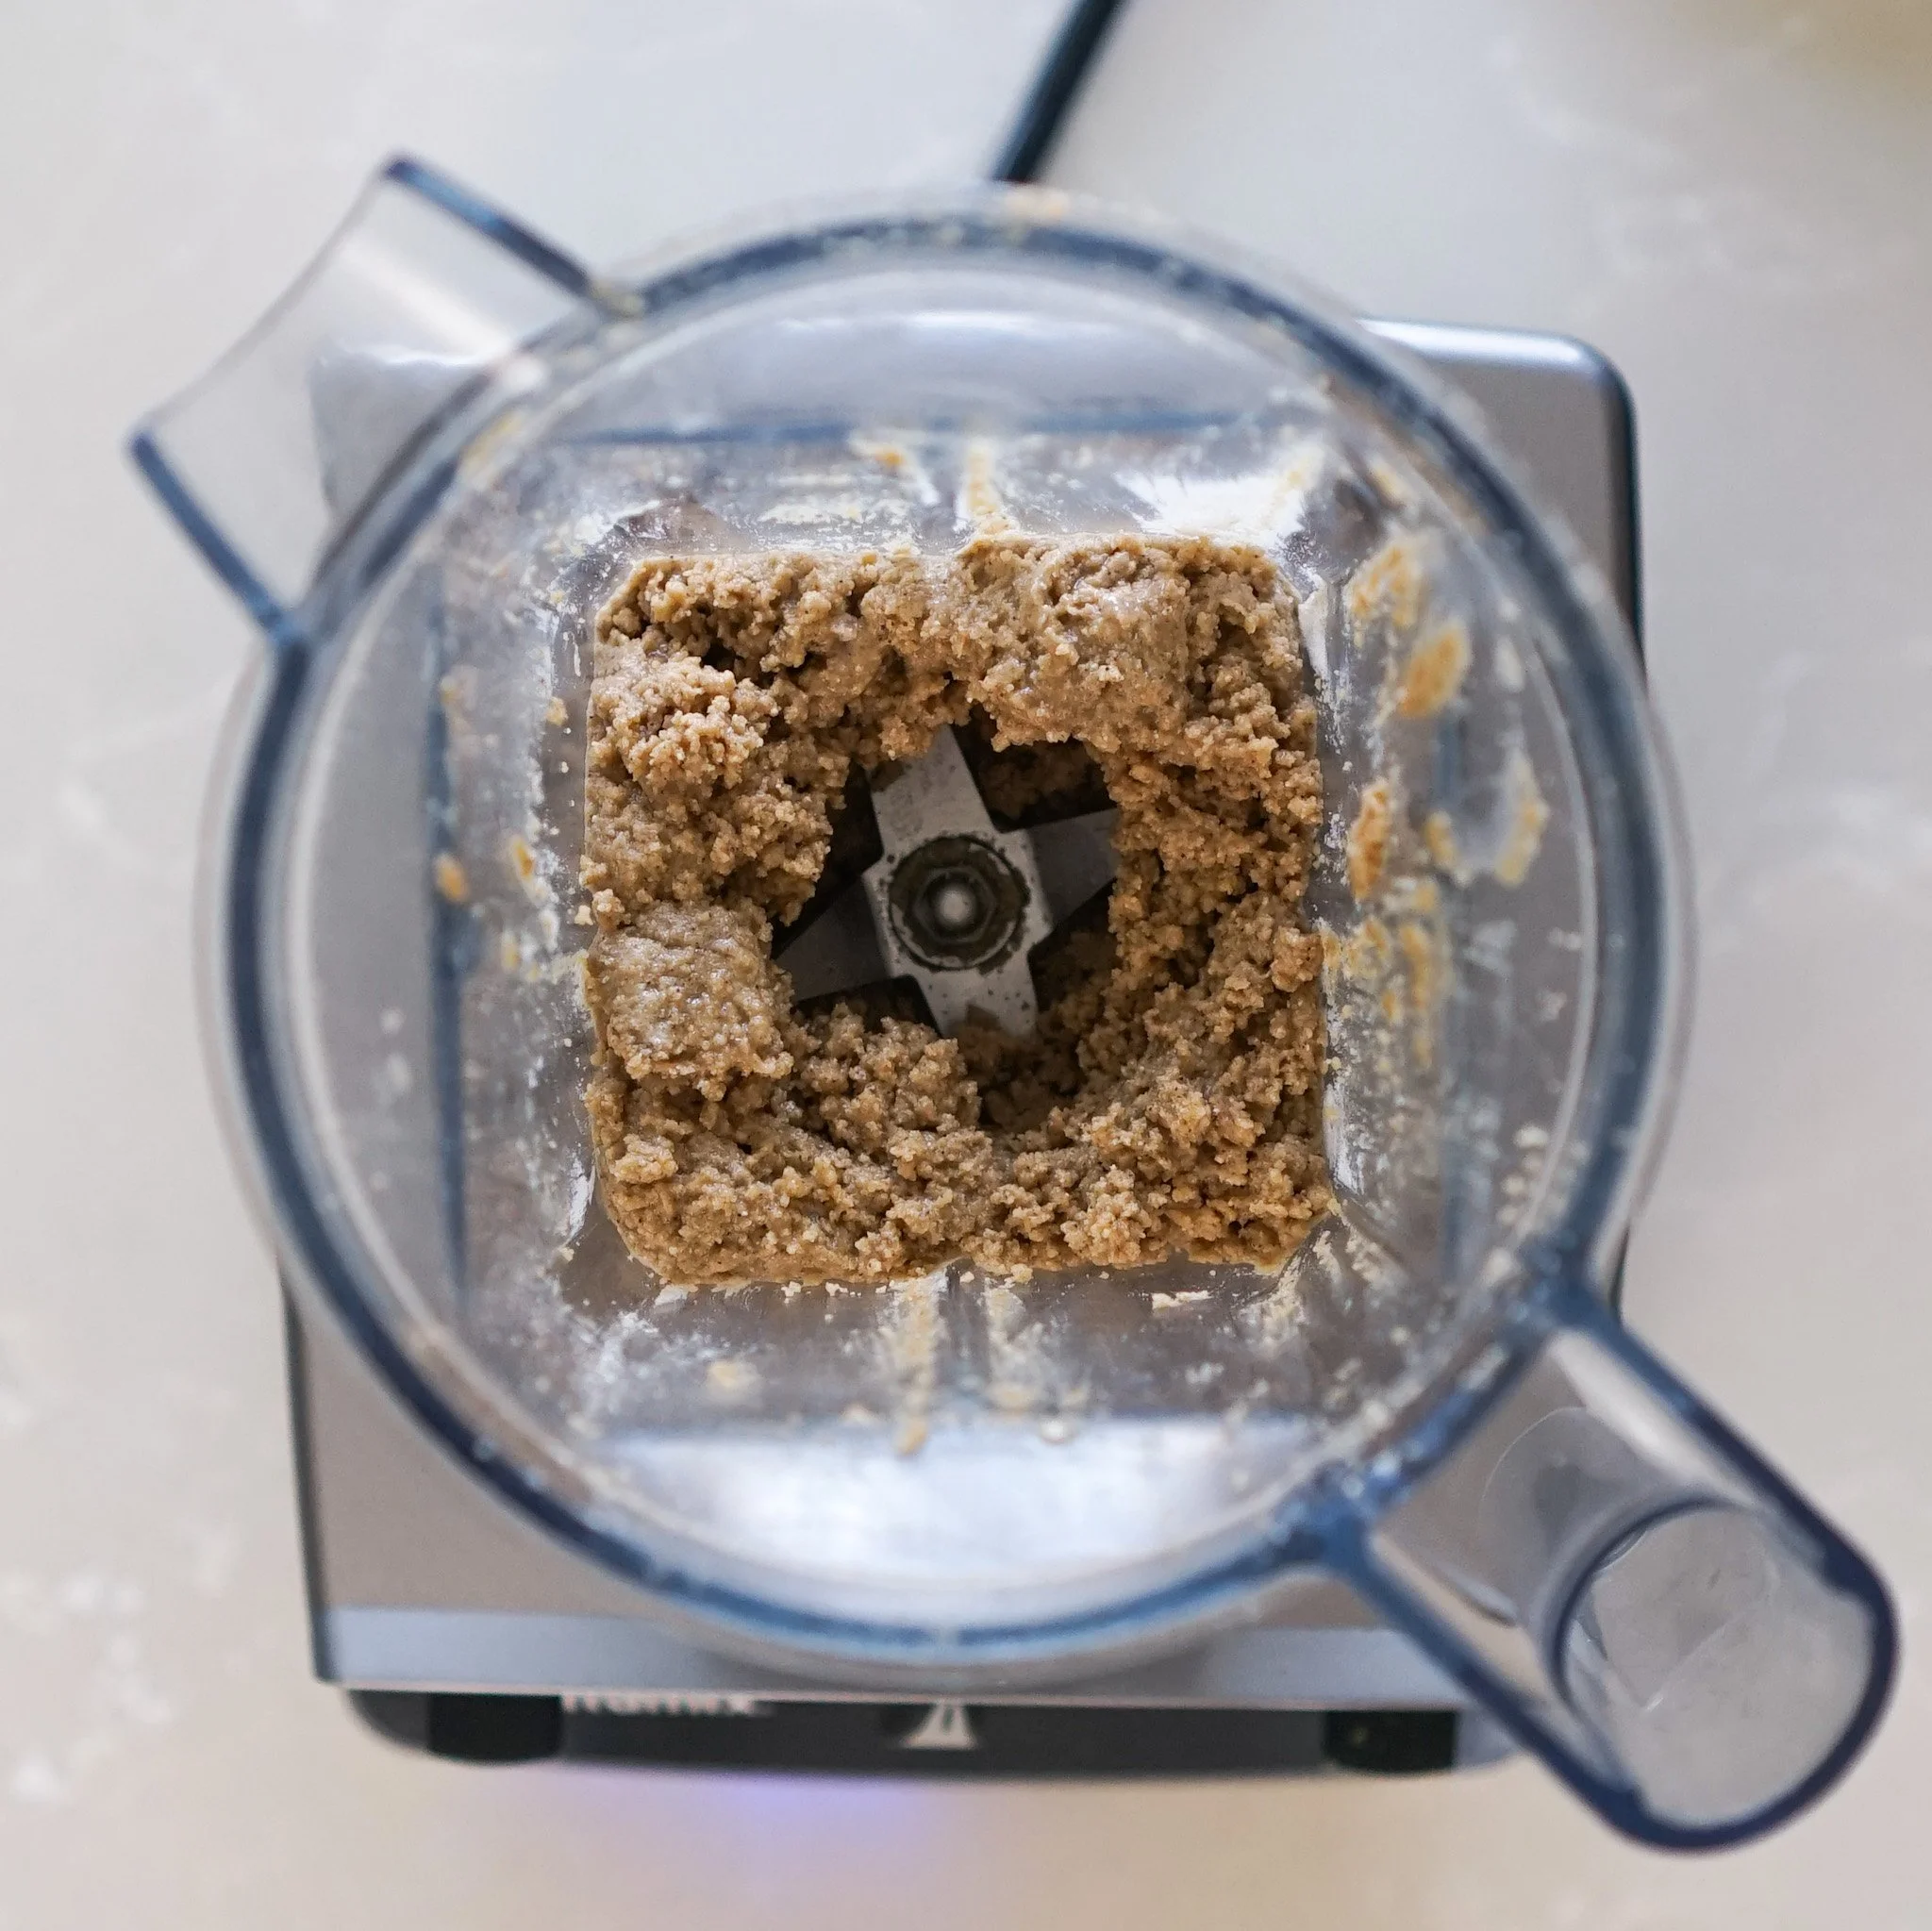
If the sesame filling is too crumbly to form into a cohesive ball, slowly add in 1 tbsp of warm water to help bind everything together.
If you have the time, I highly recommend preparing the snow skin and filling the night before and assembling it the next day. Given the many moving parts that go into making mooncakes, I prefer to break up the process to make everything less labour intensive and also to allow more time for everything to chill and firm up, which makes assembly much easier too! Just make sure to cover everything well so nothing dries up.
Snow skin mooncakes by nature have a significantly shorter shelf life compared to regular mooncakes. These can be stored in the fridge for 2-3 days for the most ideal texture before it begins to harden. There’s not much to do to prevent this other than storing the mooncakes in a super airtight container.
Here's the video tutorial! For more go check out my Youtube channel!
LET’S BEGIN!
Snow Skin
1. Fill up a steam pot with water. Place it on the stove on high heat and let it come to a boil.
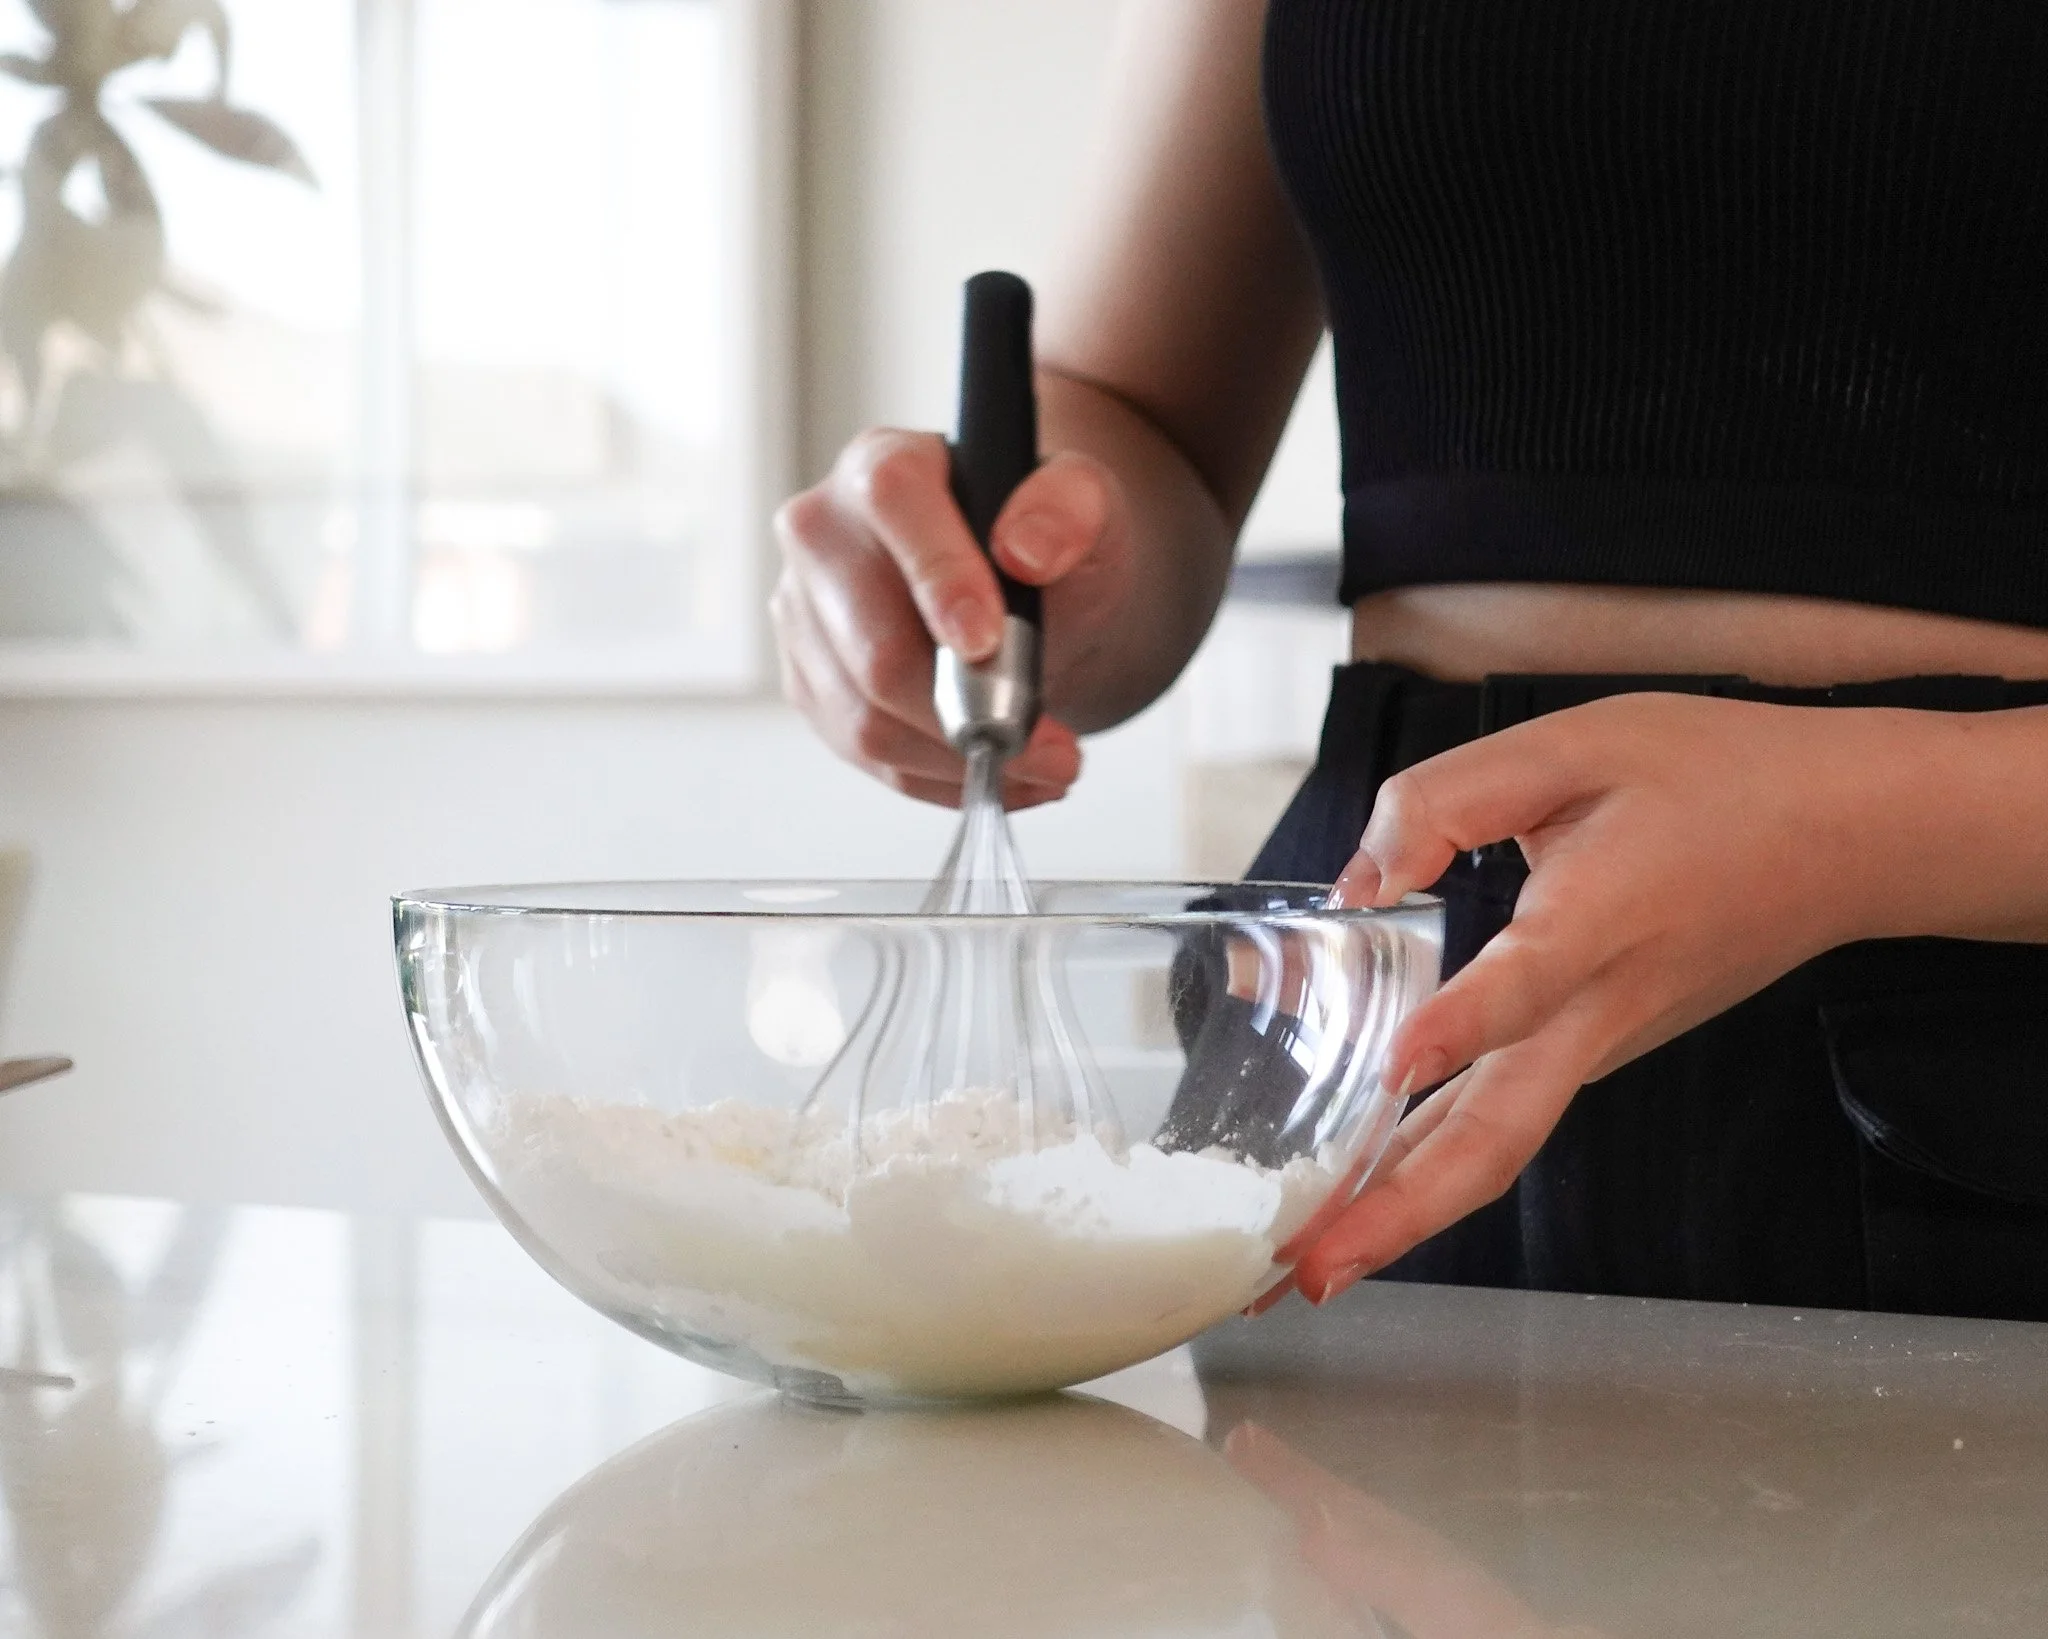
2. In a bowl, mix the glutinous rice flour, rice flour, cornstarch, icing sugar, salt, milk, melted unsalted butter, and sweetened condensed milk until smooth.
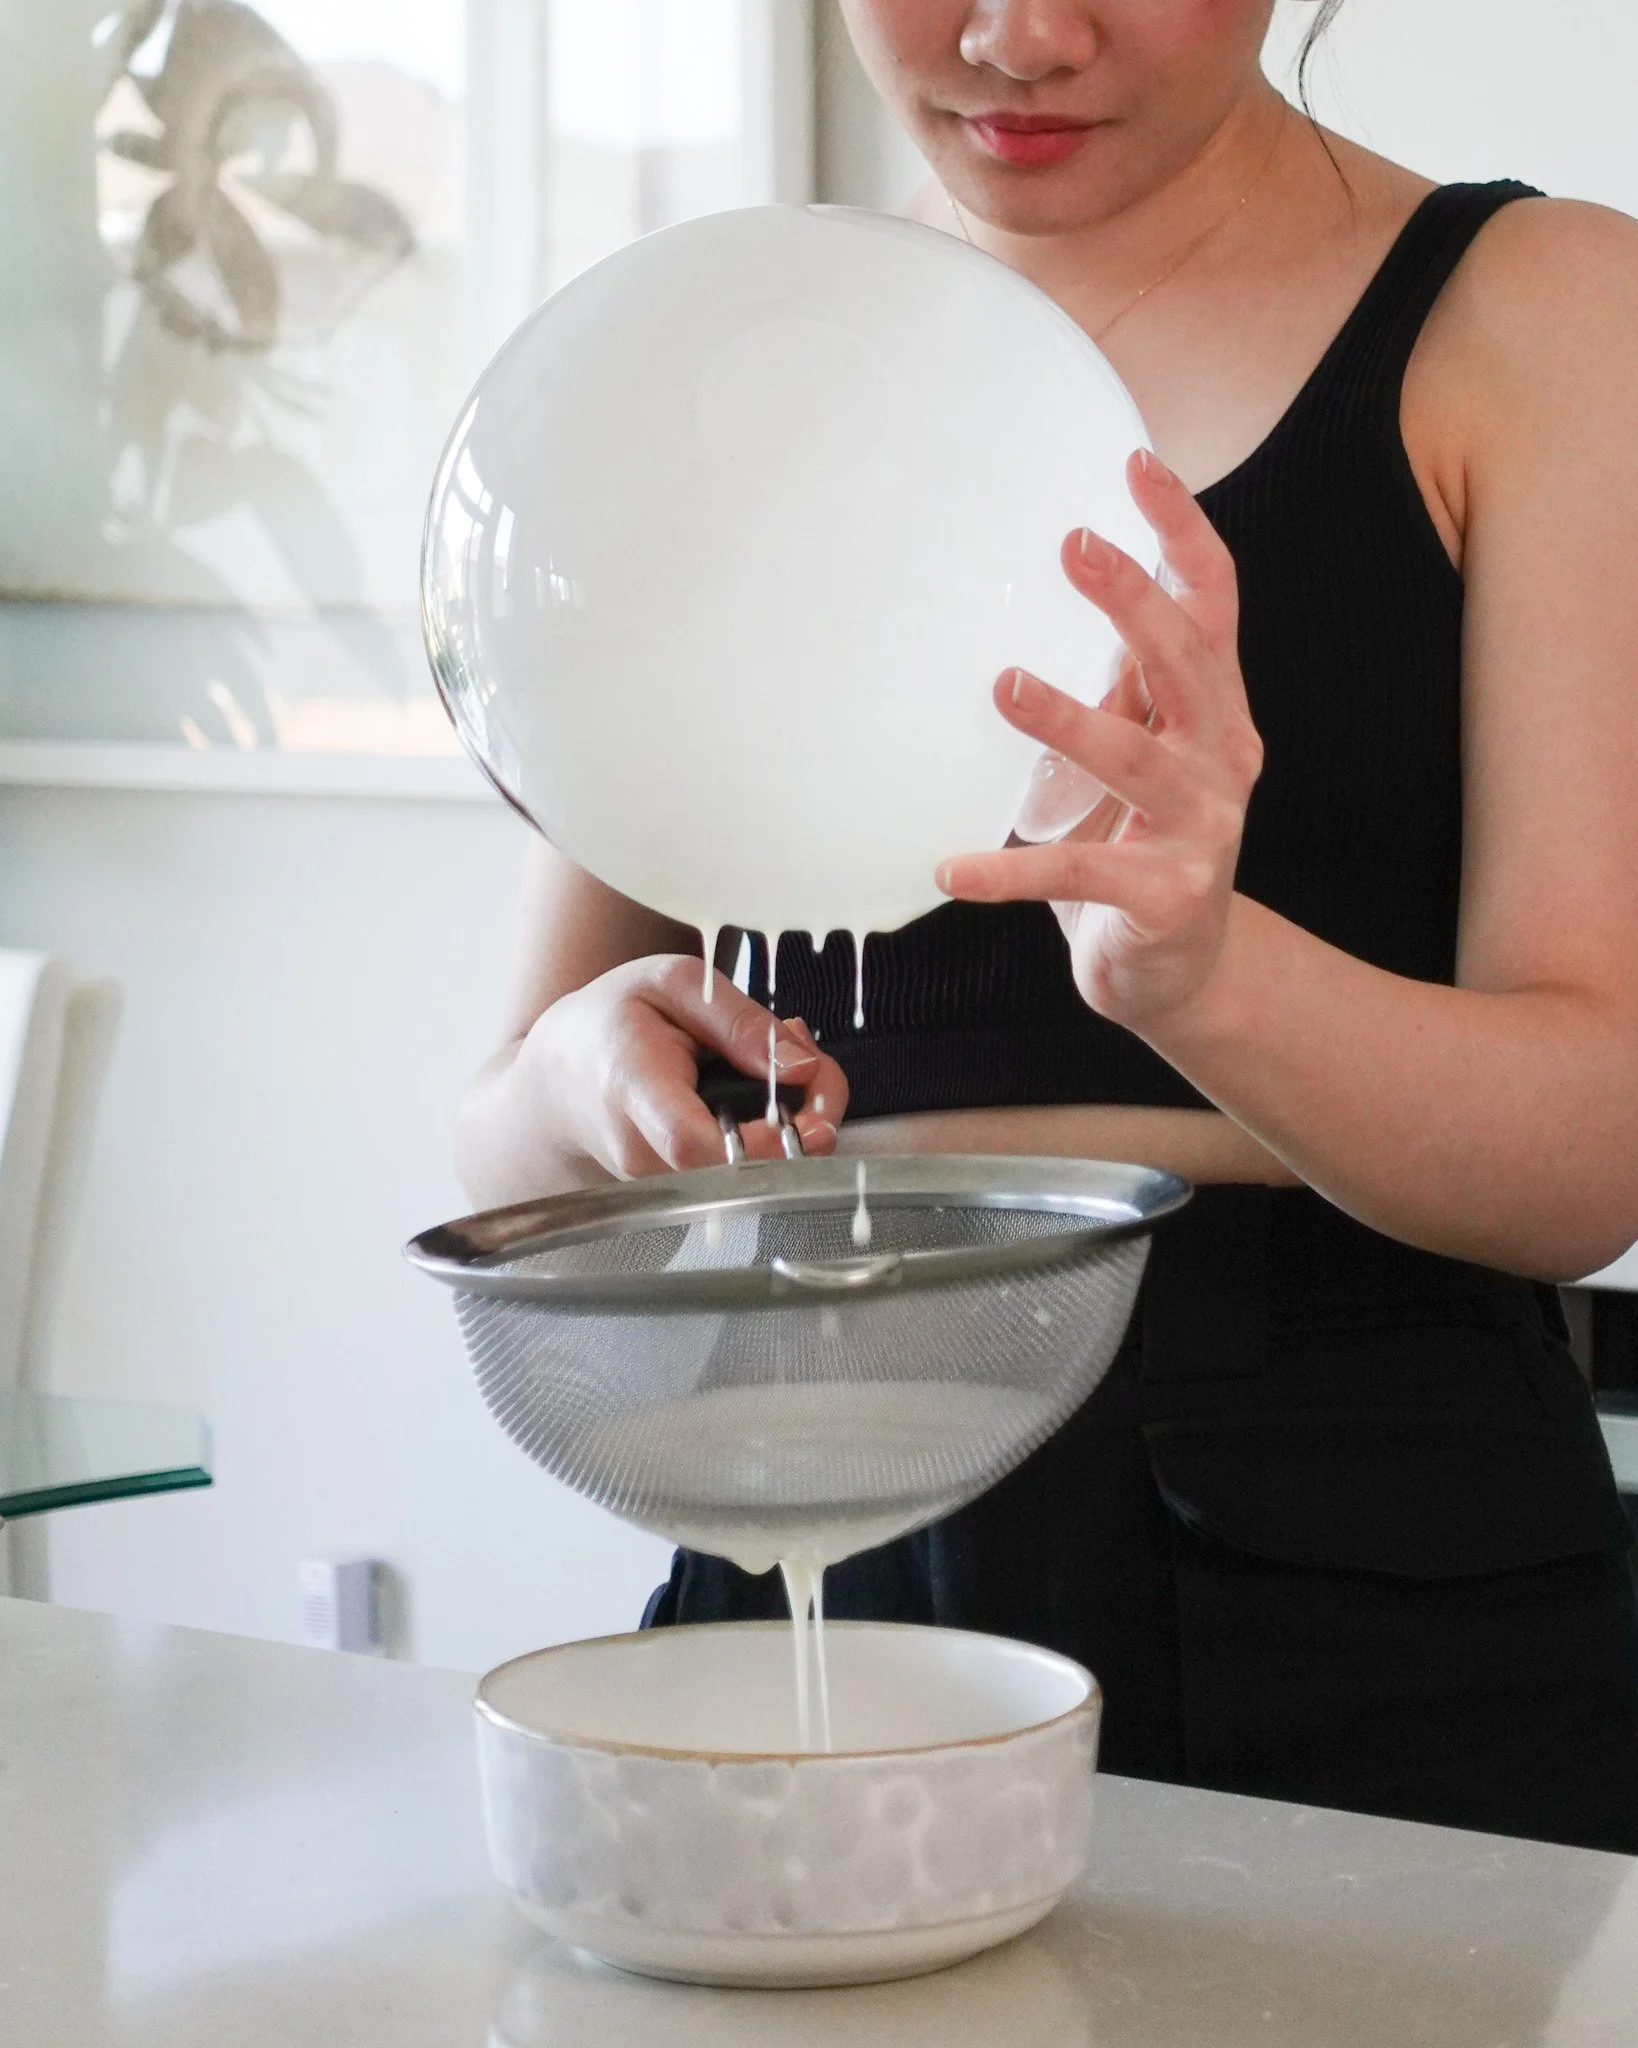
3. Pass the batter through a sieve if there are any lumps, then transfer it into a steam-safe bowl.
4. Steam the snow skin batter in the prepared pot on medium heat for 20 minutes. Place the lid on a slant so the condensation formed during steaming doesn’t drip into the batter and alter its consistency.
5. Once cooked, set aside and allow the snow skin to cool.
Cooked Glutinous Rice Flour
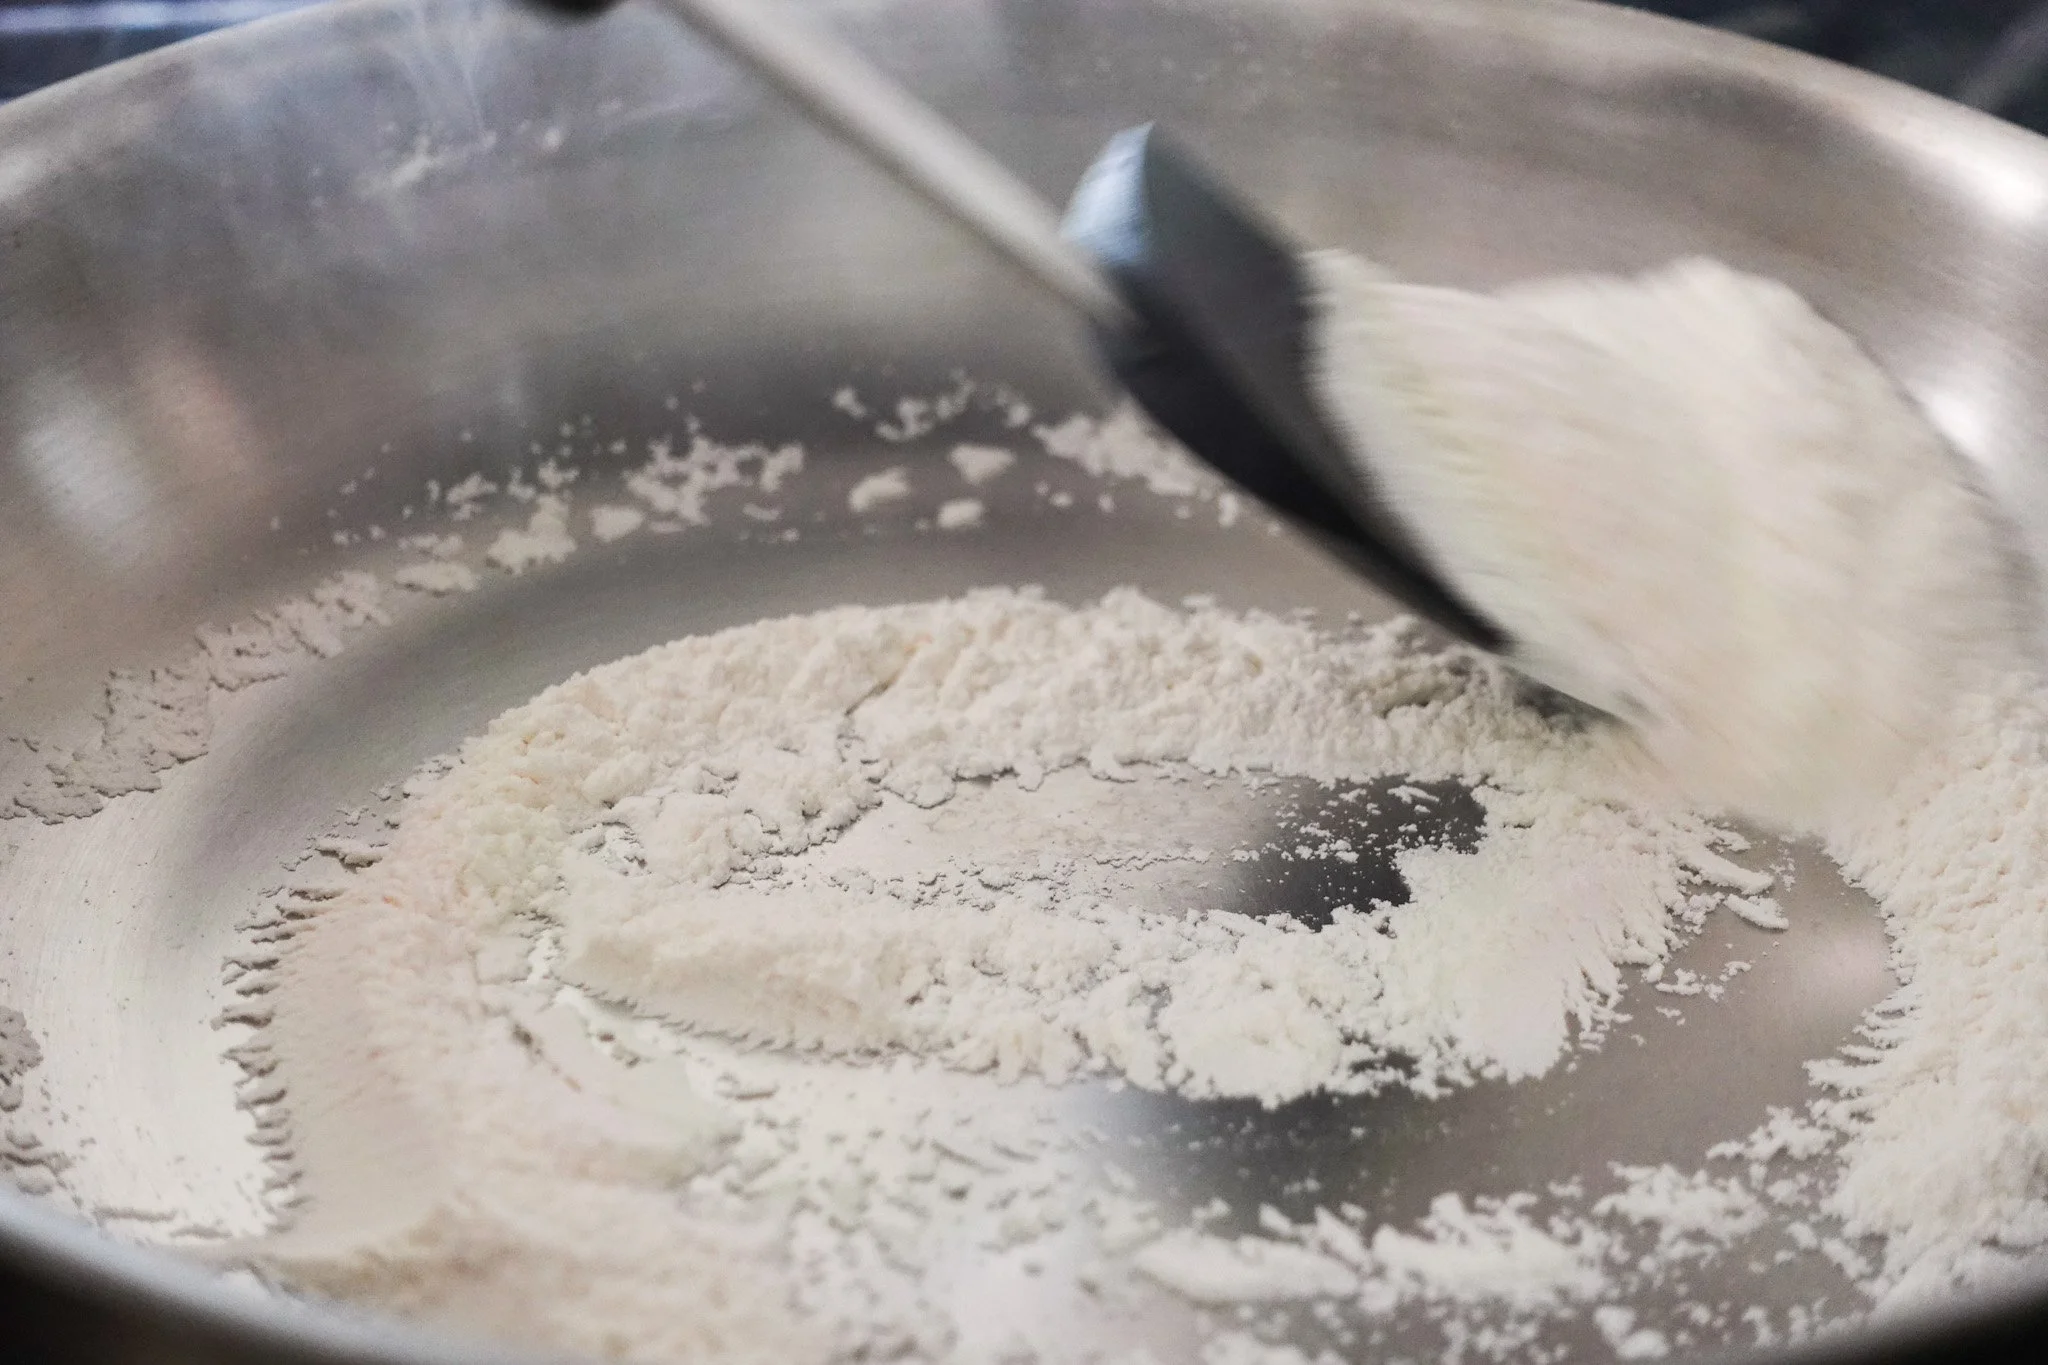
6. In the meantime, cook the glutinous rice flour on medium heat until slightly yellow. Set aside to cool.
Filling
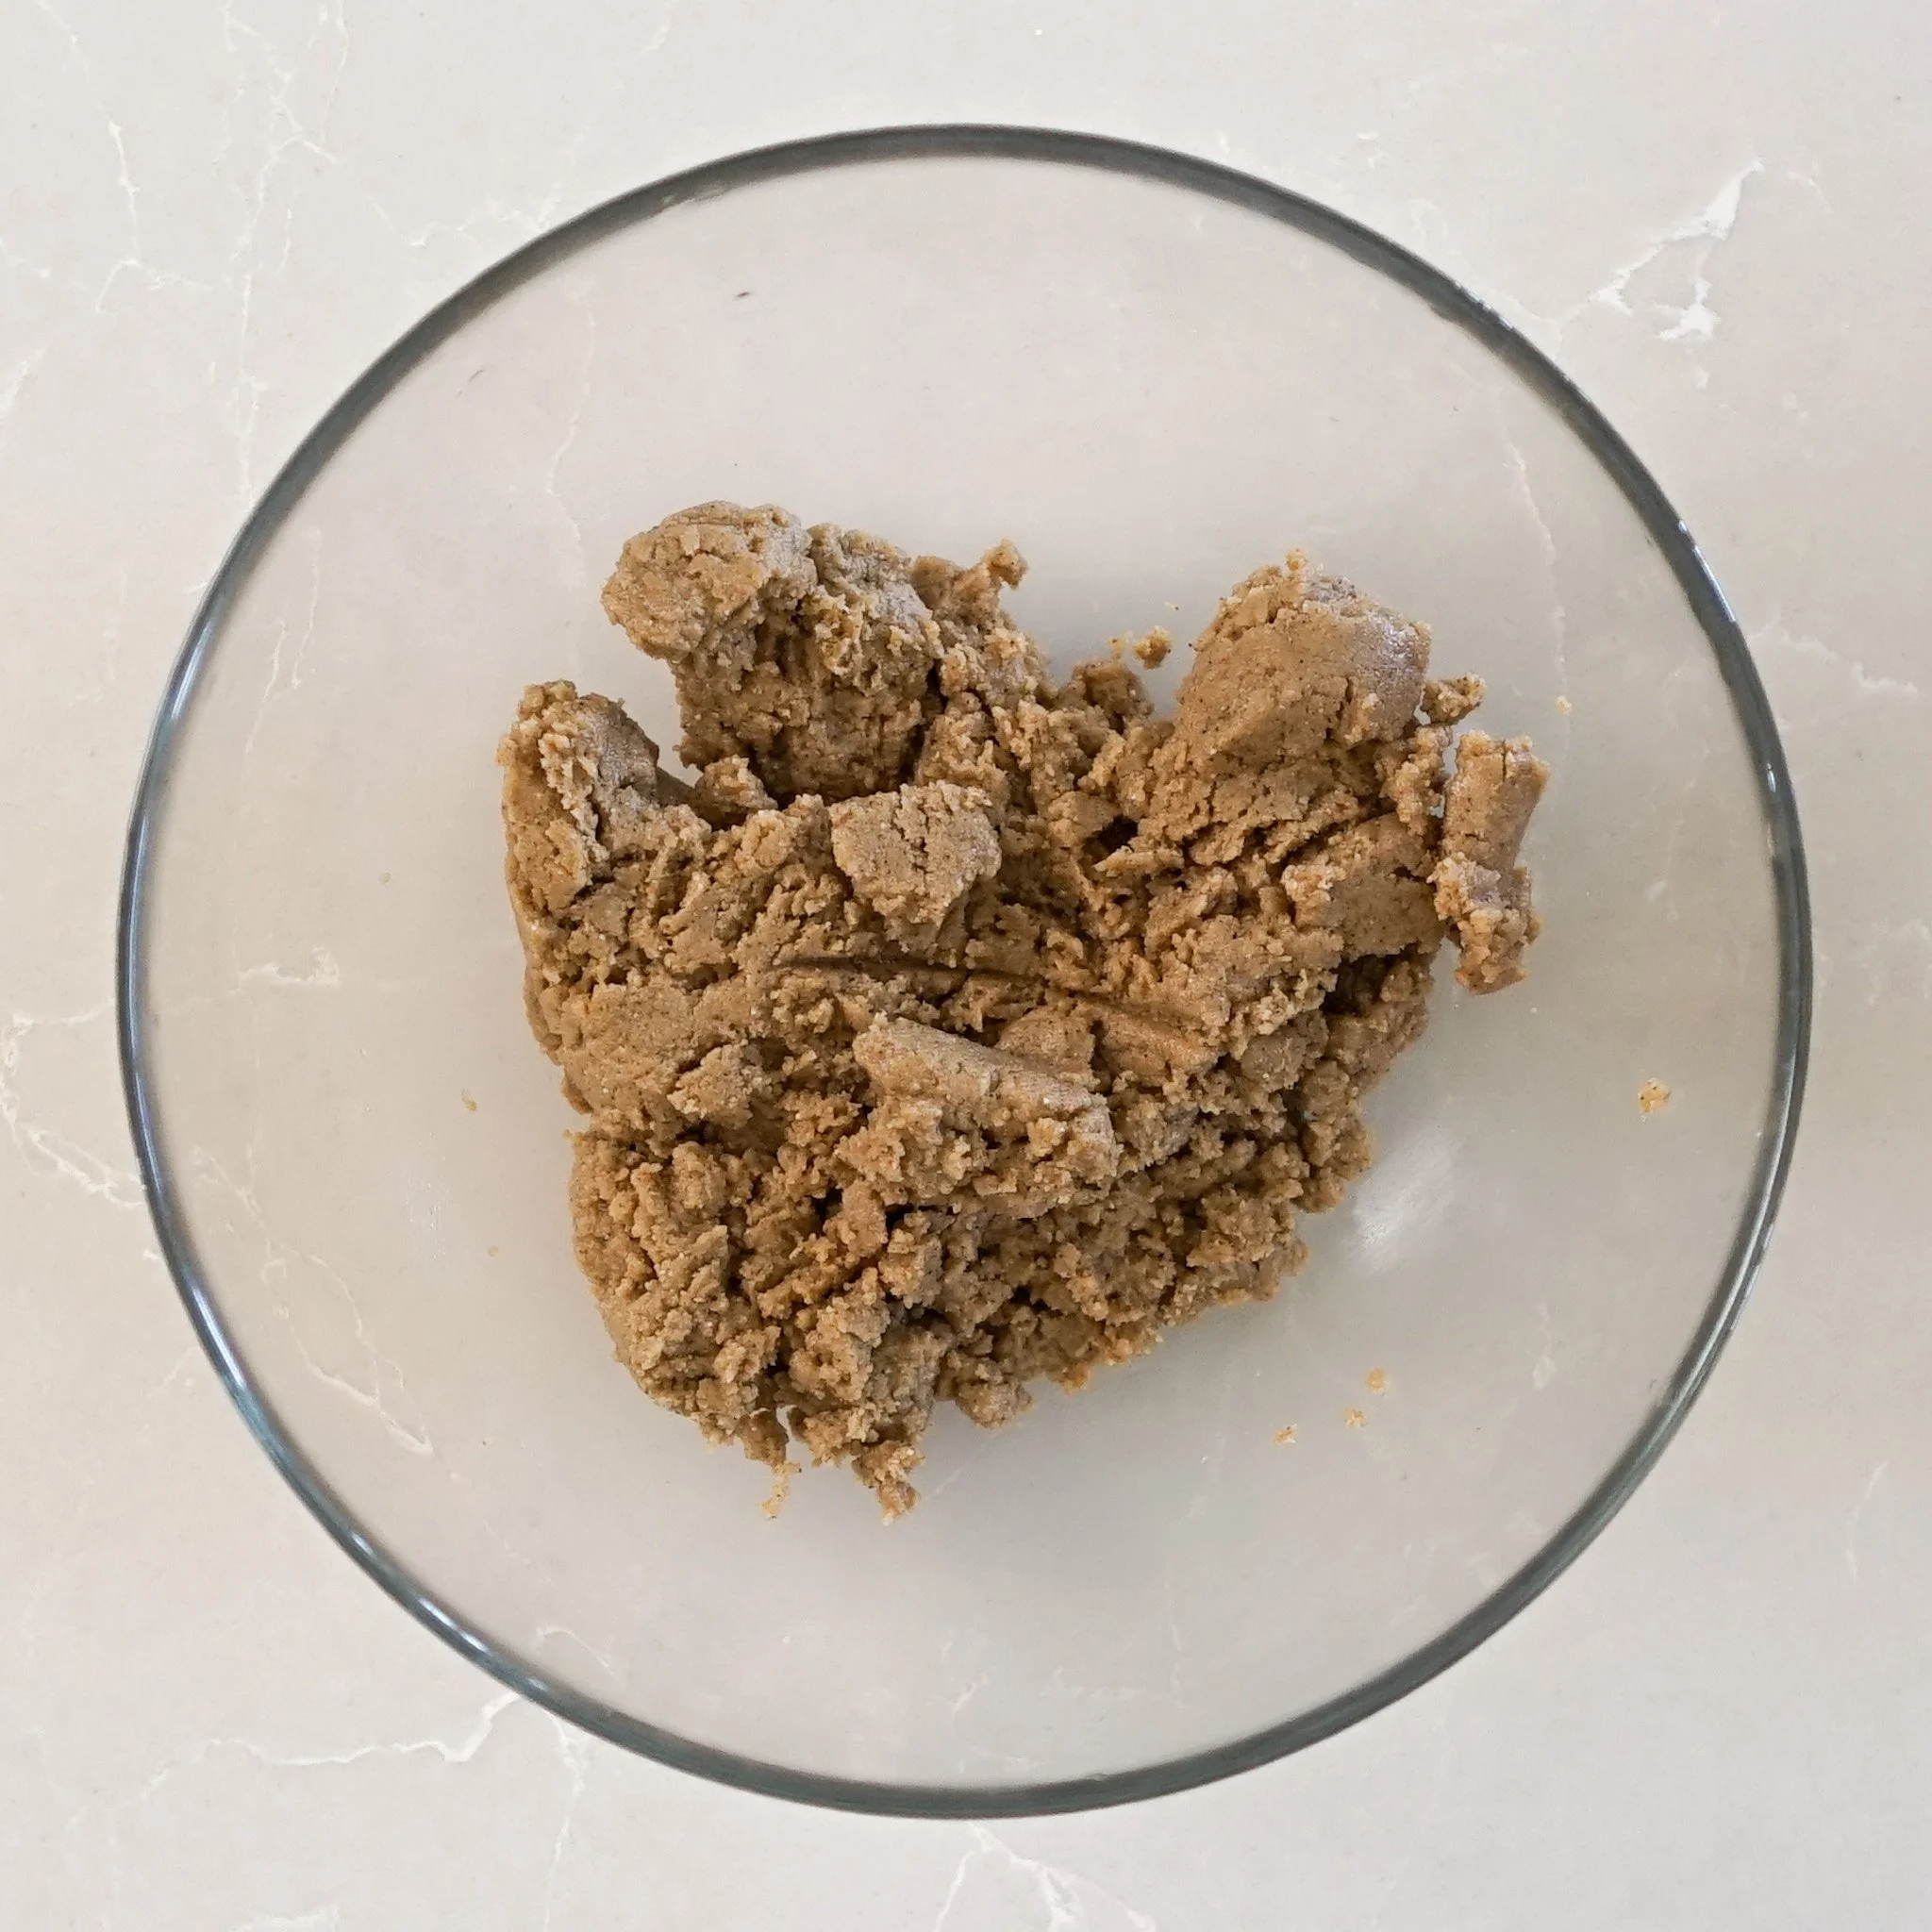
7. In a blender or food processor, blend the roasted white sesame seeds until it resembles a runny paste.
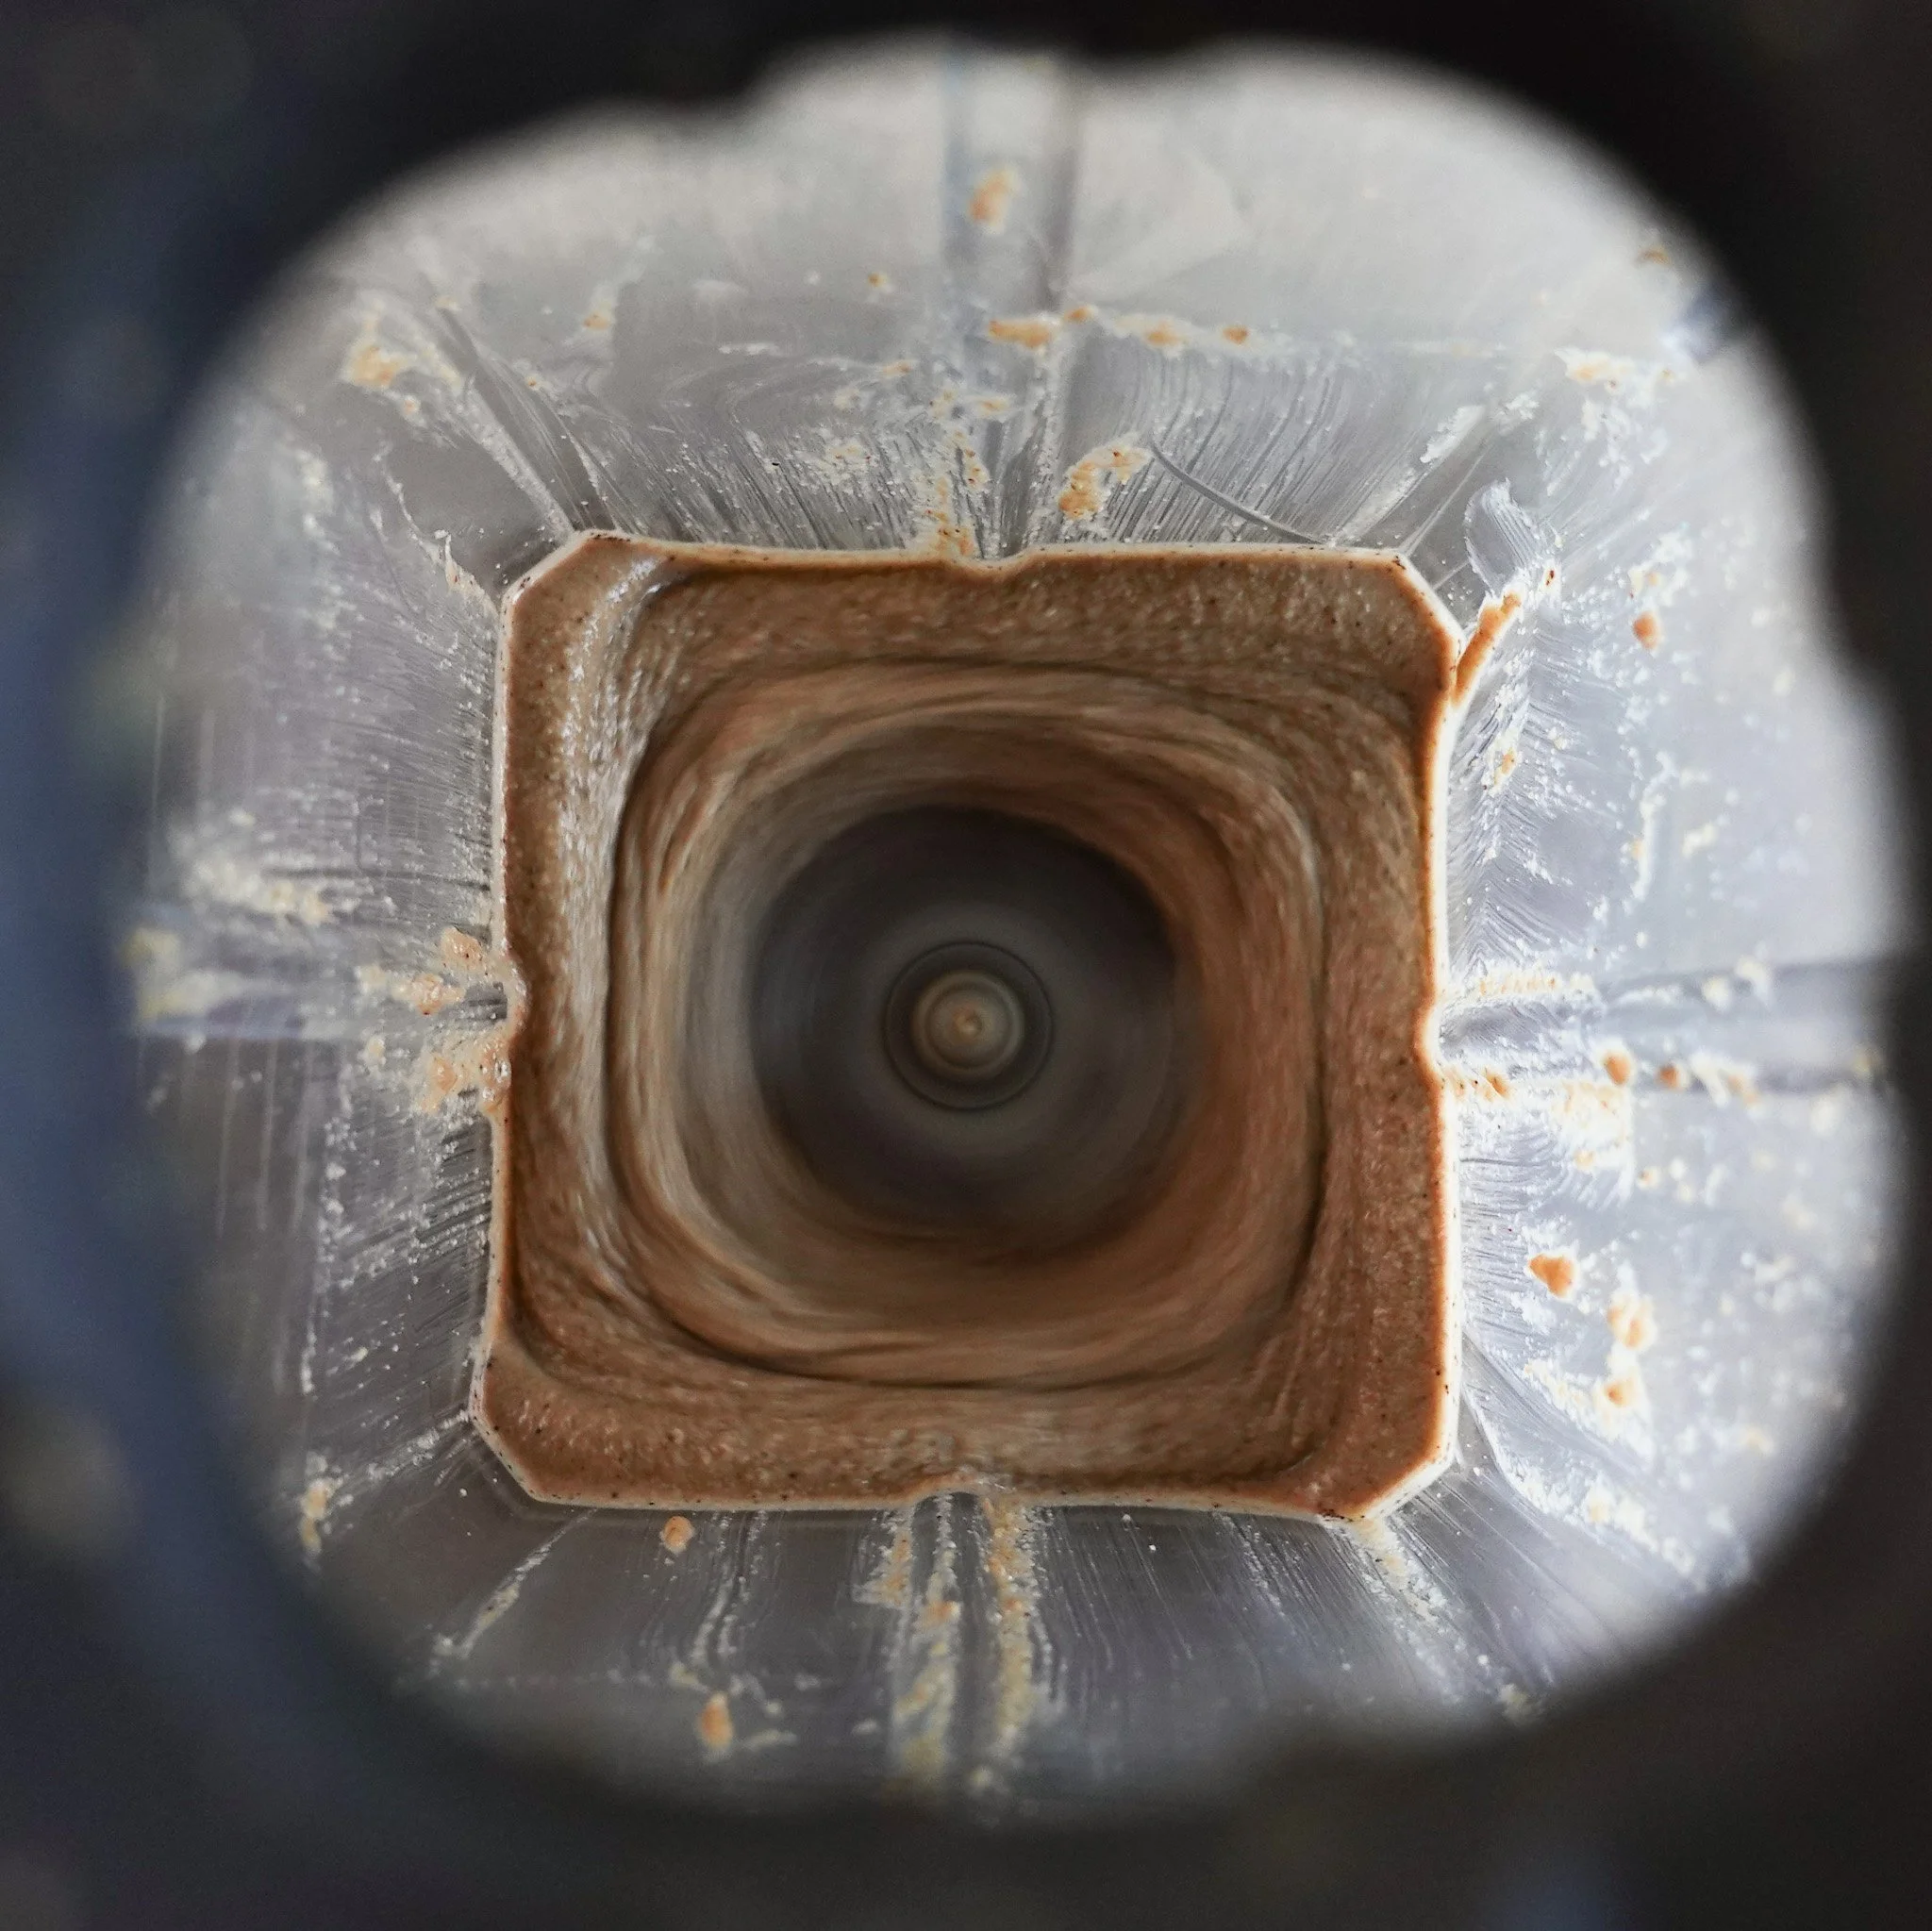
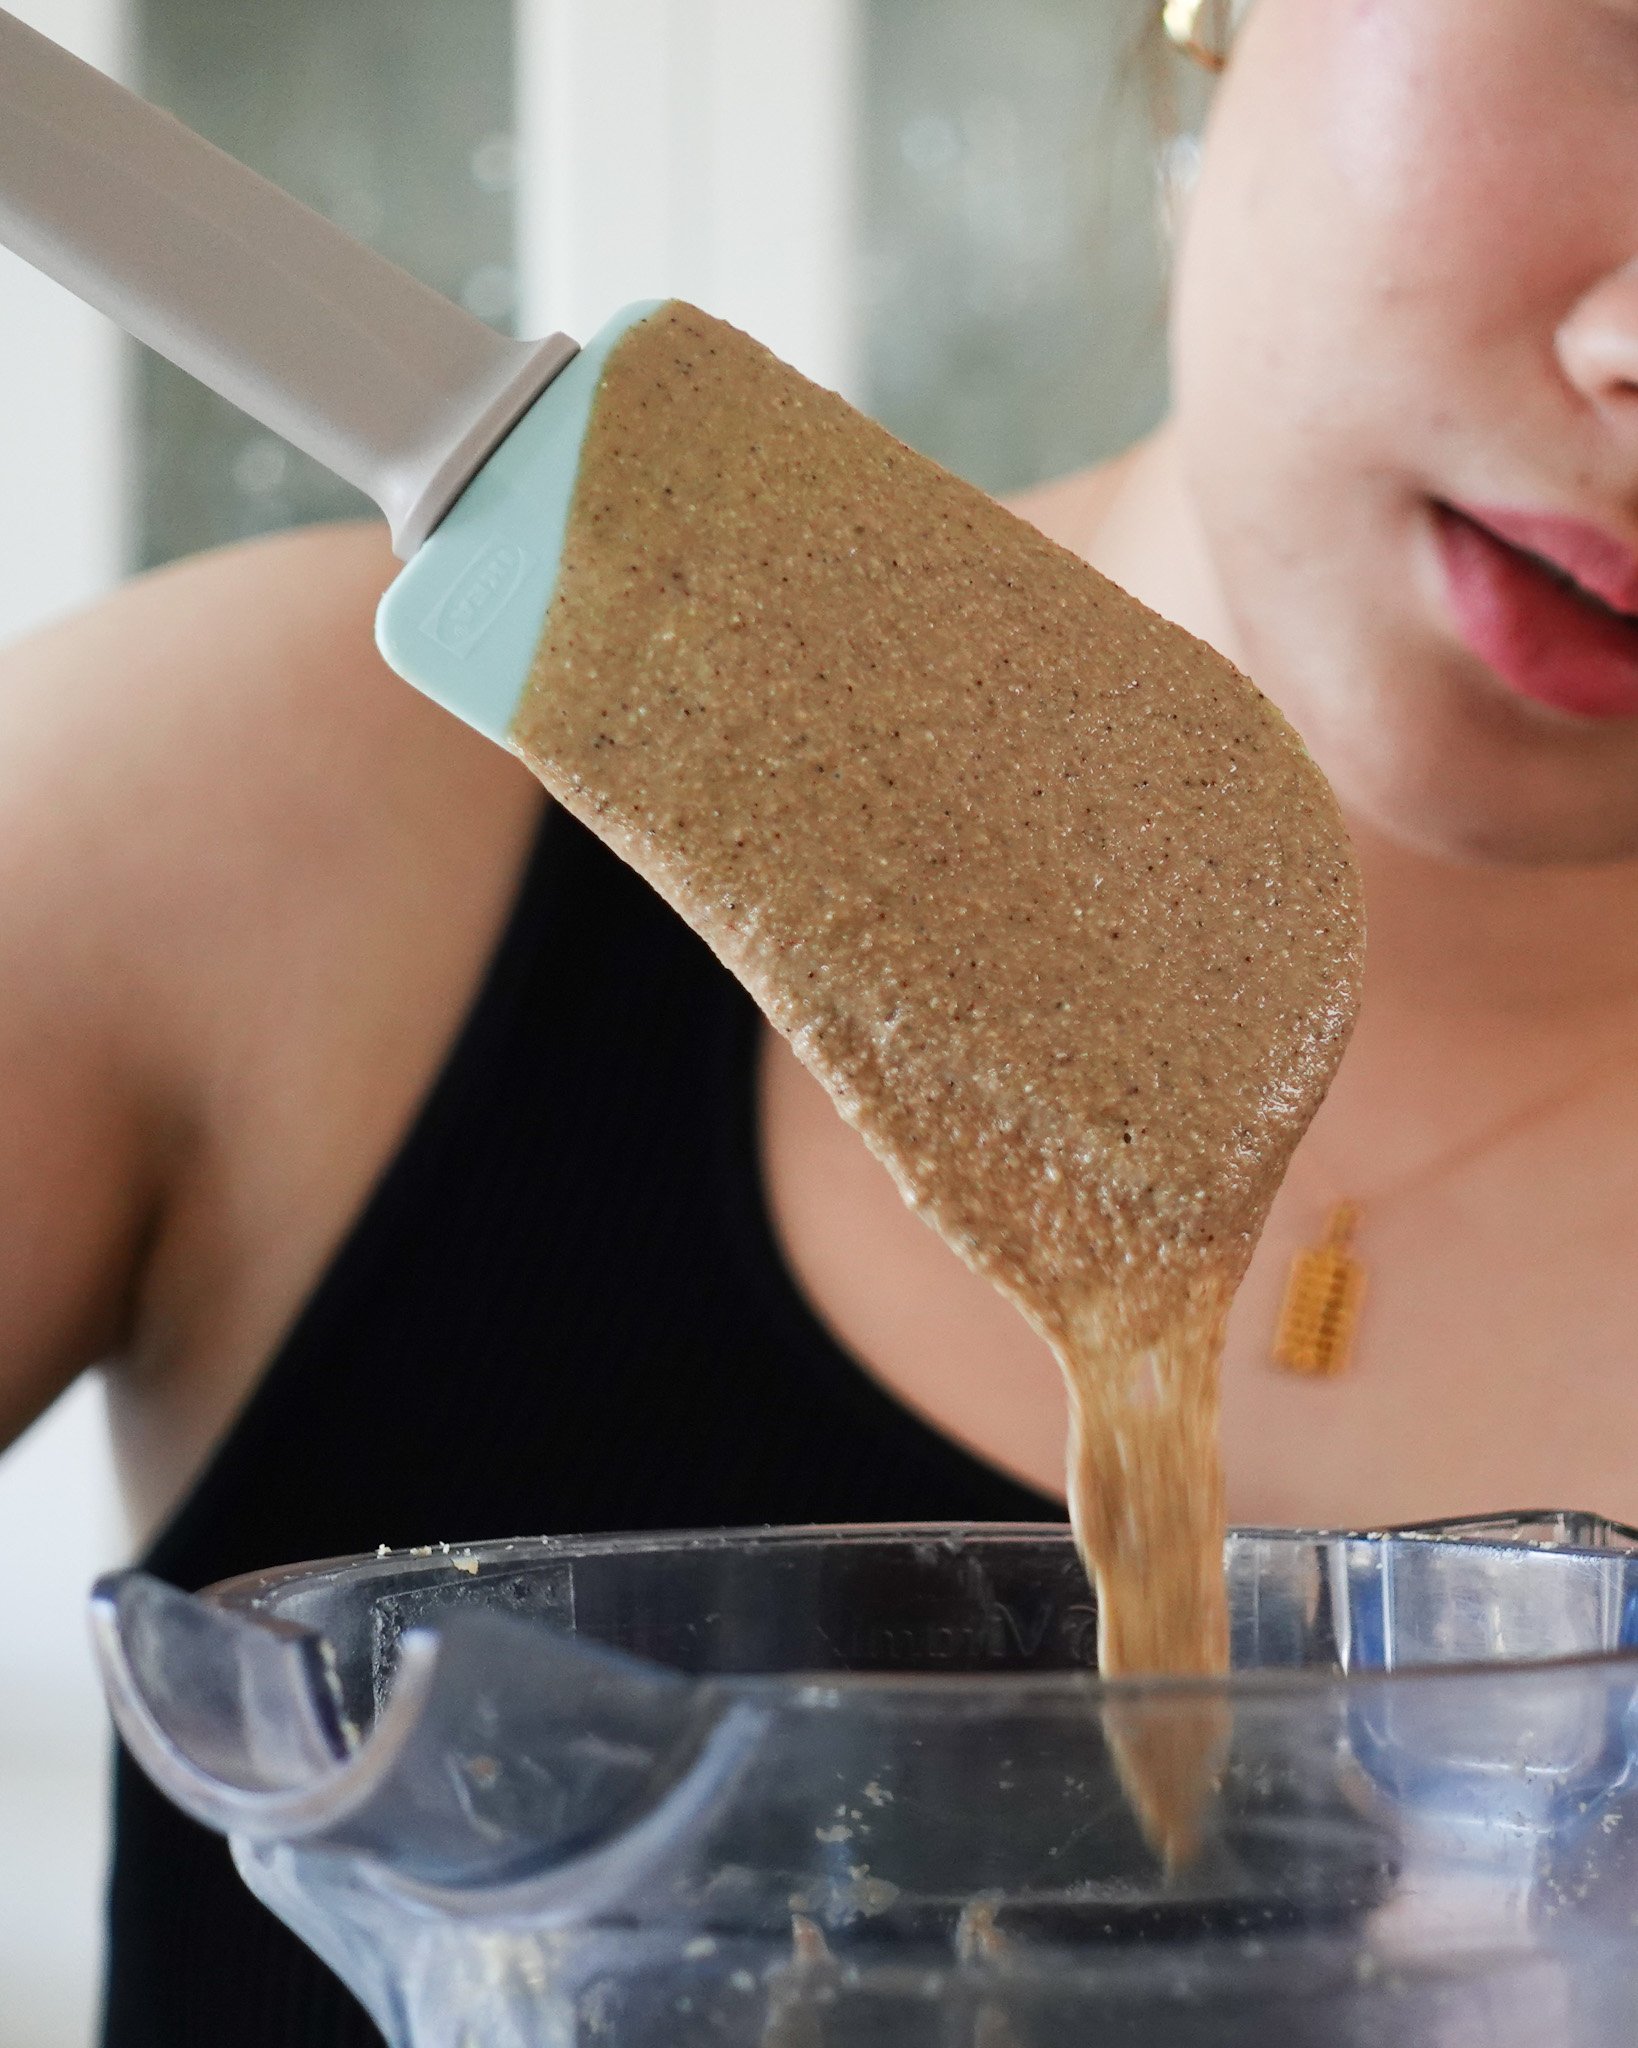
8. Add the rest of the ingredients, excluding the chopped macadamia nuts, and blend until combined.
9. Transfer the filling into a bowl and fold in the chopped macadamia nuts.
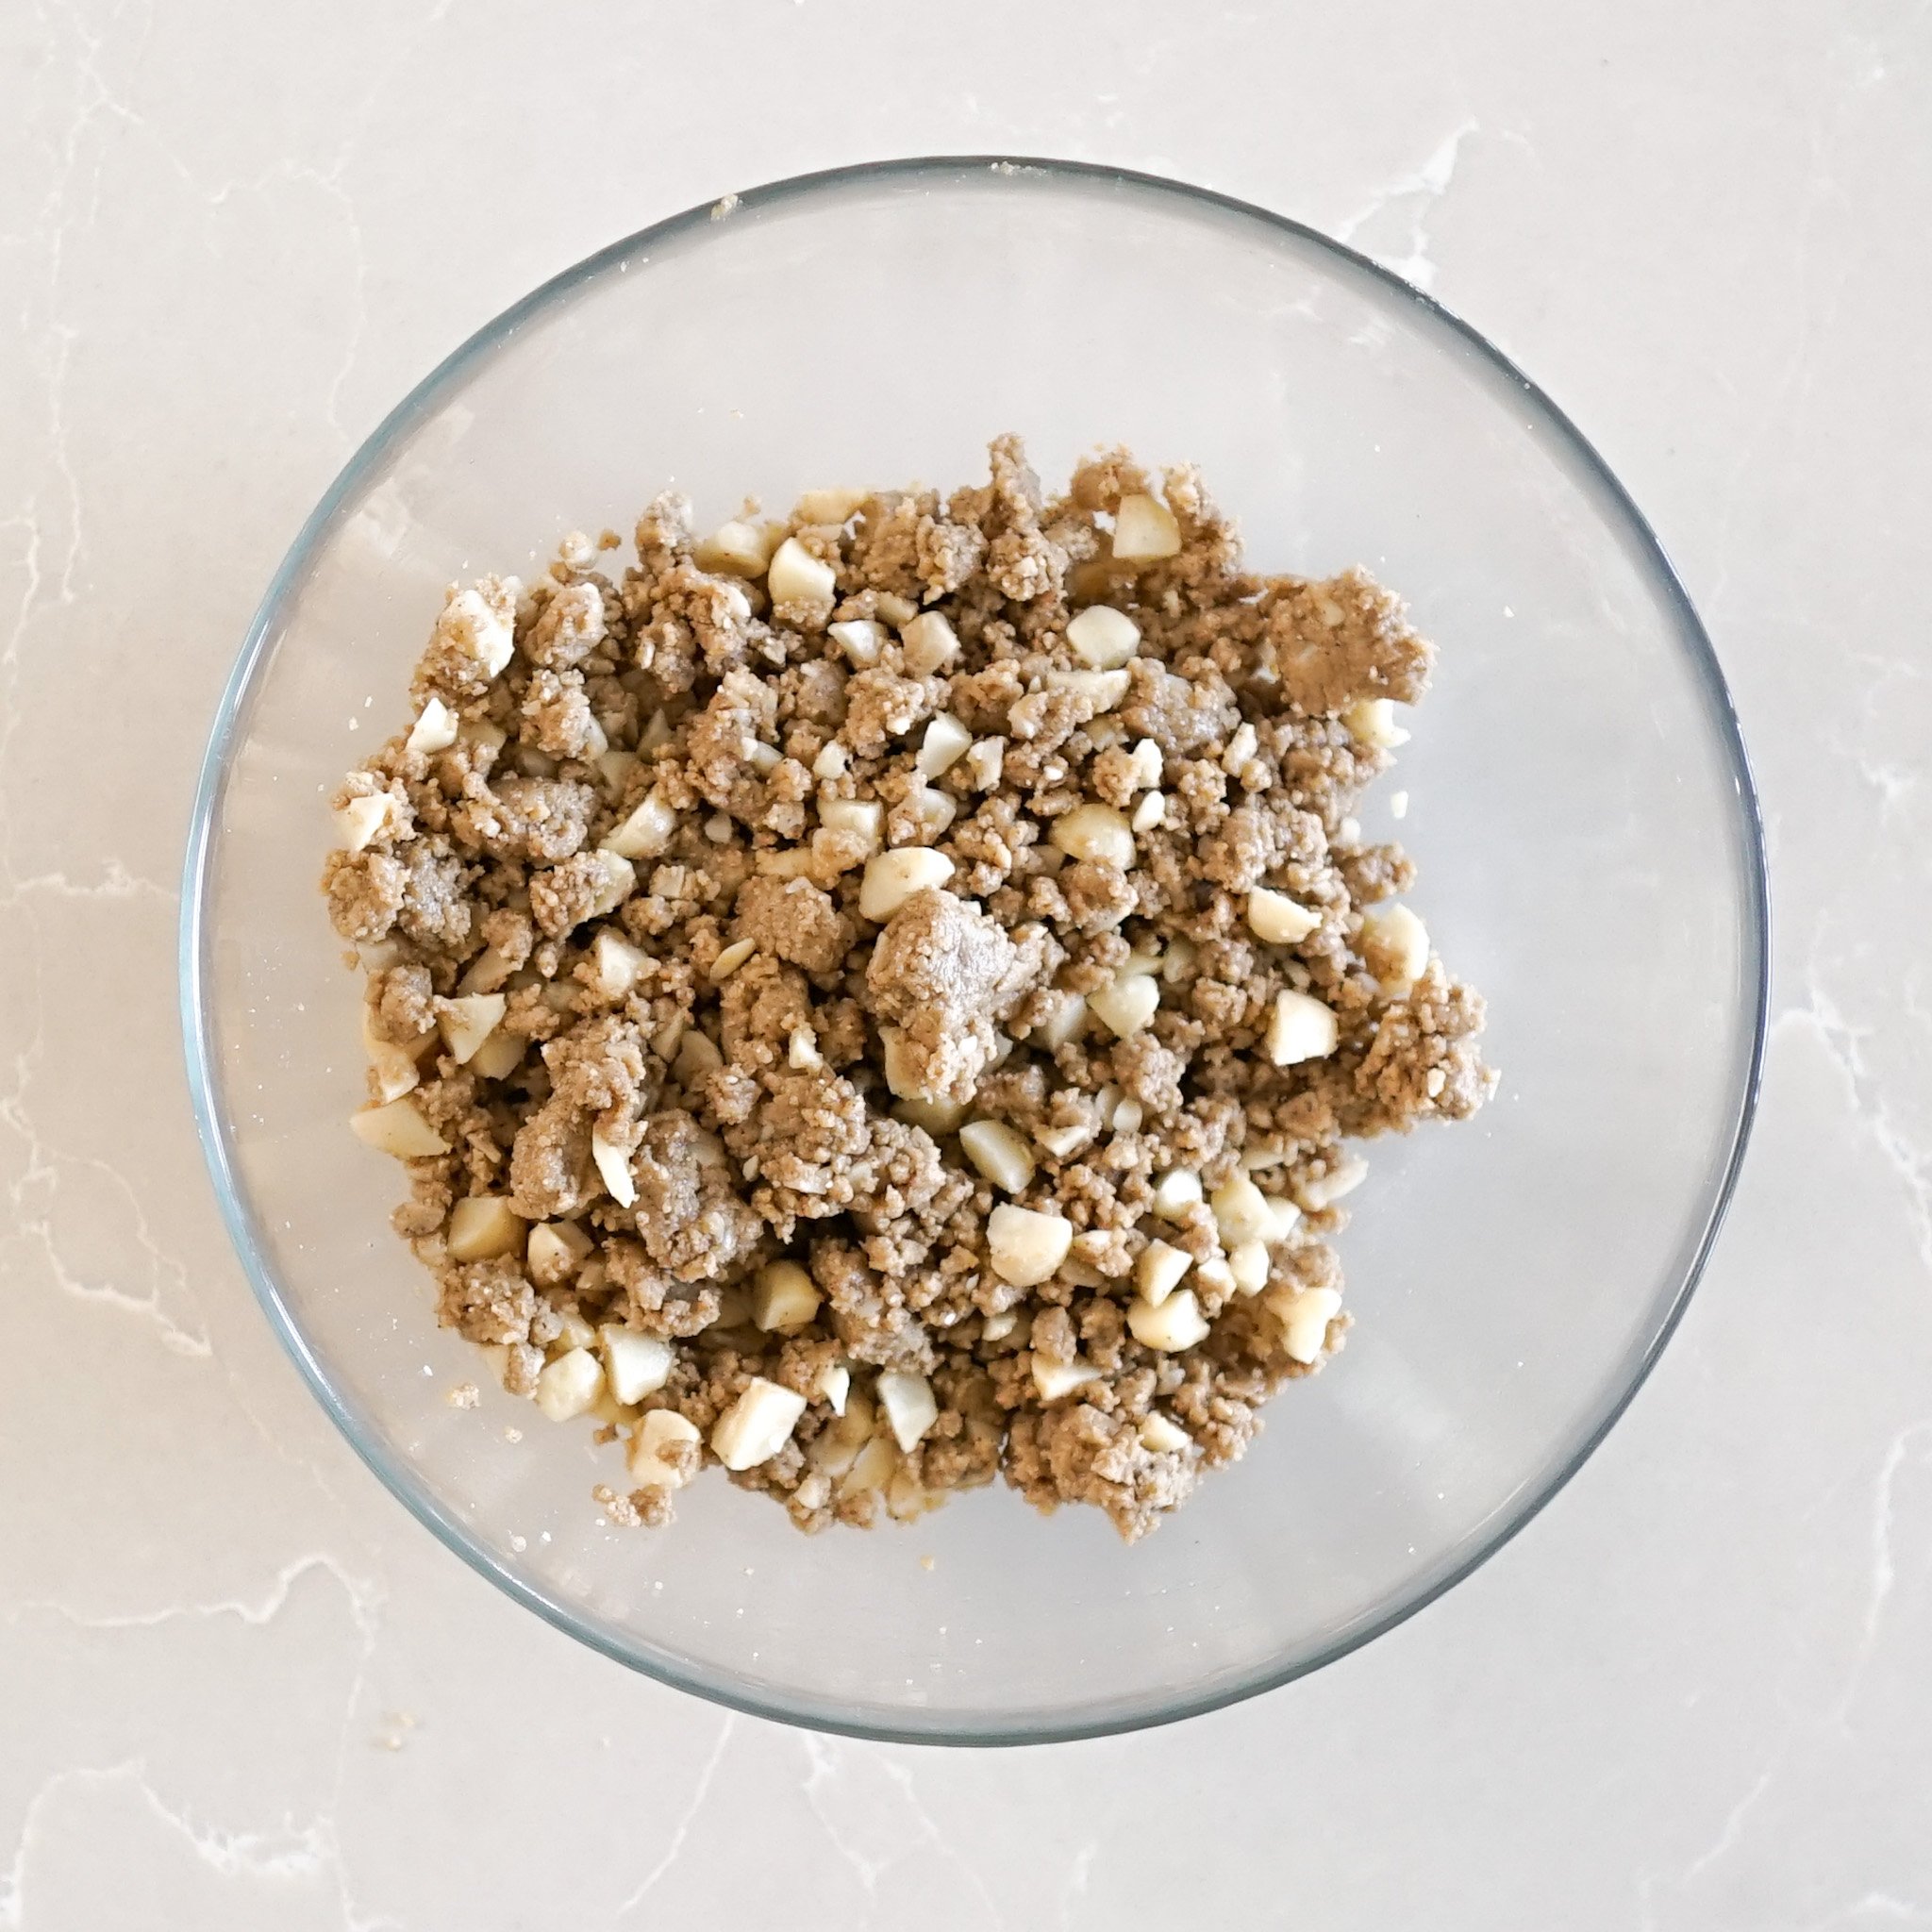
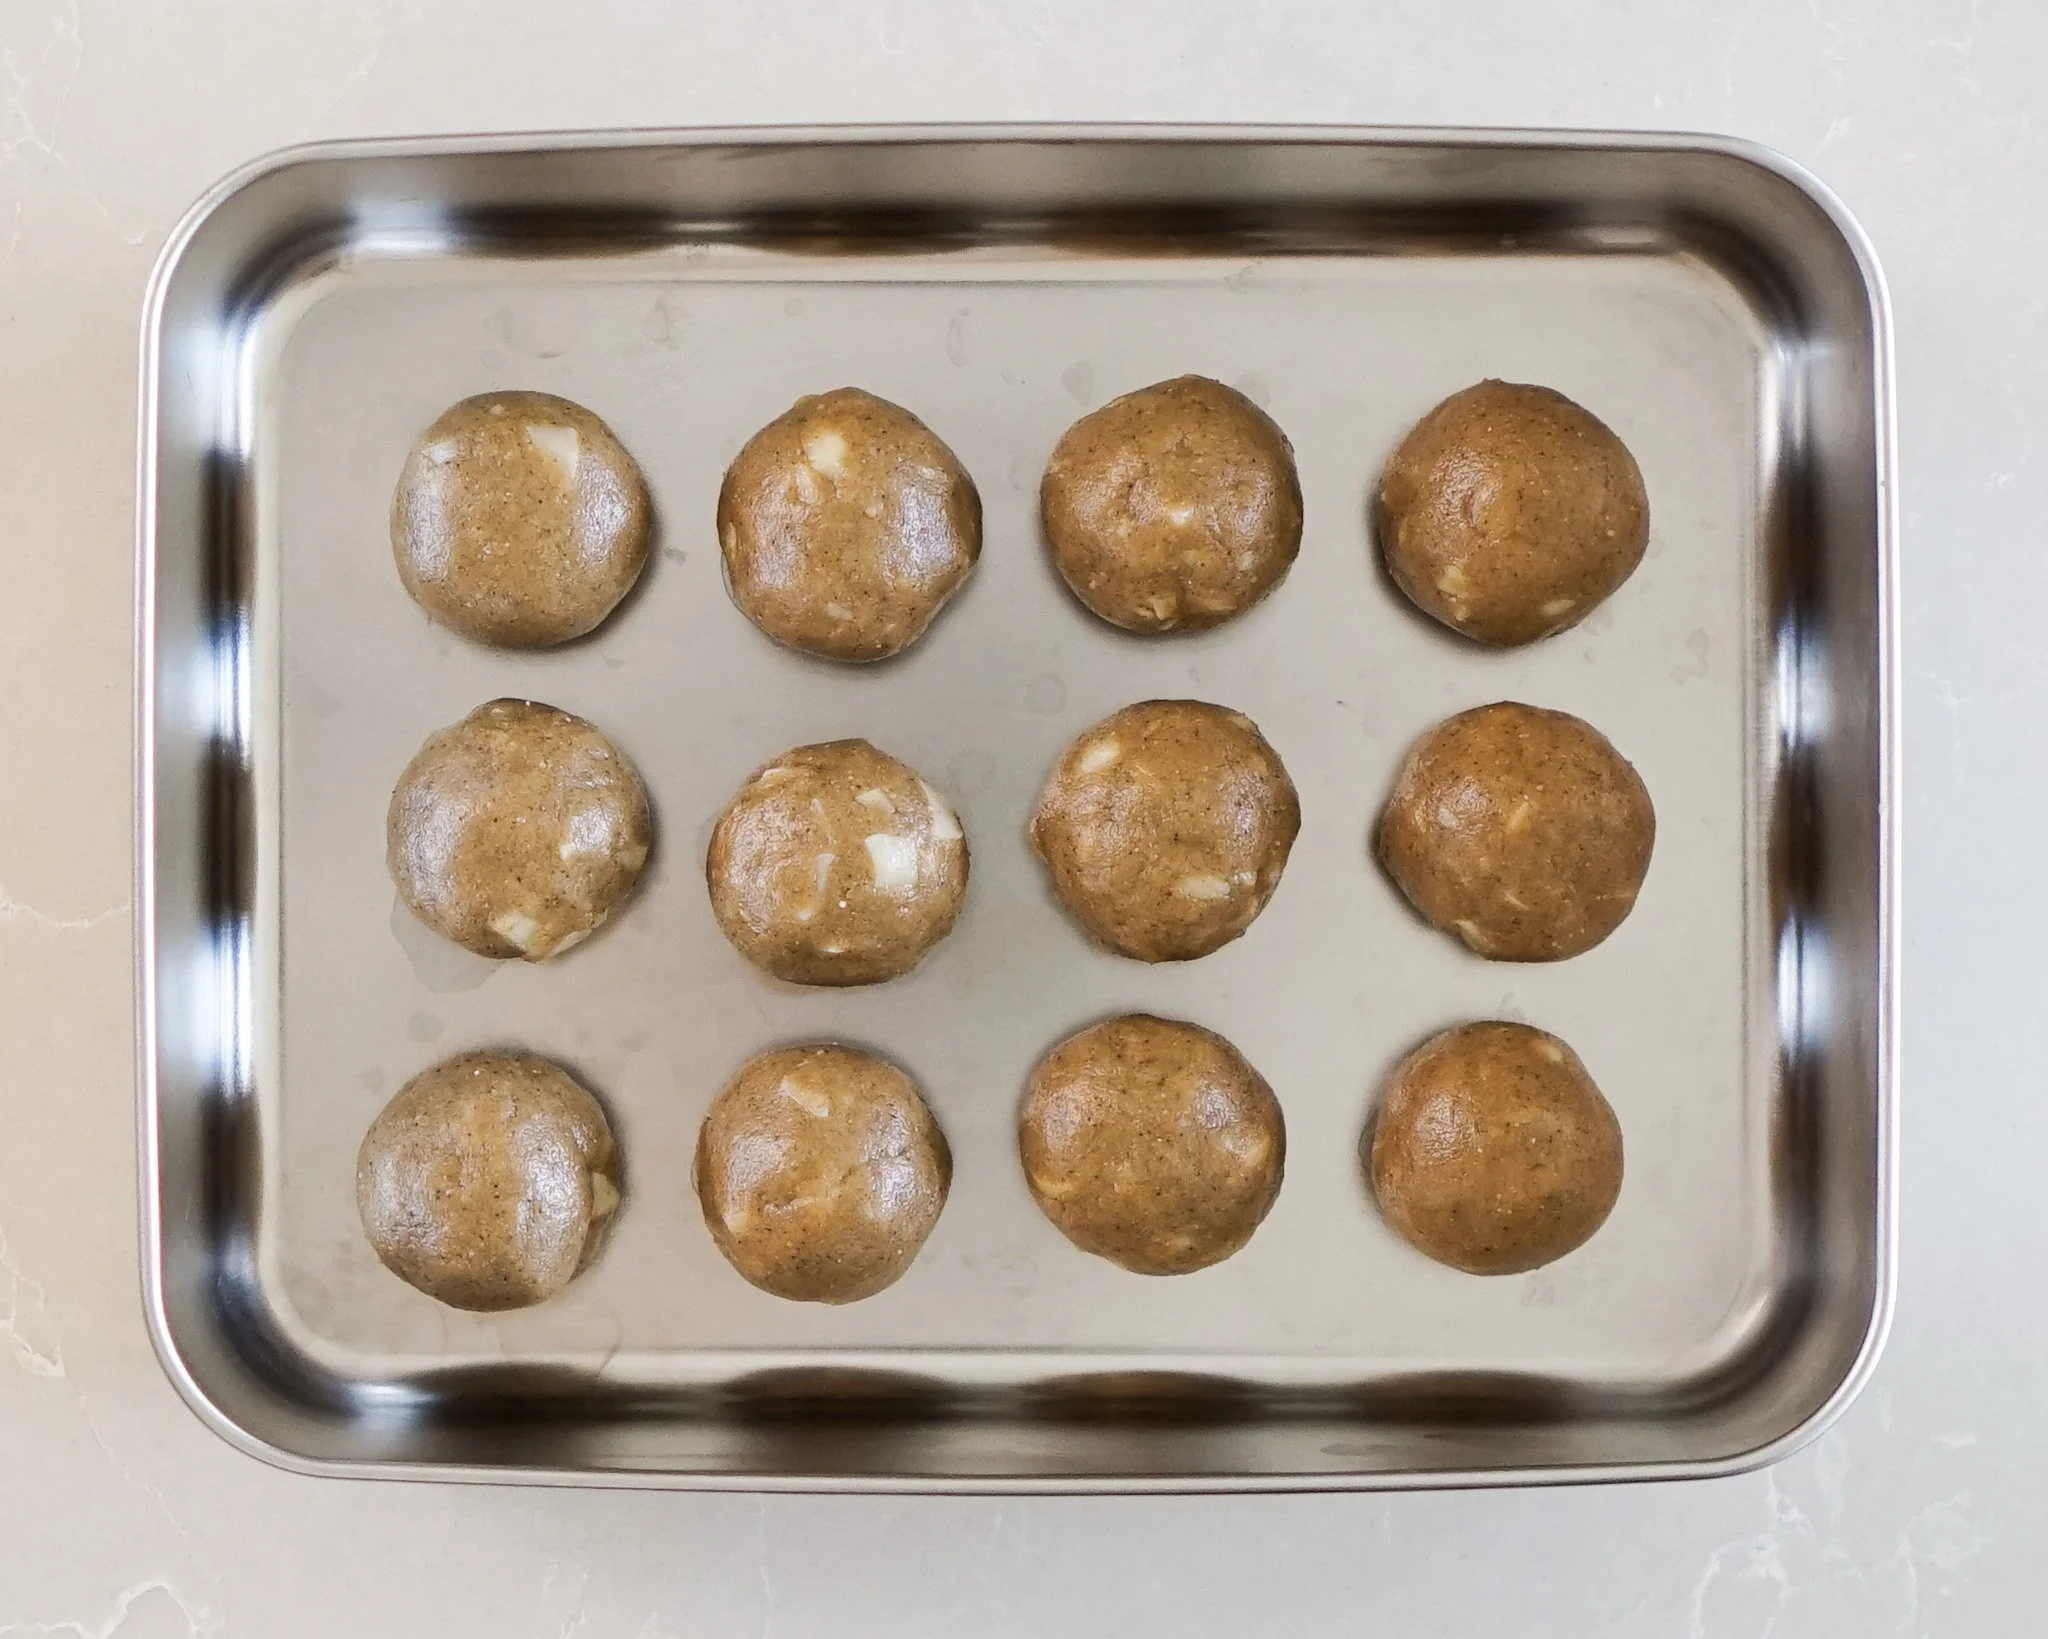
10. Portion into 25 g balls of sesame filling then chill in the fridge for at least 3 hours.
Back to the snow skin
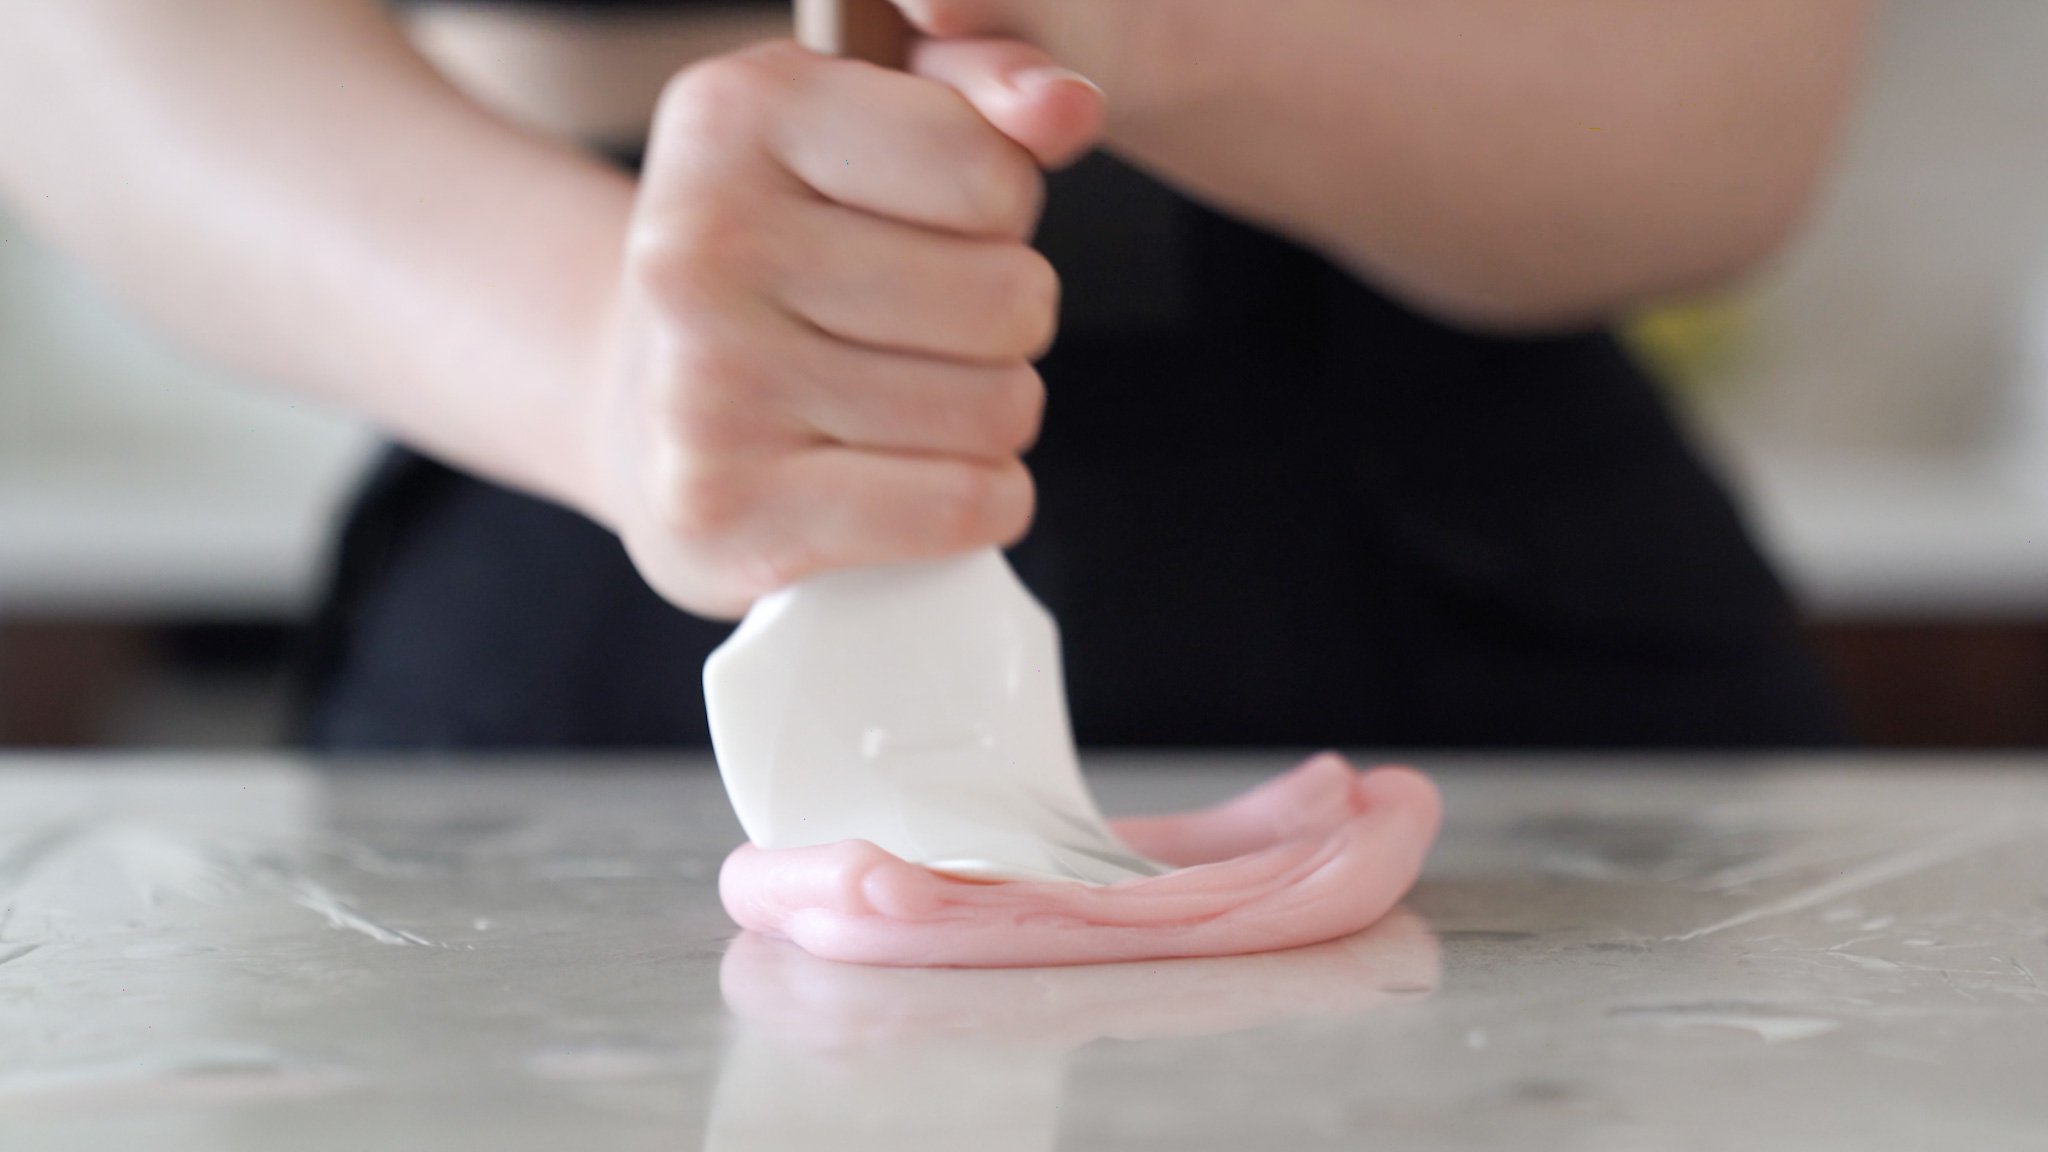
11. Once the snow skin is cool enough to touch, transfer it onto a piece of plastic wrap and knead the snow skin with a rubber spatula until any separated oil is reincorporated and has a smooth and uniform texture.
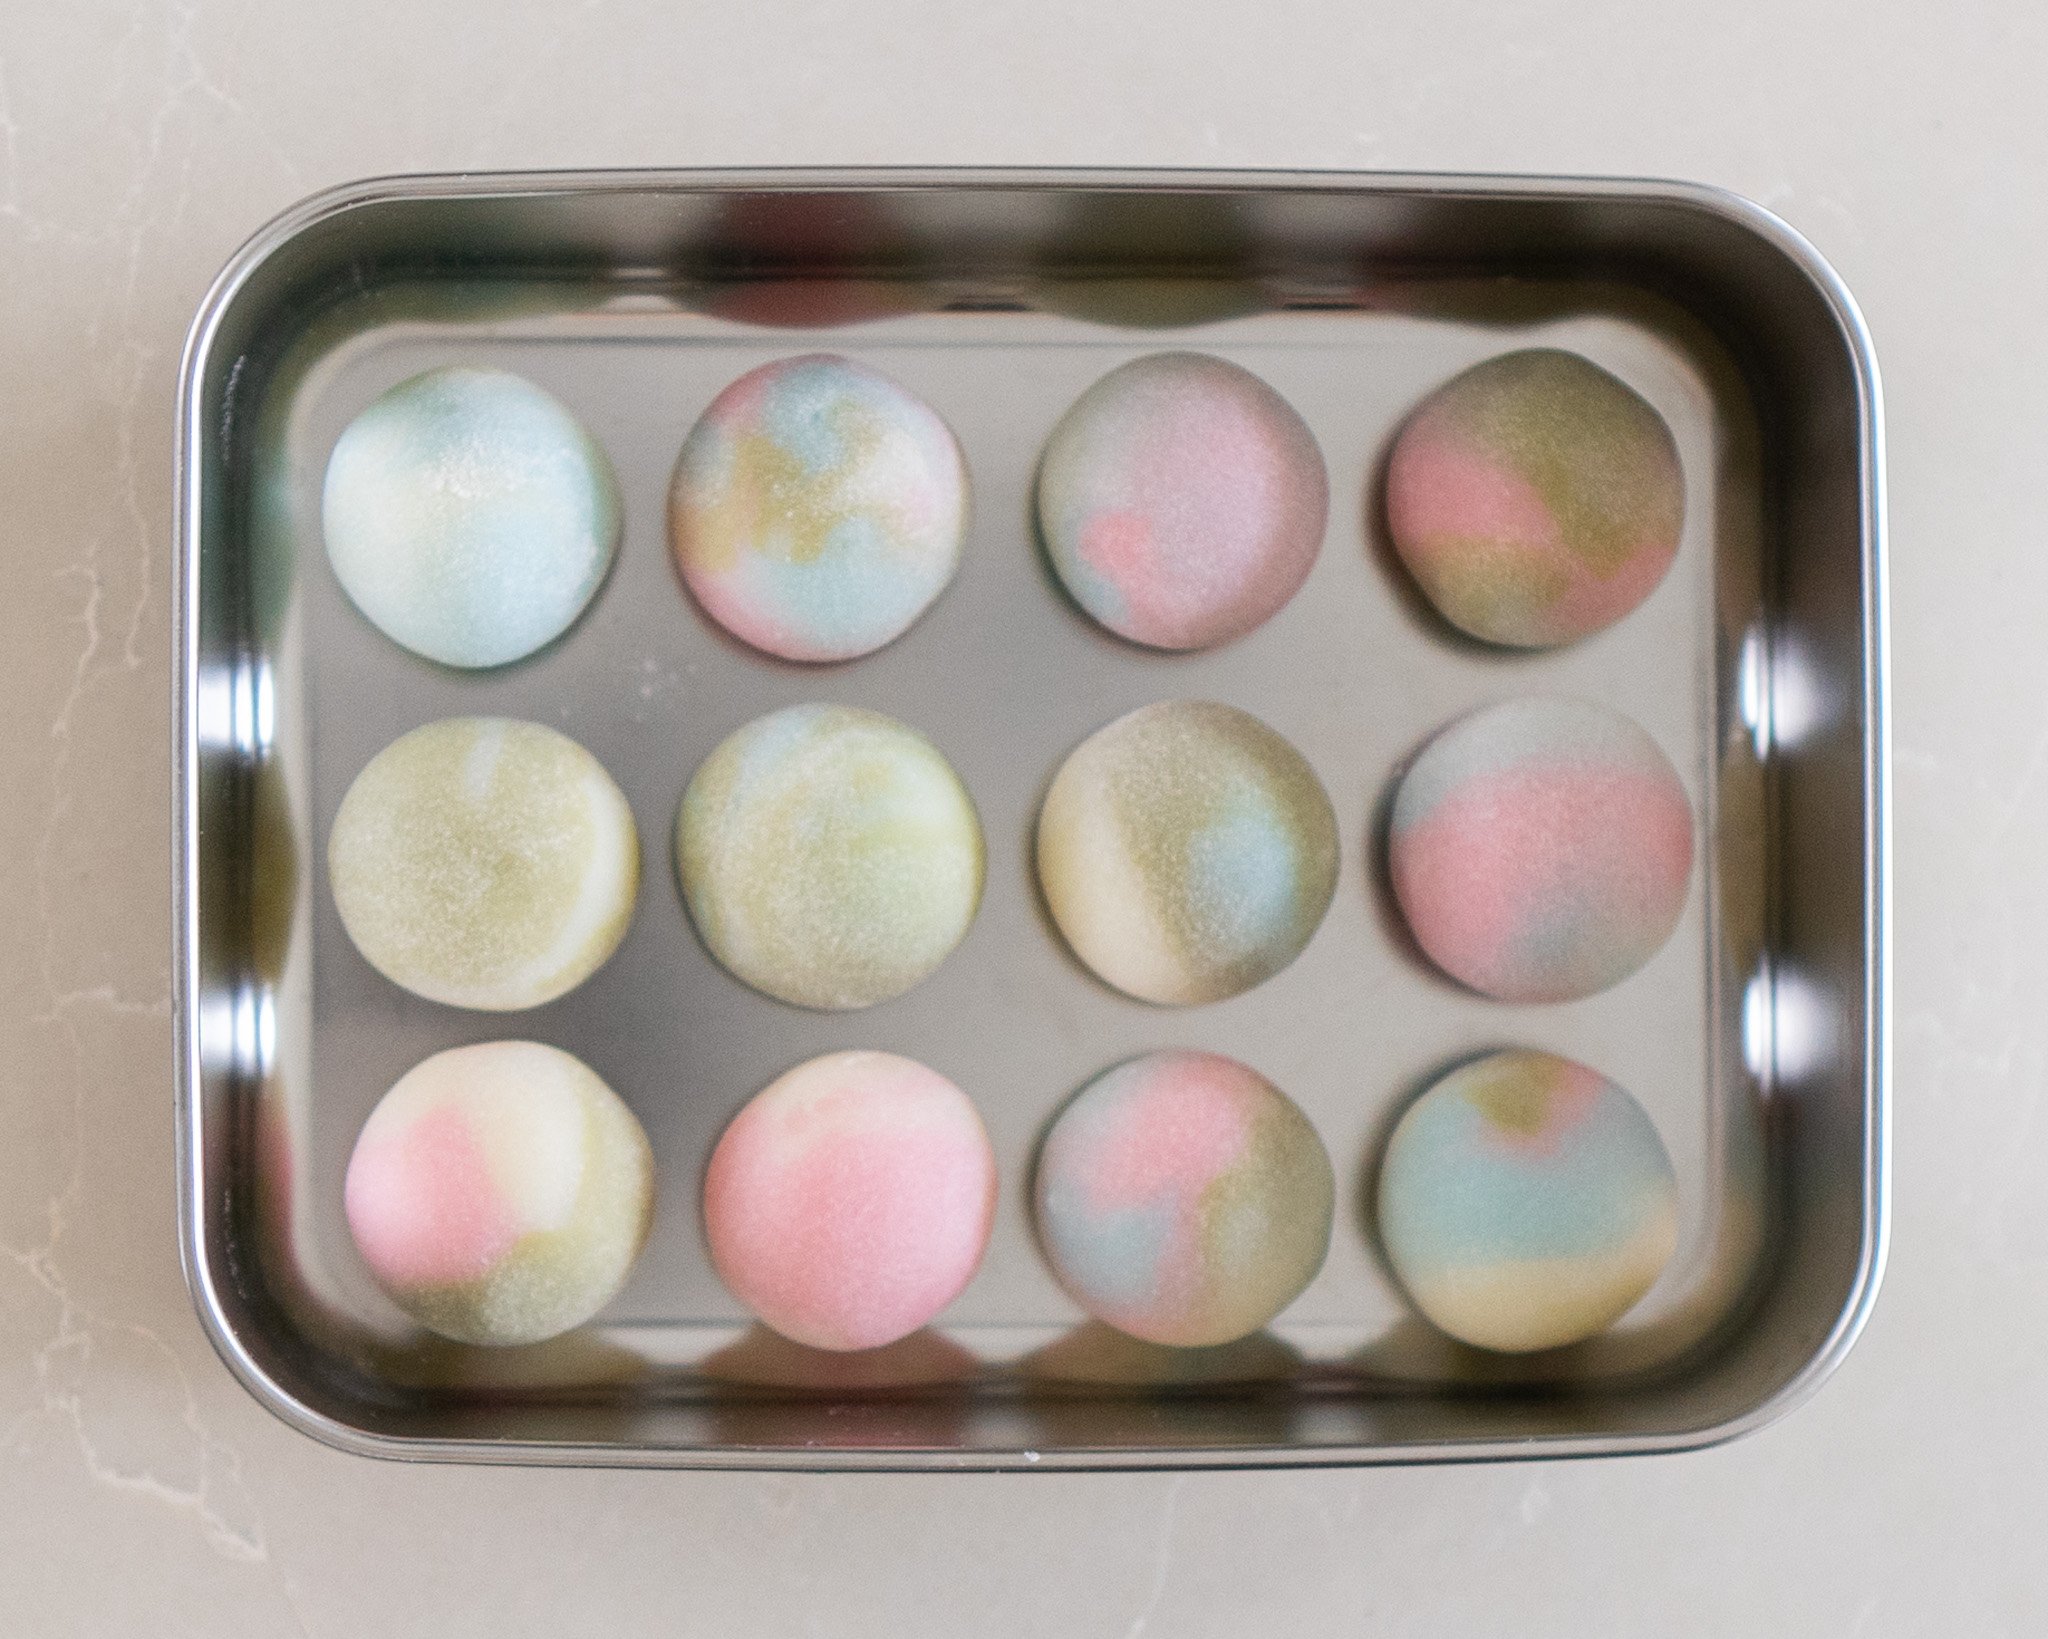
12. Portion and colour the snow skin with your food colouring of choice.


13. Tightly wrap up the snow skin with the plastic wrap, then place it into the fridge to chill for at least 3 hours. You can also prepare this the night before.

Assembly
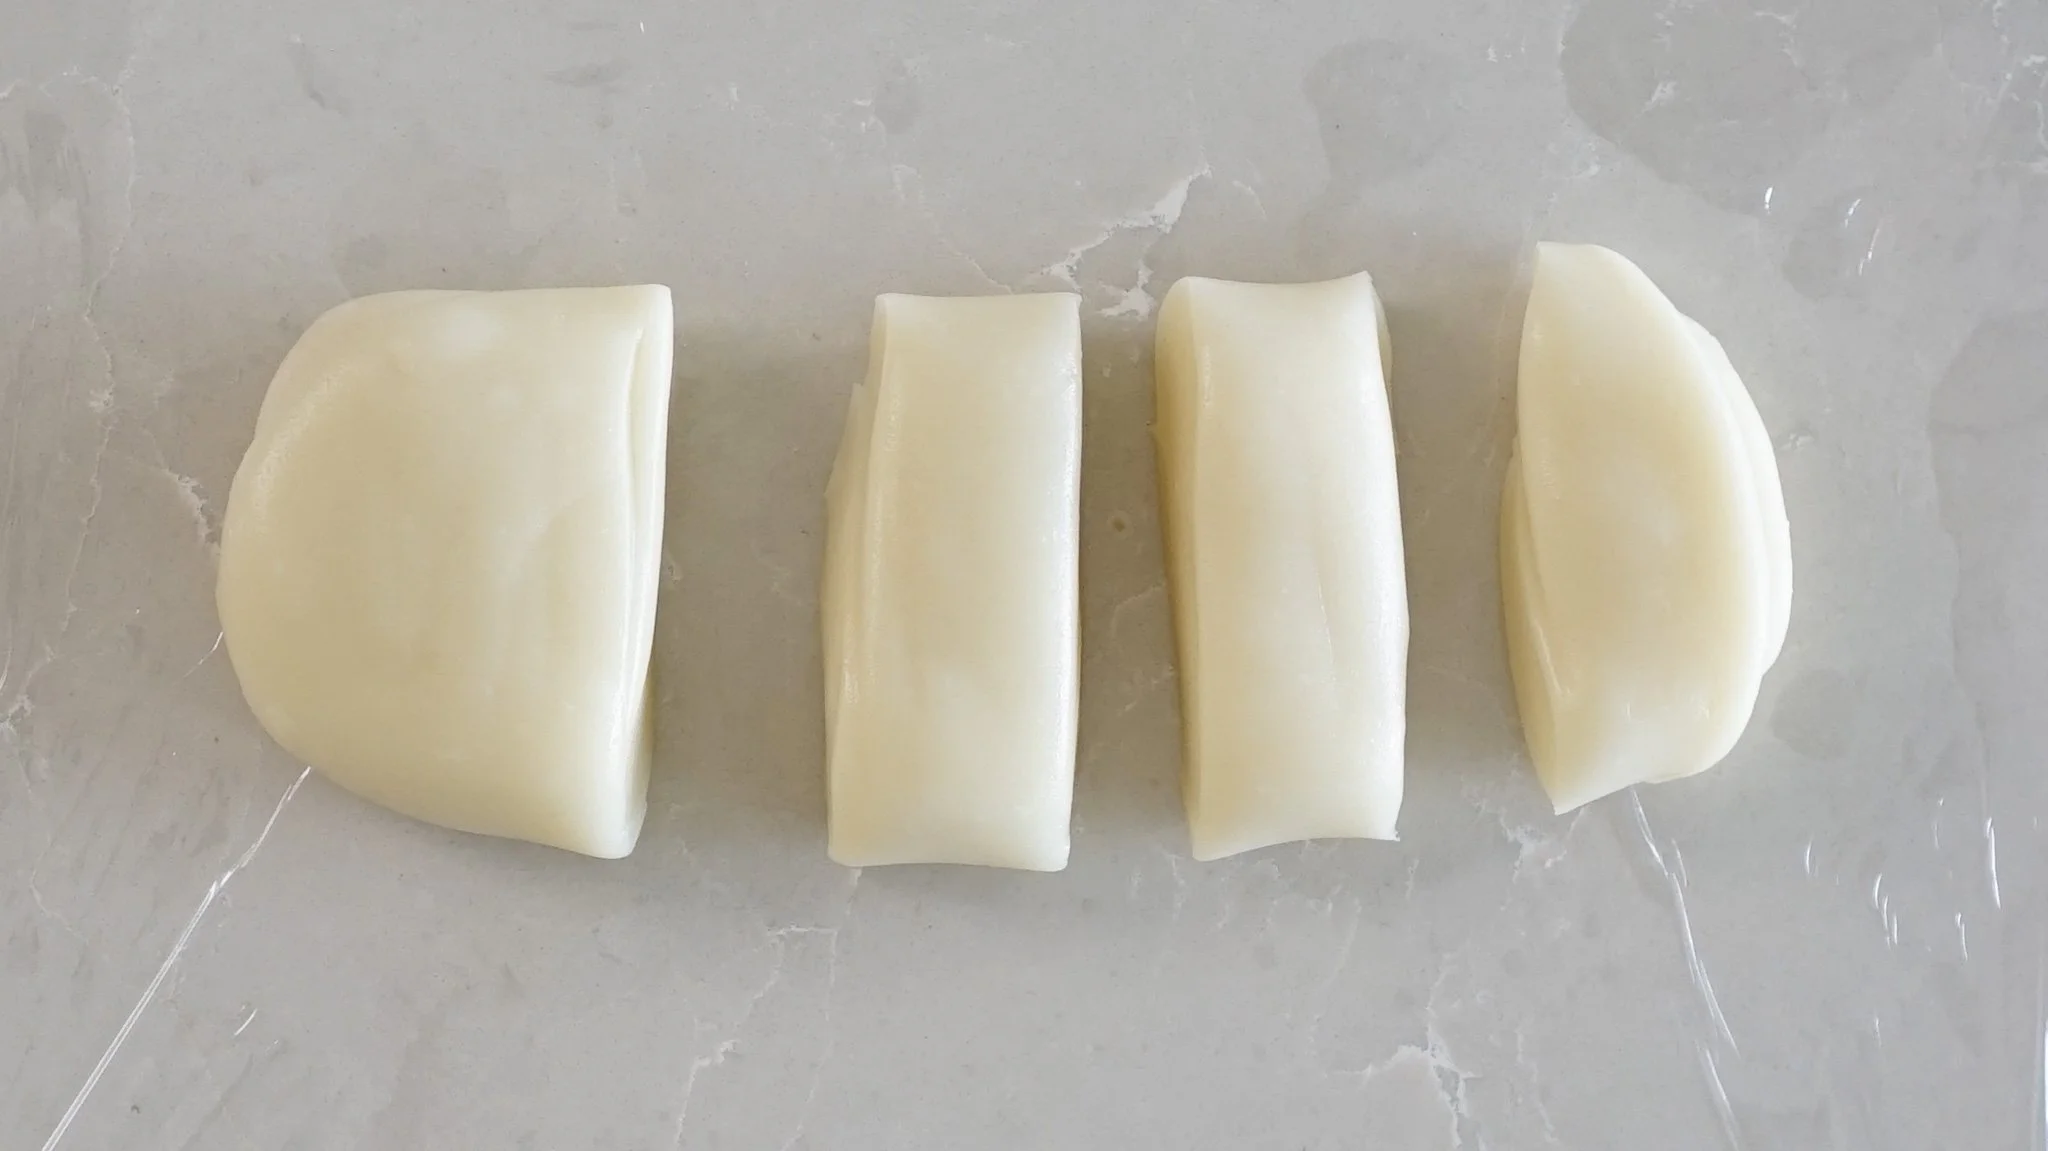
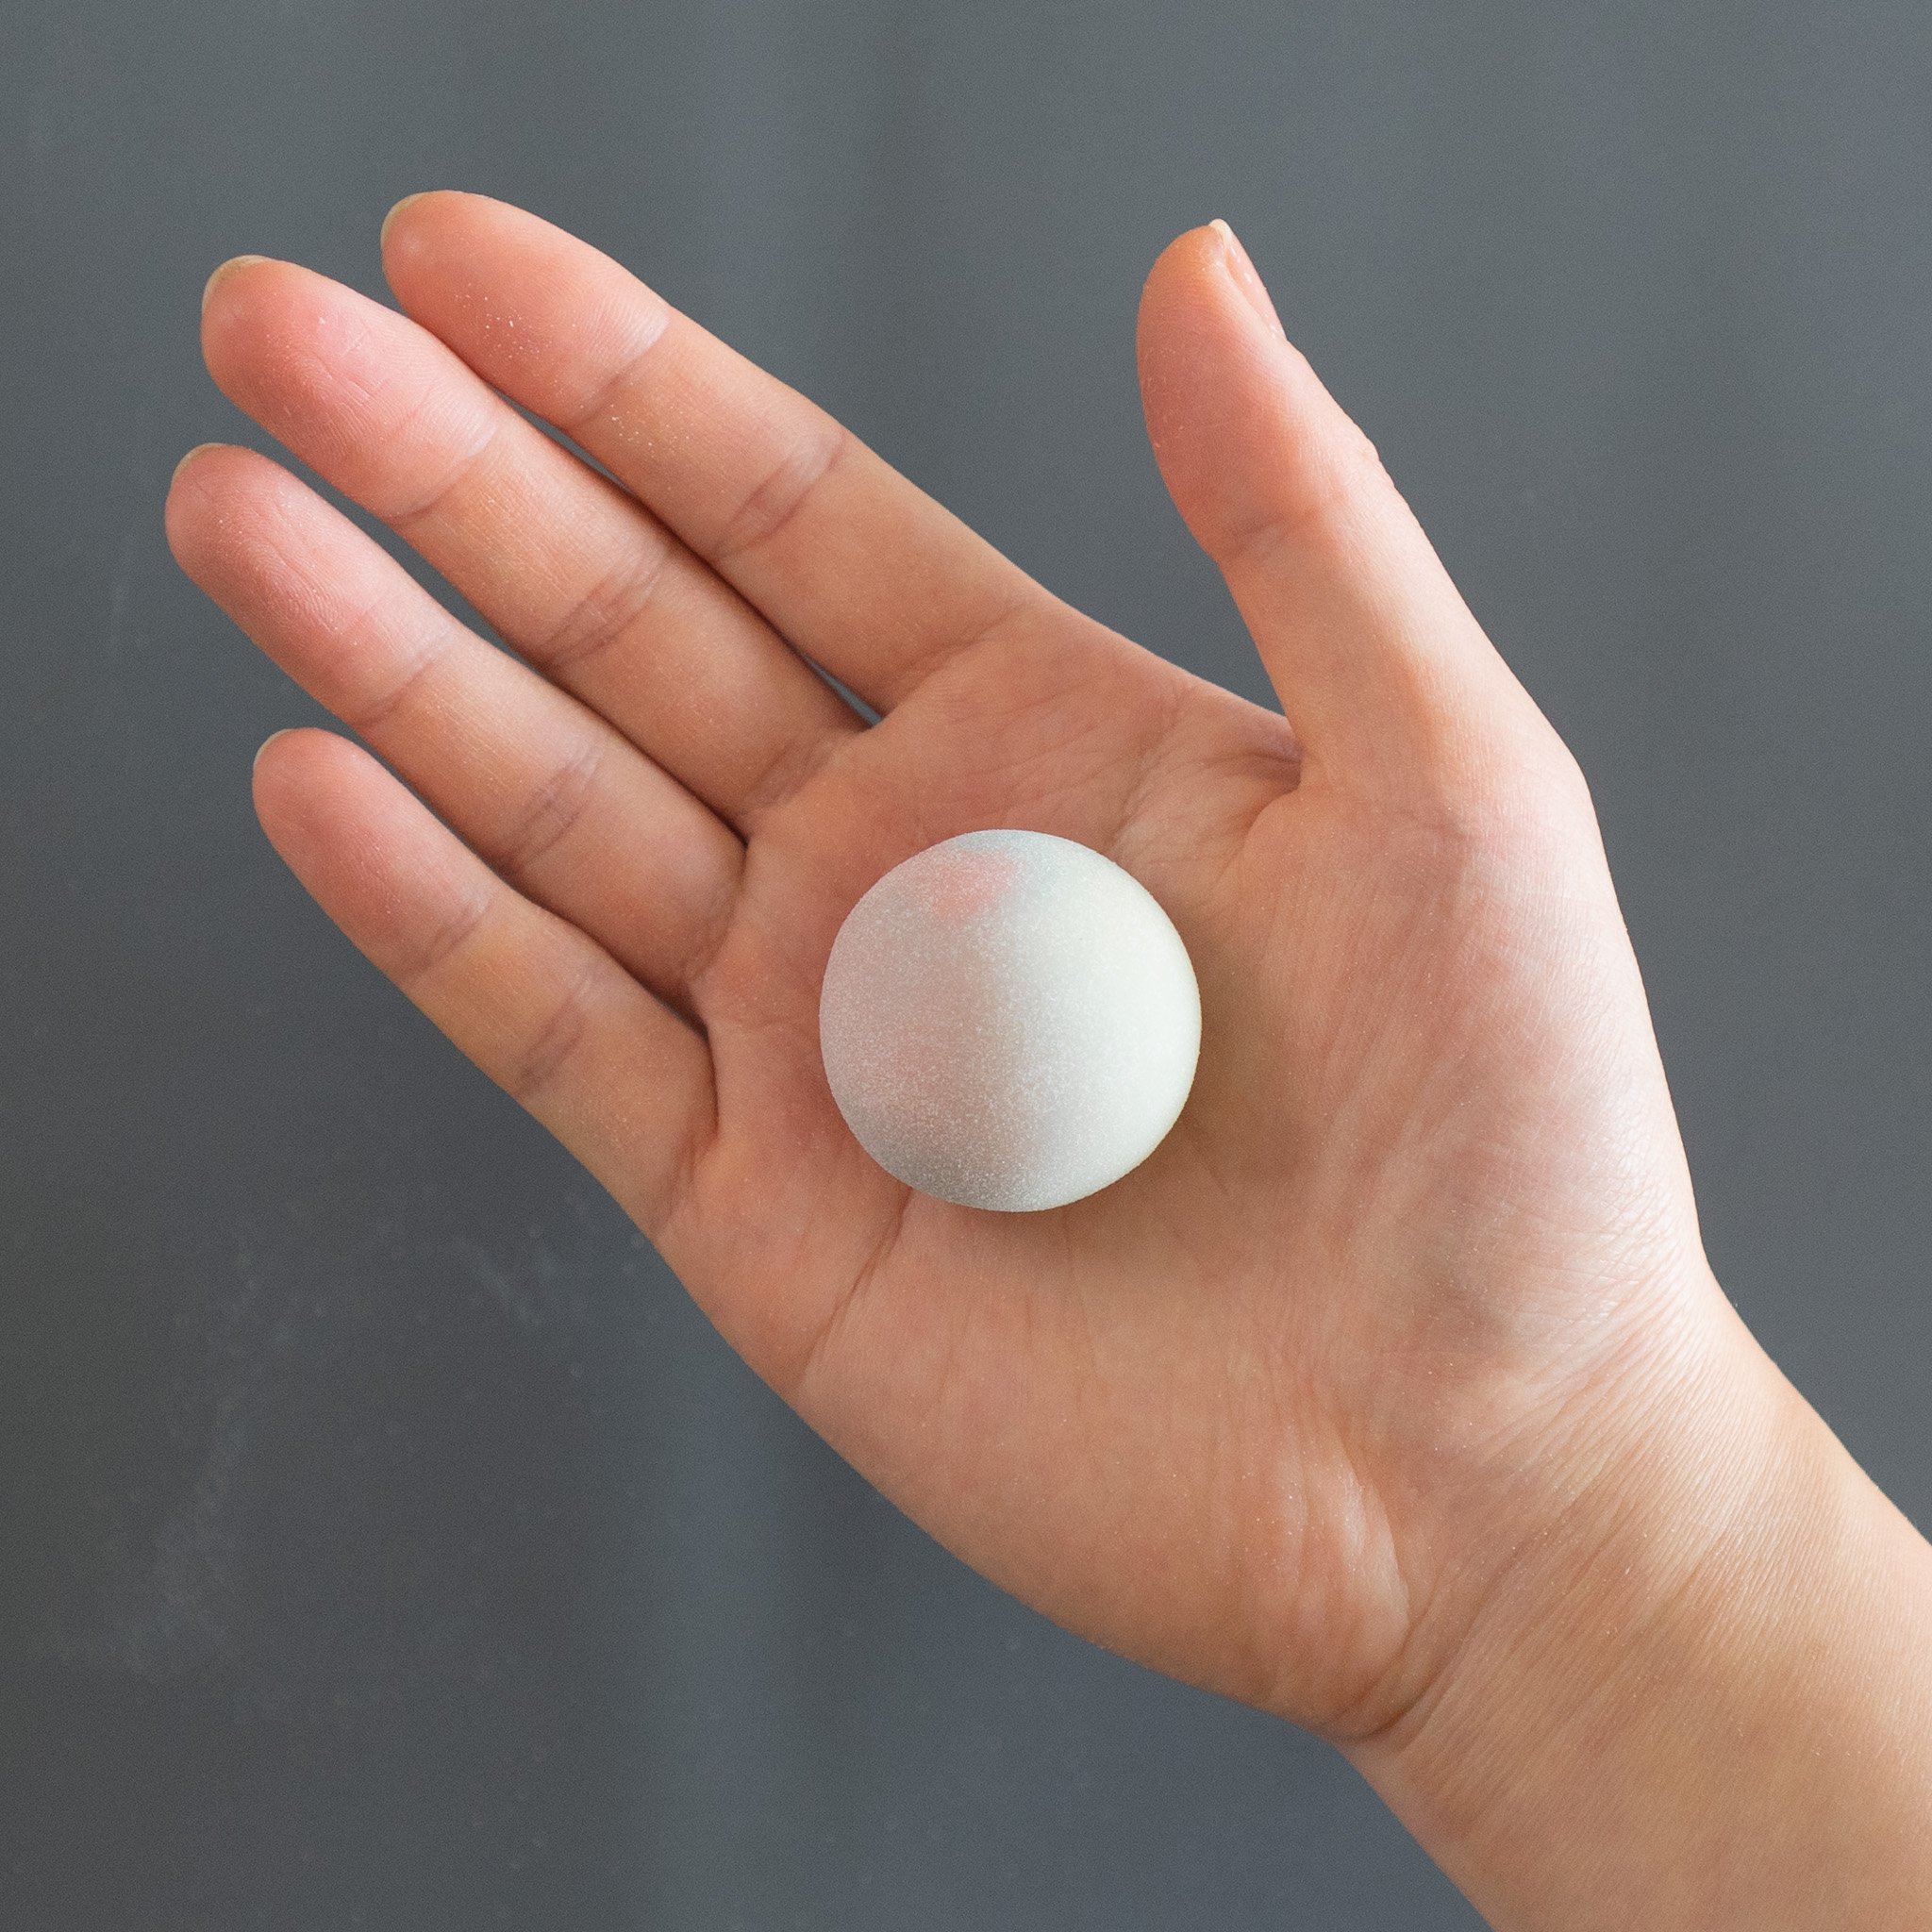
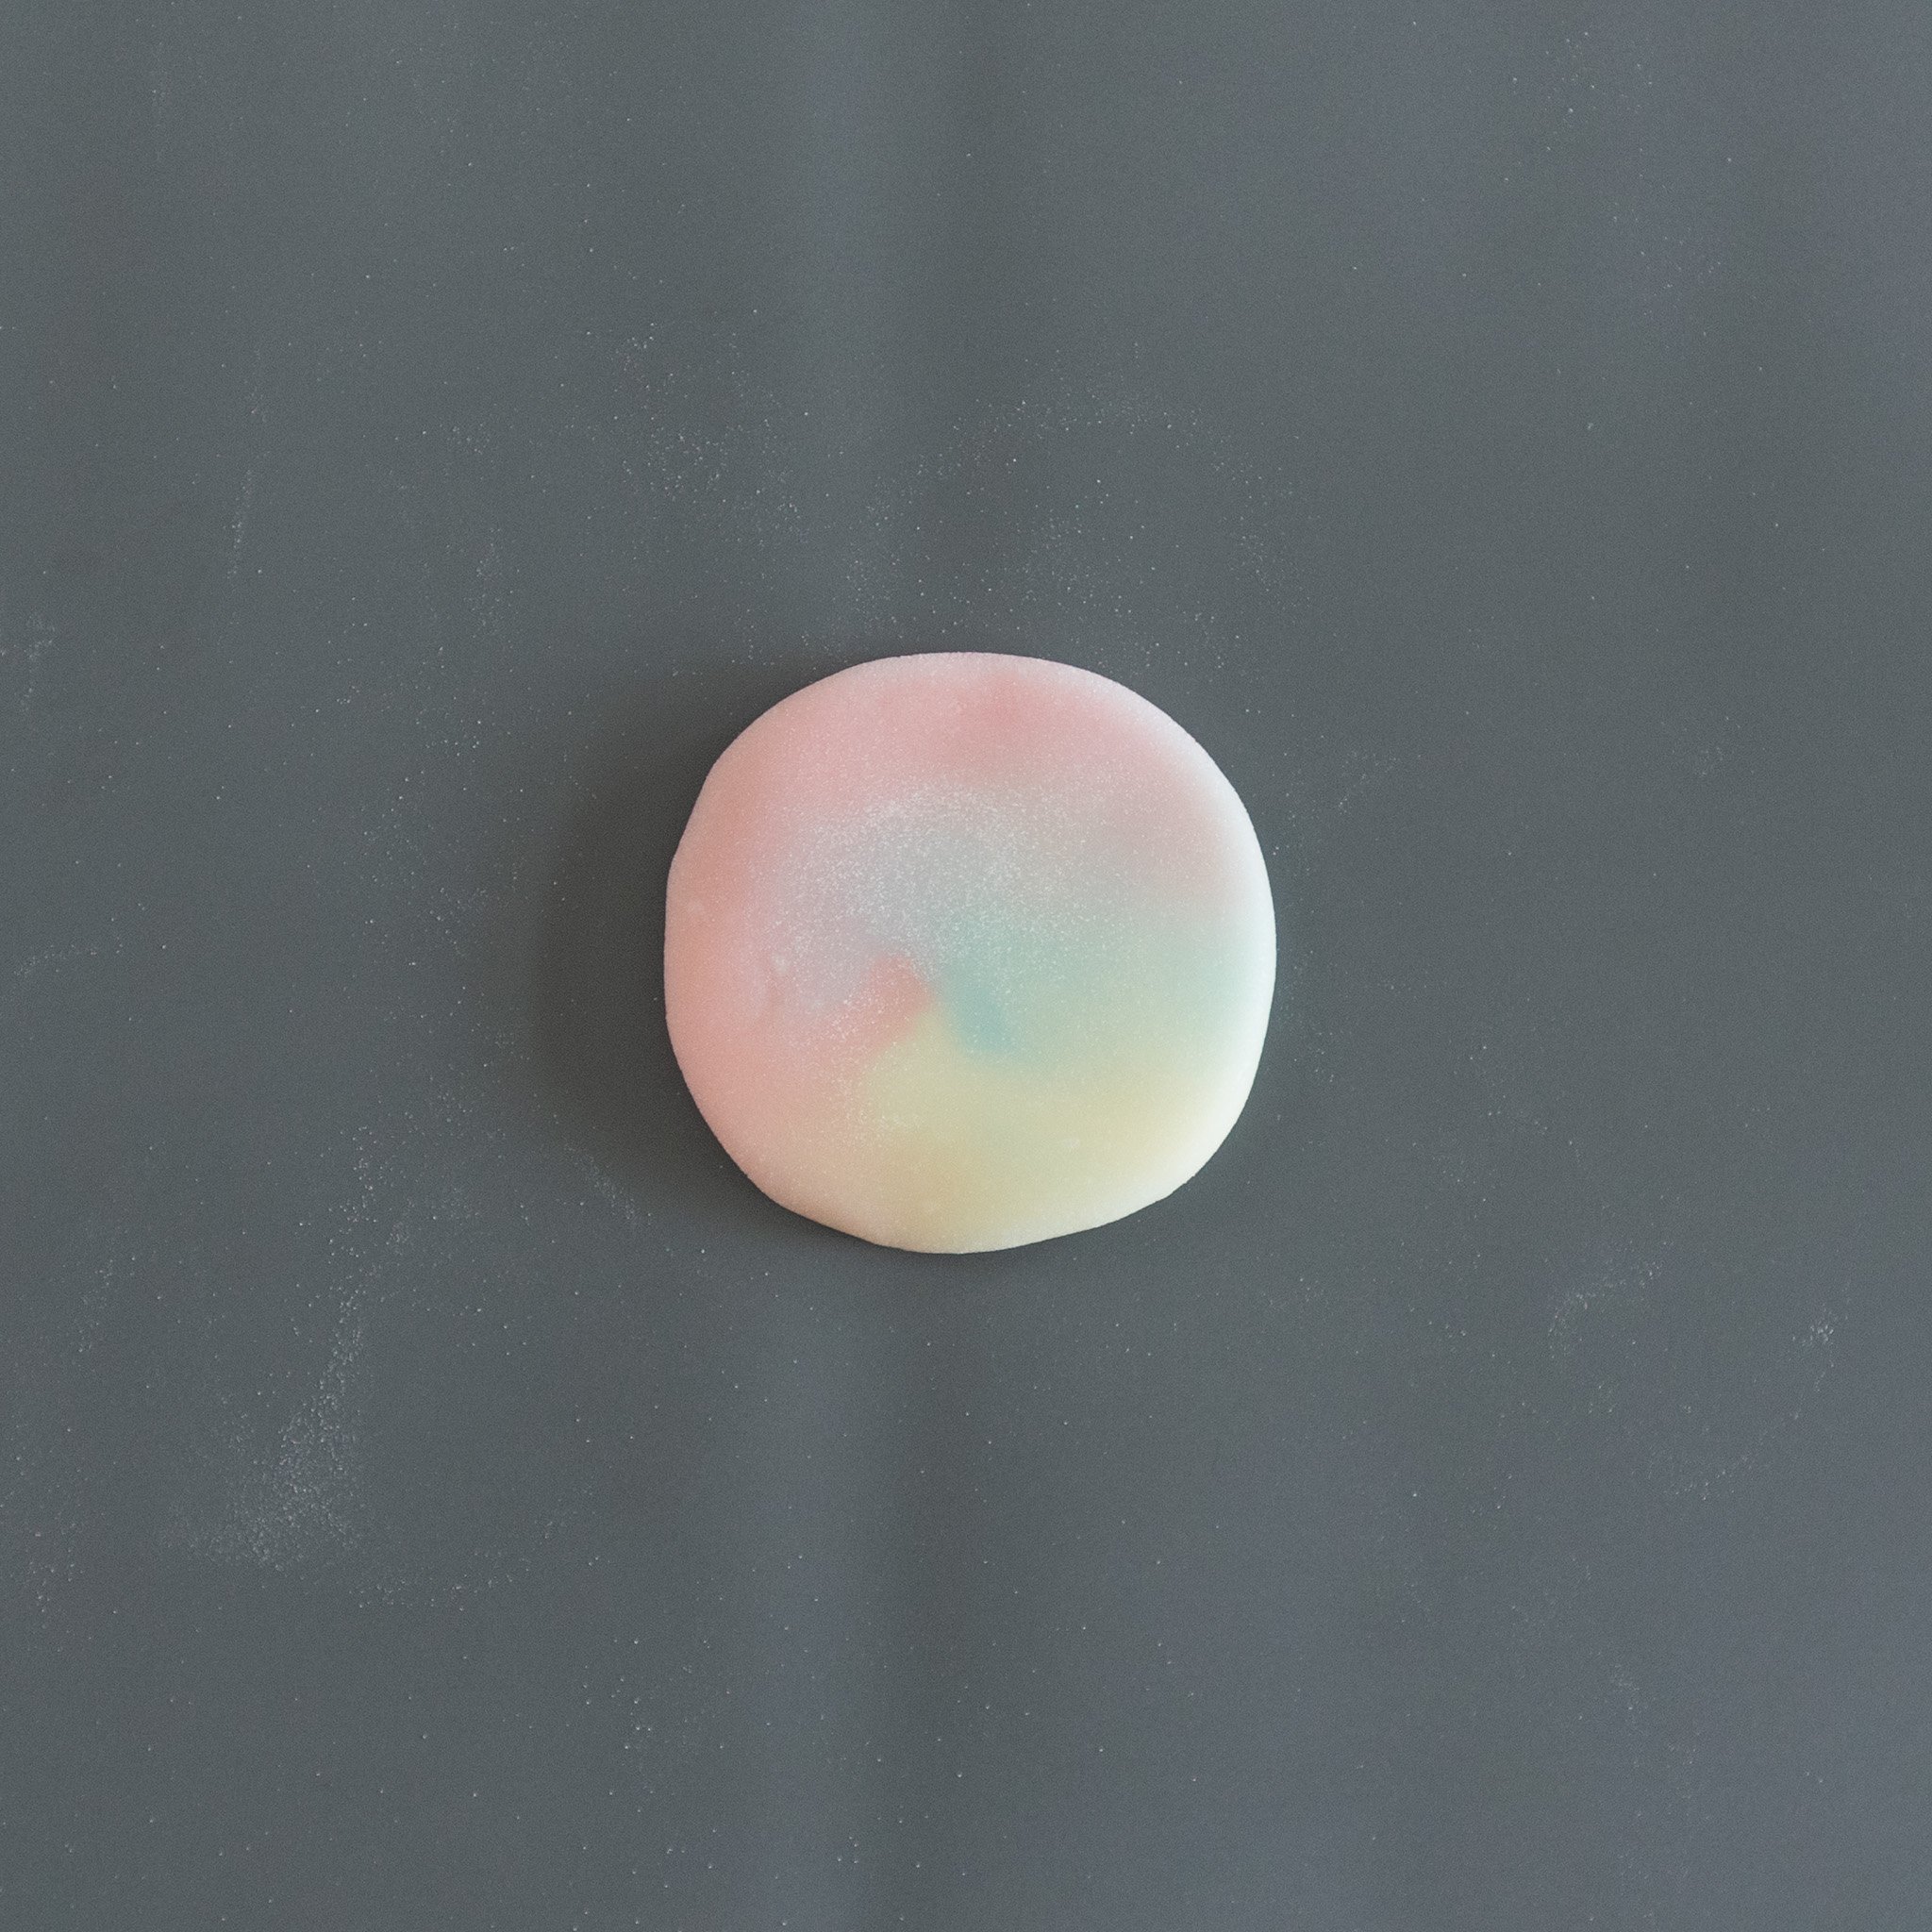
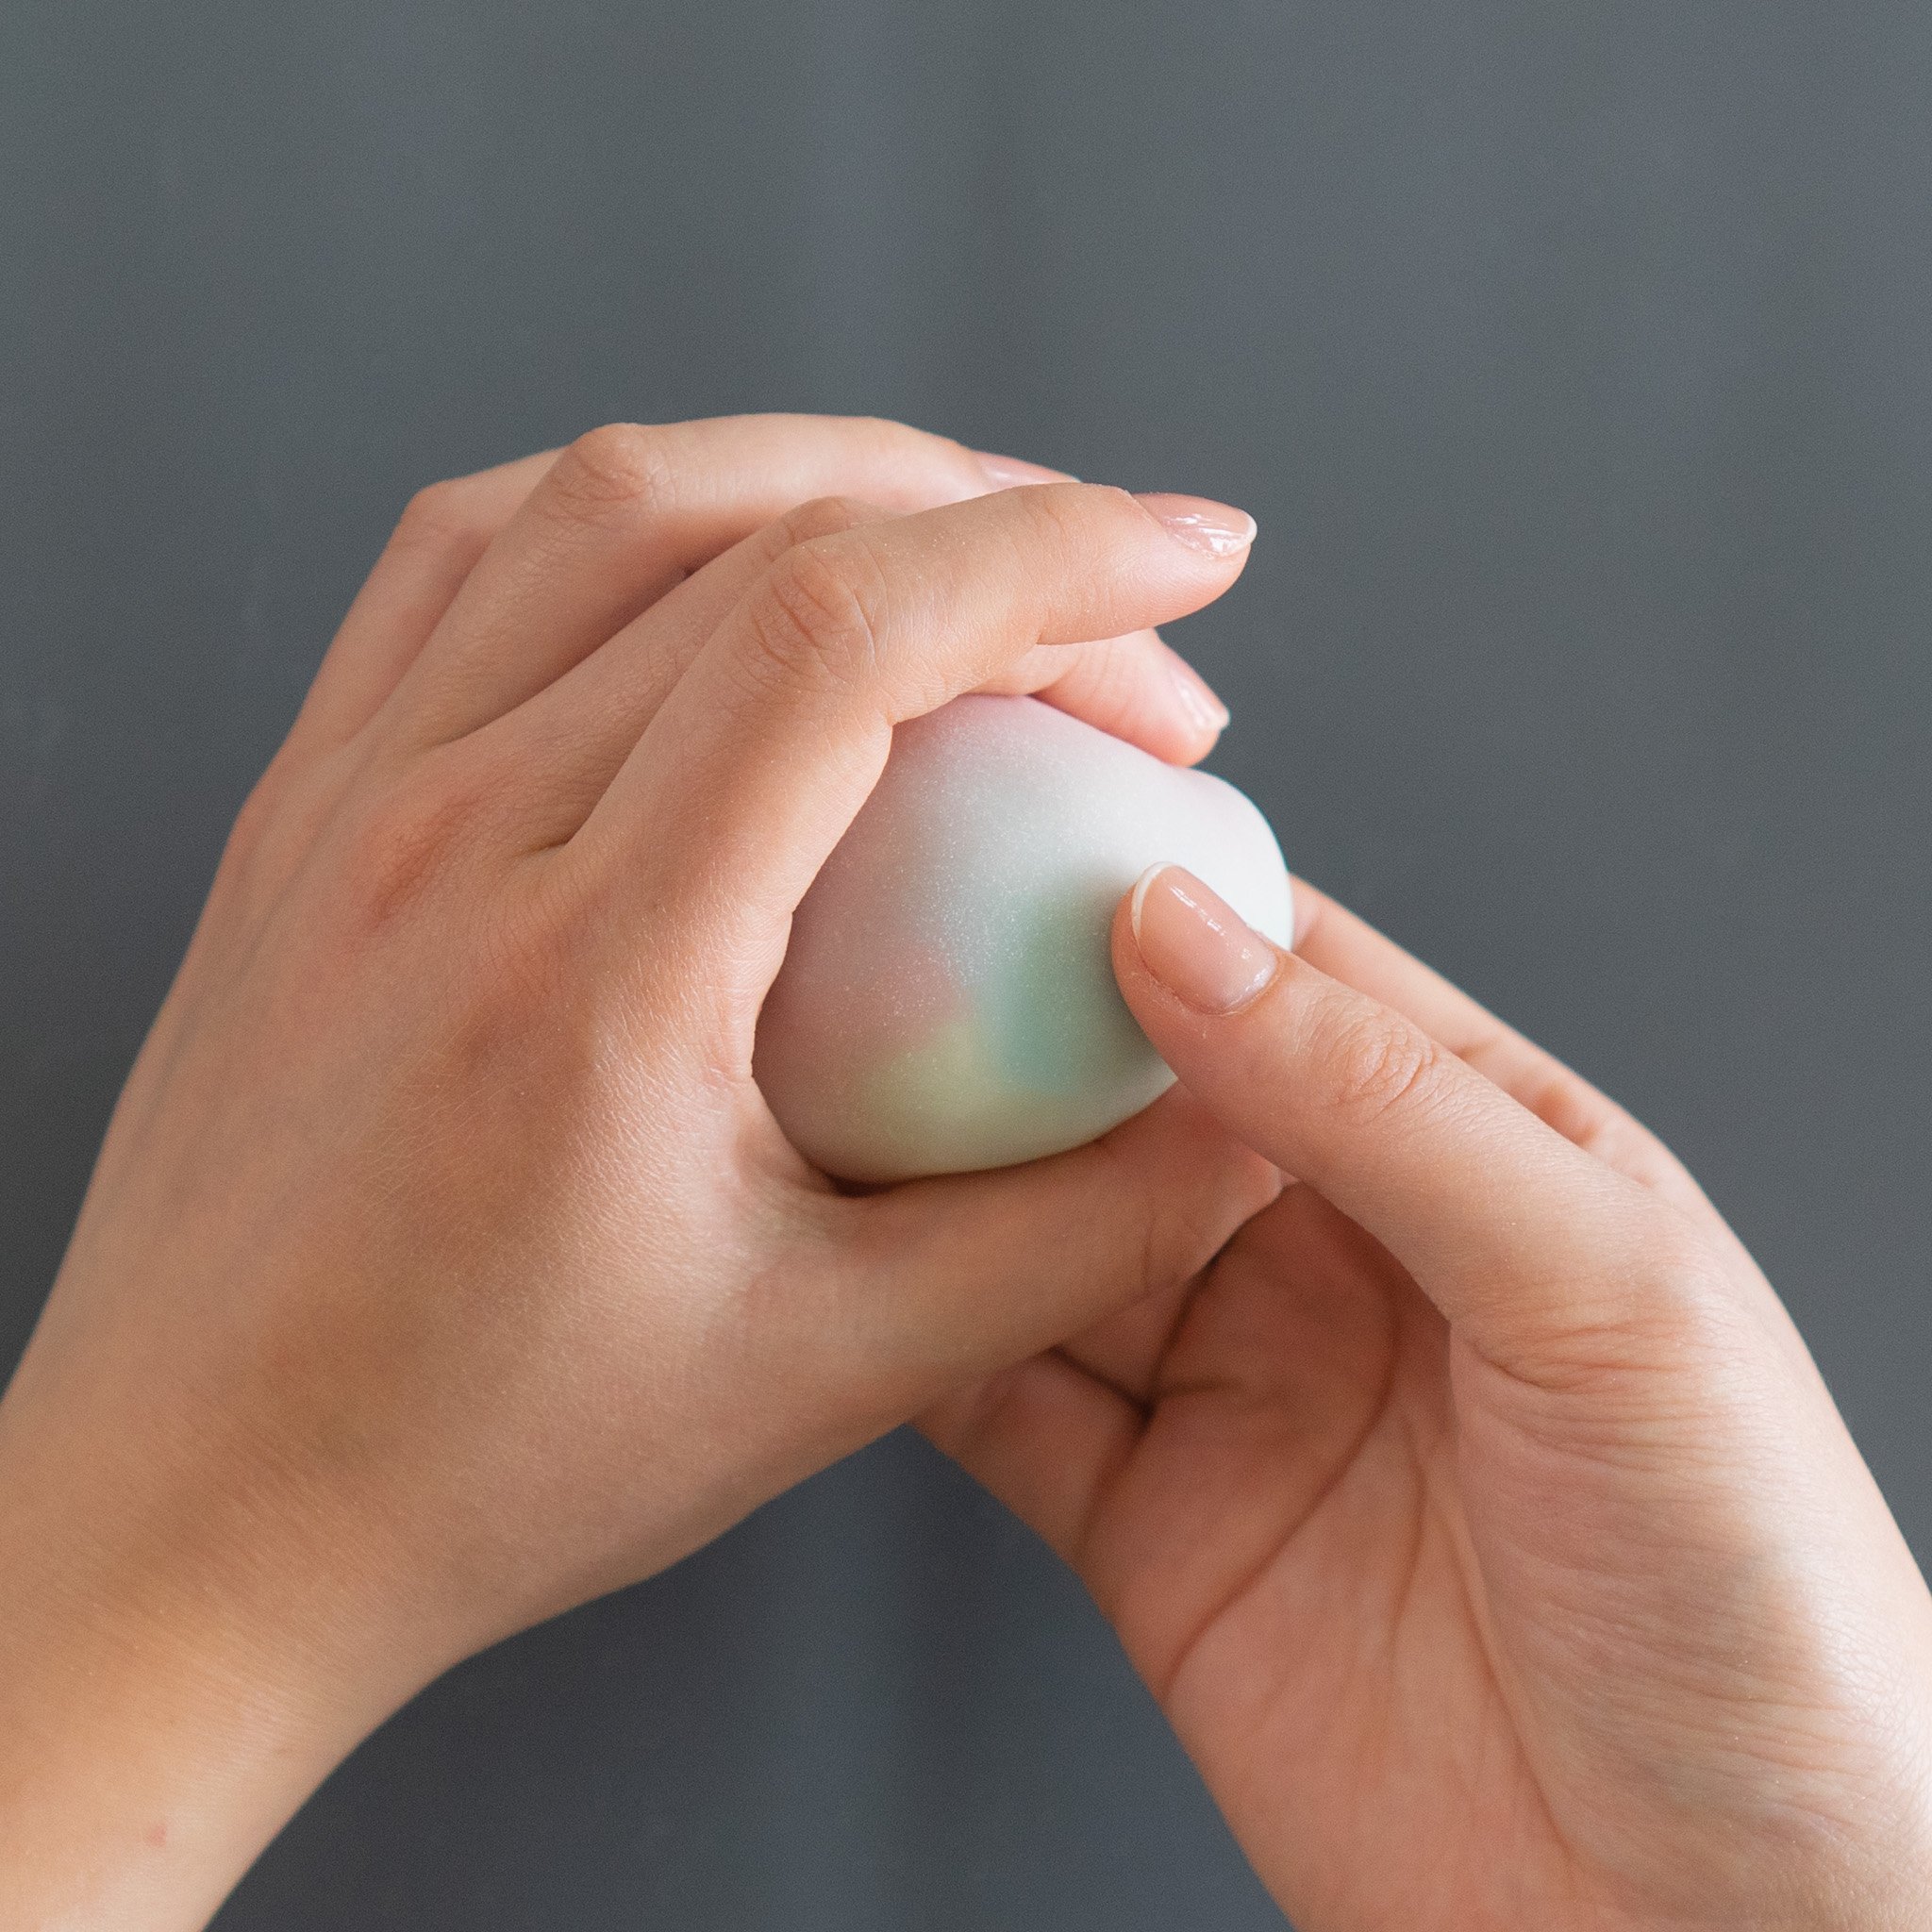
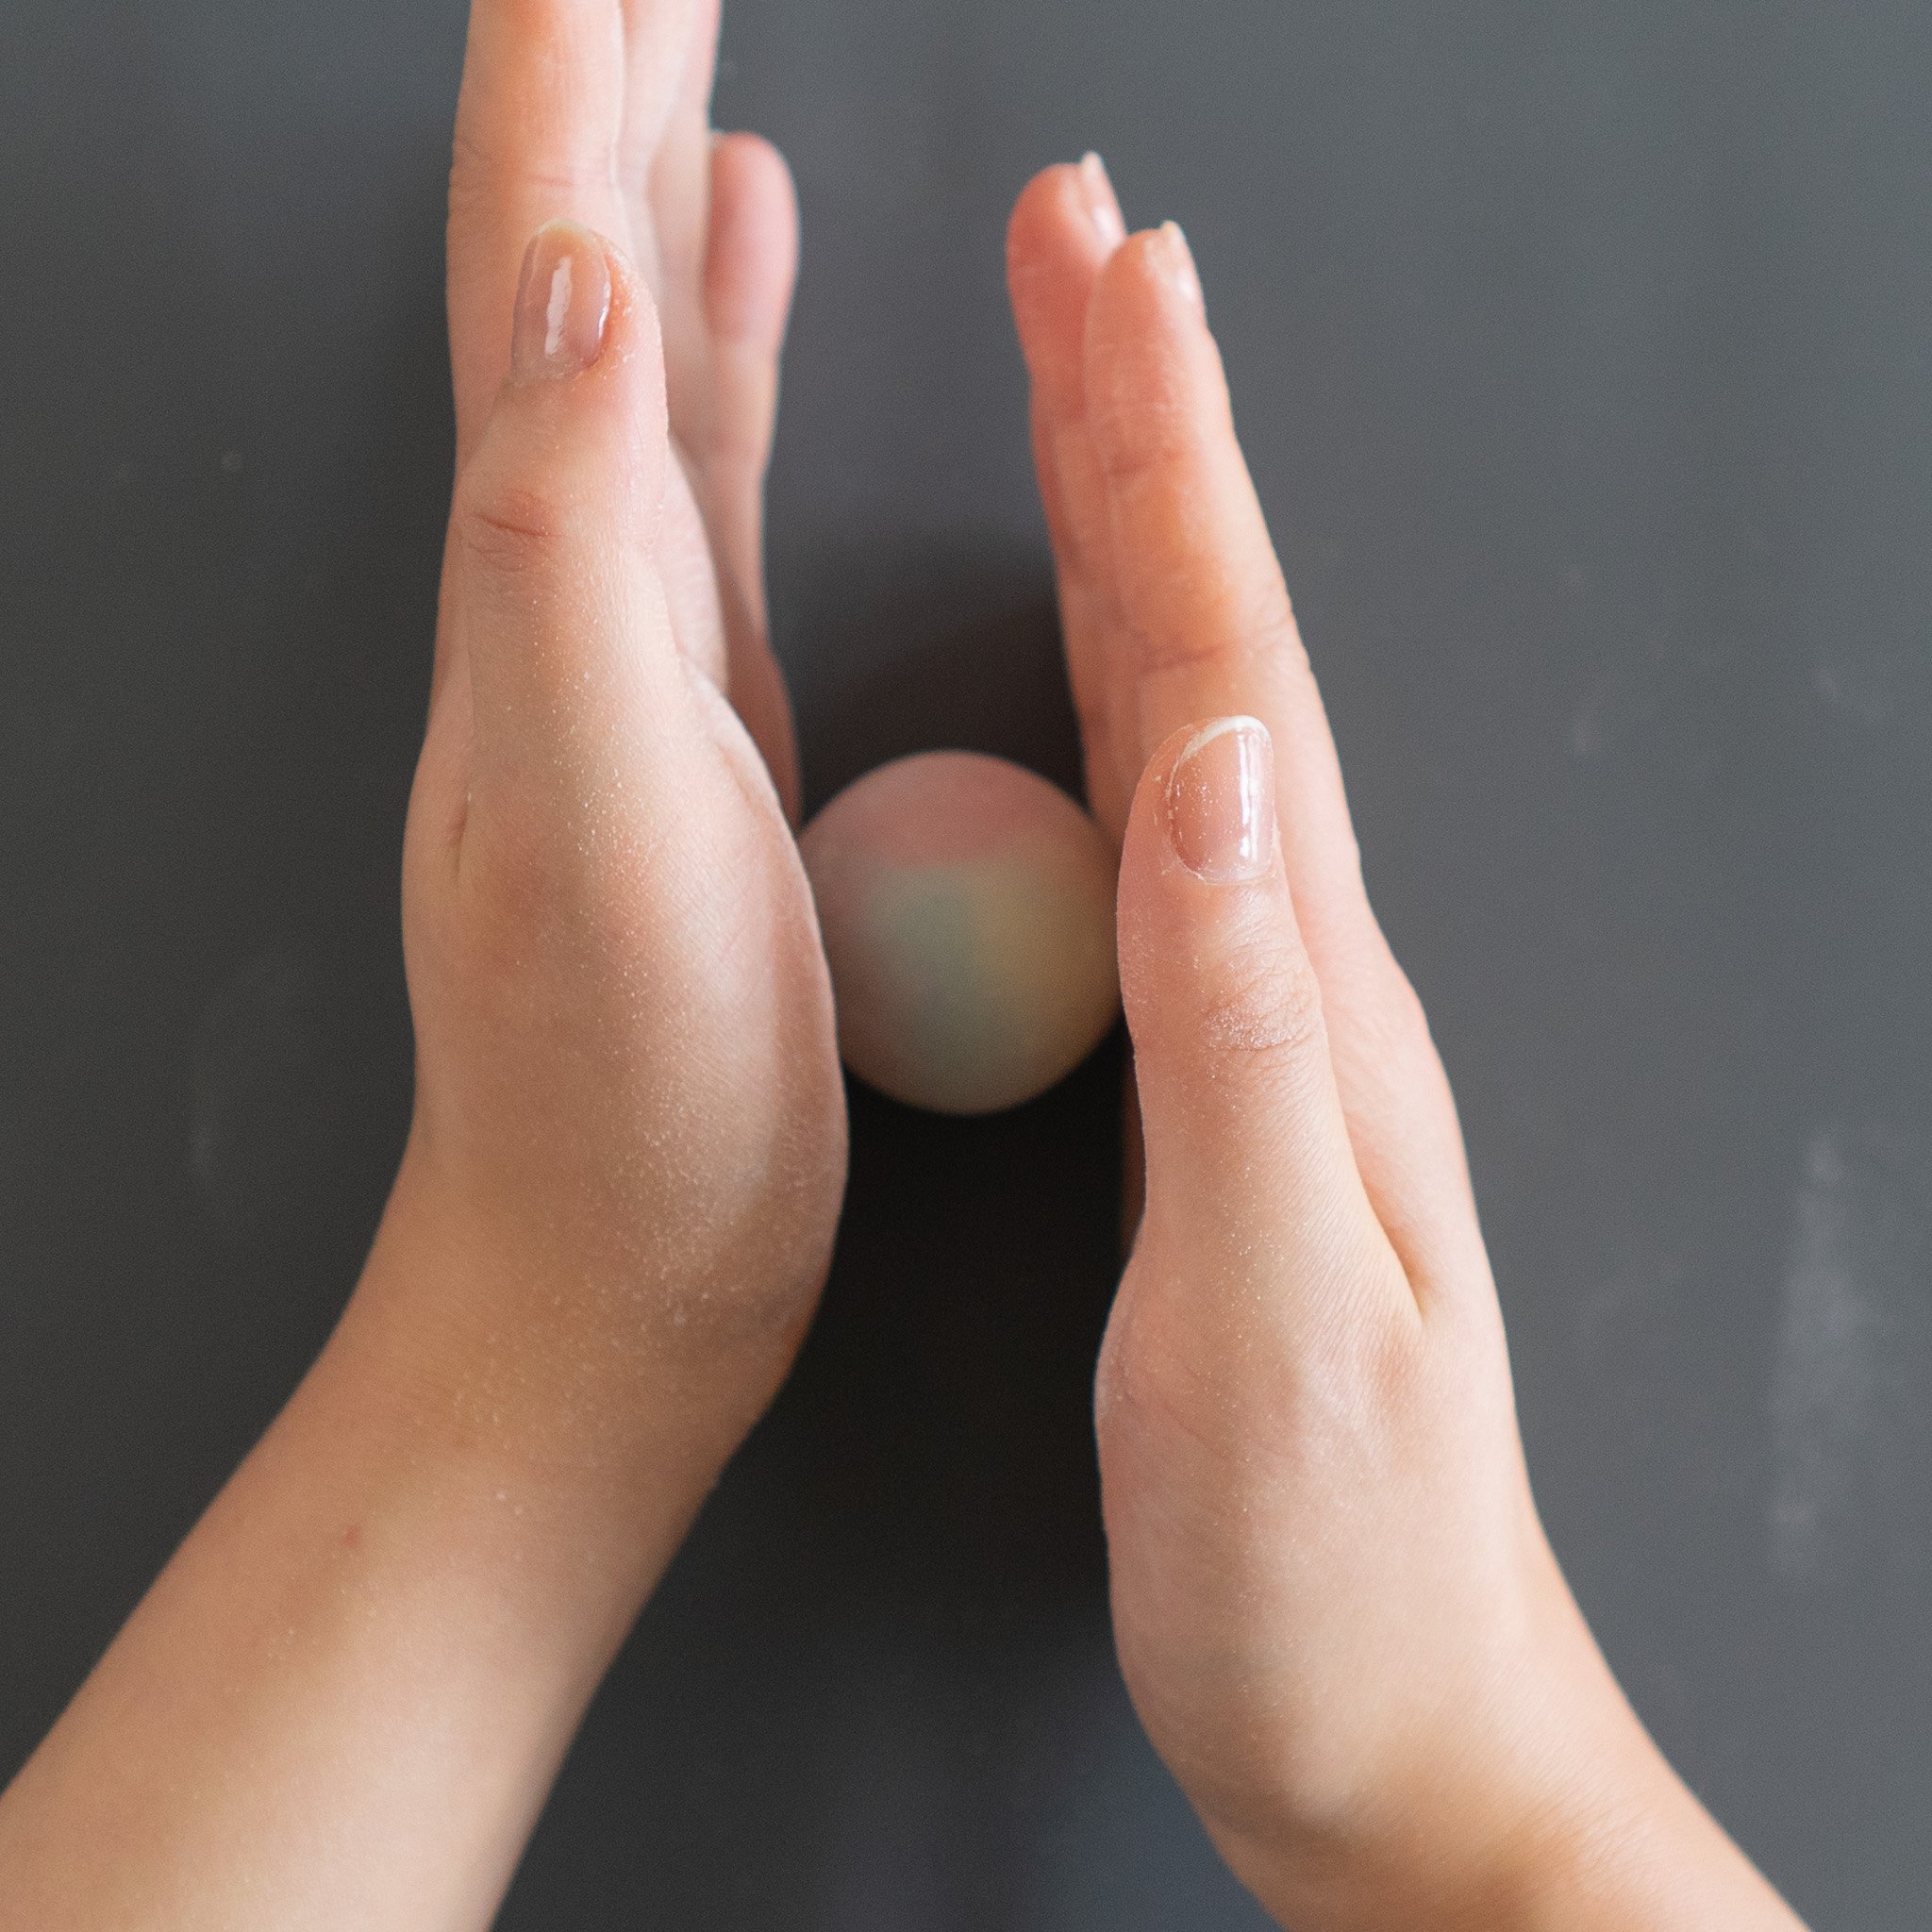
14. Once the snow skin is firm, measure a combination of the different colours into 25 g portions and marble together to form a ball. Dust in the cooked glutinous flour to prevent sticking.
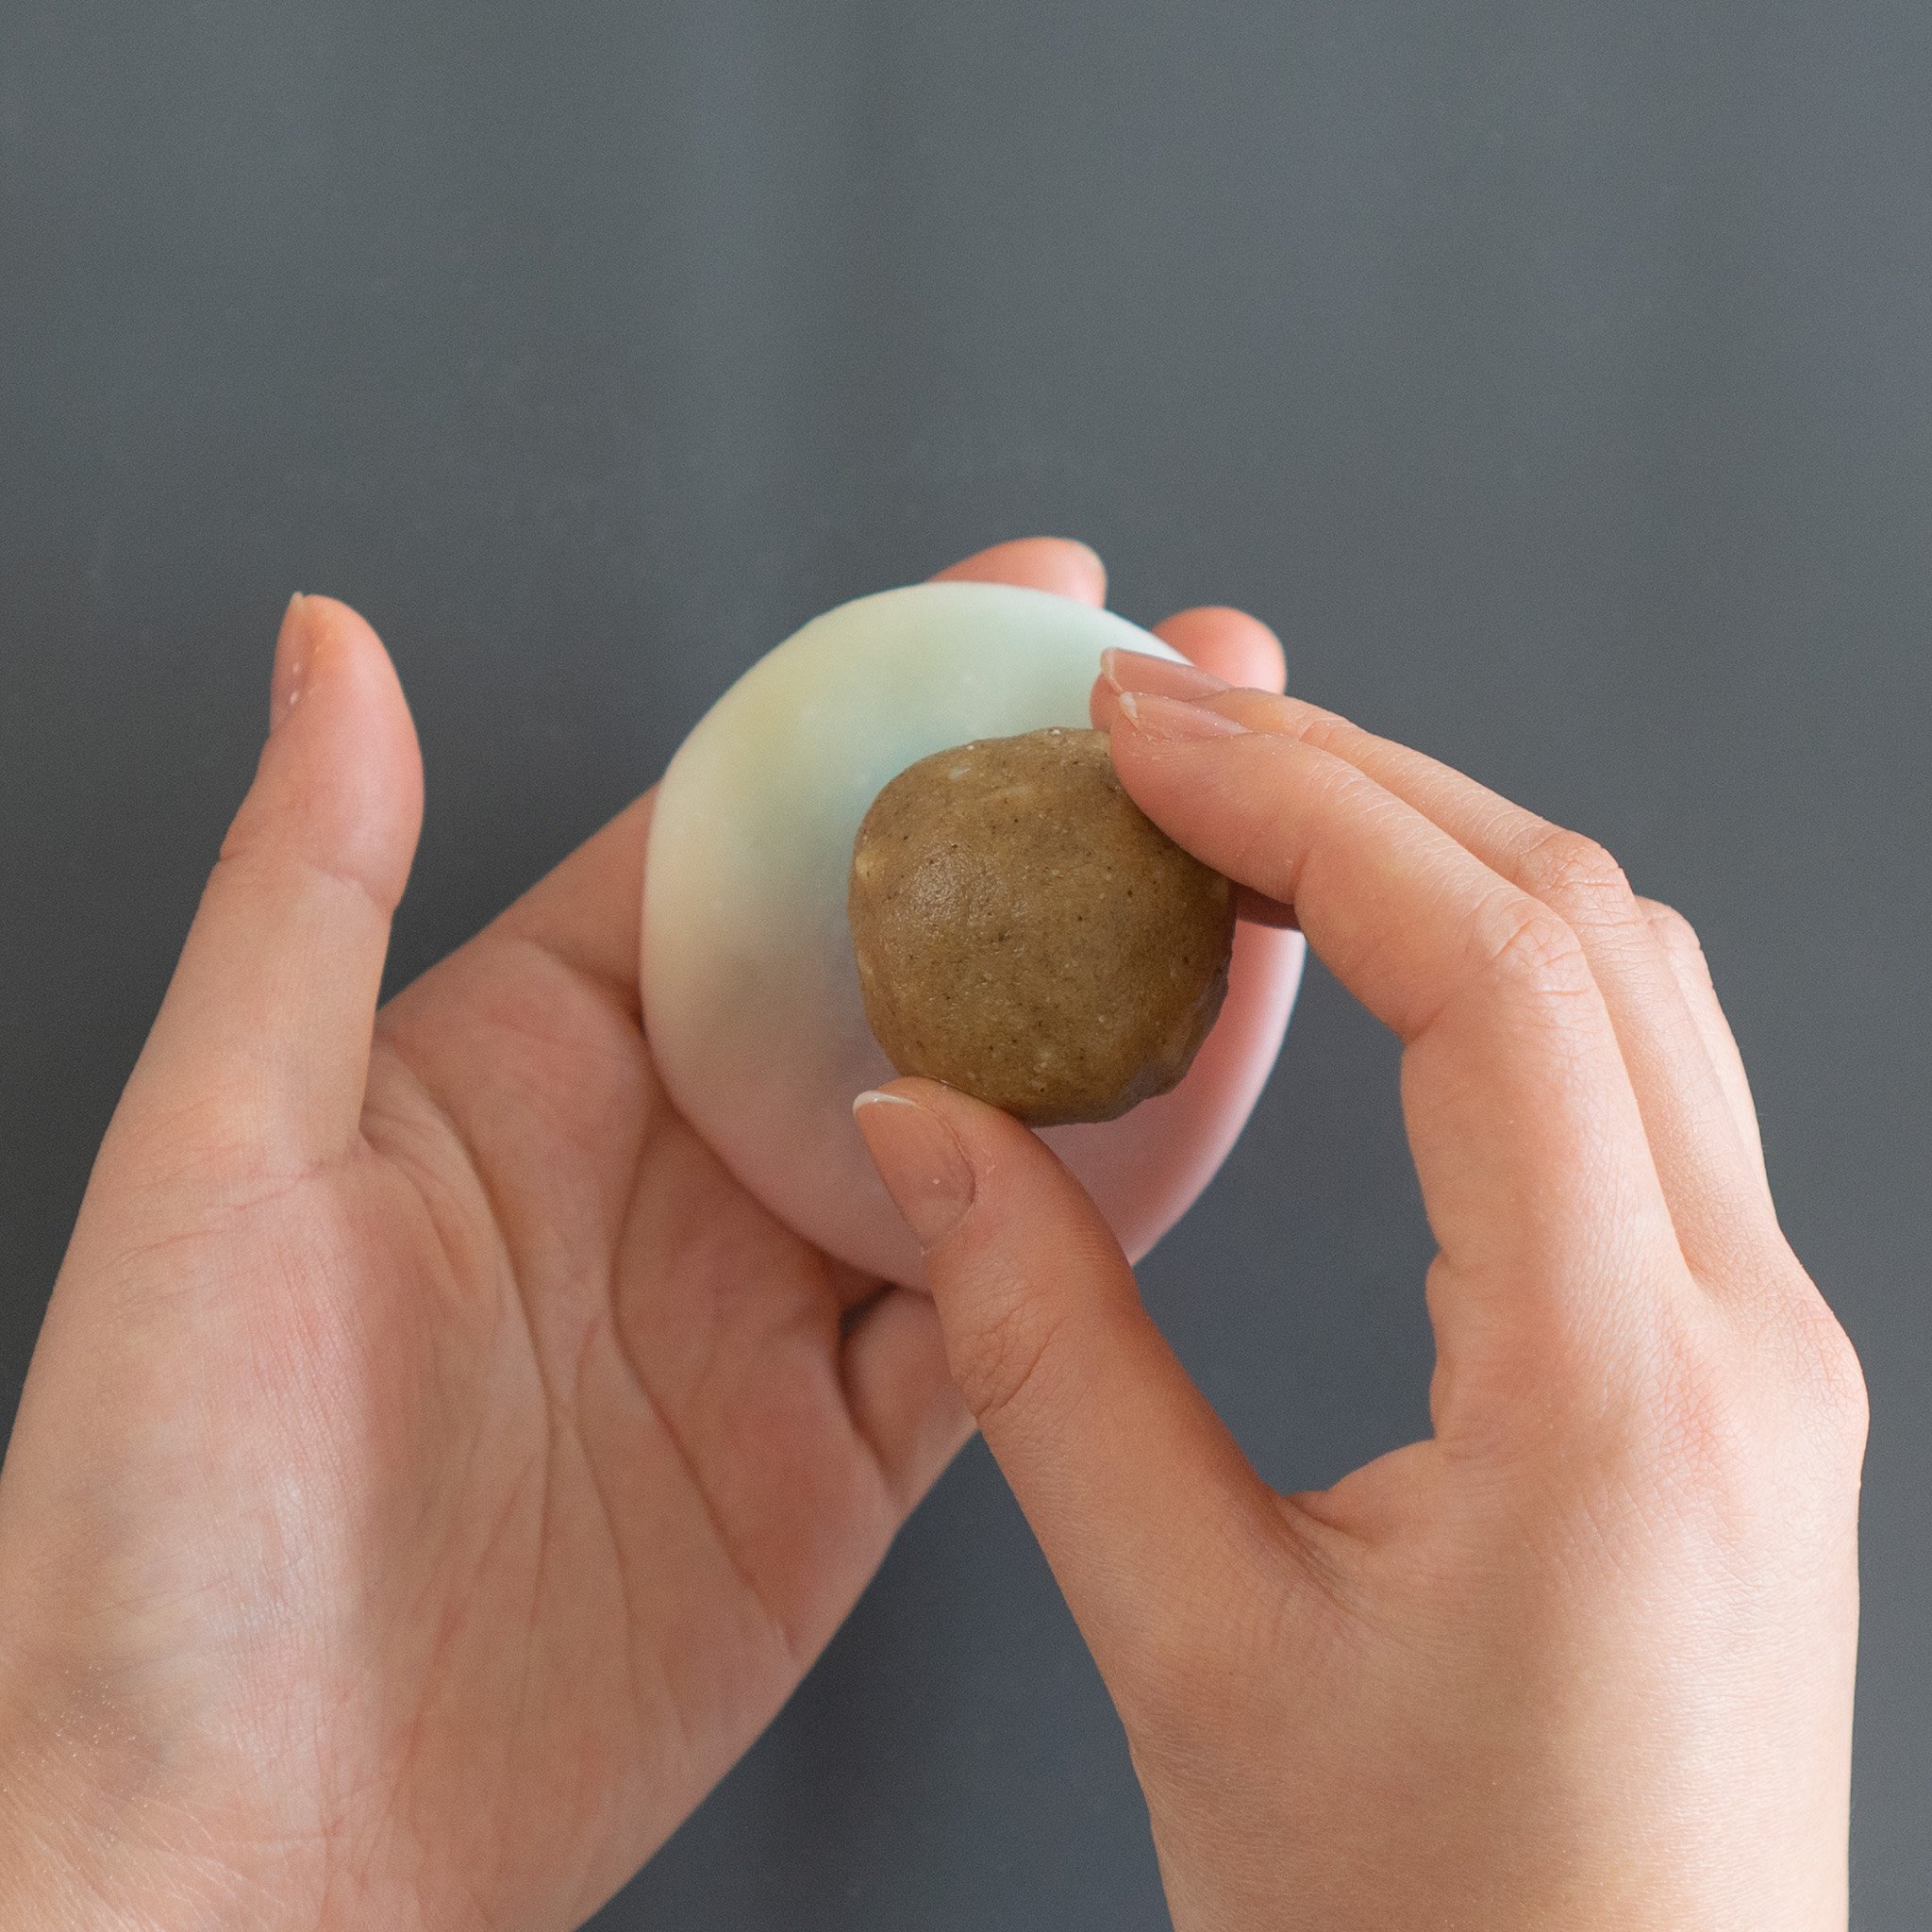
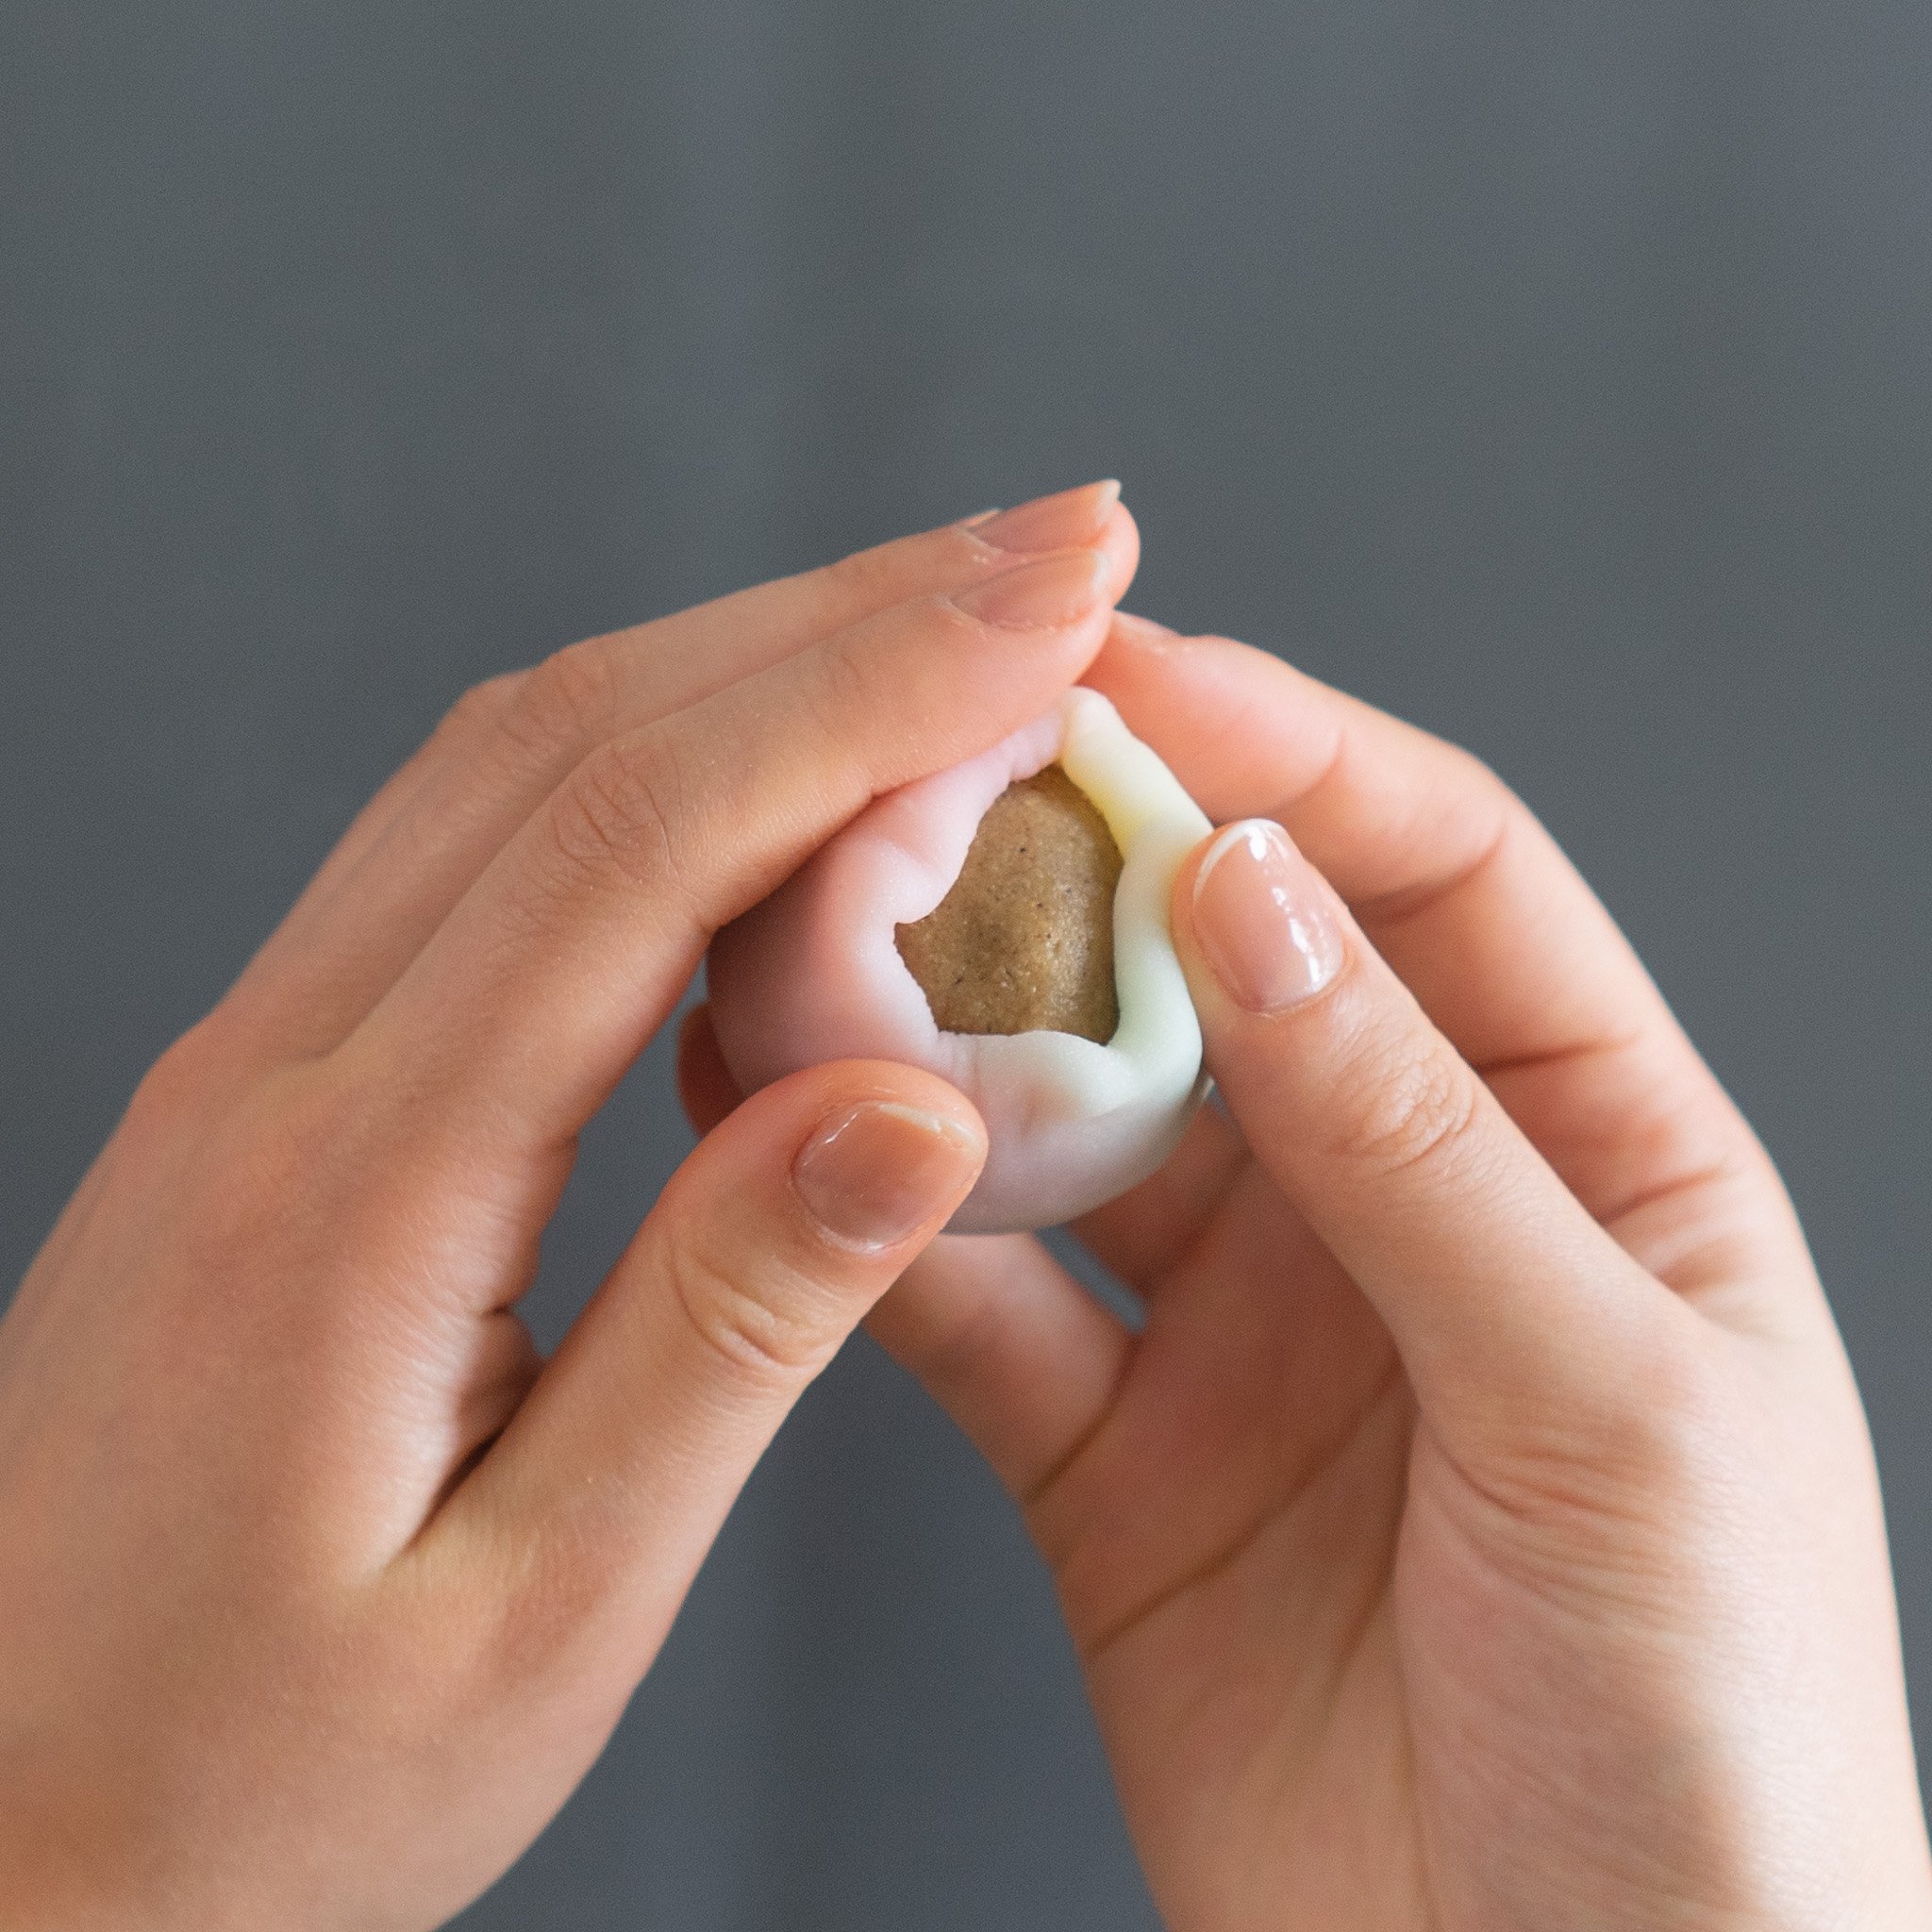
15. Wrap the filling in a flattened piece of snow skin, and seal it completely. Use minimal cooked glutinous rice flour when needed. (watch the video to reference the technique)
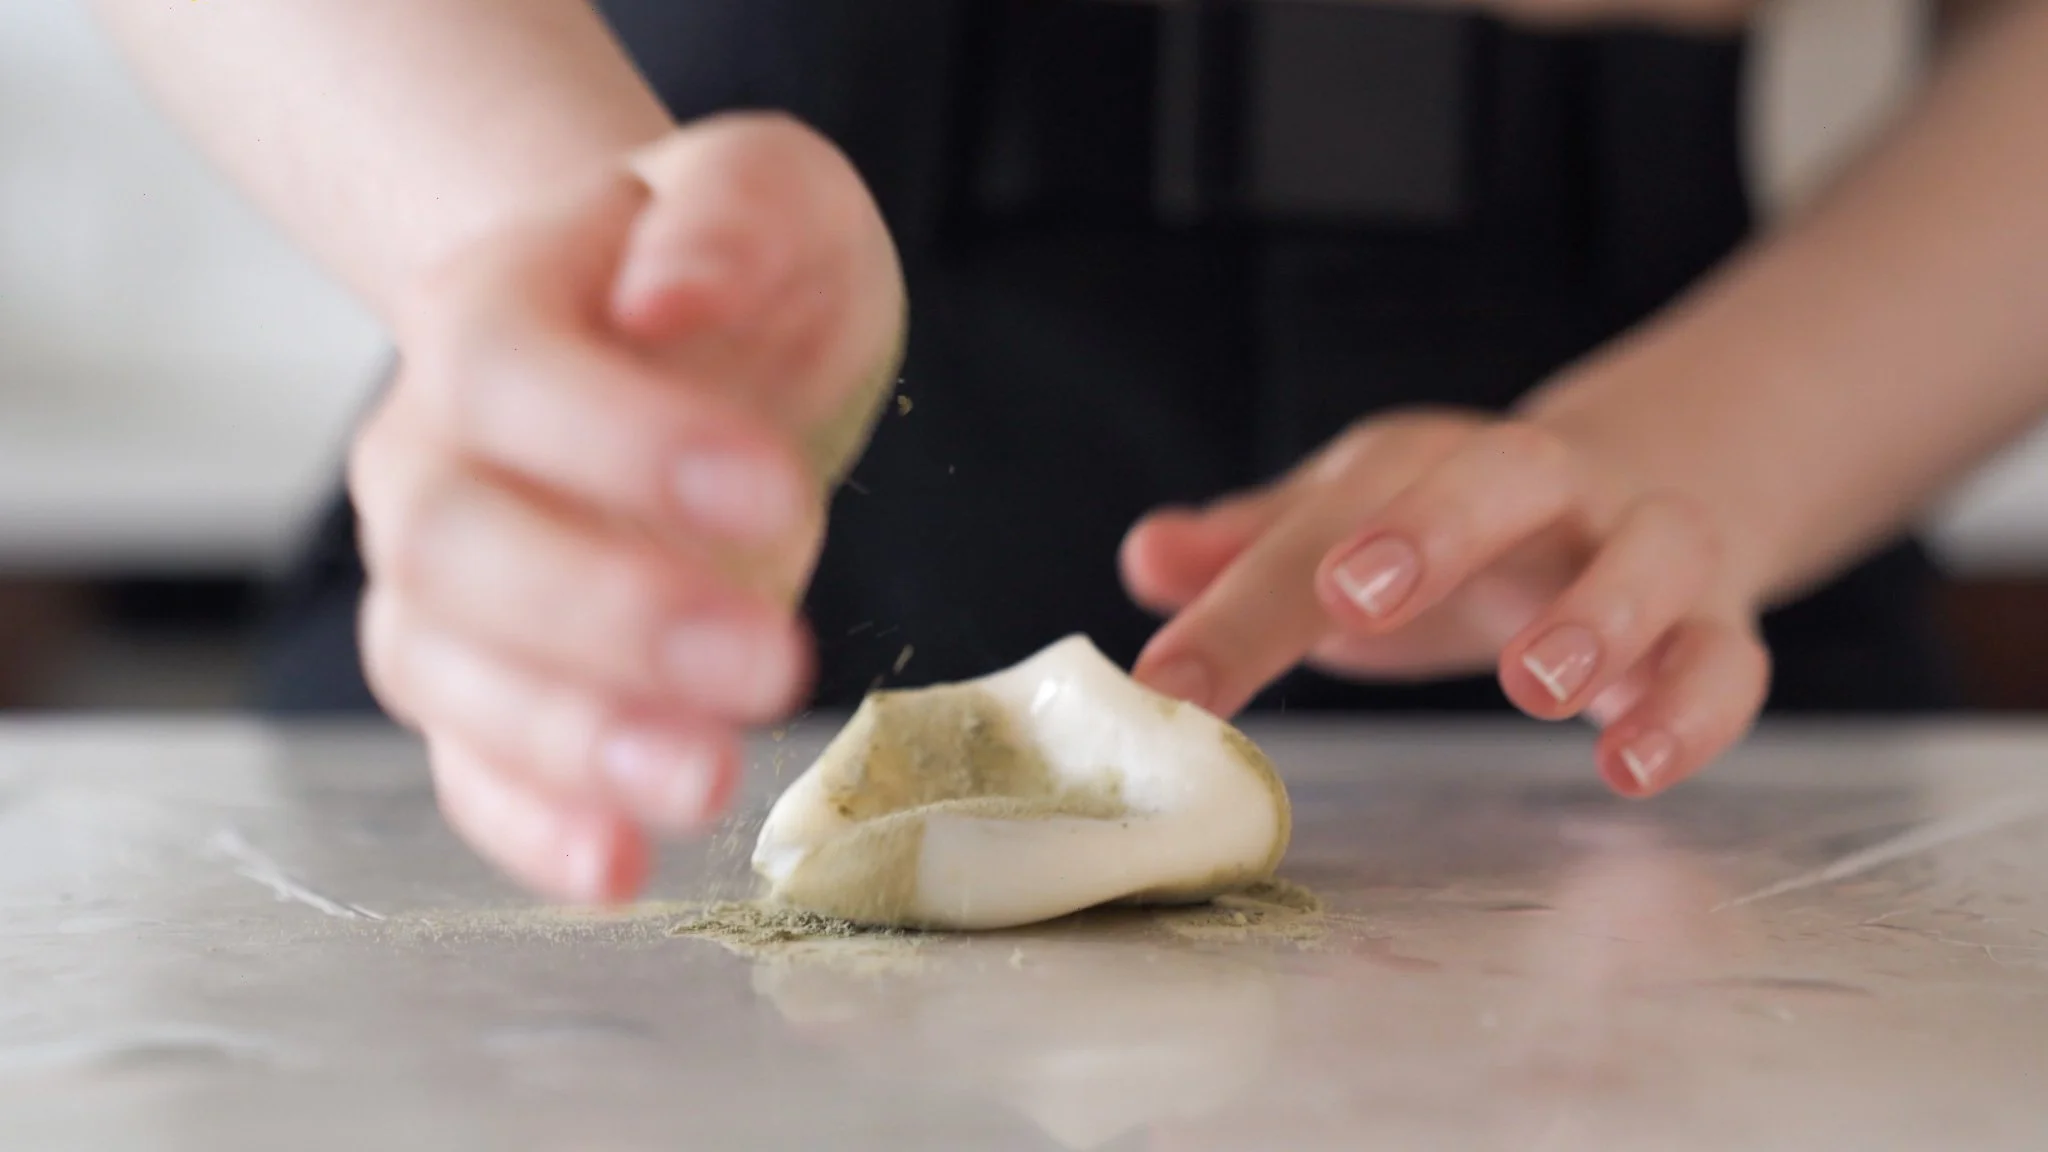
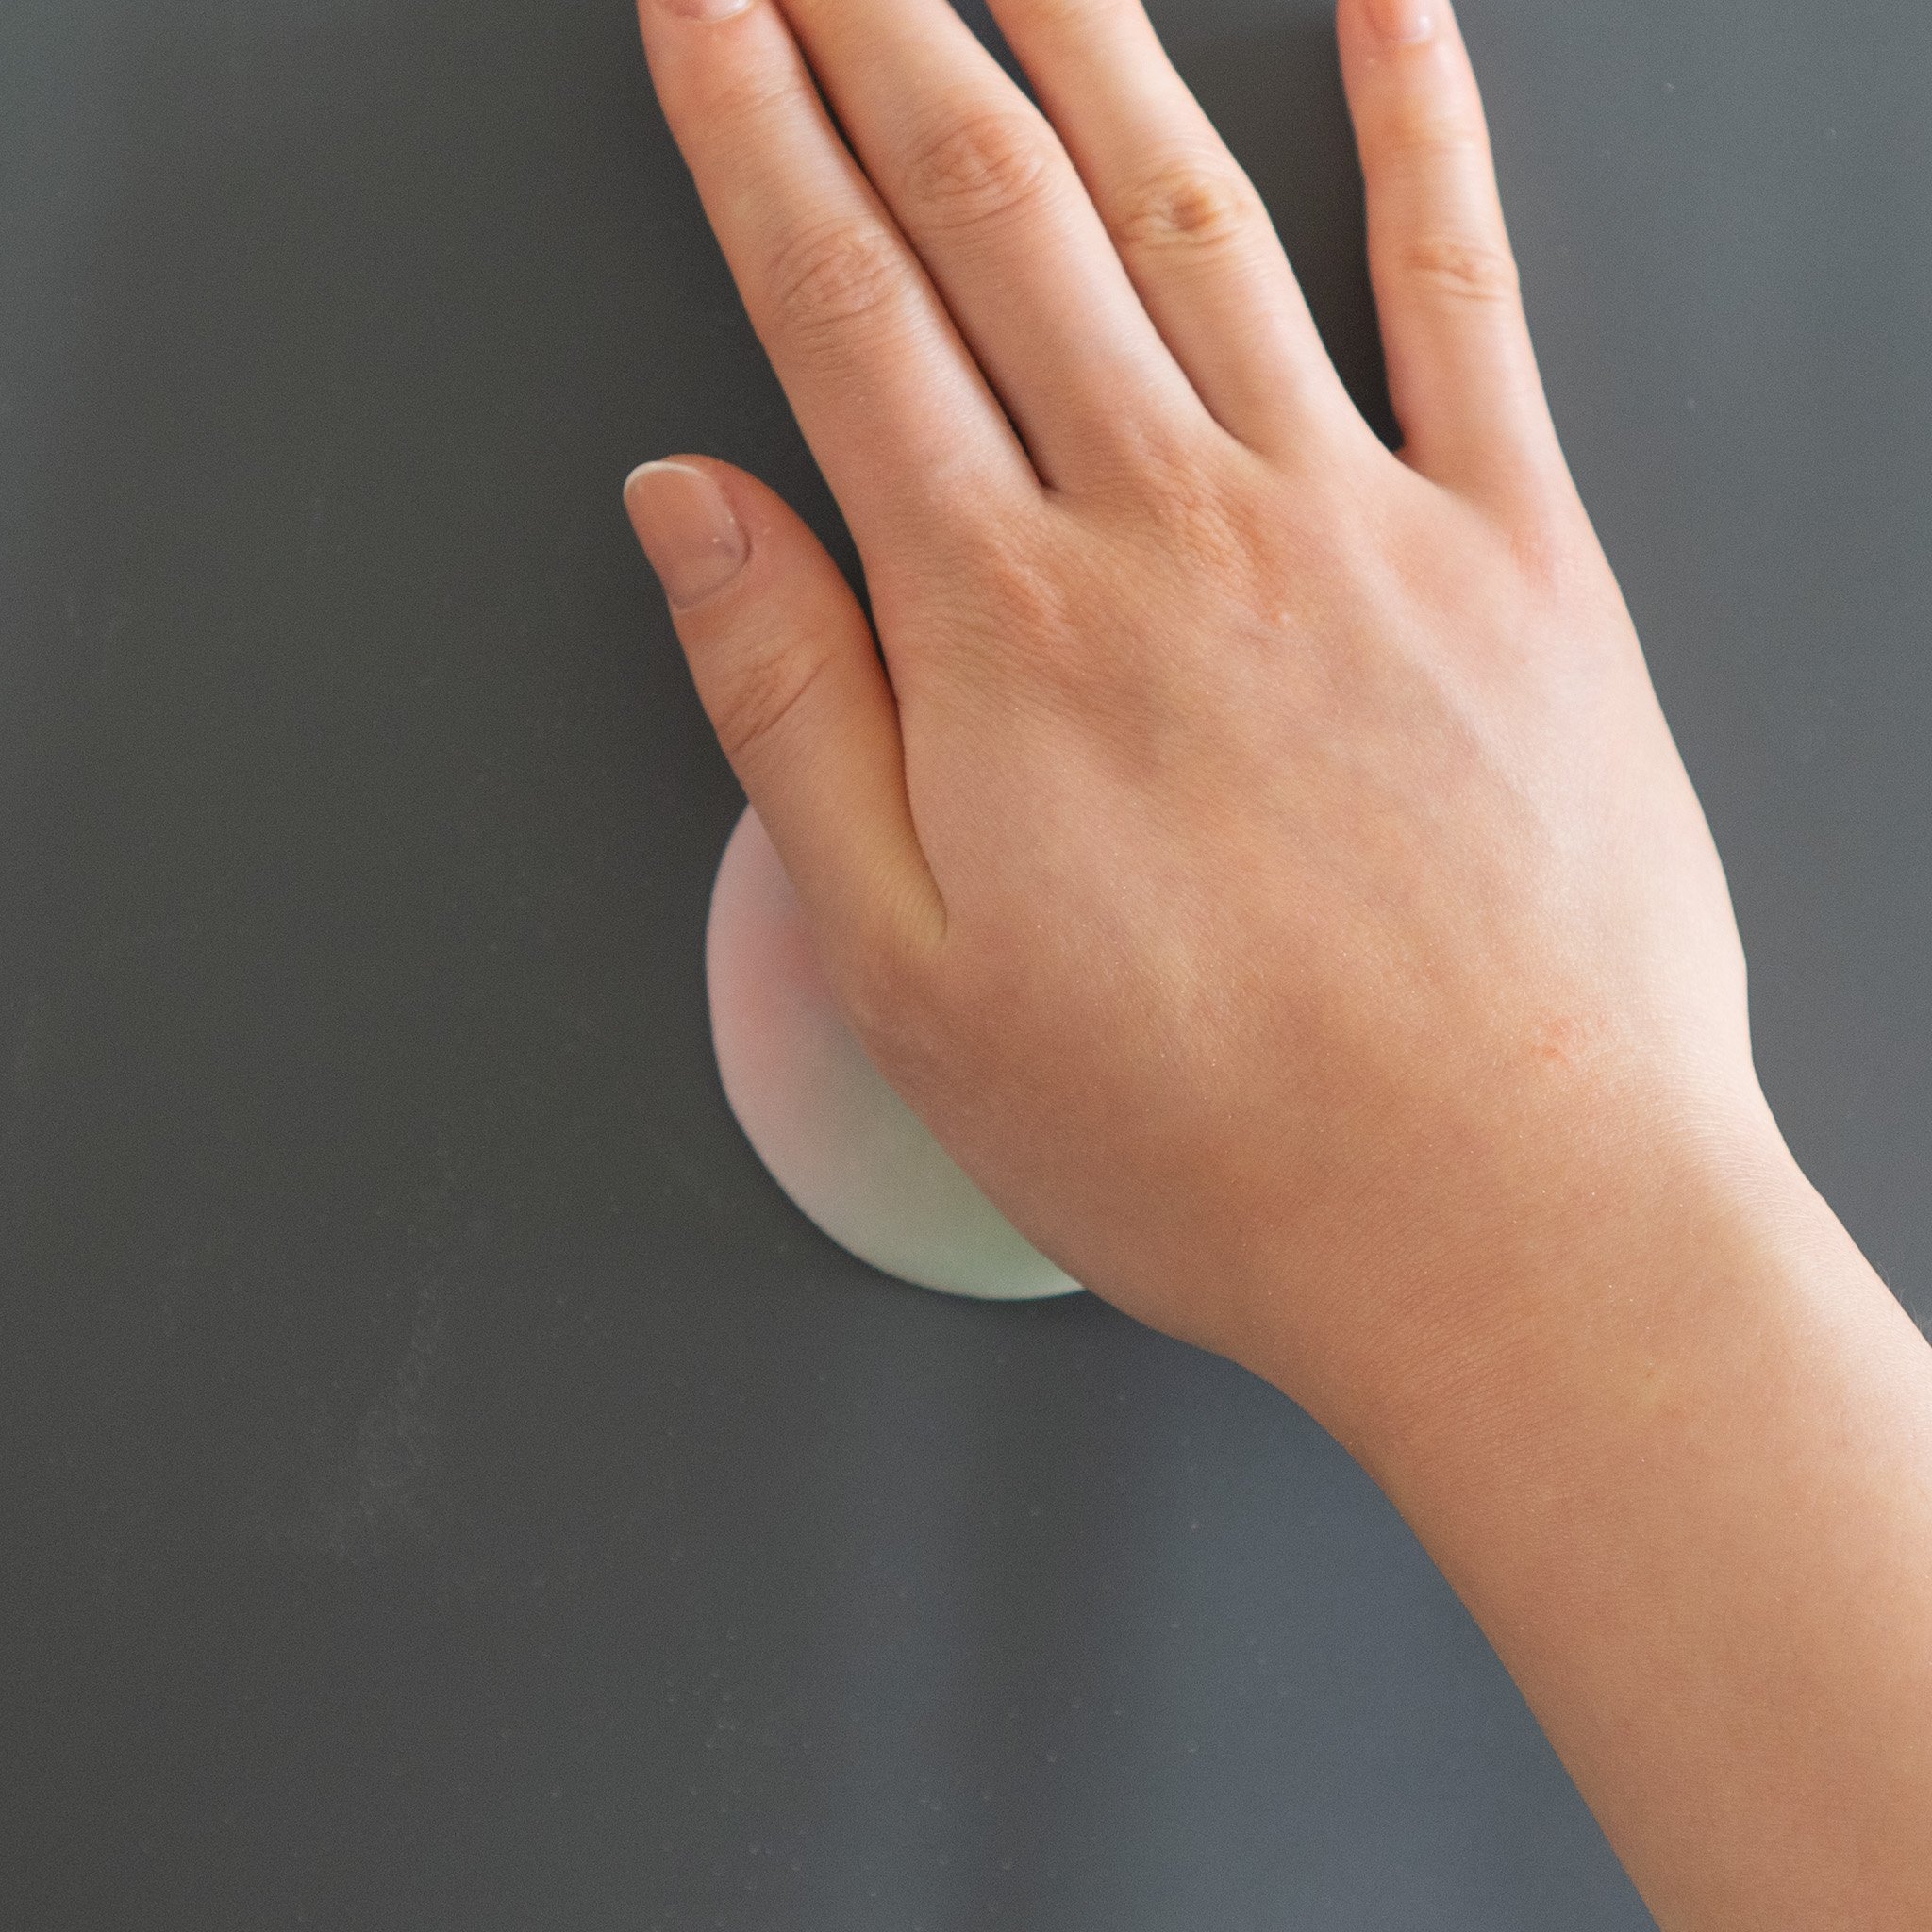
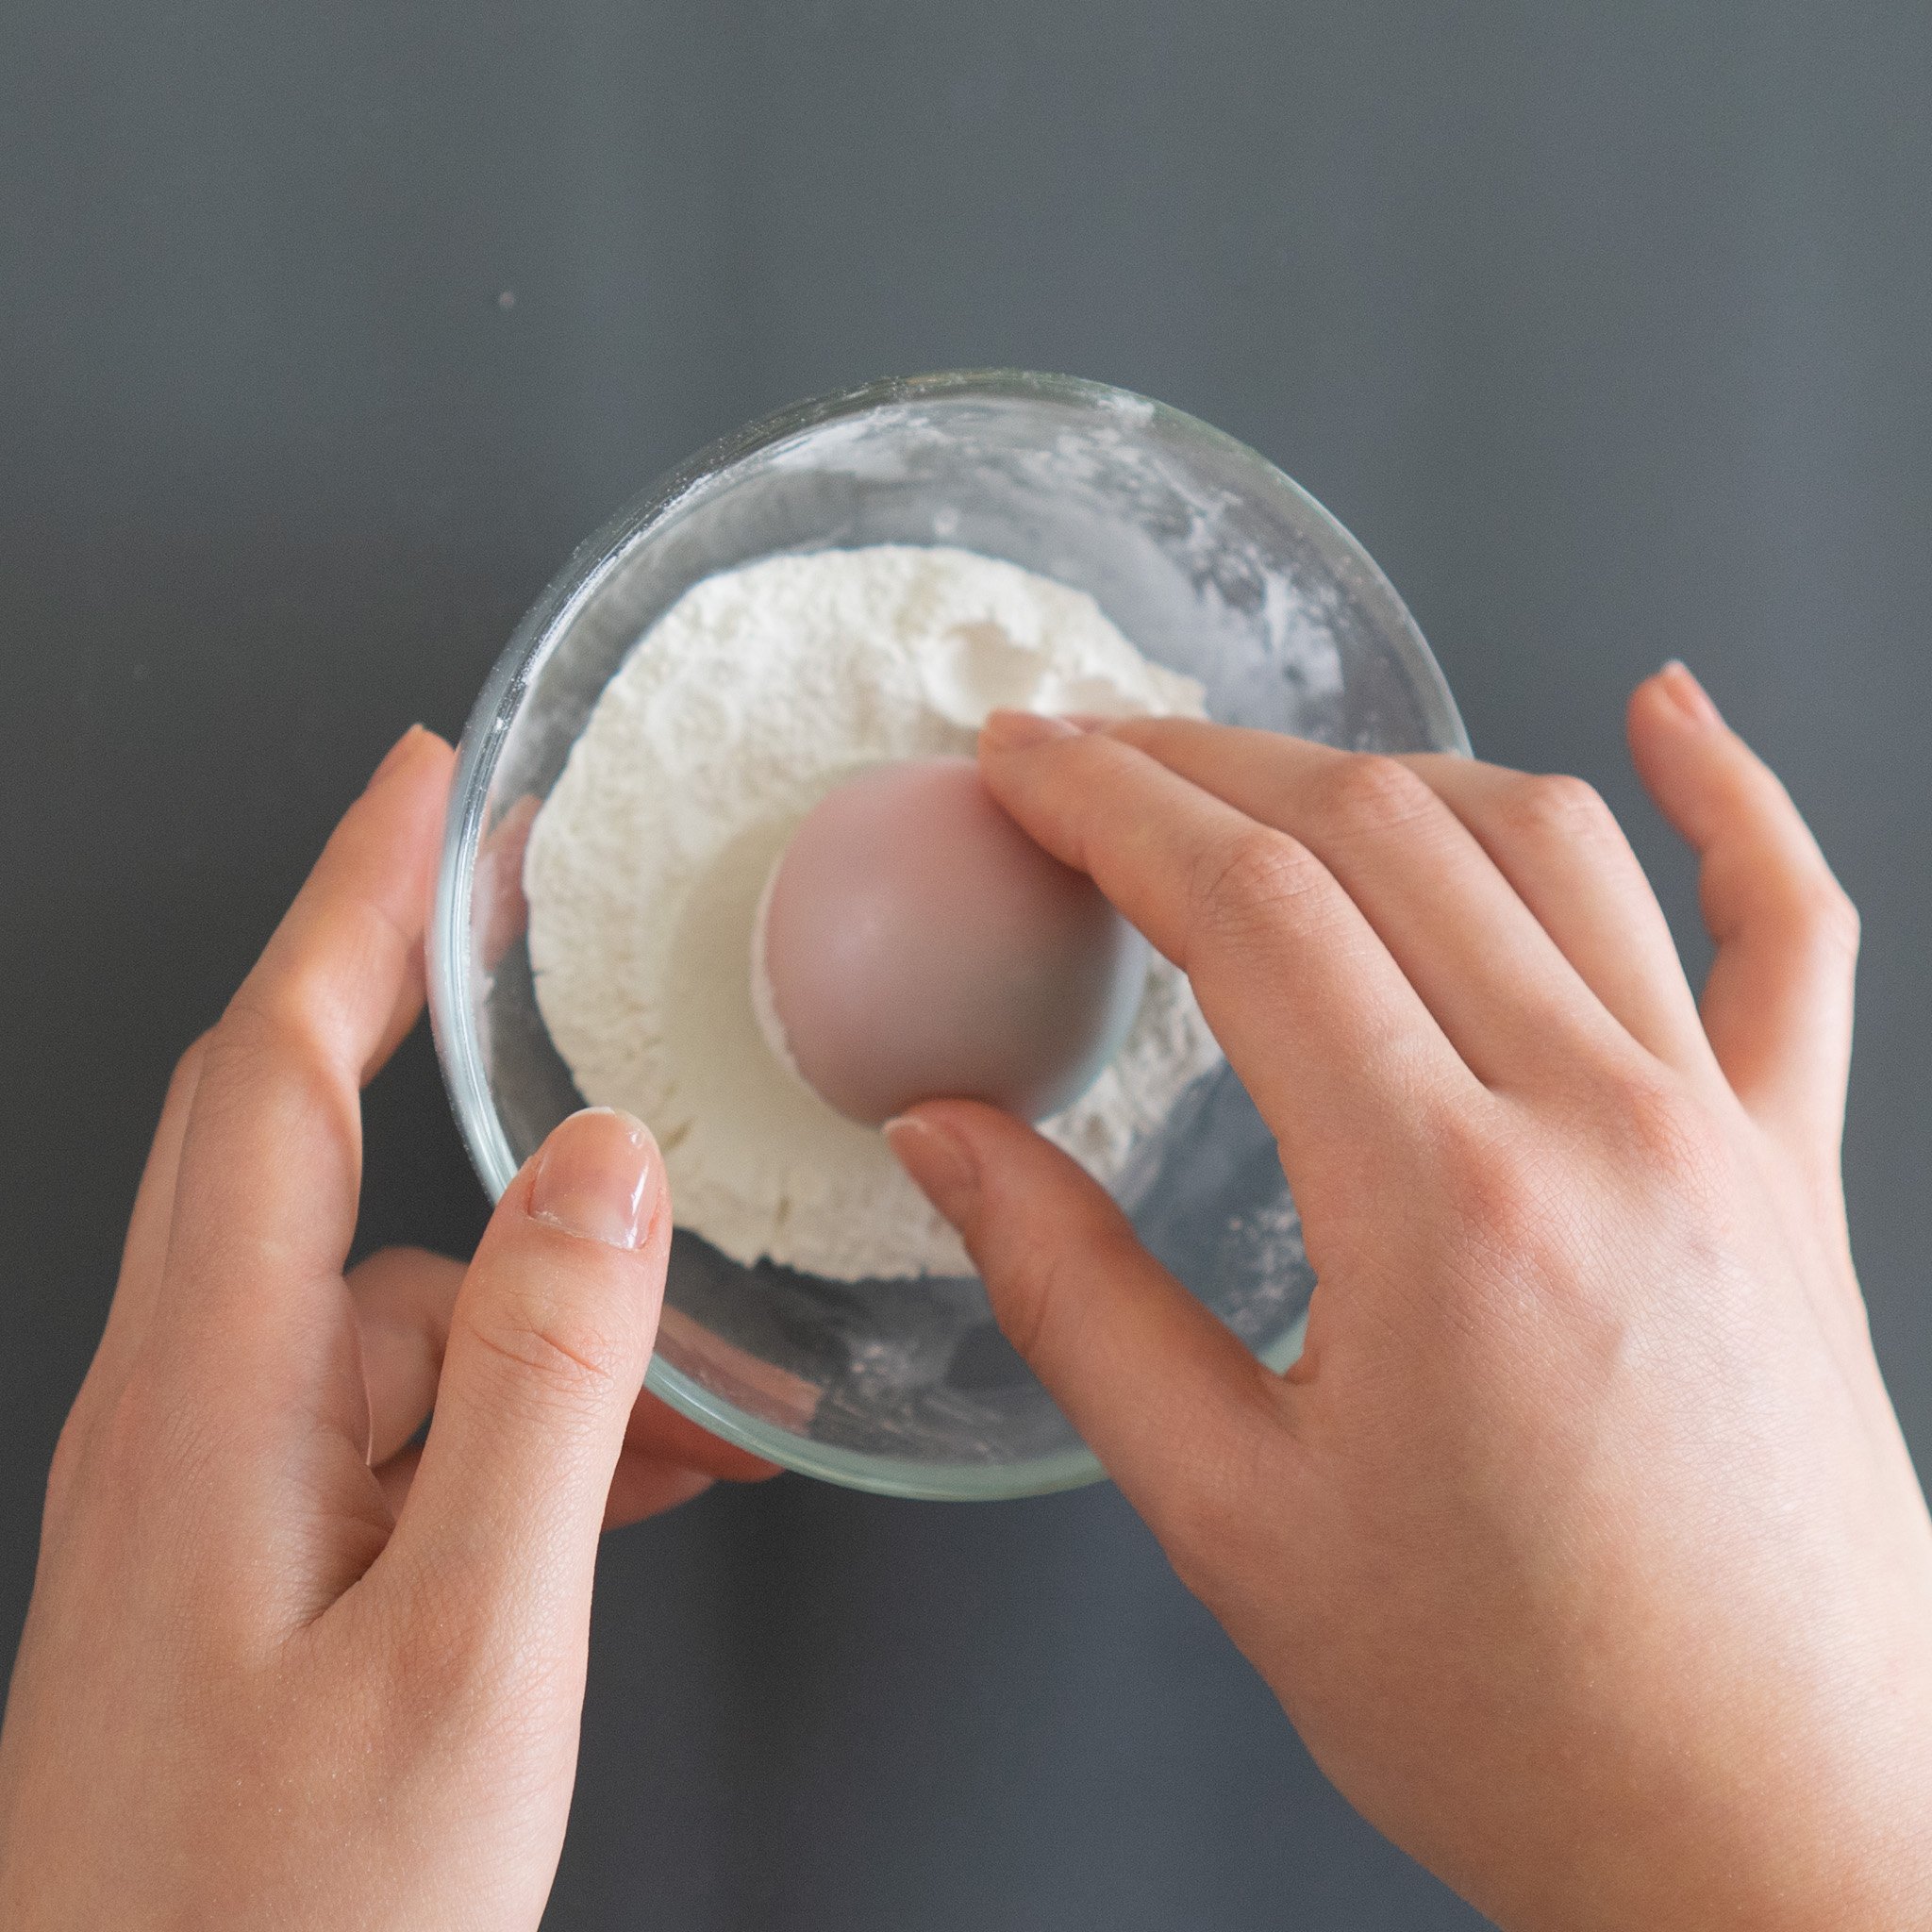
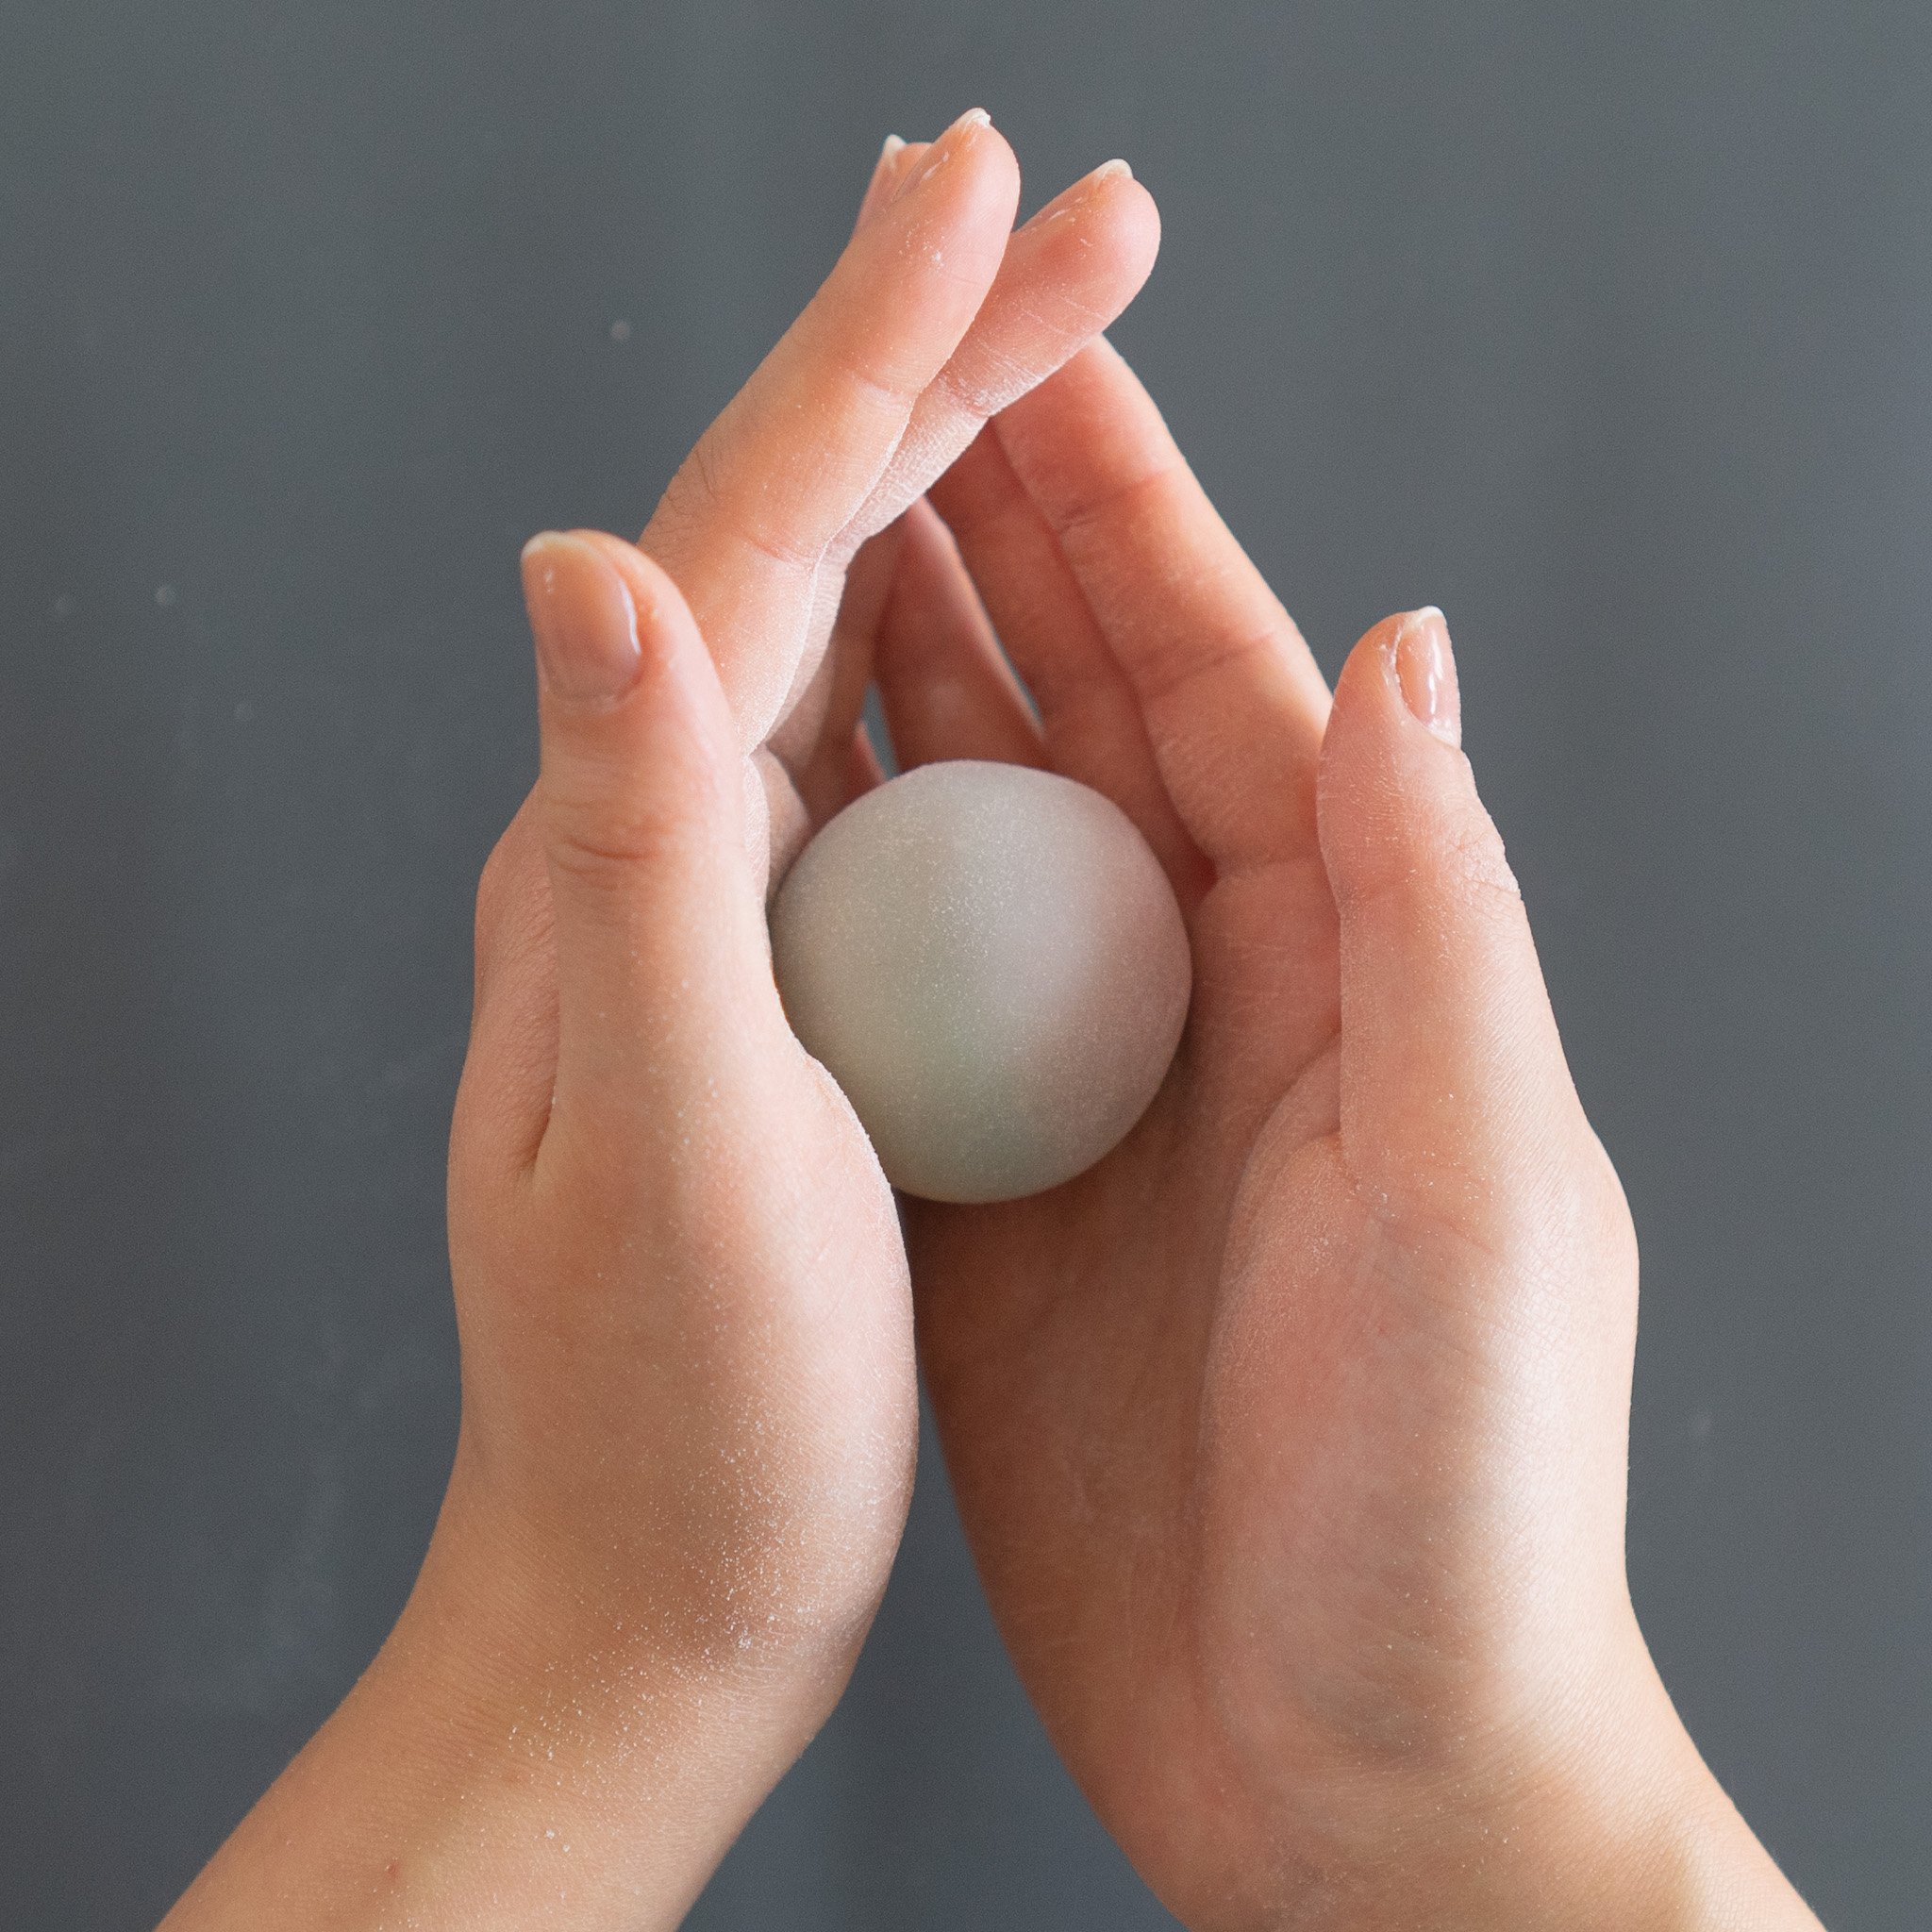
16. Lightly dust the unpressed mooncake with cooked glutinous rice flour and gently shape it with your palms so it fits the mooncake mould.
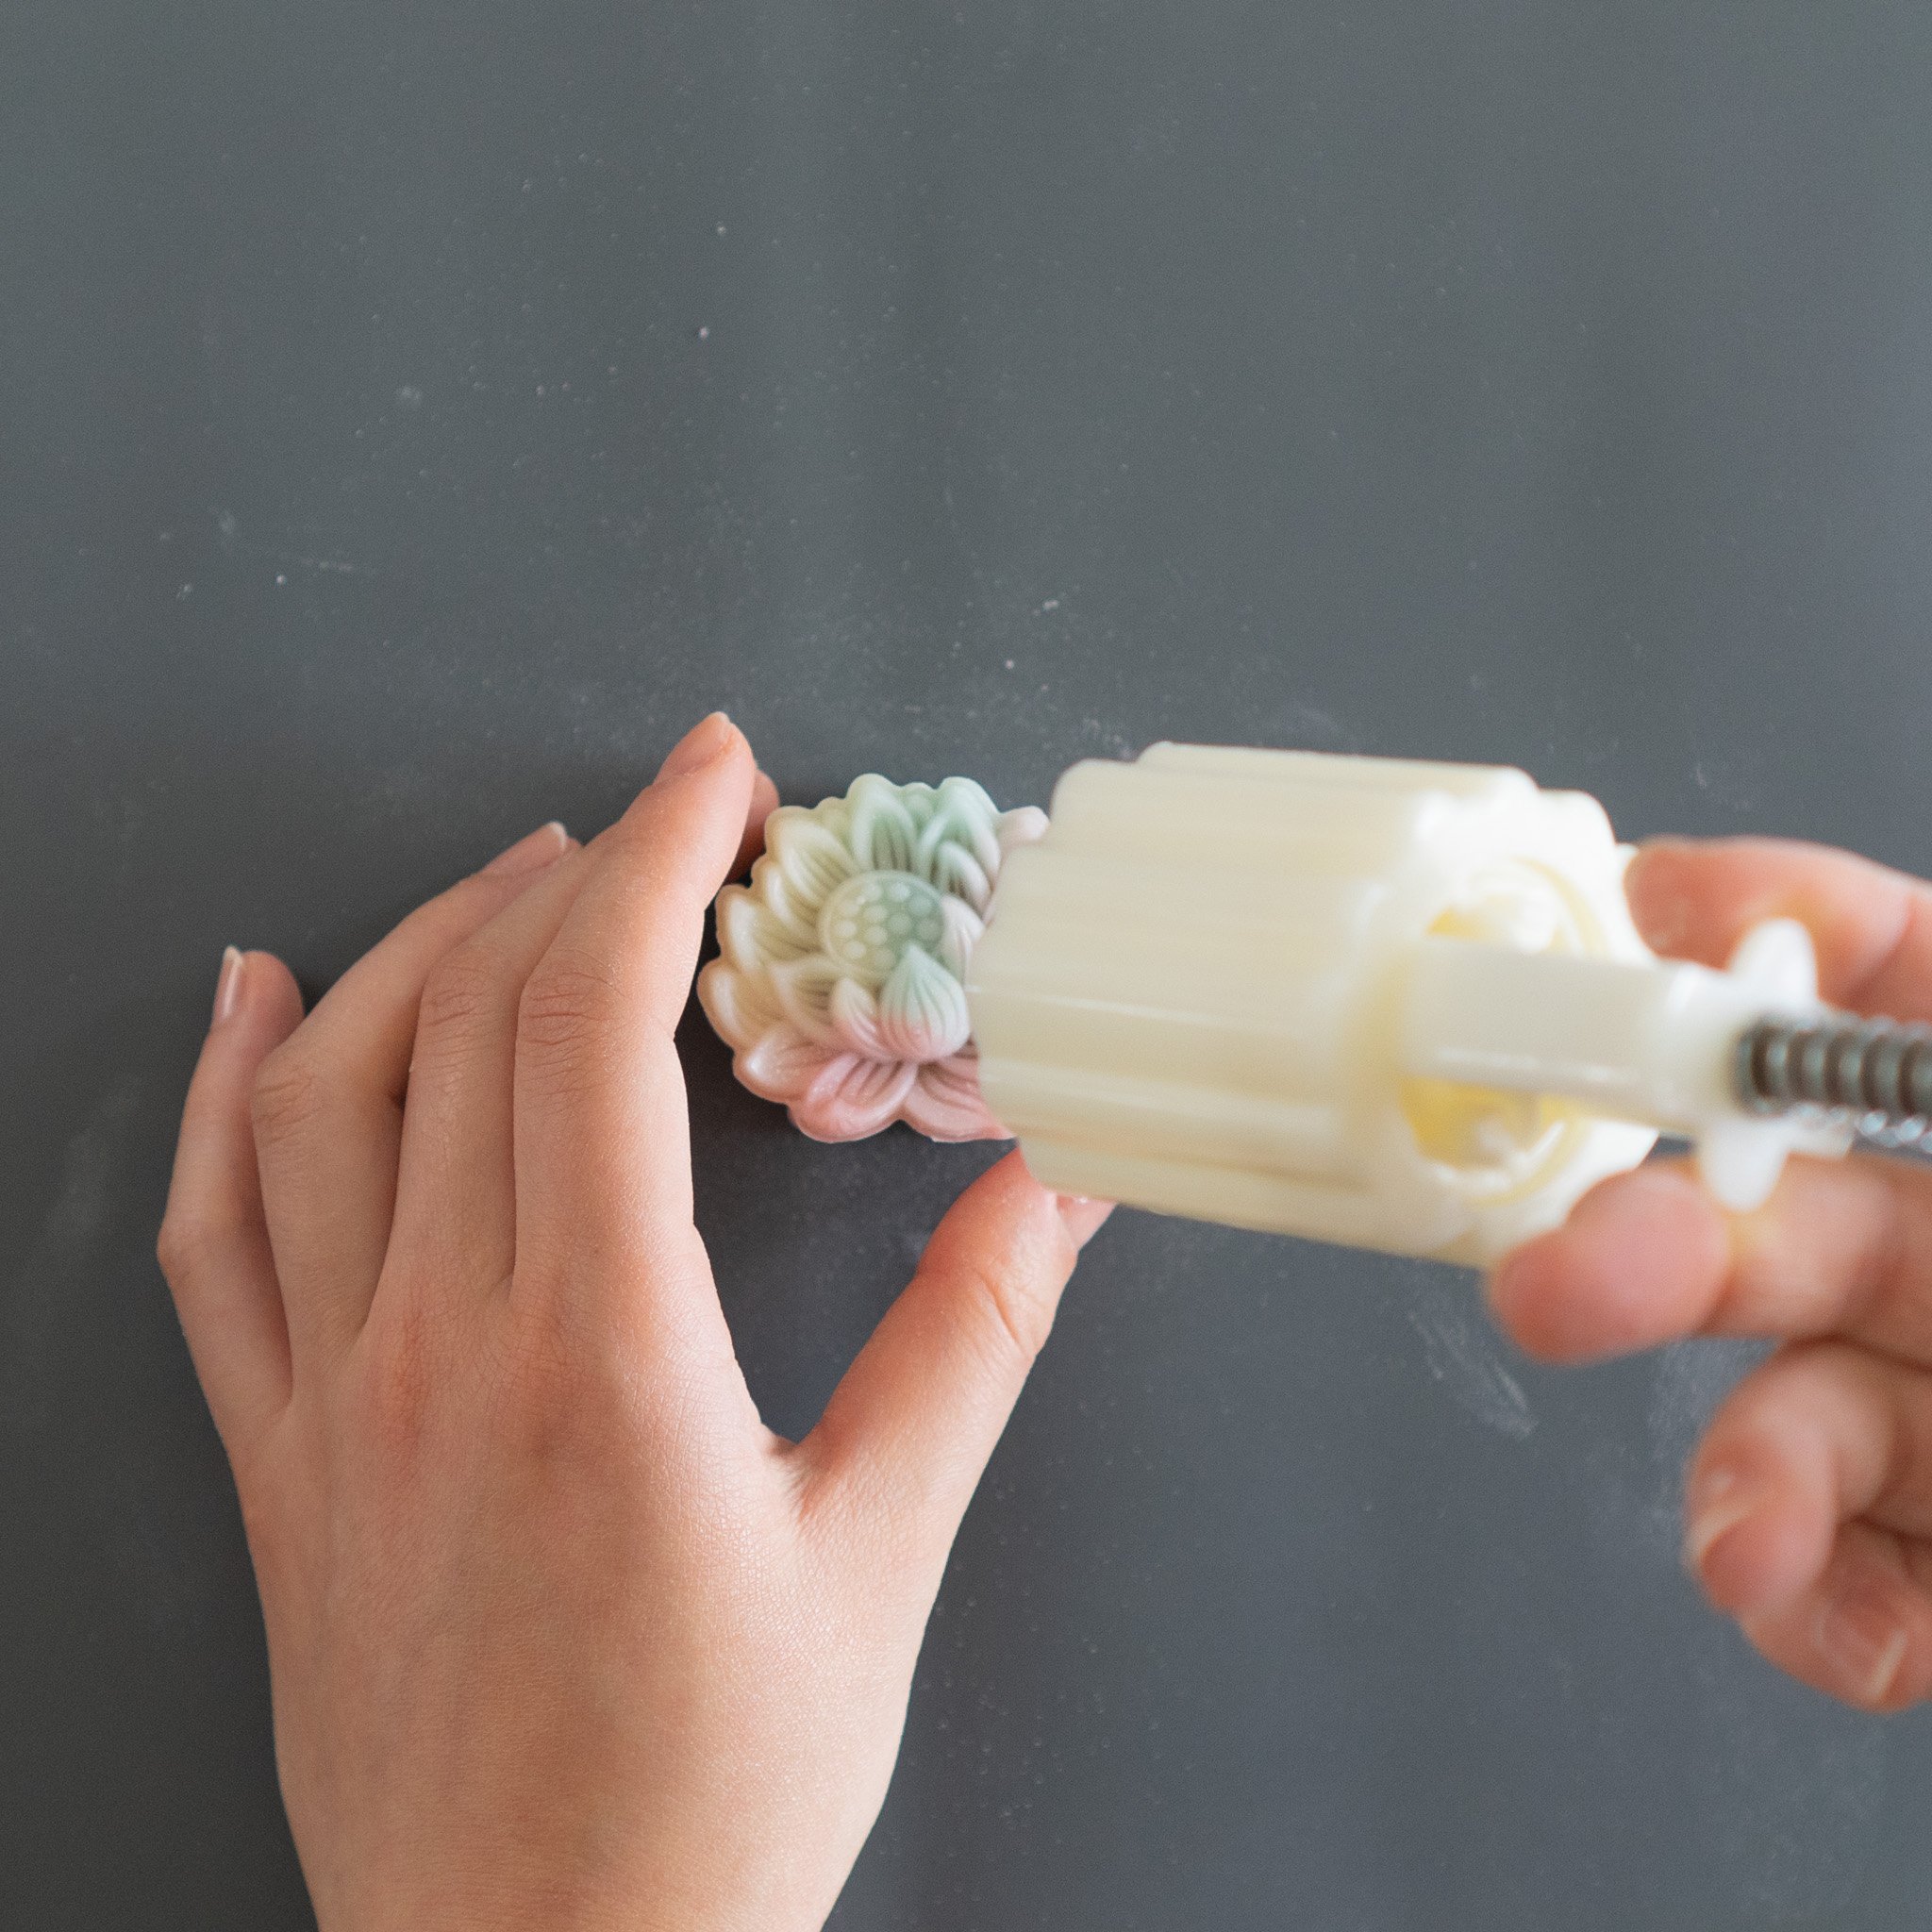
17. Press firmly on the mooncake mould stamp and release to reveal your finished product. Repeat.

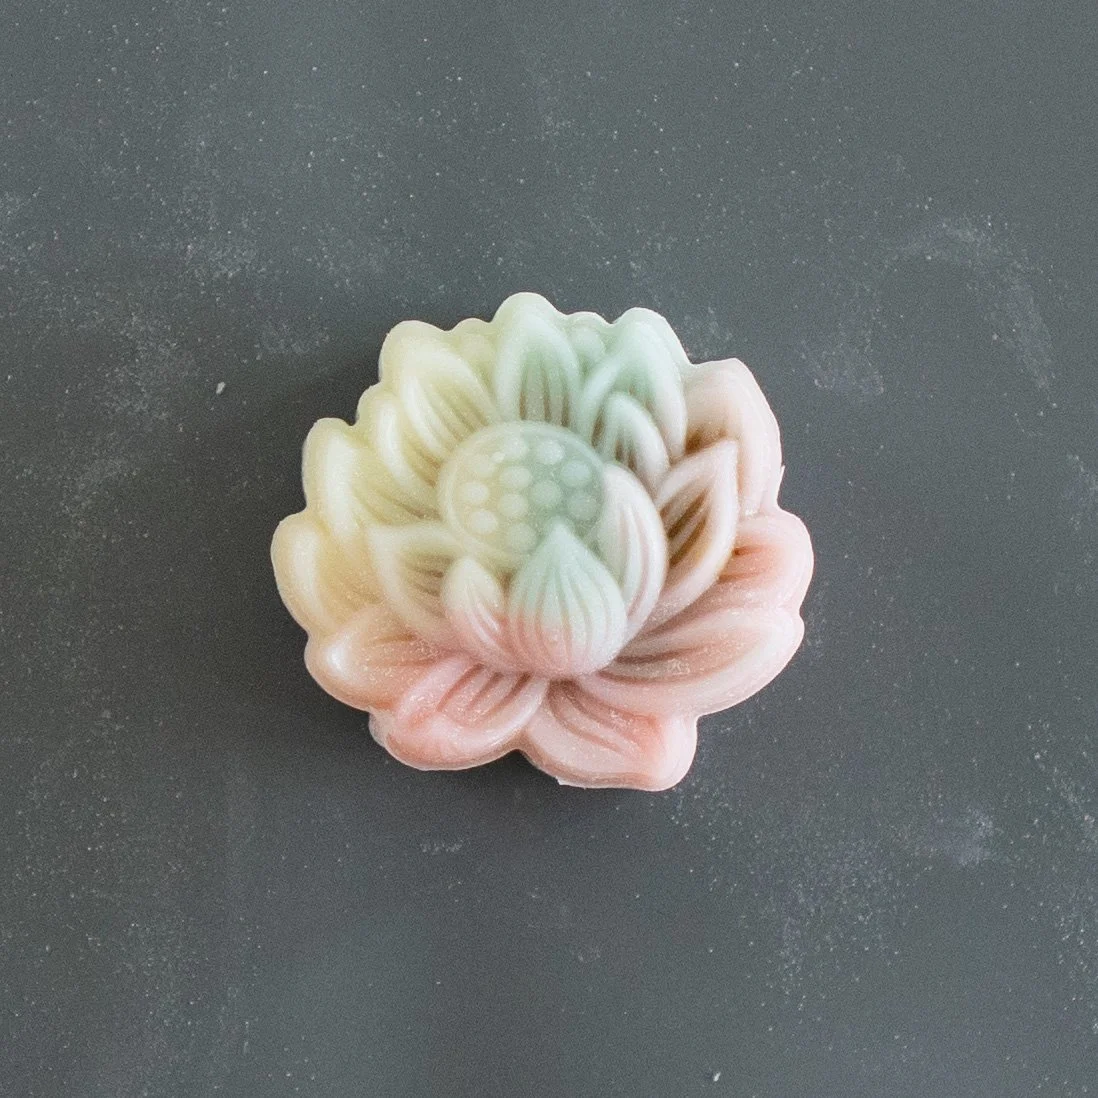
18. Chilling for a couple of hours before consuming is recommended. Enjoy!